Analysis: Creator is the second License Key boss and a serious step up in pressure — multiple barriers to break before you can even hack, a charging laser-head rush, and a vertical arena finish. The fight wants you to read openings, not mash.
Fight Overview
You'll find the fight at the top of the Mass Production Array. Two phases. Phase 1 is a standard knock-down loop complicated by red barriers on its limbs; Phase 2 shifts to a vertical arena where you ride rails to platforms and shoot a final barrier on its back. Bring ammo.
Preparation
- Recommended weapons: Charge Piercer to pop the limb barriers cleanly, Shockwave Blaster for the weak point
- Throwable: Stasis Net is still useful but less critical than on Sector Guard
- Heal reserve: 3× Repair Canister — this fight has two damage-heavy windows
- Before you walk in: farm the approach corridor to fill Diana's intrusion gauge. Overdrive Protocol melts Phase 1 if you time it into a barrier-break.
- Shelter upgrades that matter: Charge Piercer damage boost, any defense-boost mods slotted in your Loadout
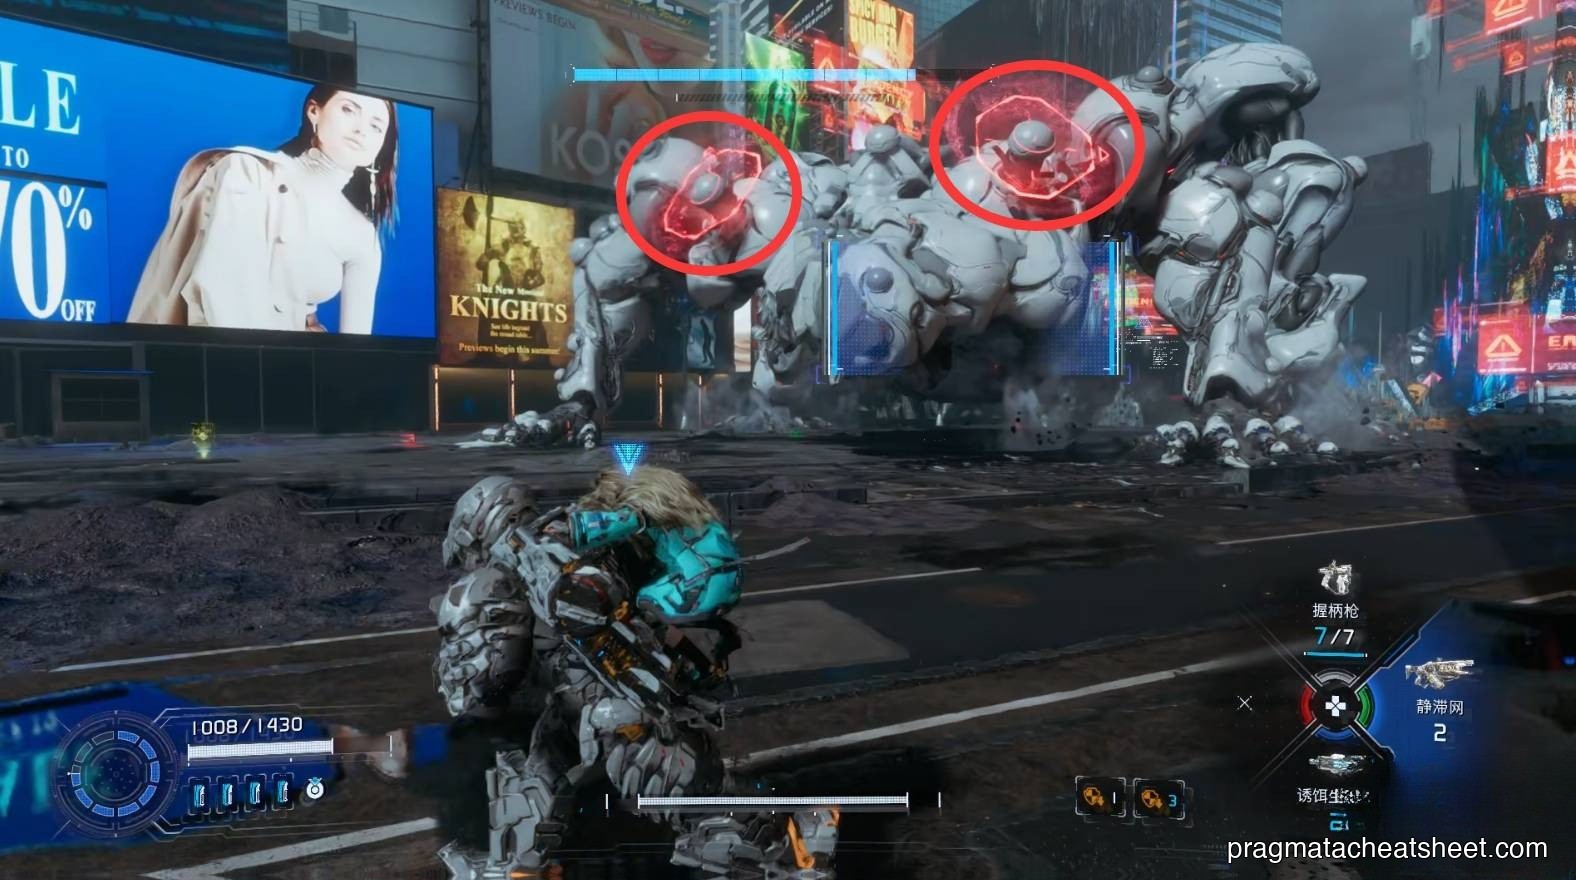
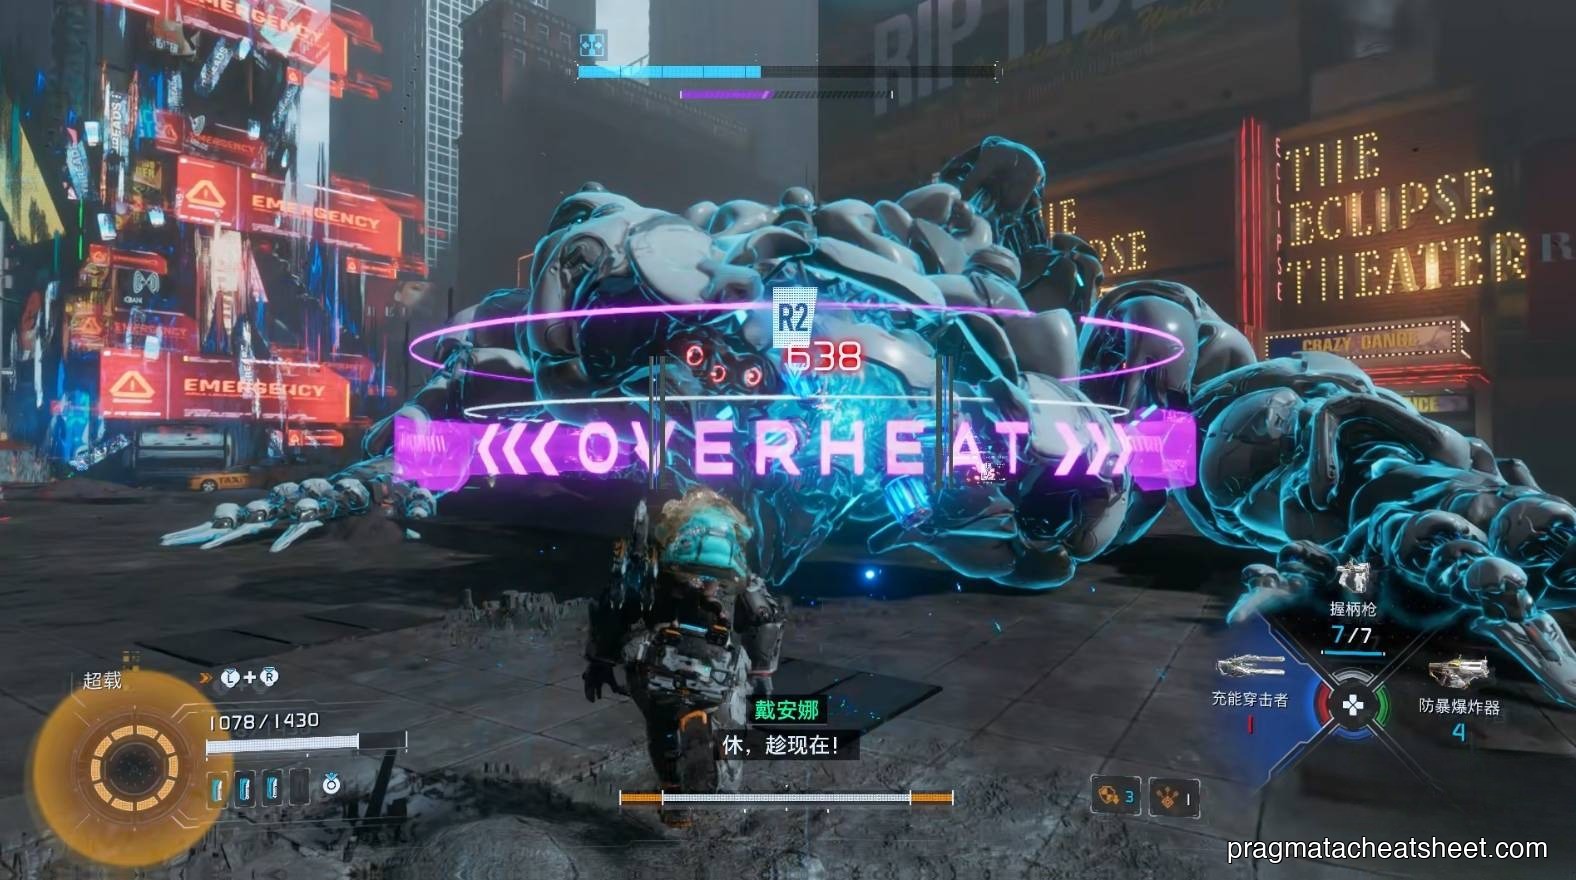
Phase 1 — Break the Barriers
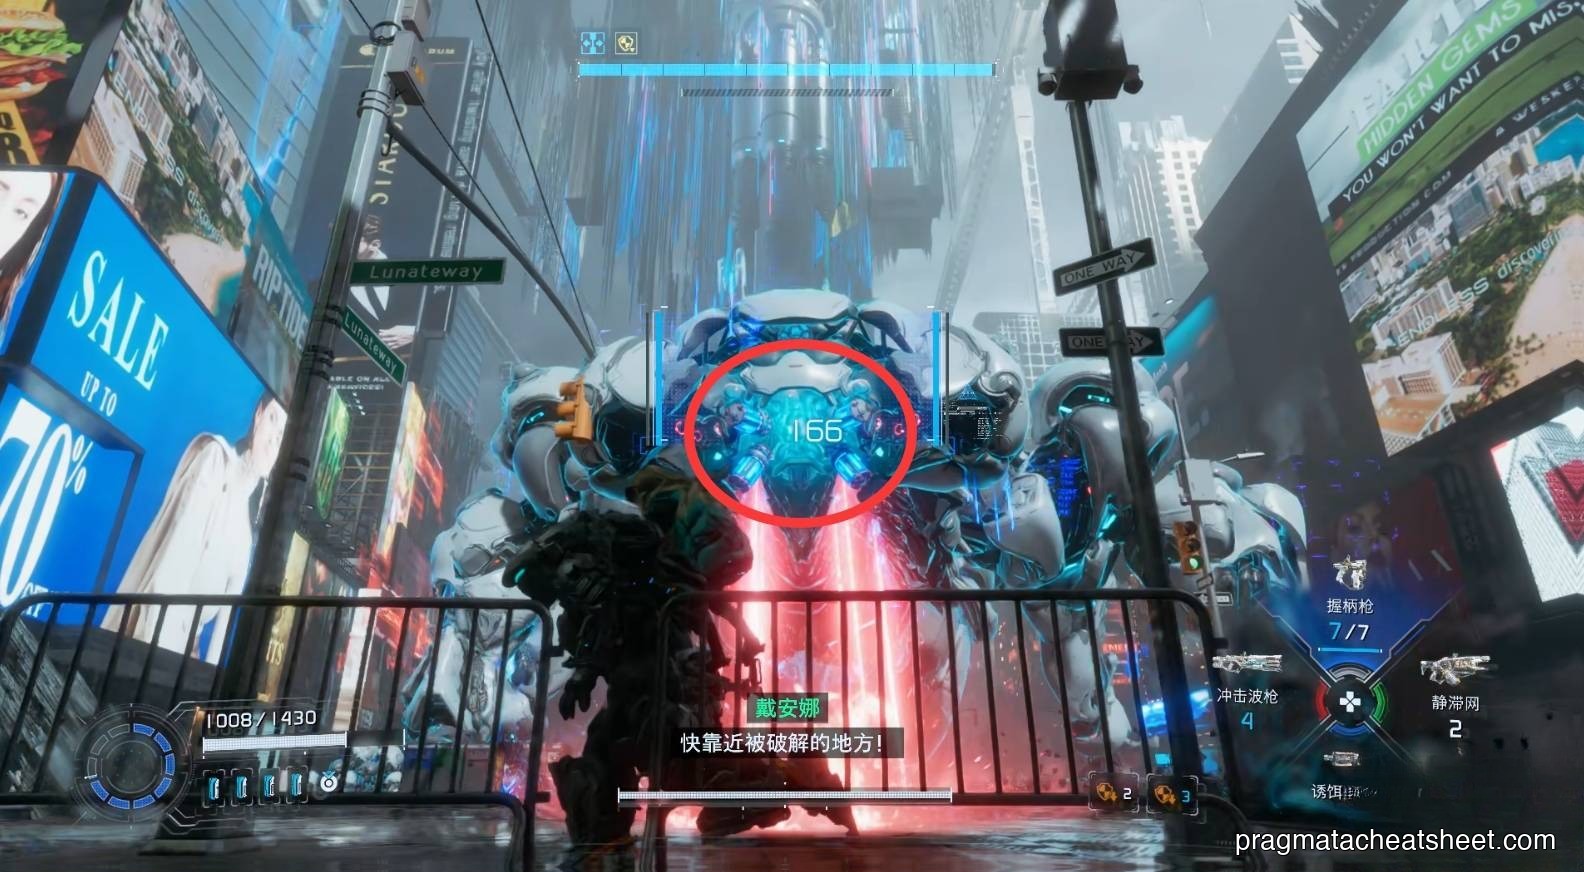
The opener is a head-laser charge straight down your sight line. Dash sideways — backing up is a losing race. After each charge he pauses briefly; that pause is your window.
Moves to watch
- Laser Charge — head-mounted beam, direct line; side-dash on the wind-up
- Arm Slam — he lifts an arm high, then crashes it down. Roll out at the apex.
- Belly Laser Sweep — he rears up, chest-core glowing, then sweeps a ground laser outward. Sprint-dash away, don't try to jump it.
How to handle it
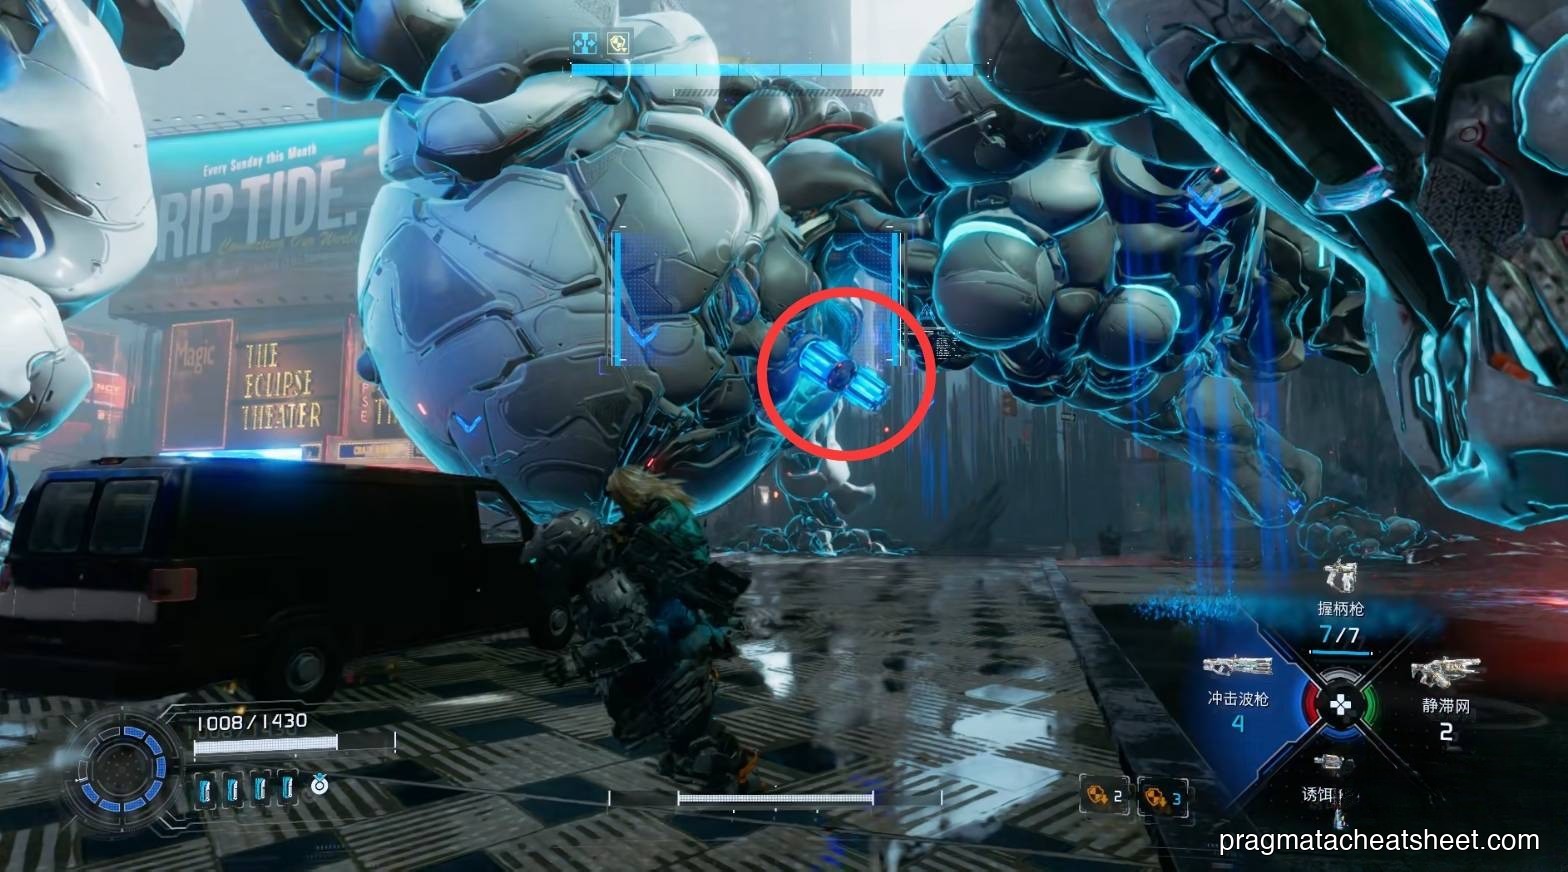
- You can't hack him while the red barriers are up on his limbs. Pop each barrier with the Charge Piercer — aimed shots, not spray.
- With all four barriers cleared, he staggers to the floor and the hack panel opens up. Chain nodes the same way as Sector Guard — blue for time, yellow for defense.
- Weak points once hacked: the head and the belly core. Shockwave up close, Pulse Carbine from mid-range.
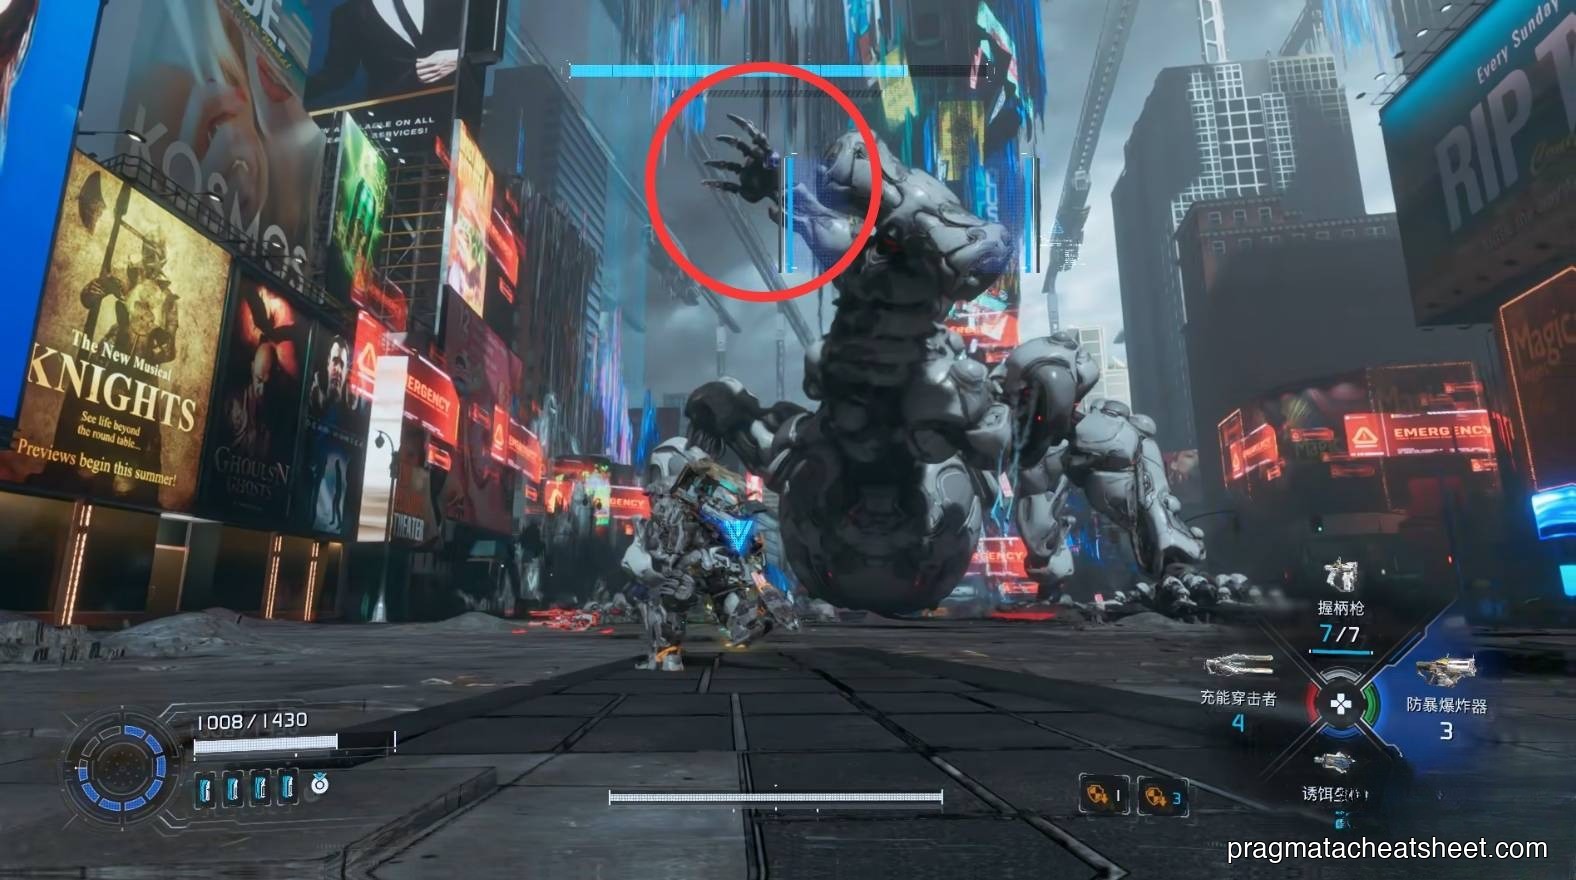
Stagger and execute
When he staggers, a purple ring around his head signals the finisher. Close the gap and trigger it — the execute comes off the head, so aim for the front.
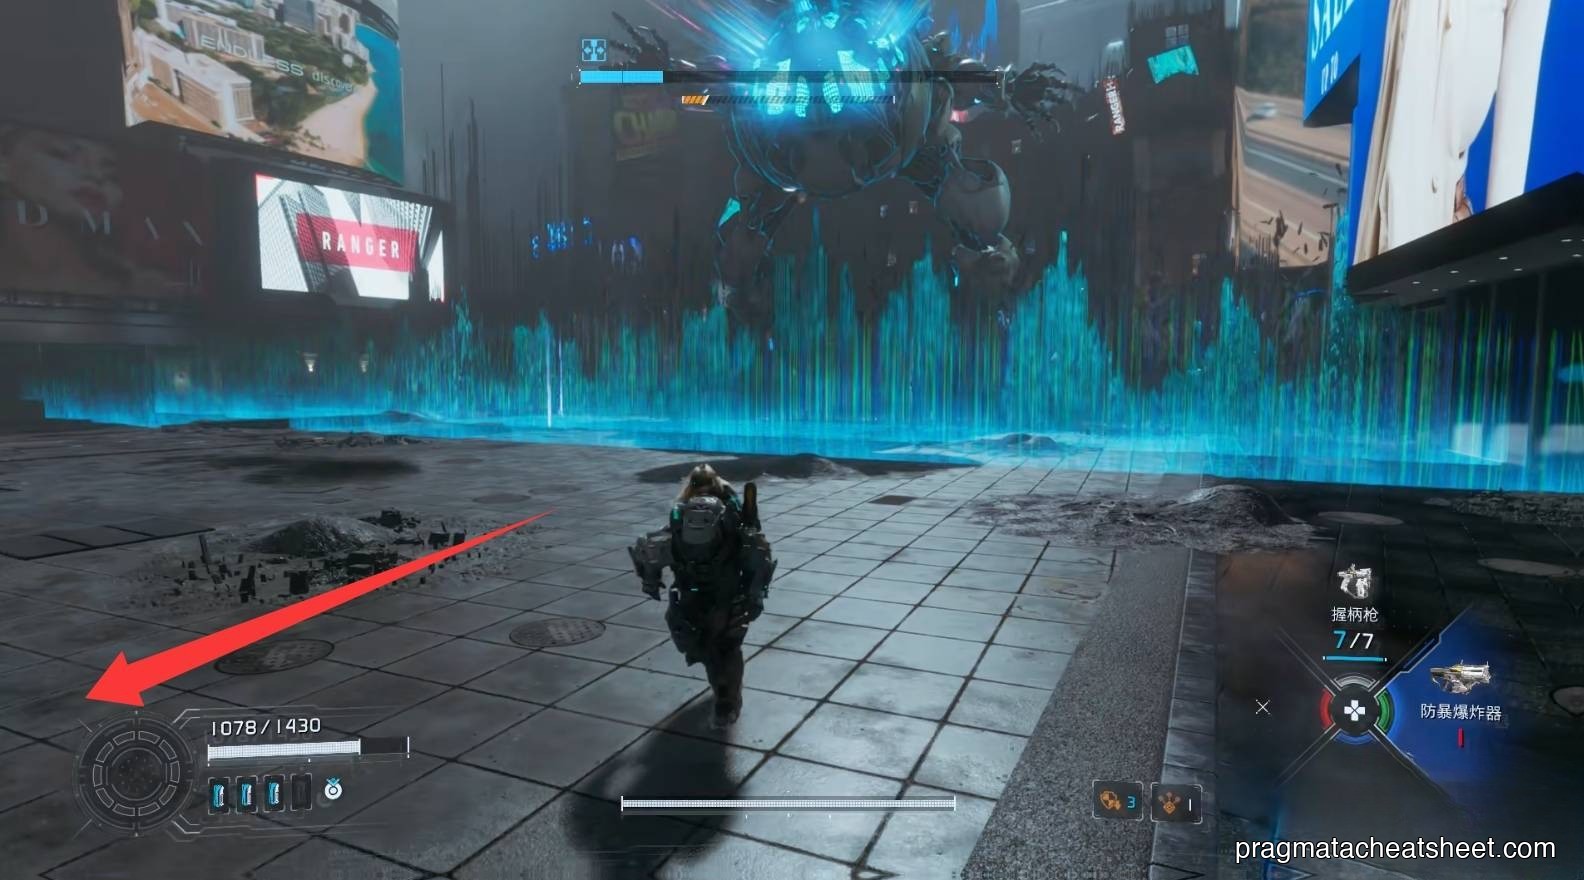
Phase 2 — Vertical Arena
Below a health threshold, the arena changes: platforms rise around the edges and he starts spraying lasers across the floor. This phase is about movement, not damage output.
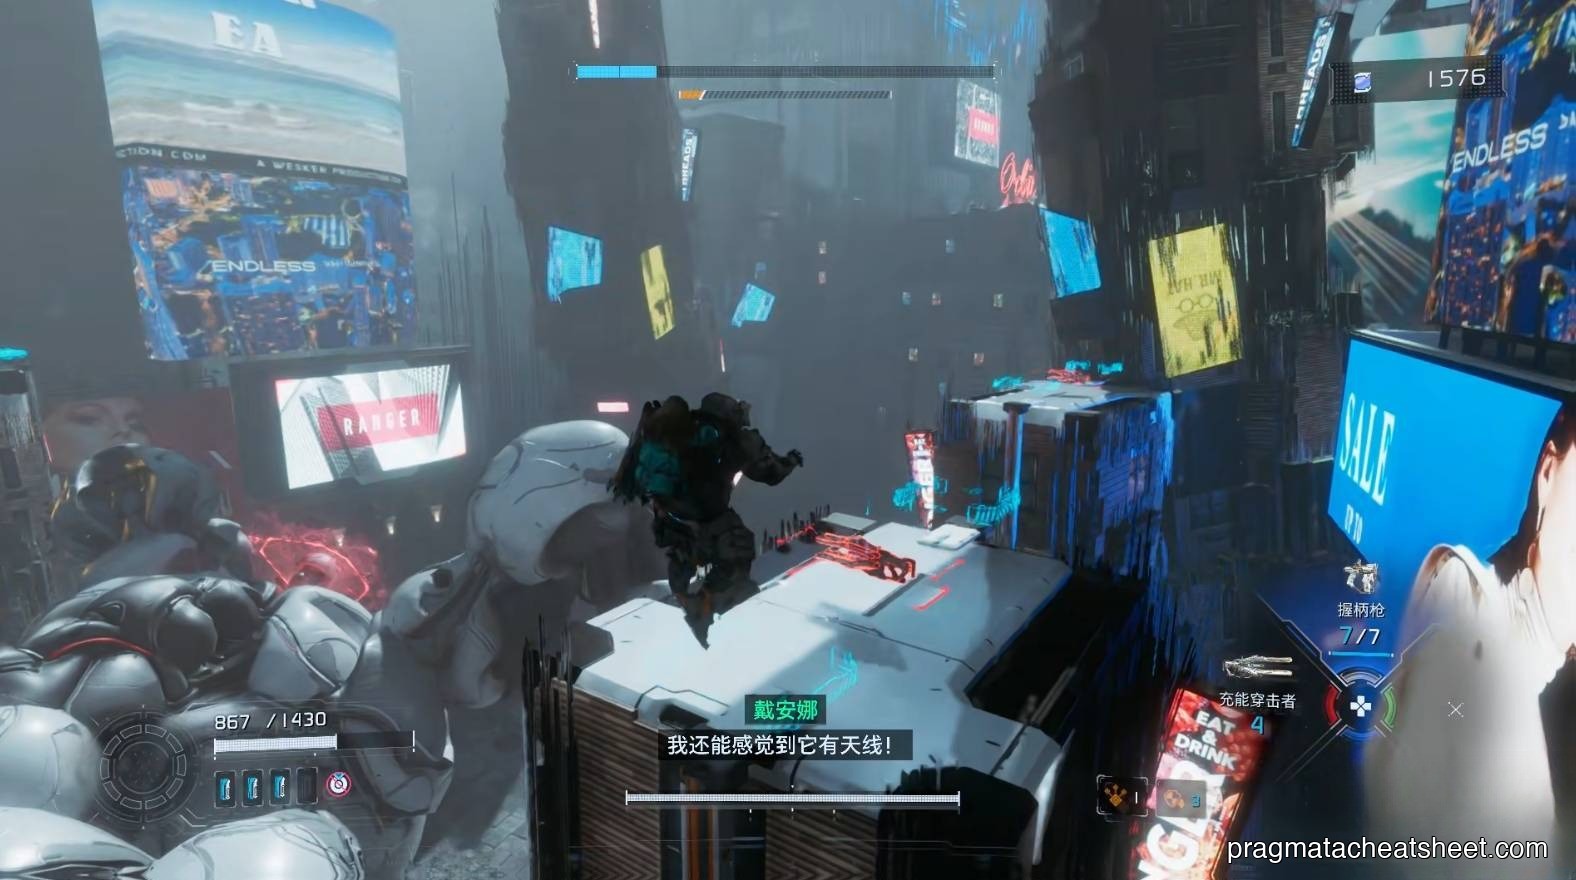
What to do
- Grapple a rail up to a platform. The platforms have ammo and heal pickups — grab what you need on the ride.
- From up high, line up shots on the red barrier on his back. That's the new weak point for the phase.
- When he floods the floor with red laser fans, stay on the rails and platforms — anything touching the ground takes hits.

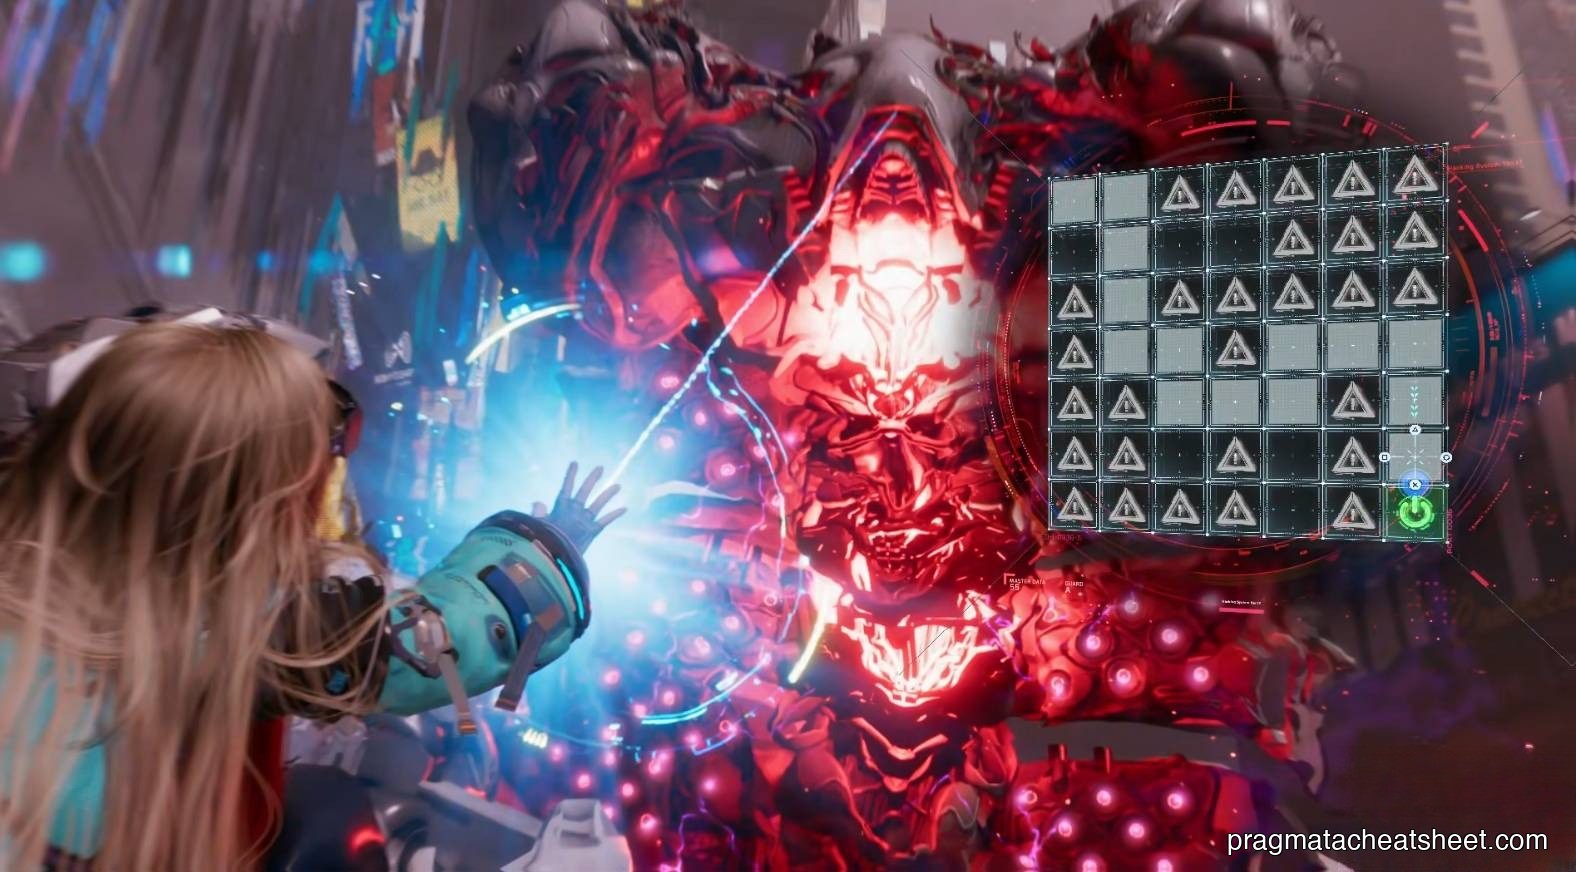
The finish
Empty his bar and he'll grab you in a cutscene grapple. A last-second hack QTE triggers — hit the prompt fast or you eat the damage and restart the sequence.
Common Mistakes
- Trying to hack through the limb barriers. The hack won't land. Break barriers first, always.
- Shooting the belly core before hacking. It's resistant until the hack state opens it up.
- Staying on the floor in Phase 2. Almost every Phase 2 attack is a floor sweep. Up is safe, down is not.
- Holding Overdrive Protocol until the final grab. The grab has a fixed script — Overdrive does nothing there. Spend it on the Phase 1 barrier break.
Reward
- Tier-2 License Key — unlocks the next upgrade bracket at the Shelter
- Upgrade Components
- A fresh Cabin Stamp Club board unlocks at the Shelter after the fight — worth a detour
Next
→ Continue the story: Sector 3 · Terra Dome → Next boss: Large Bot (Garden Warden)