Terra Dome is a biosphere gone feral. Trees have grown through the architecture, Lim filaments rope between platforms like vines, and the dome's three subsectors converge on a central elevator that needs two Lim regulators rebooted before it'll move. By the end, you'll fight the Large Bot — a snaking reptilian boss with a tail-sweep problem.
Route Overview
Clear Entrance, take the left loop to reboot the first Lim regulator, return to the central elevator, then take the right loop (Eco Modeling Lab → Soil Research Center → Terrarium) for the second regulator. The boss arena opens when both lifts are online. A post-boss Red Zone needs returning for with a key.
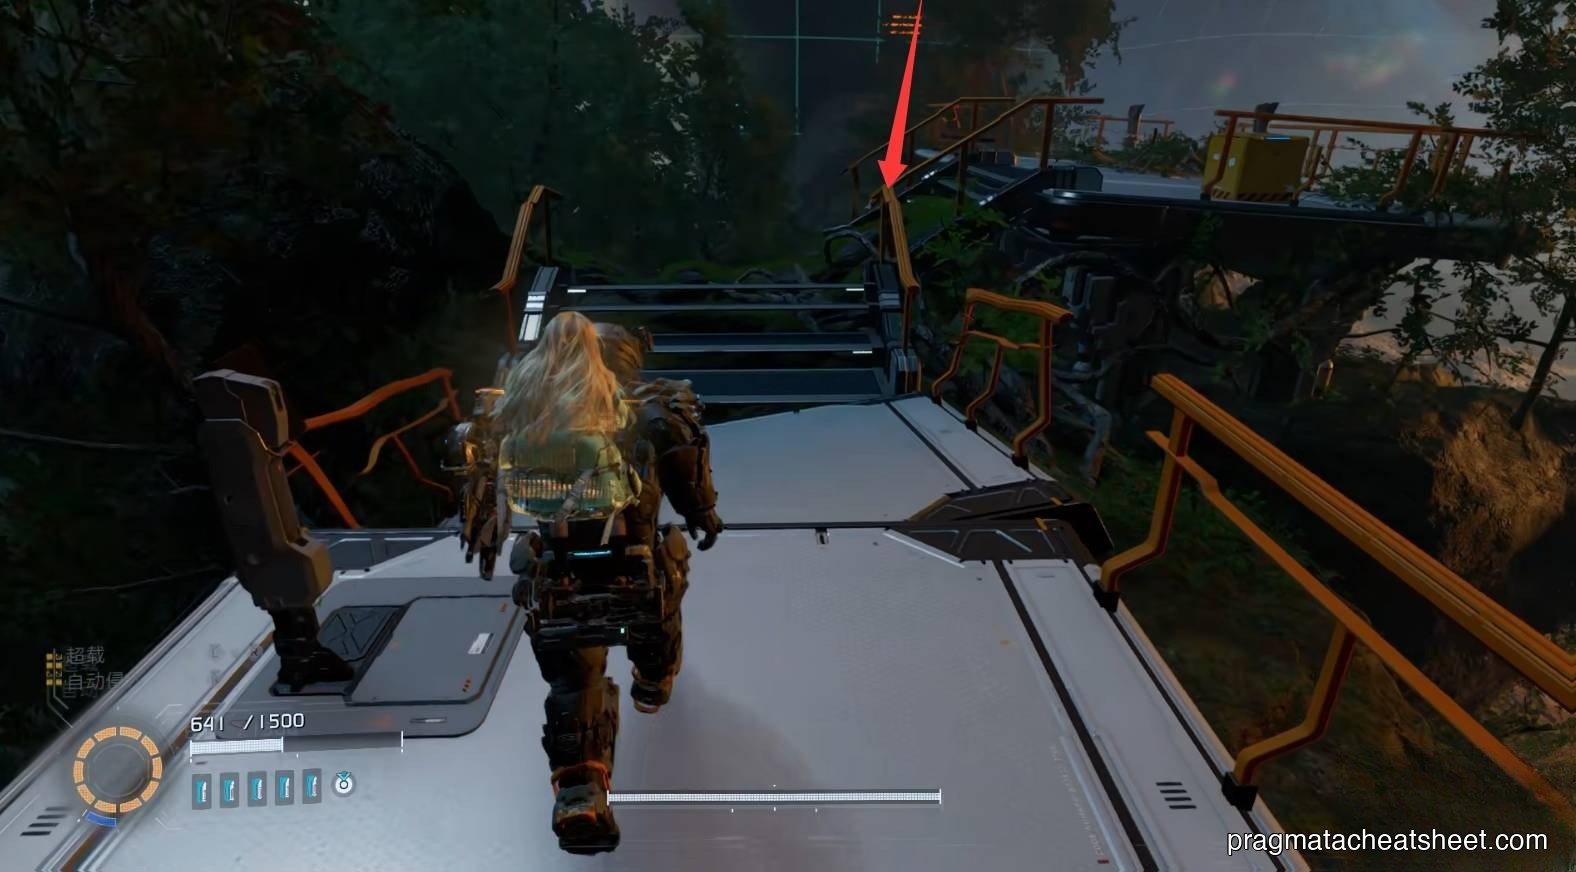
01 — Terra Dome Entrance
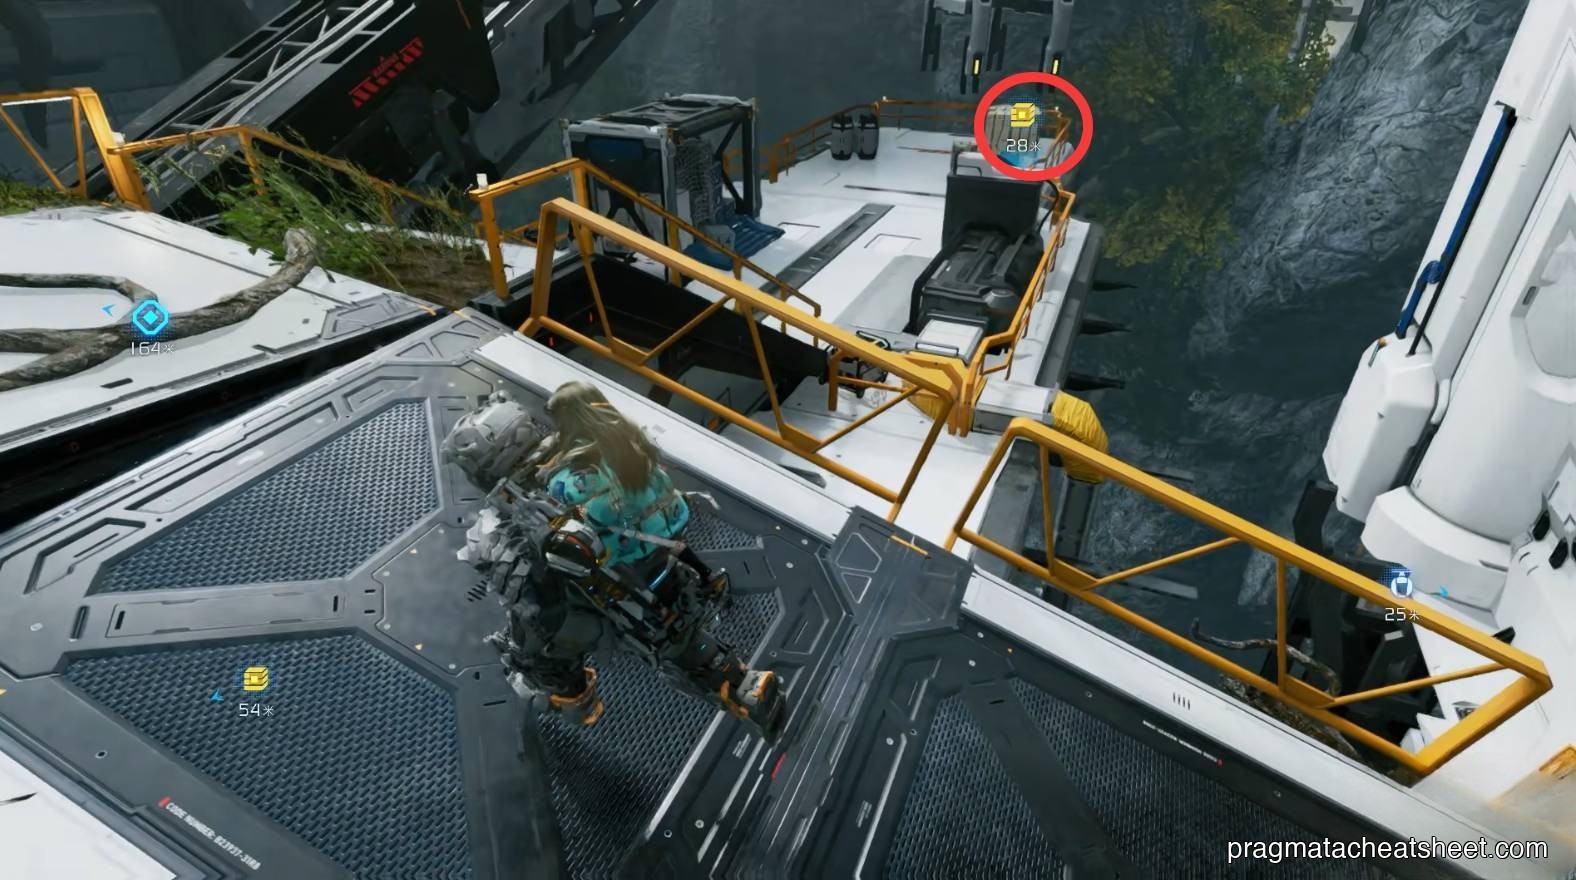
Right side at the exit: Upgrade Component.
Across the fallen branch walkway, high-left: Upgrade Component.
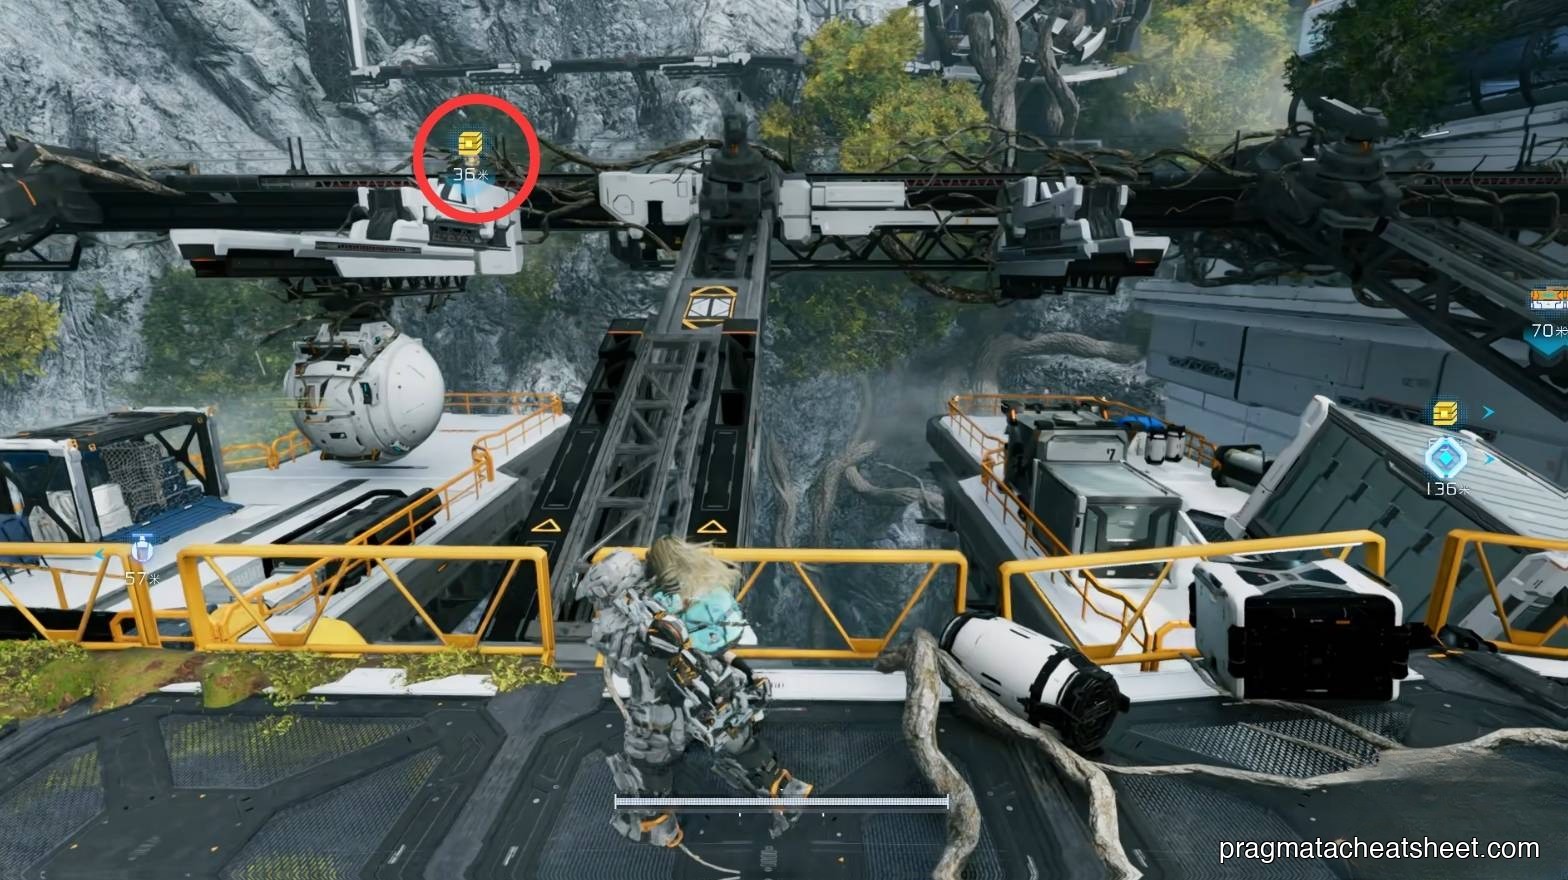
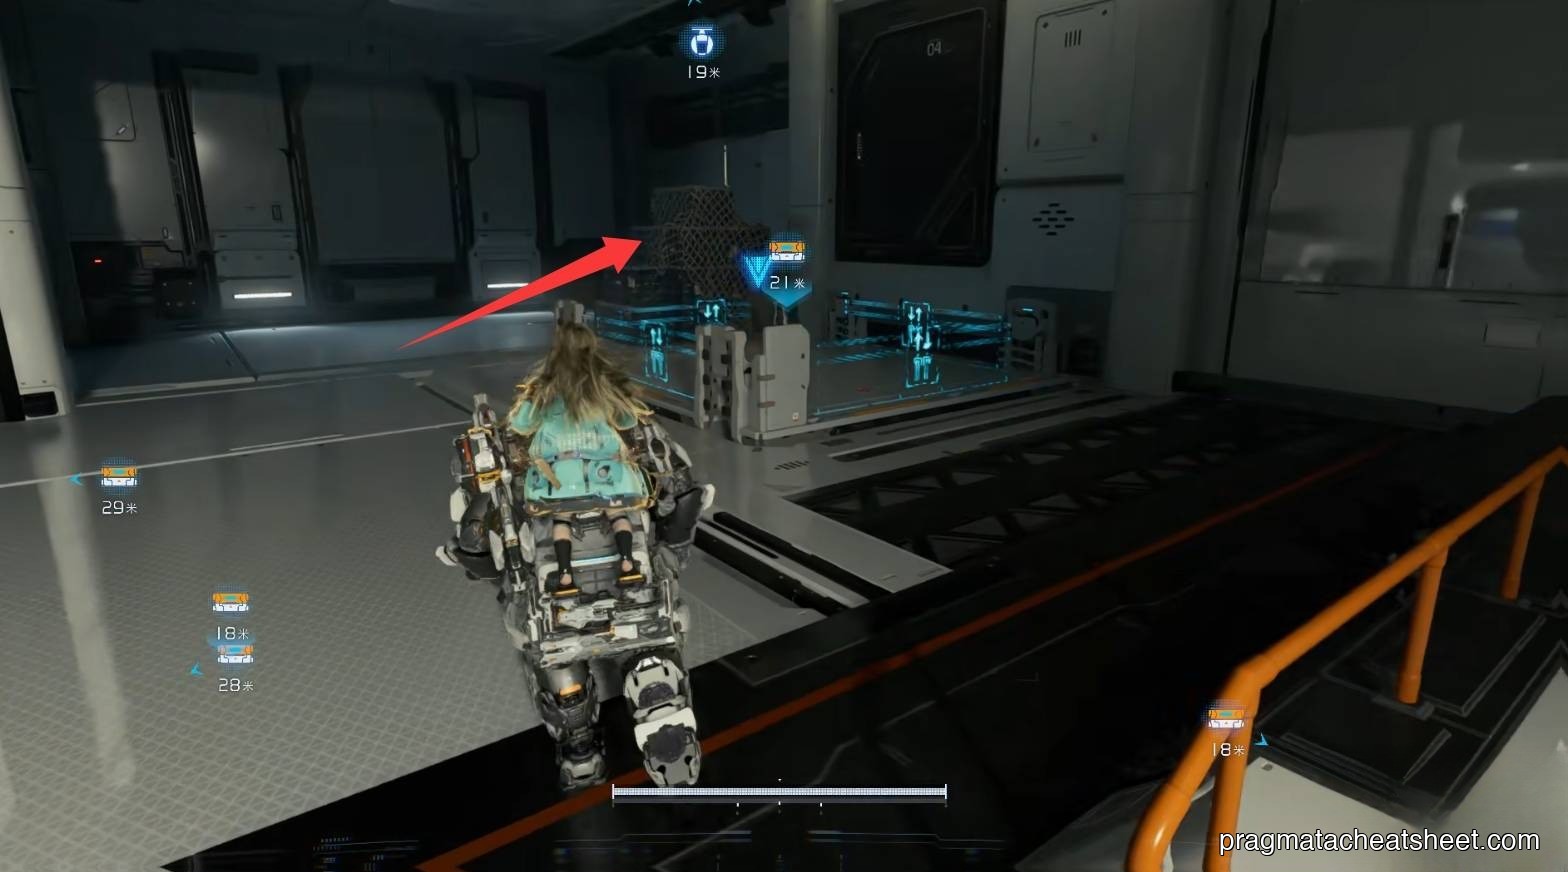
Ahead, left corner: Upgrade Component. Jump onto a hanging cargo crate, then to the high perch: Safe Box.
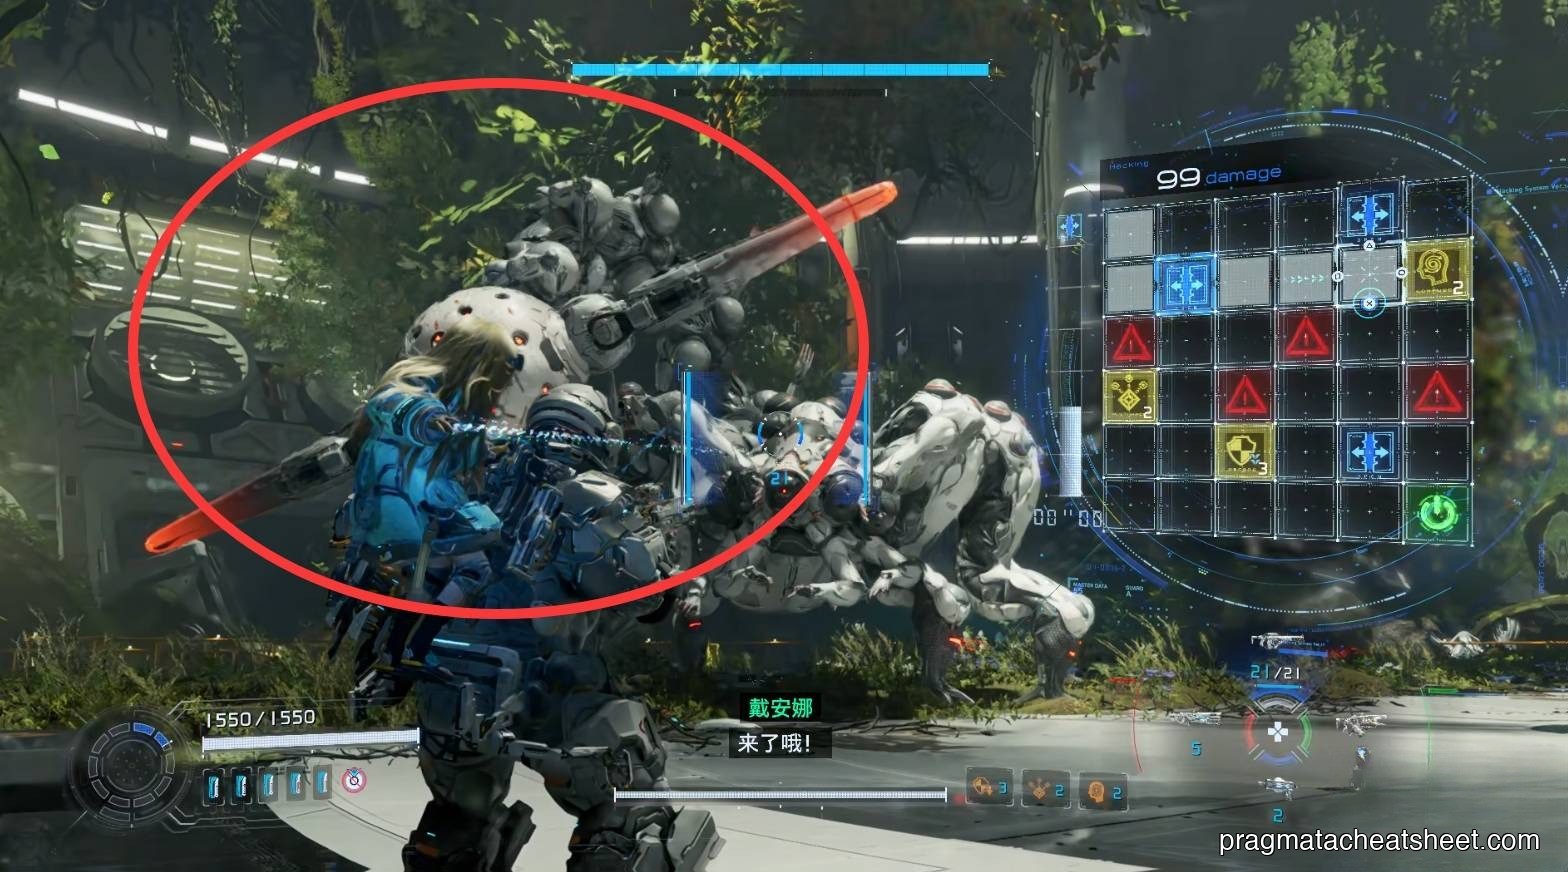
Lancer enemy
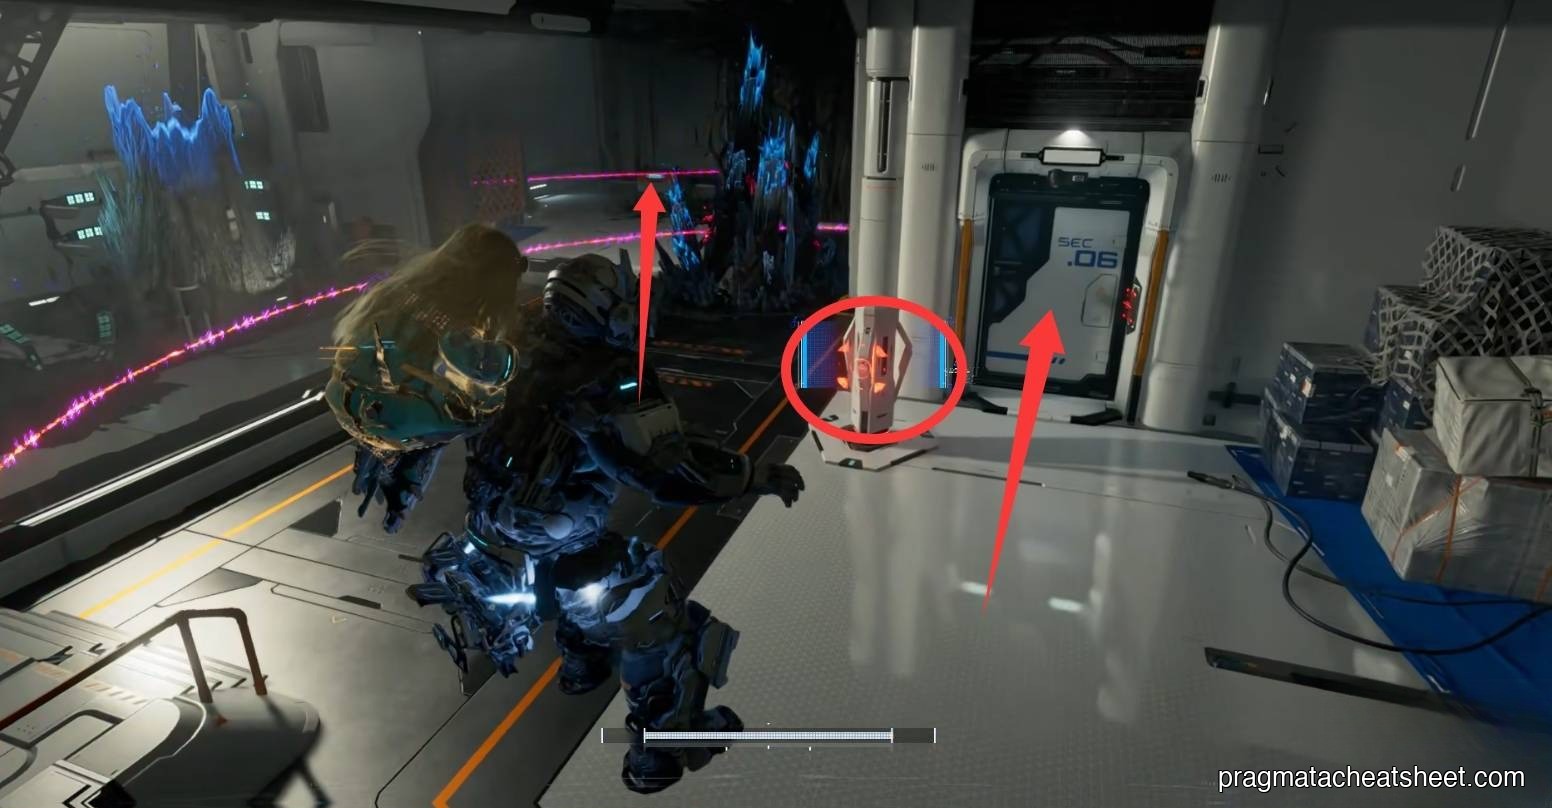
At the main gate, a Lancer shows up. Hack it — weak point is the head. The sword-beam attack has long reach; dodge perpendicular.

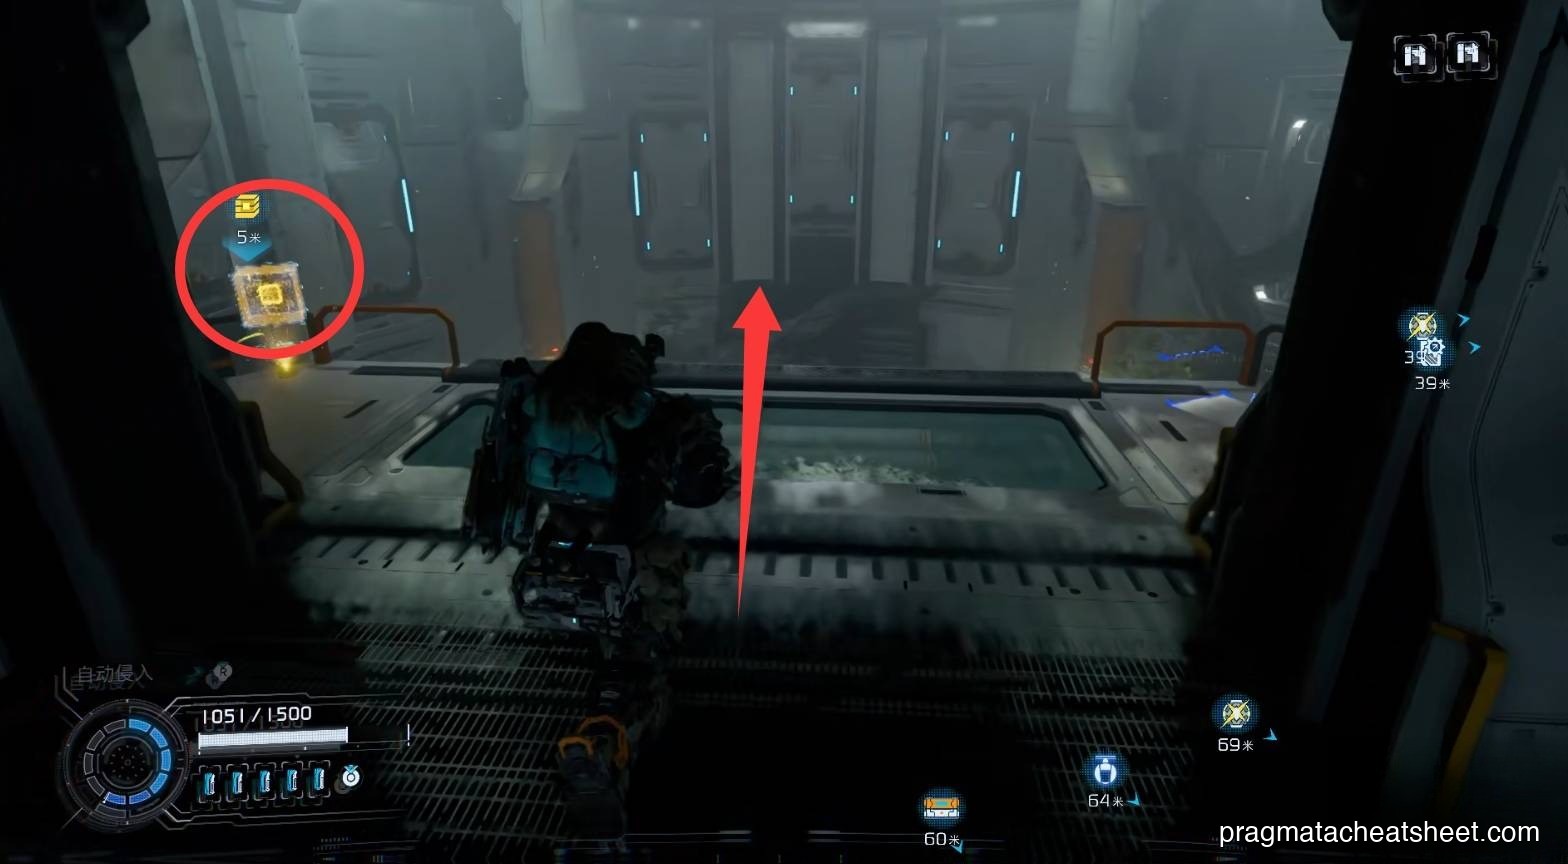
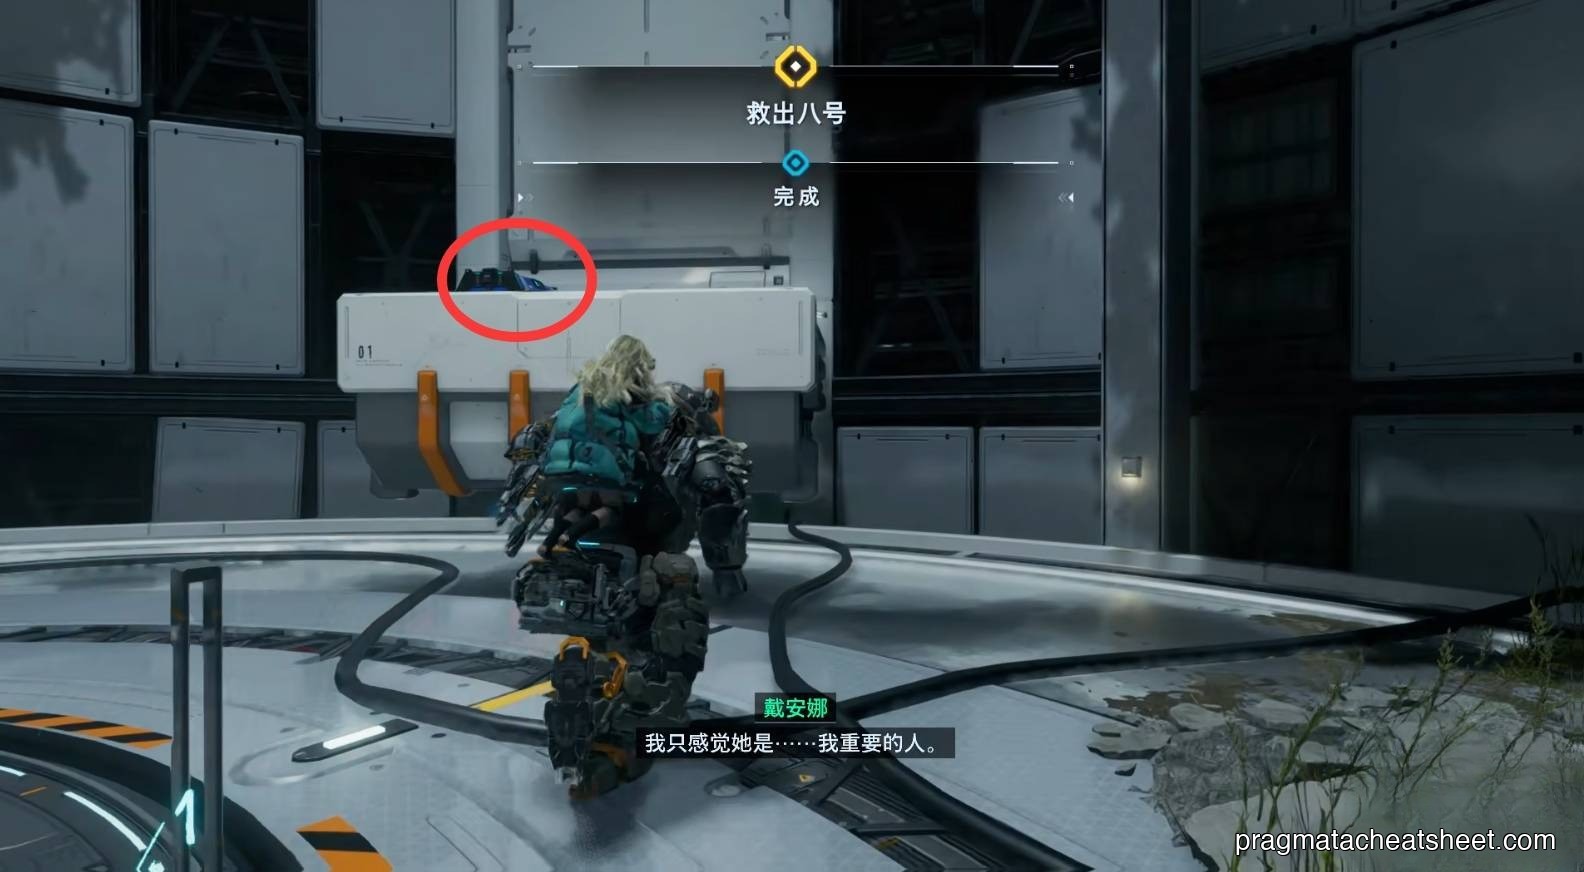
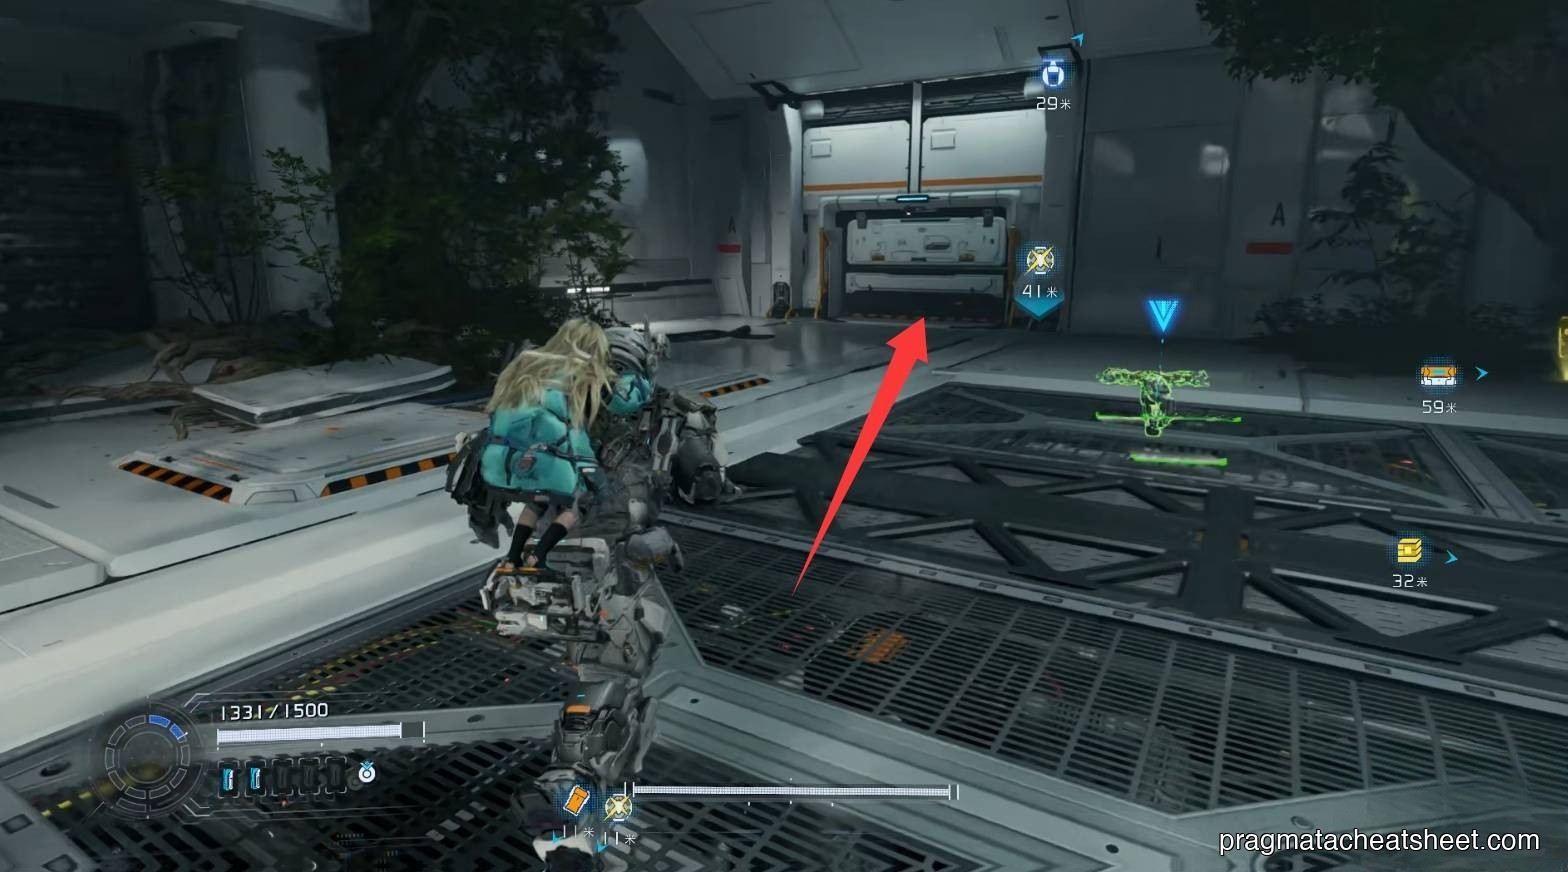
Through the gate, operate the Lim regulator → unlocks the first Escape Hatch.
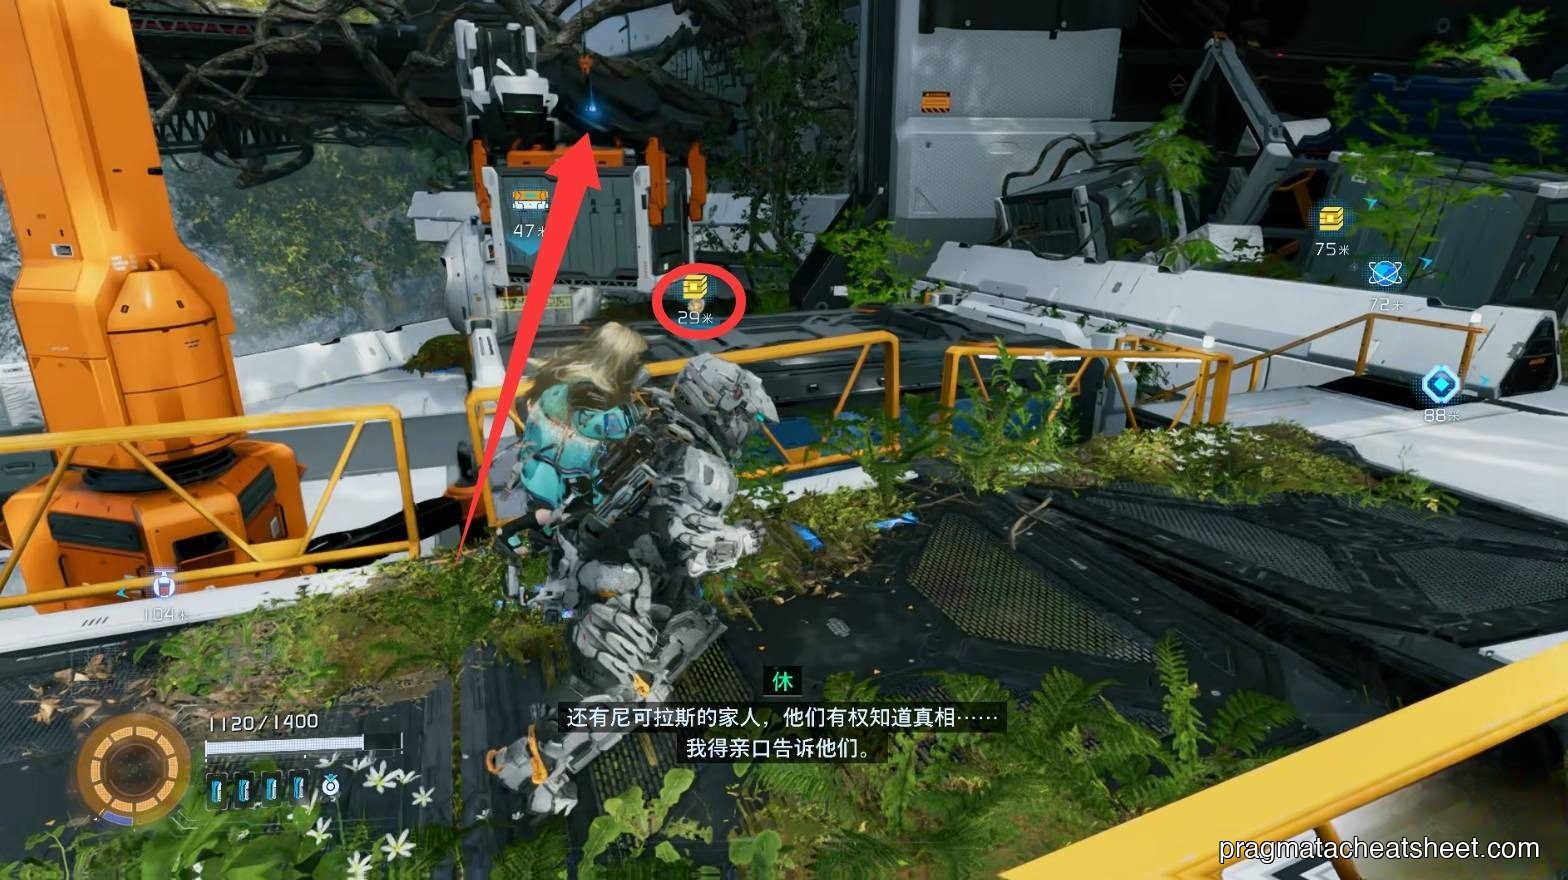
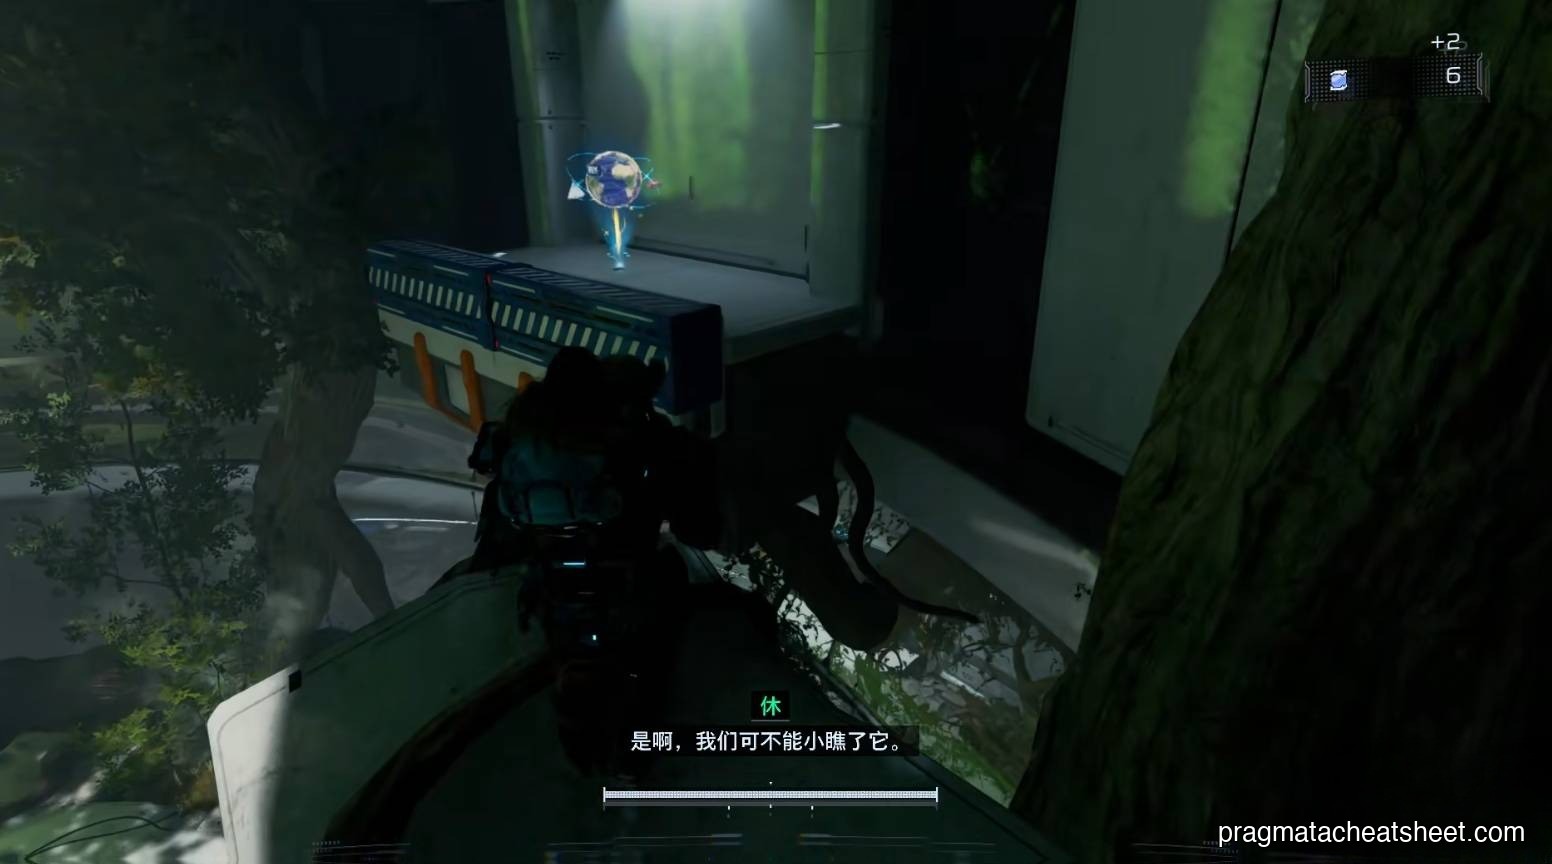
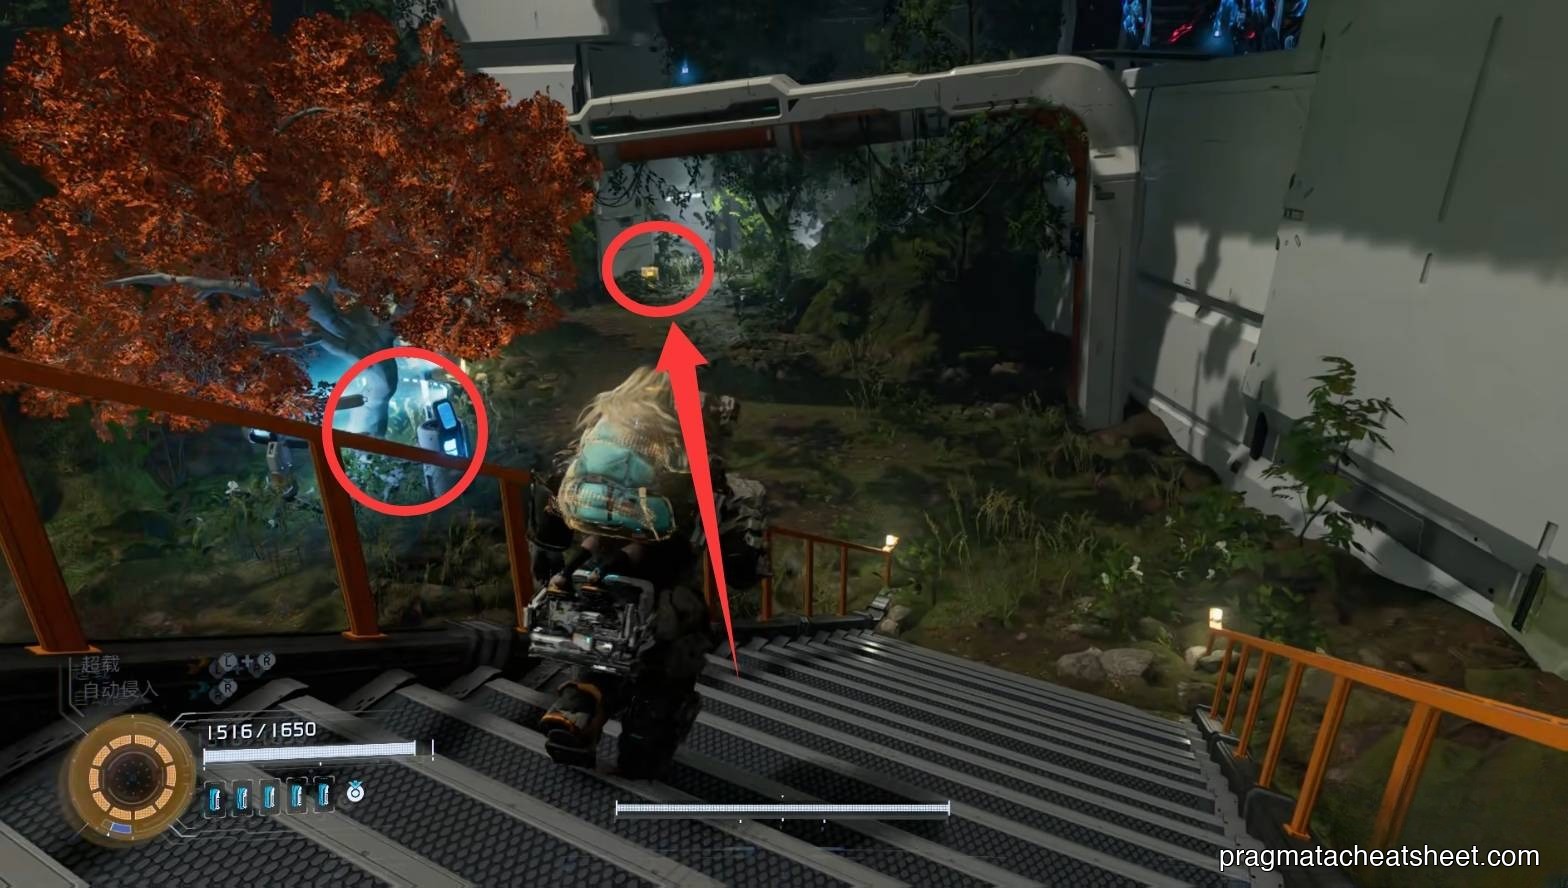
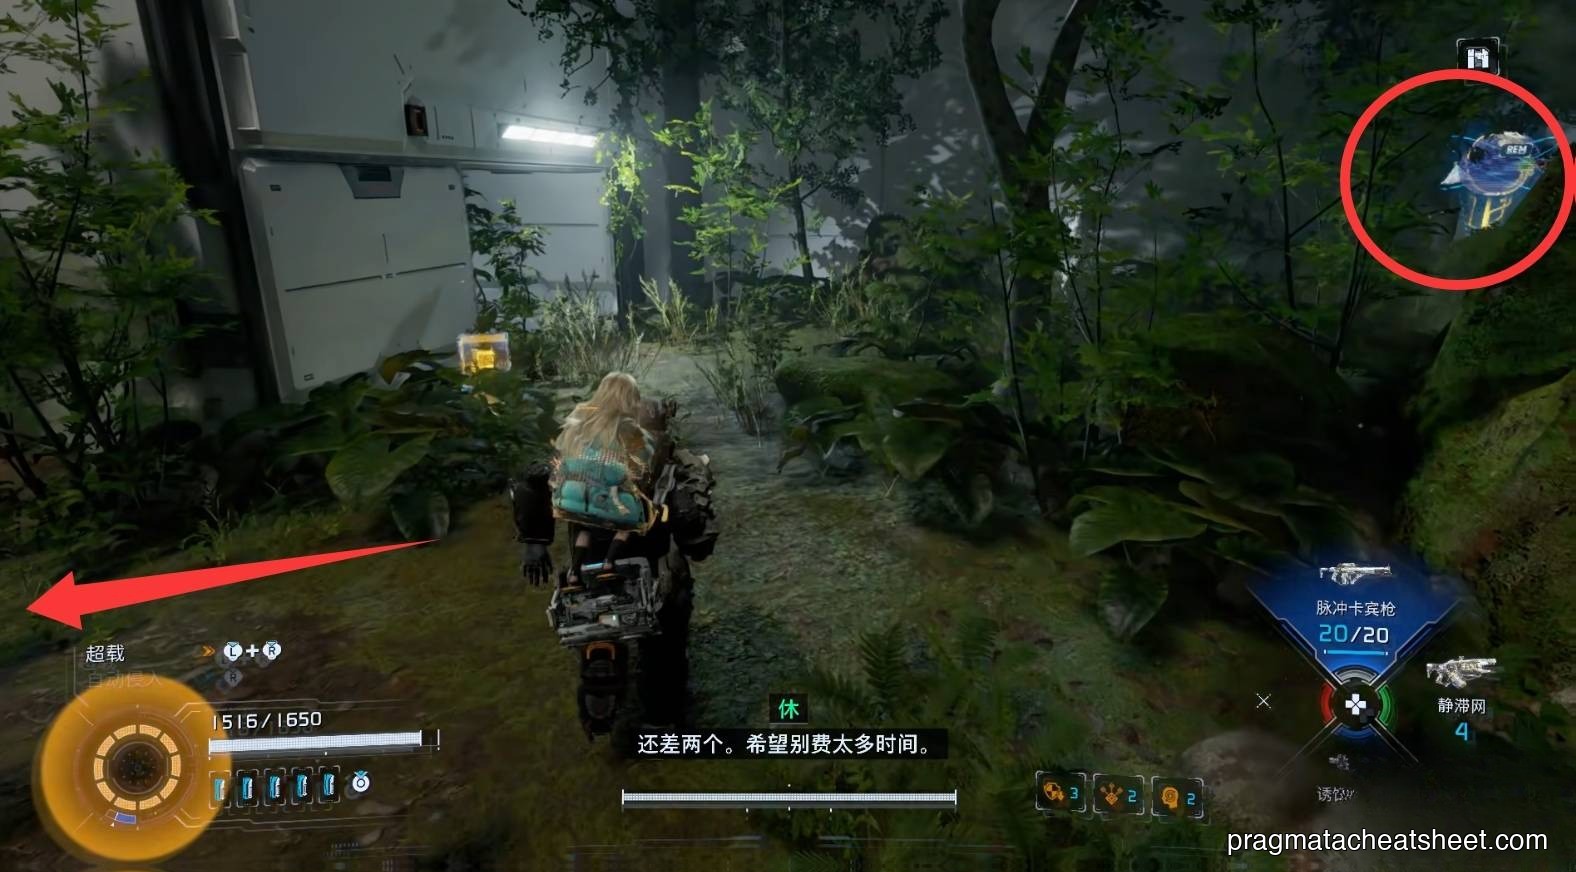
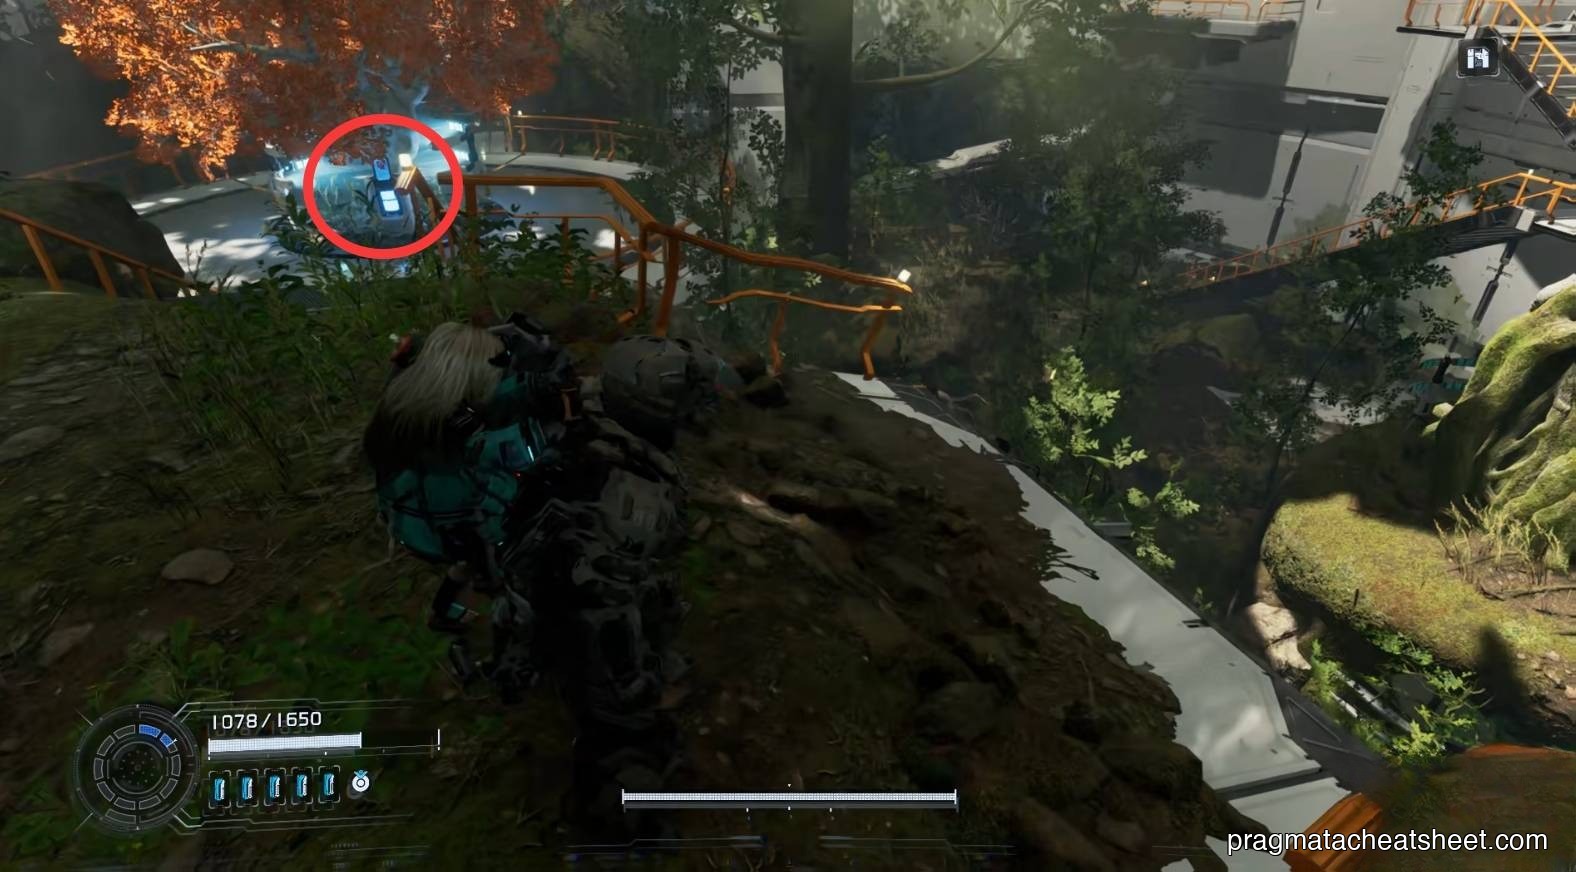
Walk up the branch next to the central elevator for a REM chip.

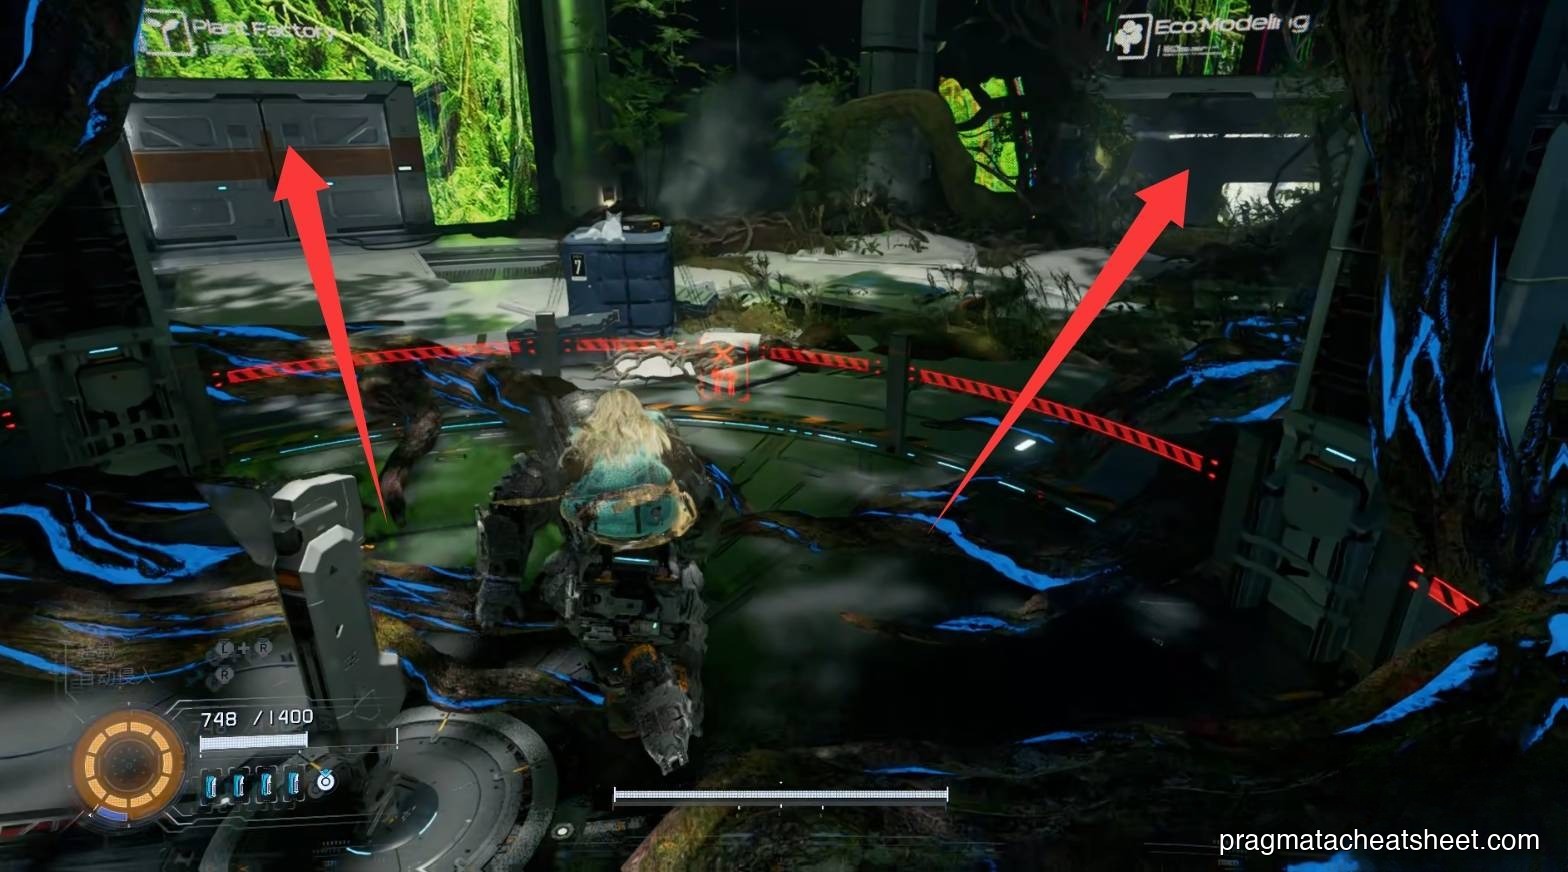
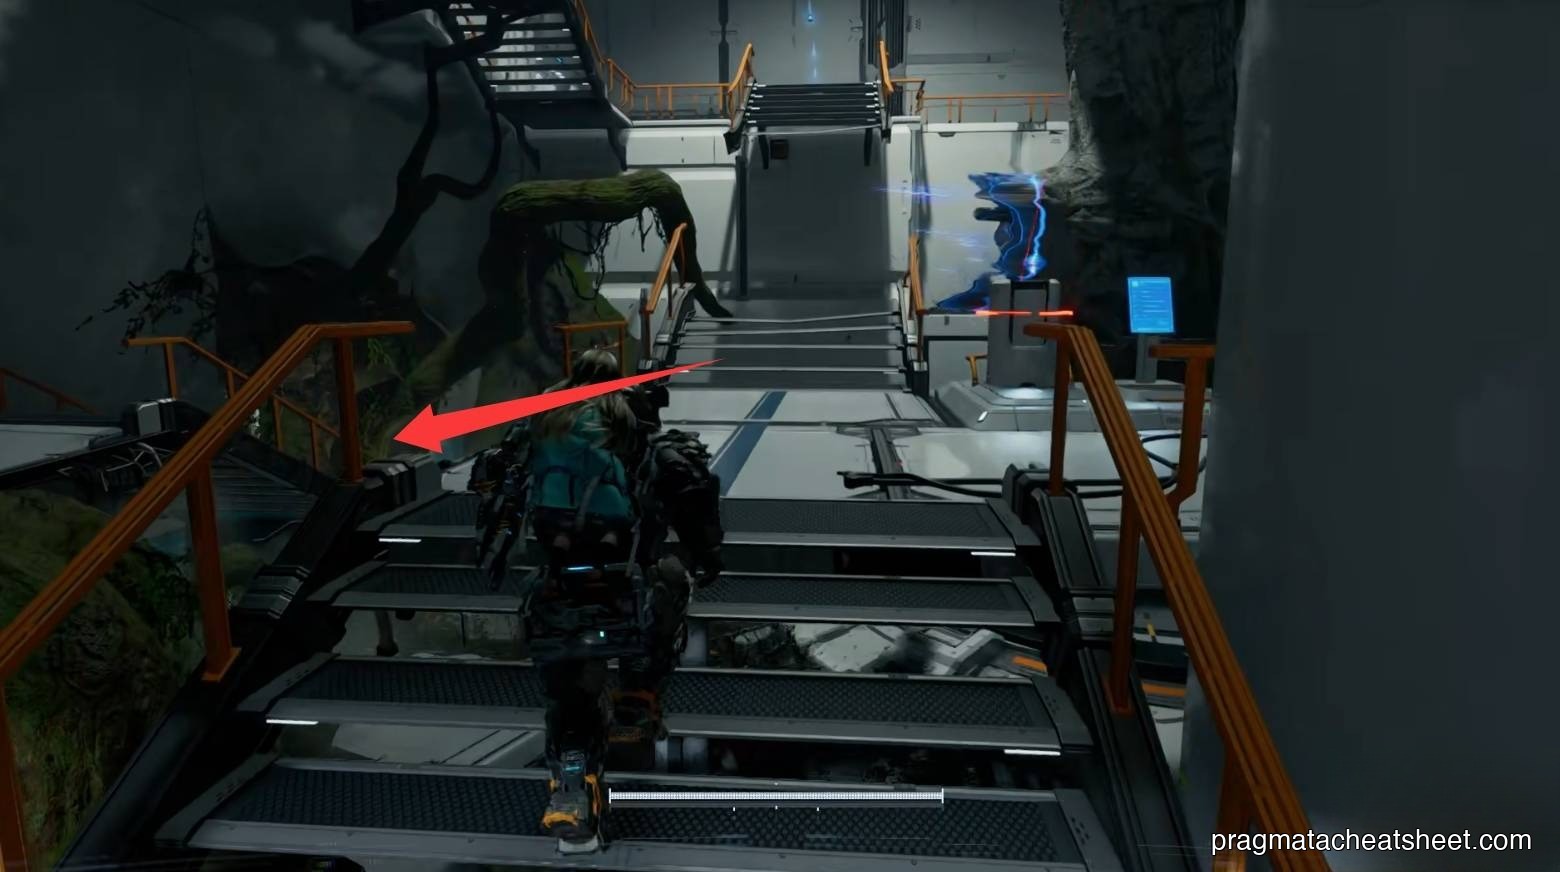
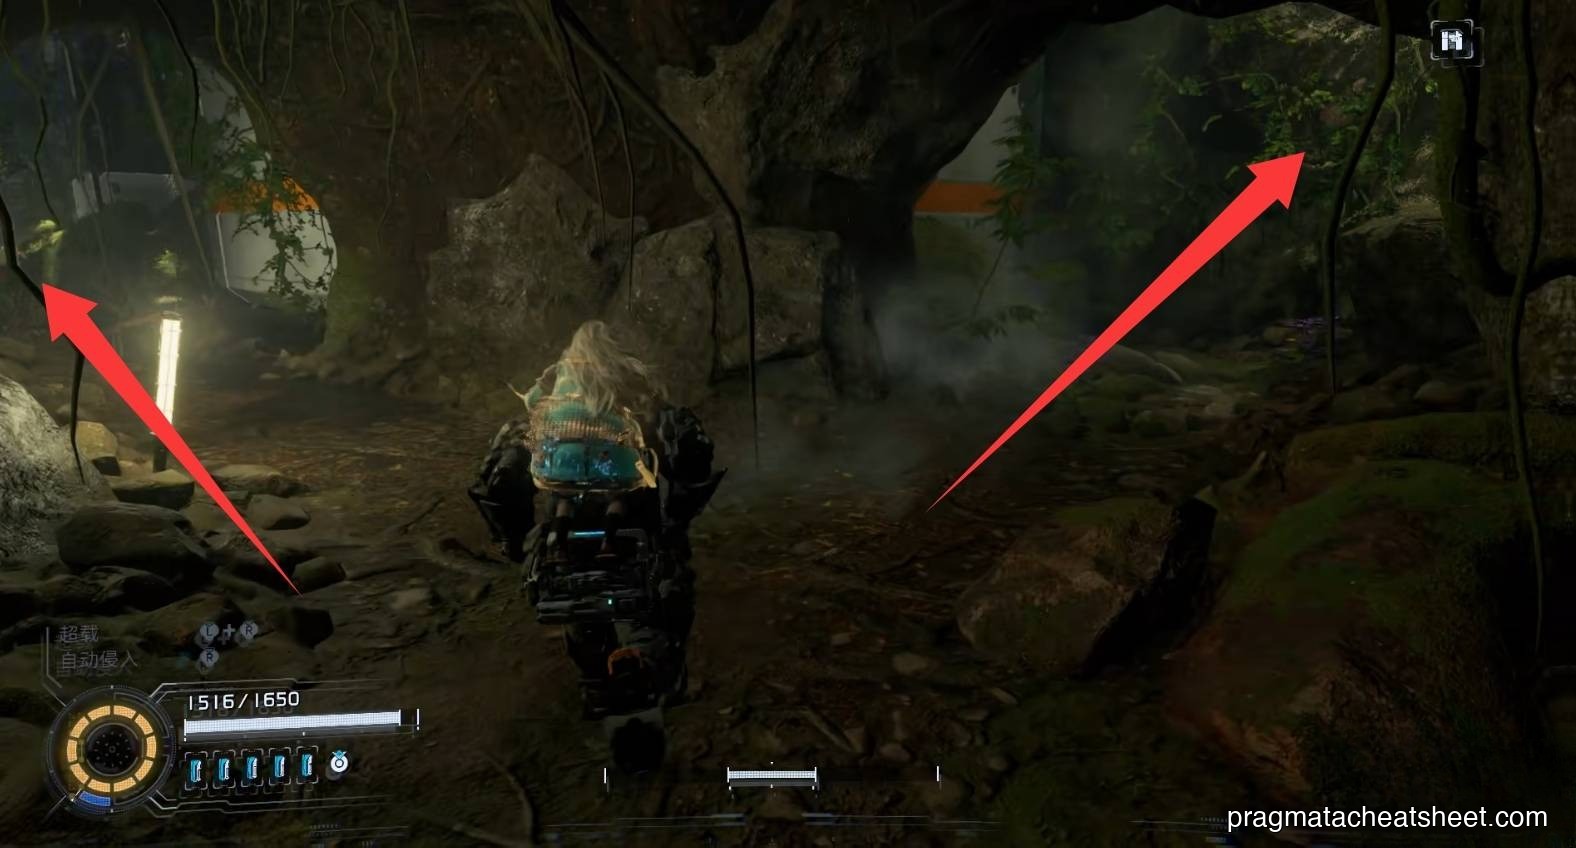
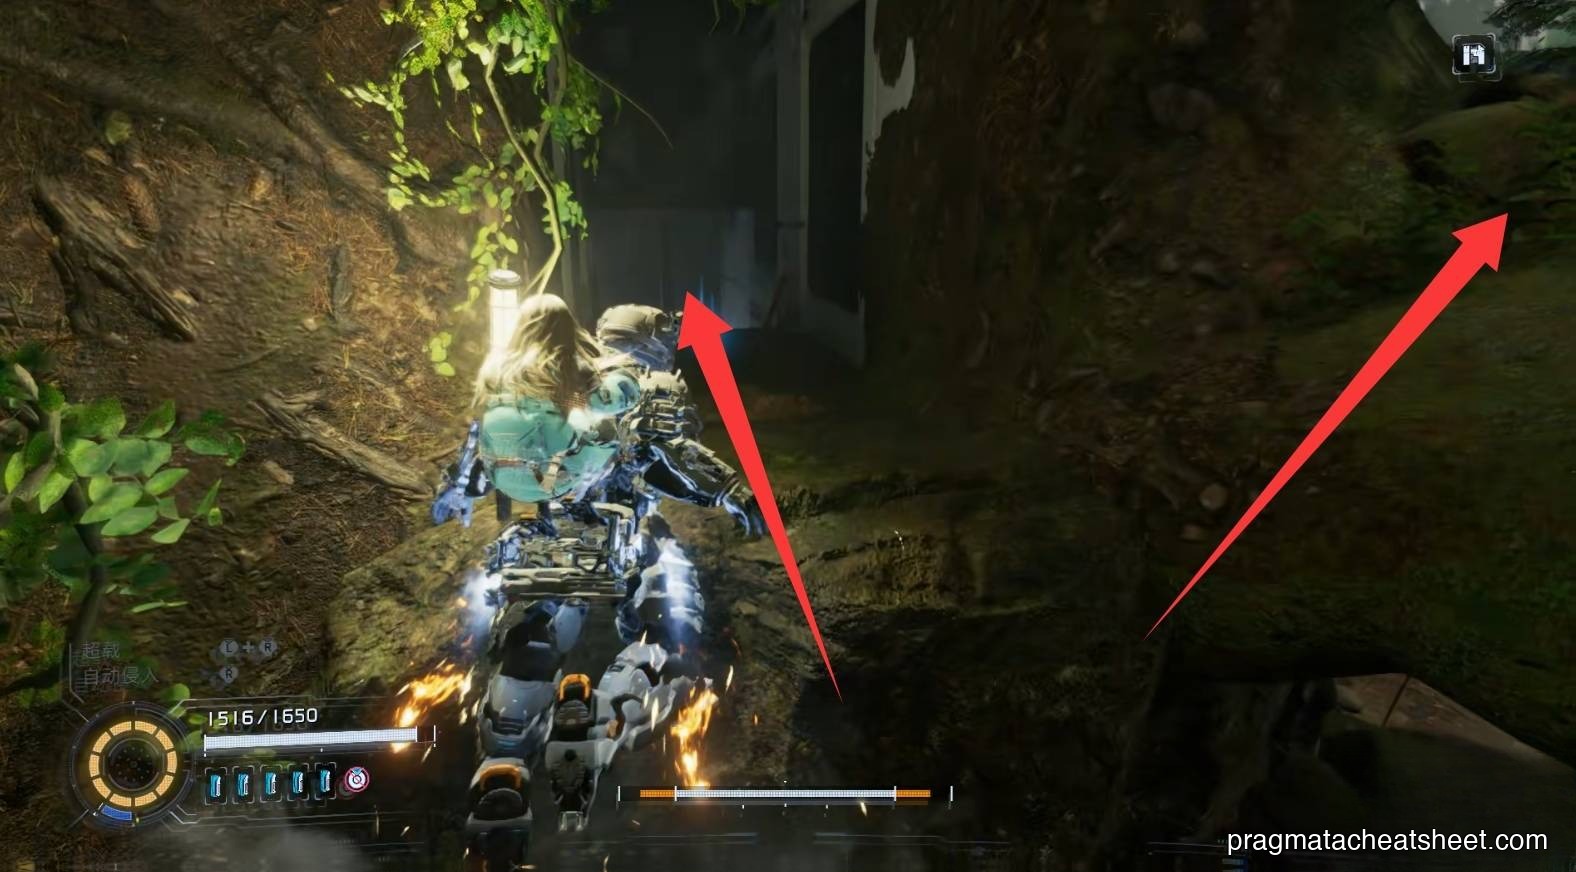
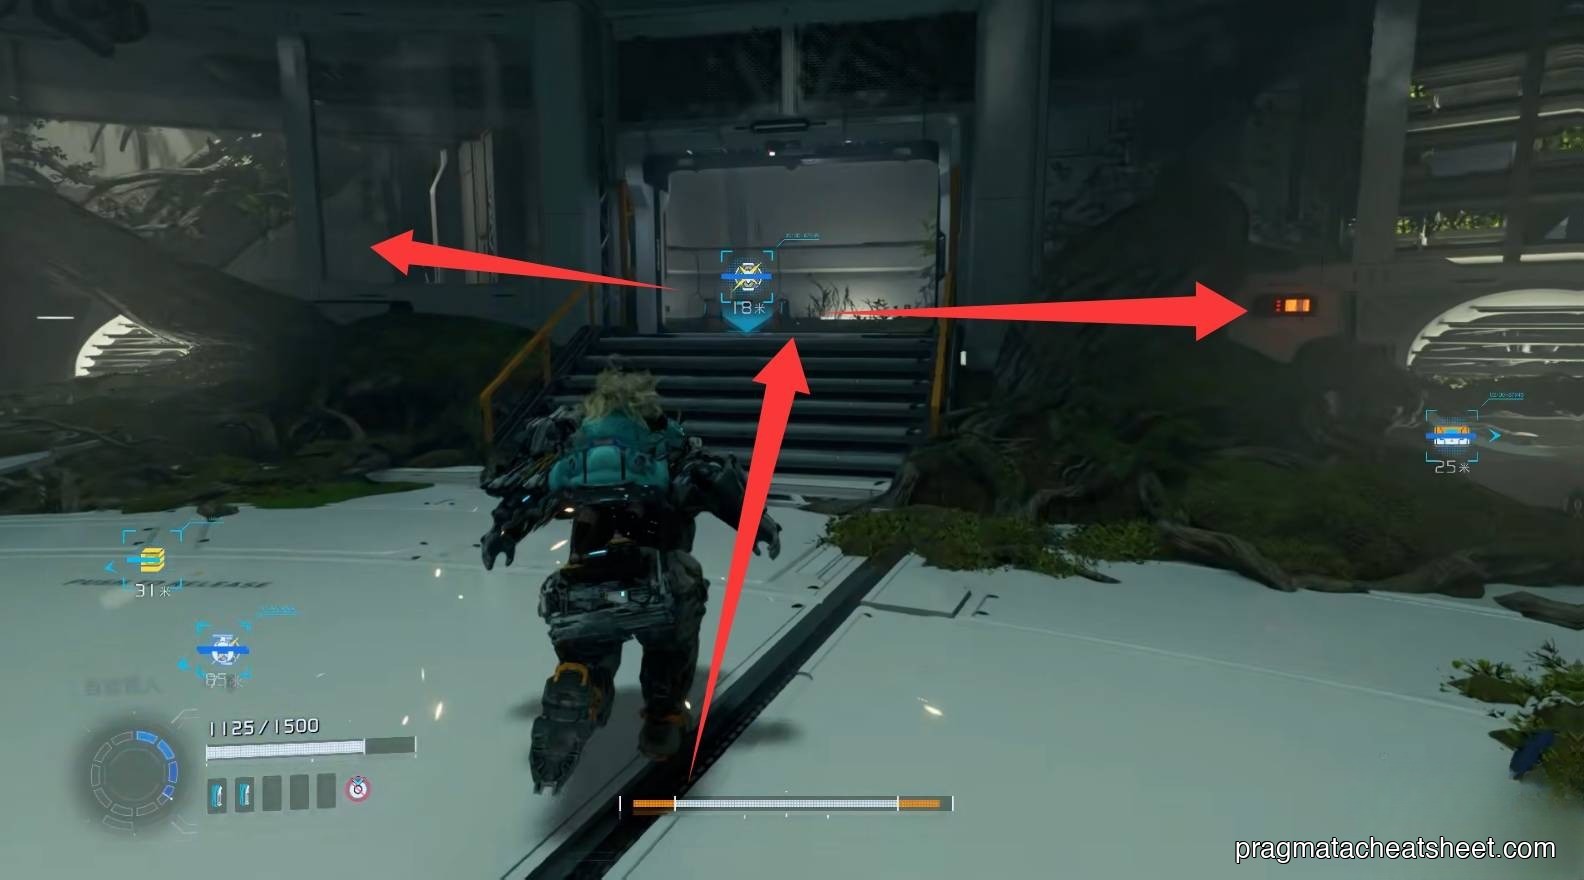
The central elevator is jammed by tree growth — you need to reboot two Lim regulators in separate loops. Go left first.
A / B branch split
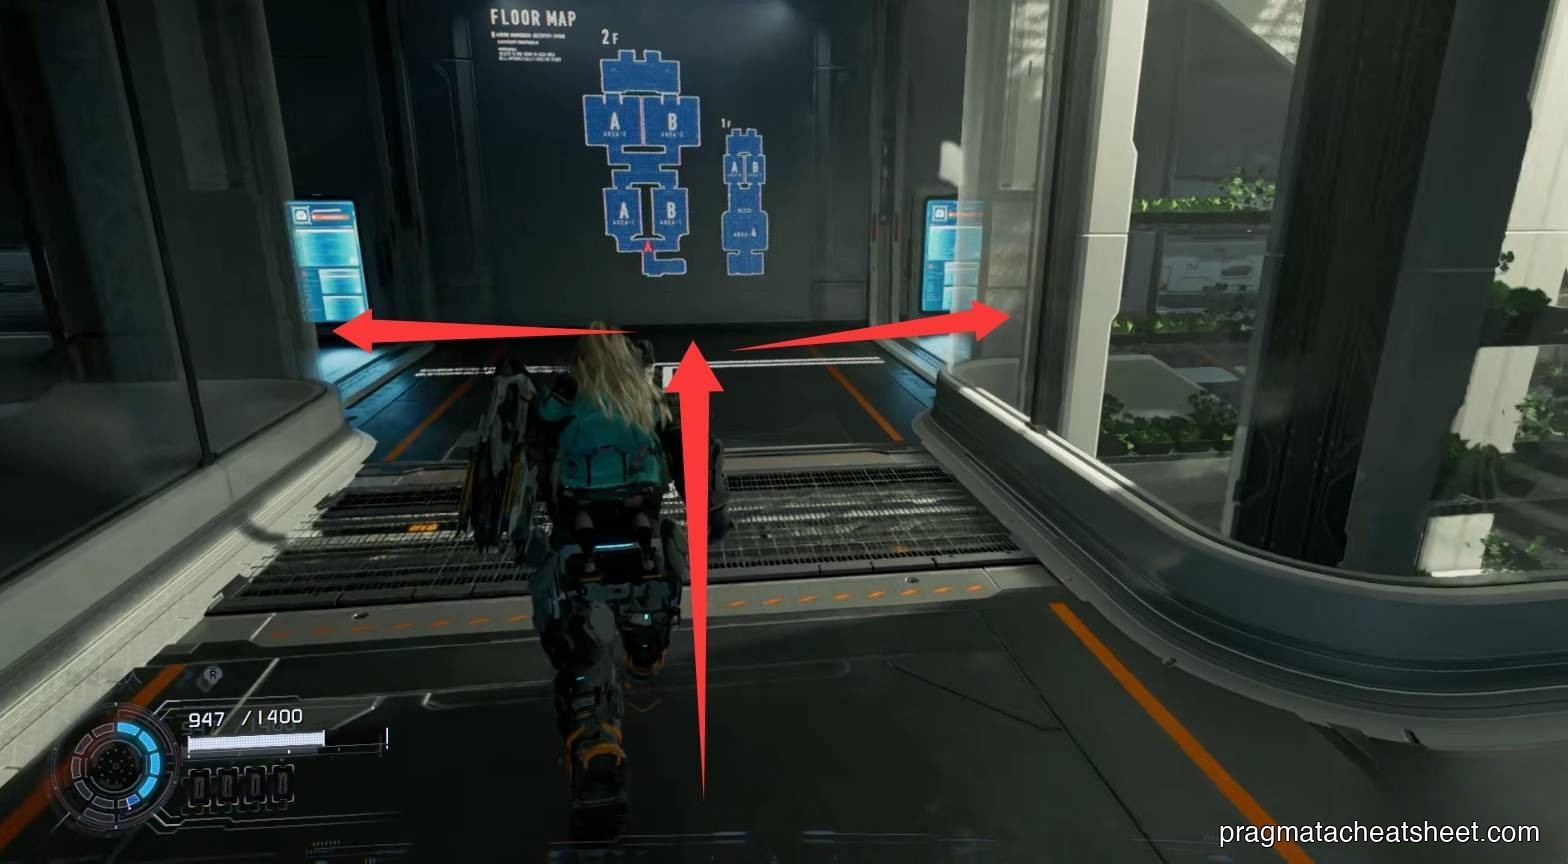
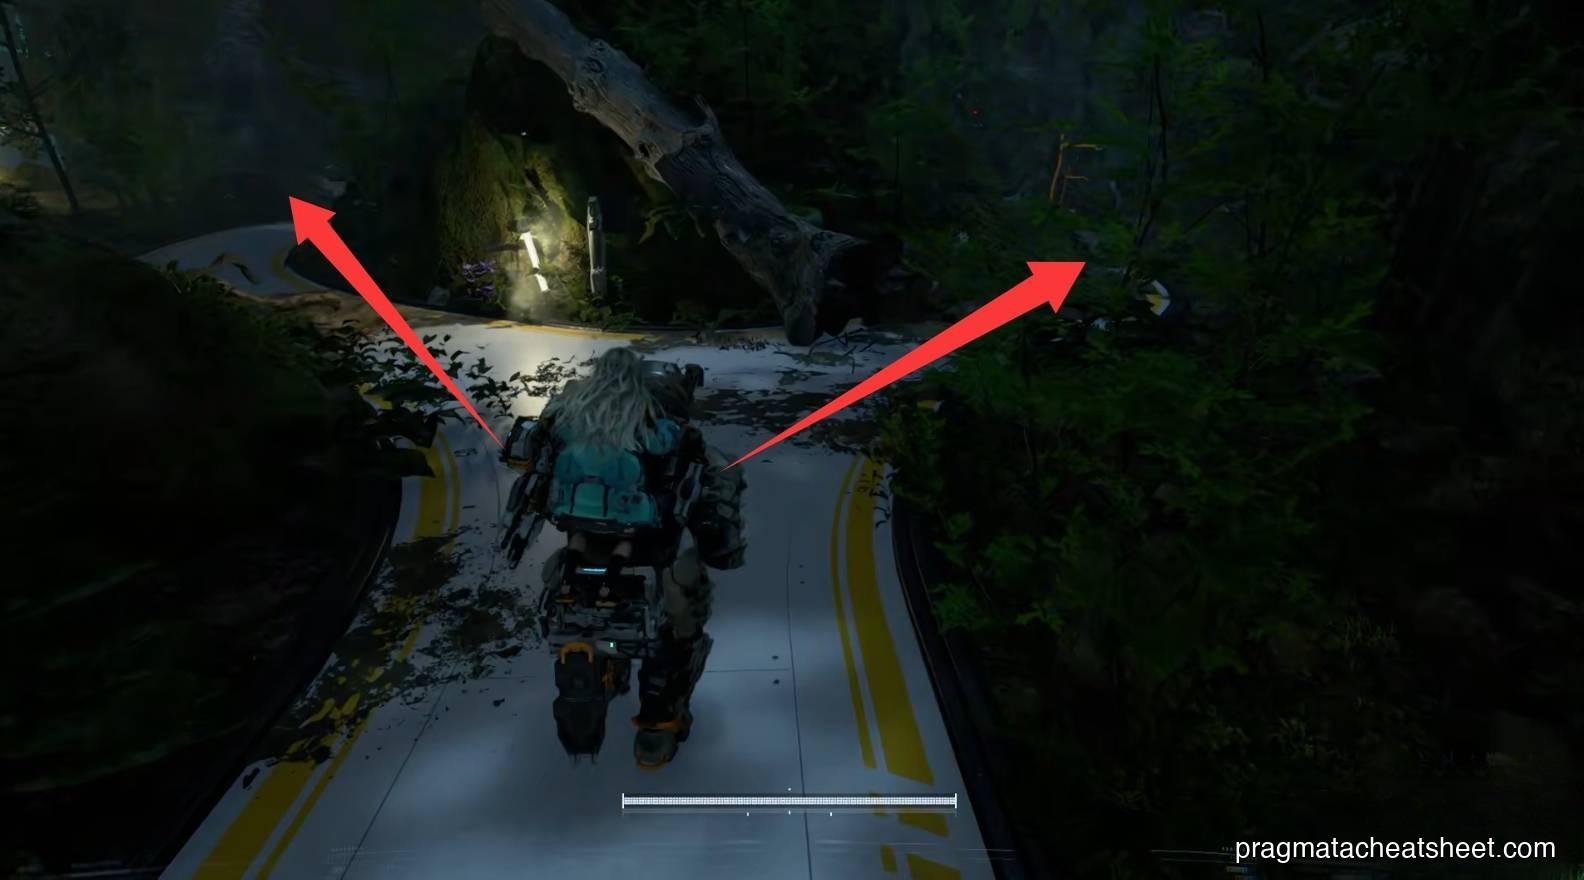
Clear enemies, ride an elevator up. A branching choice: A-route vs B-route — different enemy compositions.
Further in, another split:
- Left path · Safe Box
- Right path · Upgrade Component + Safe Box
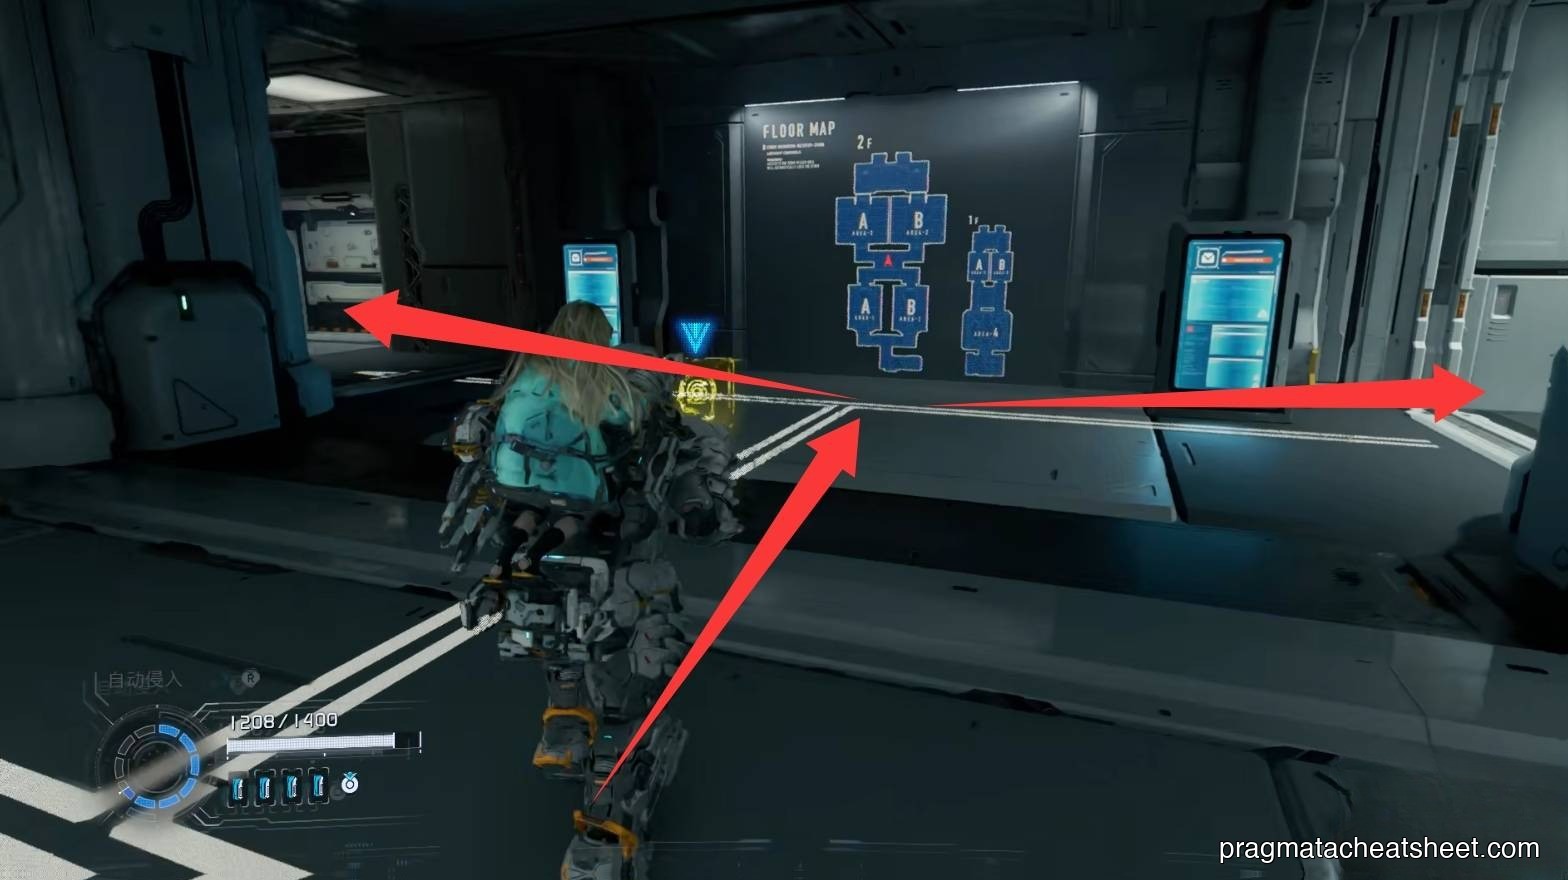
Full collection requires doing both. Play one now, come back for the other after a Shelter stop.
Paths merge; another Safe Box drops.
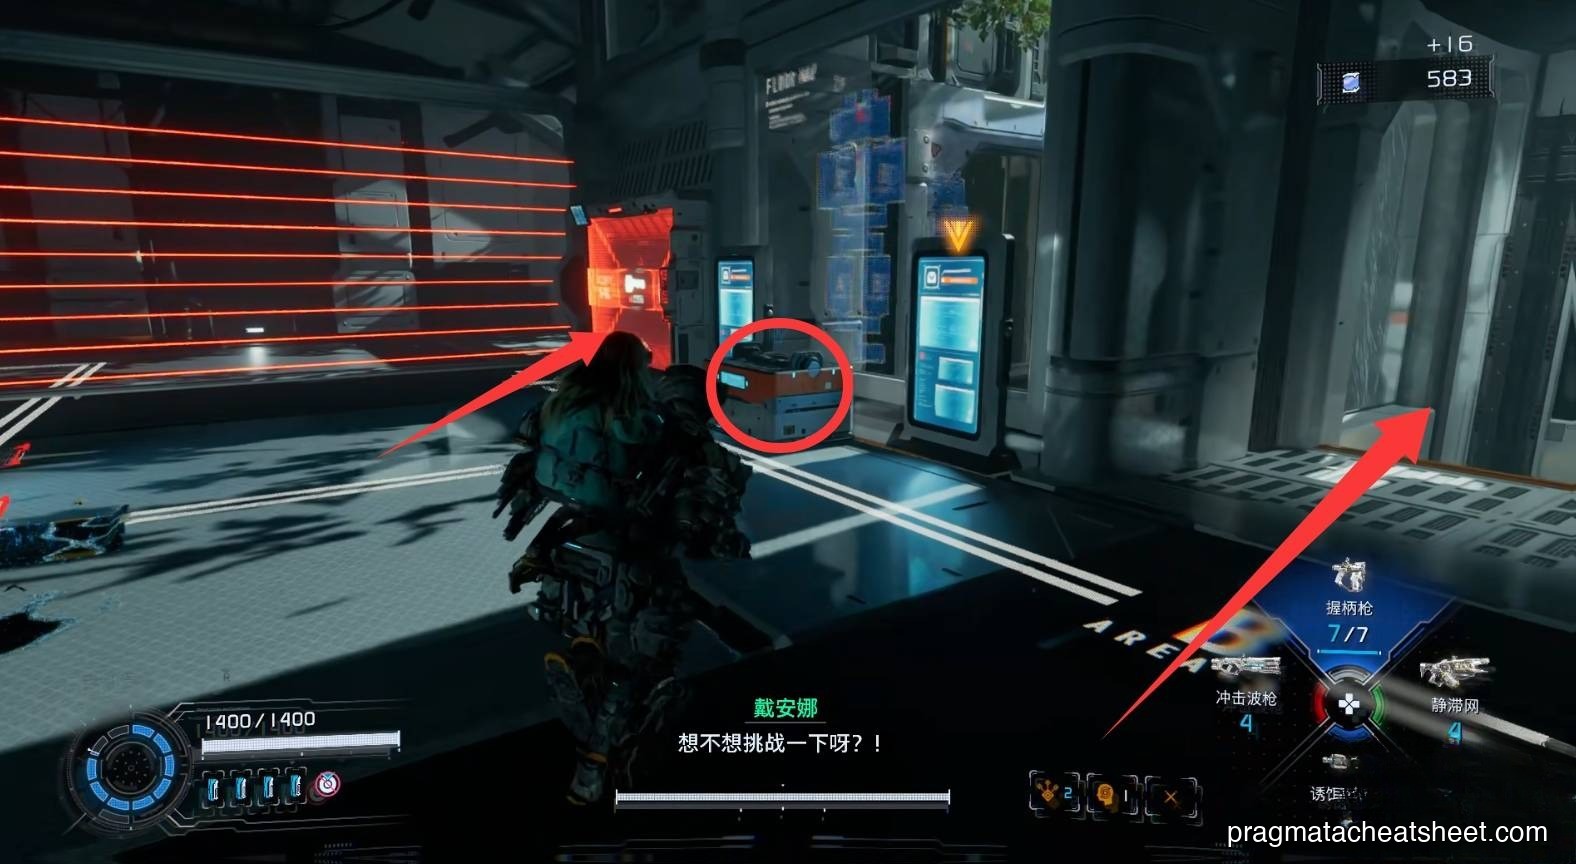
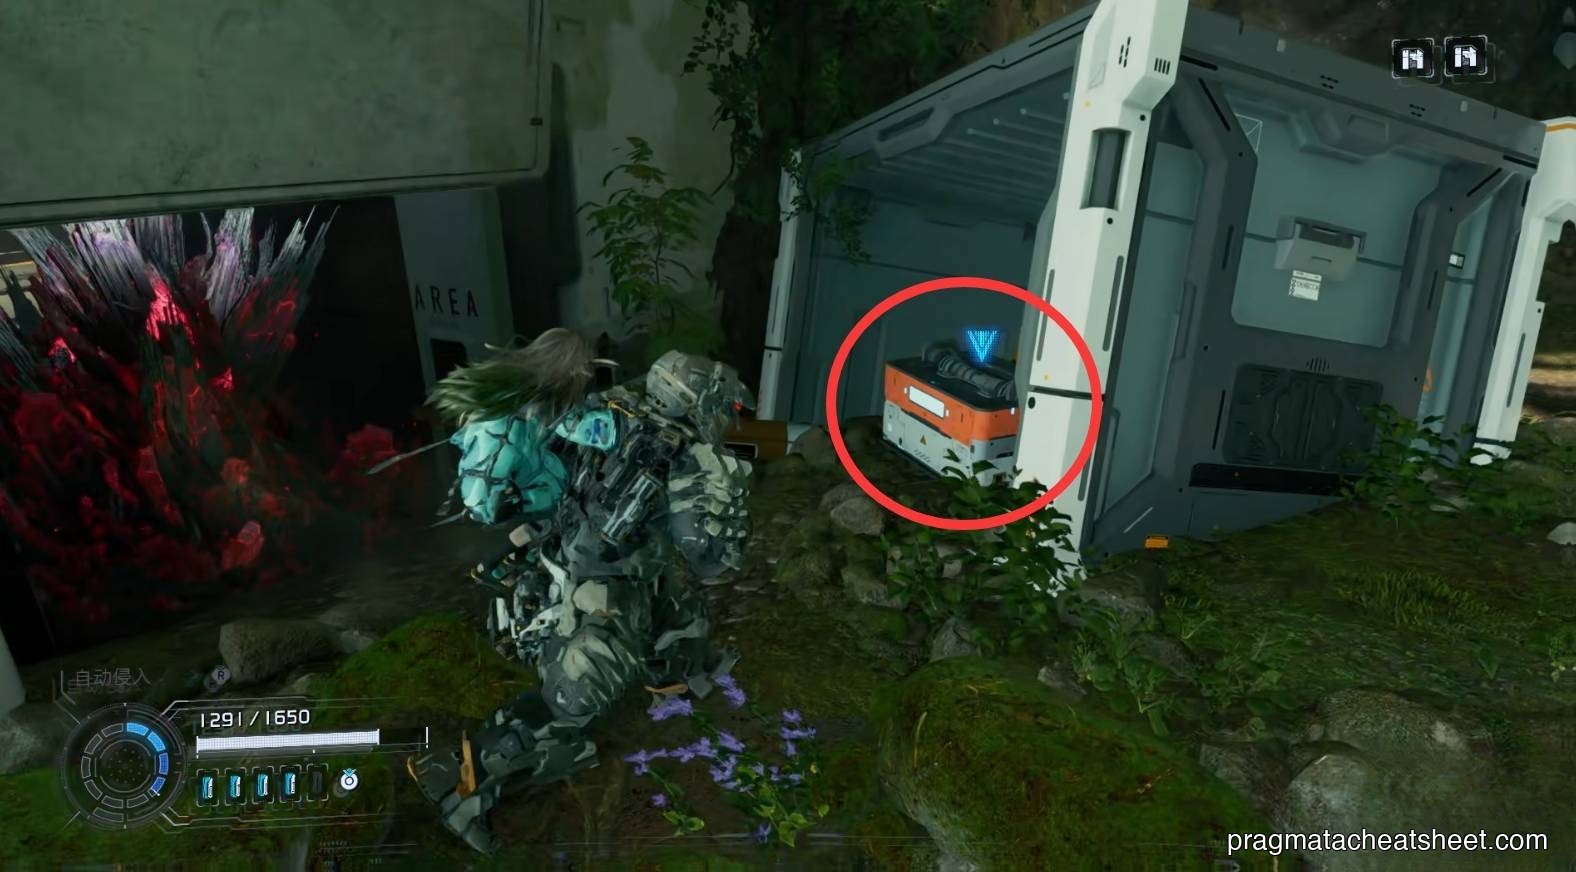
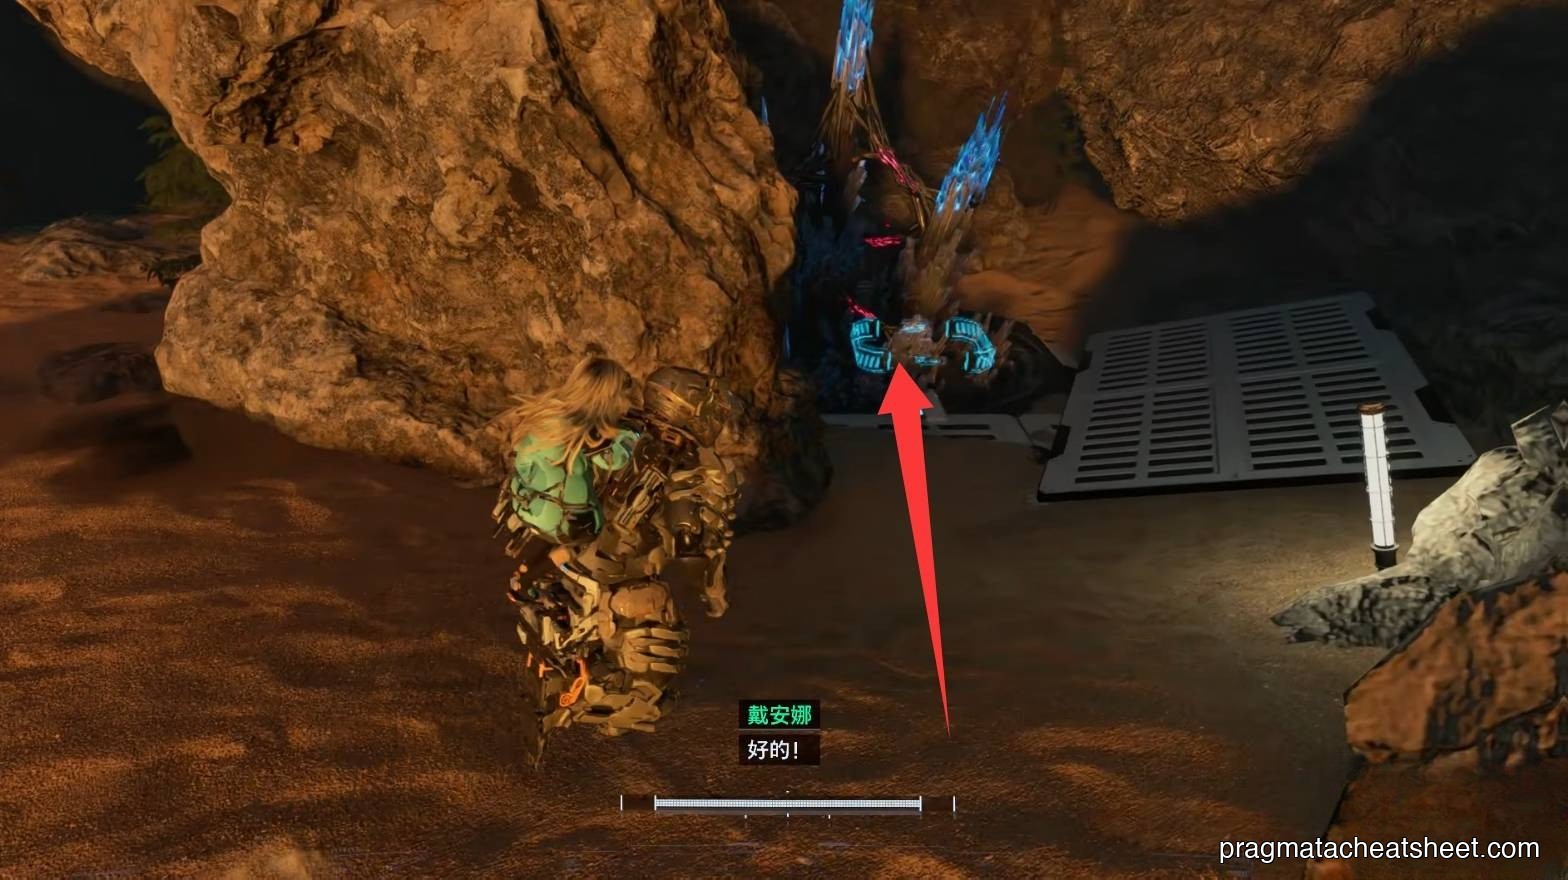
Next choice: left into a Red Zone for Pure Lunum (need the key), or right drop (no collectible). Take left if you stocked keys.
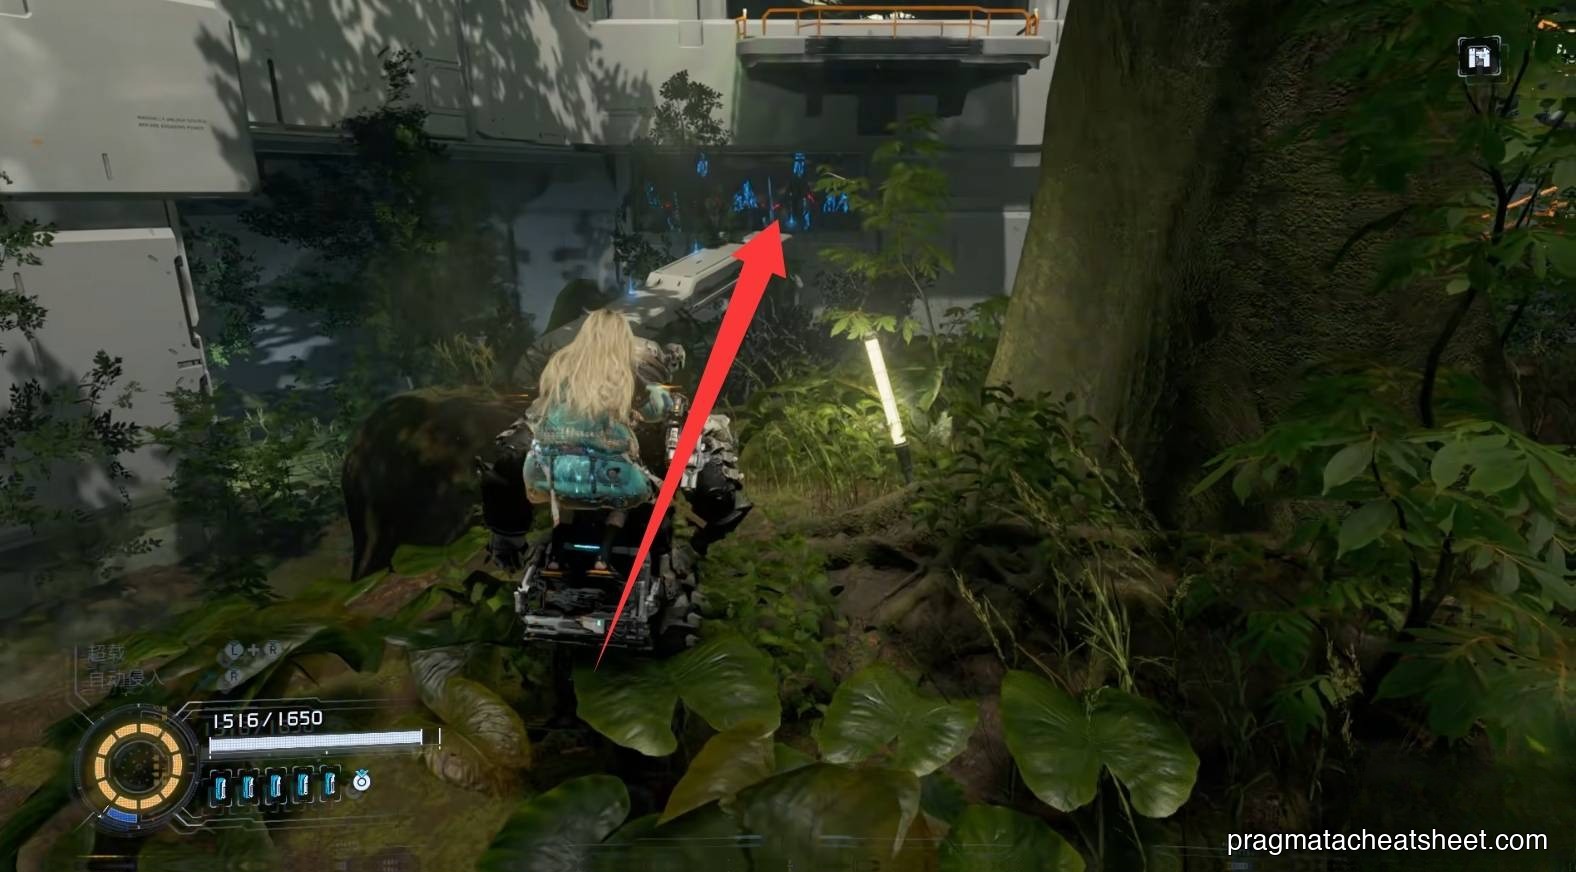
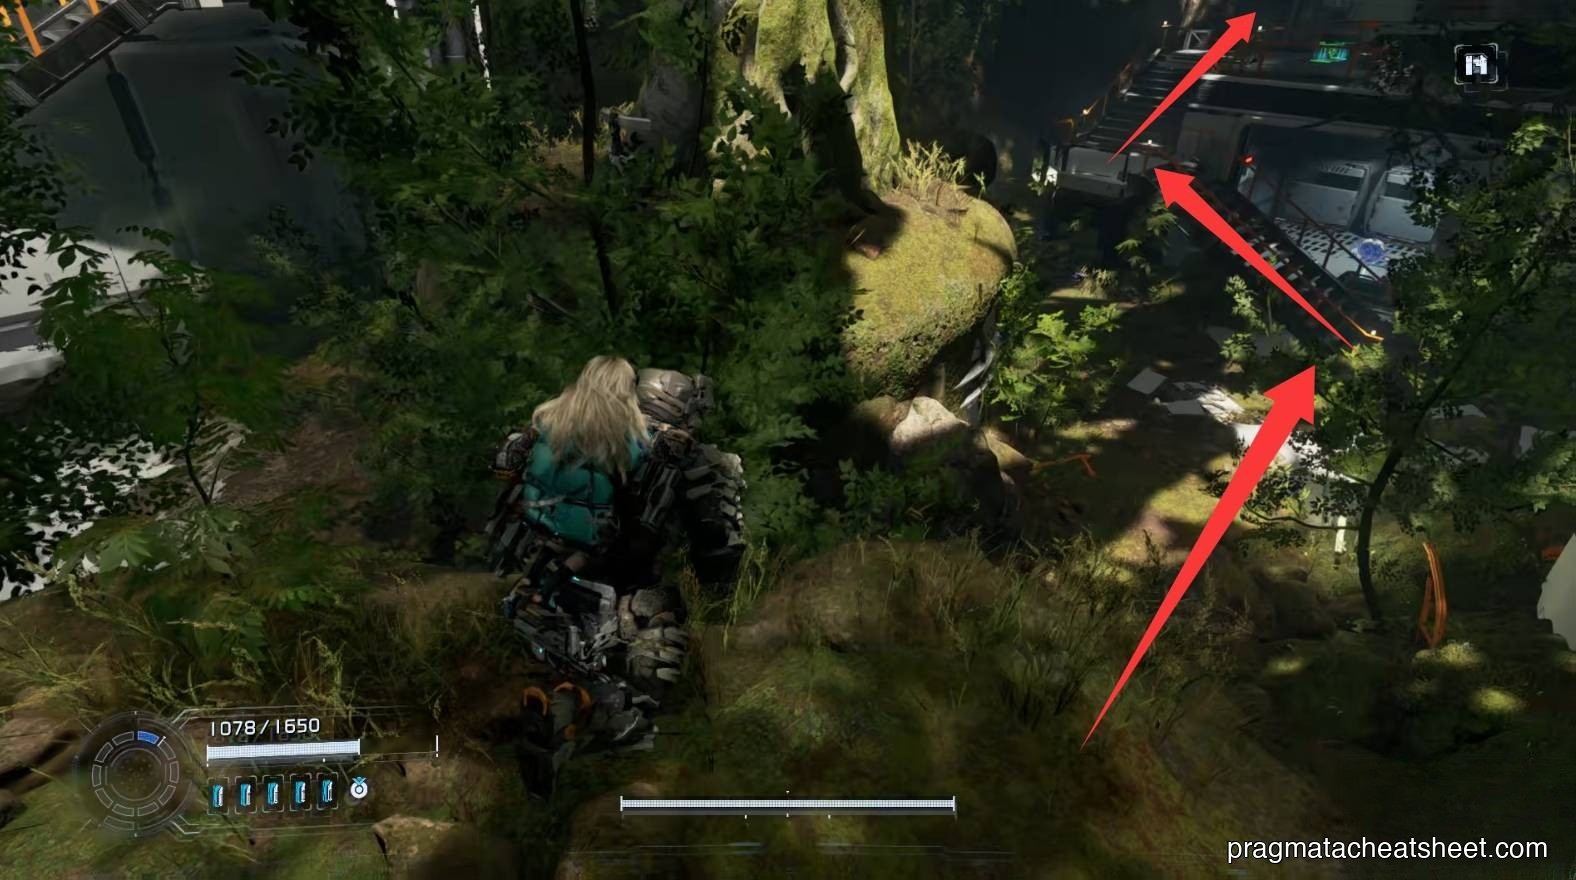
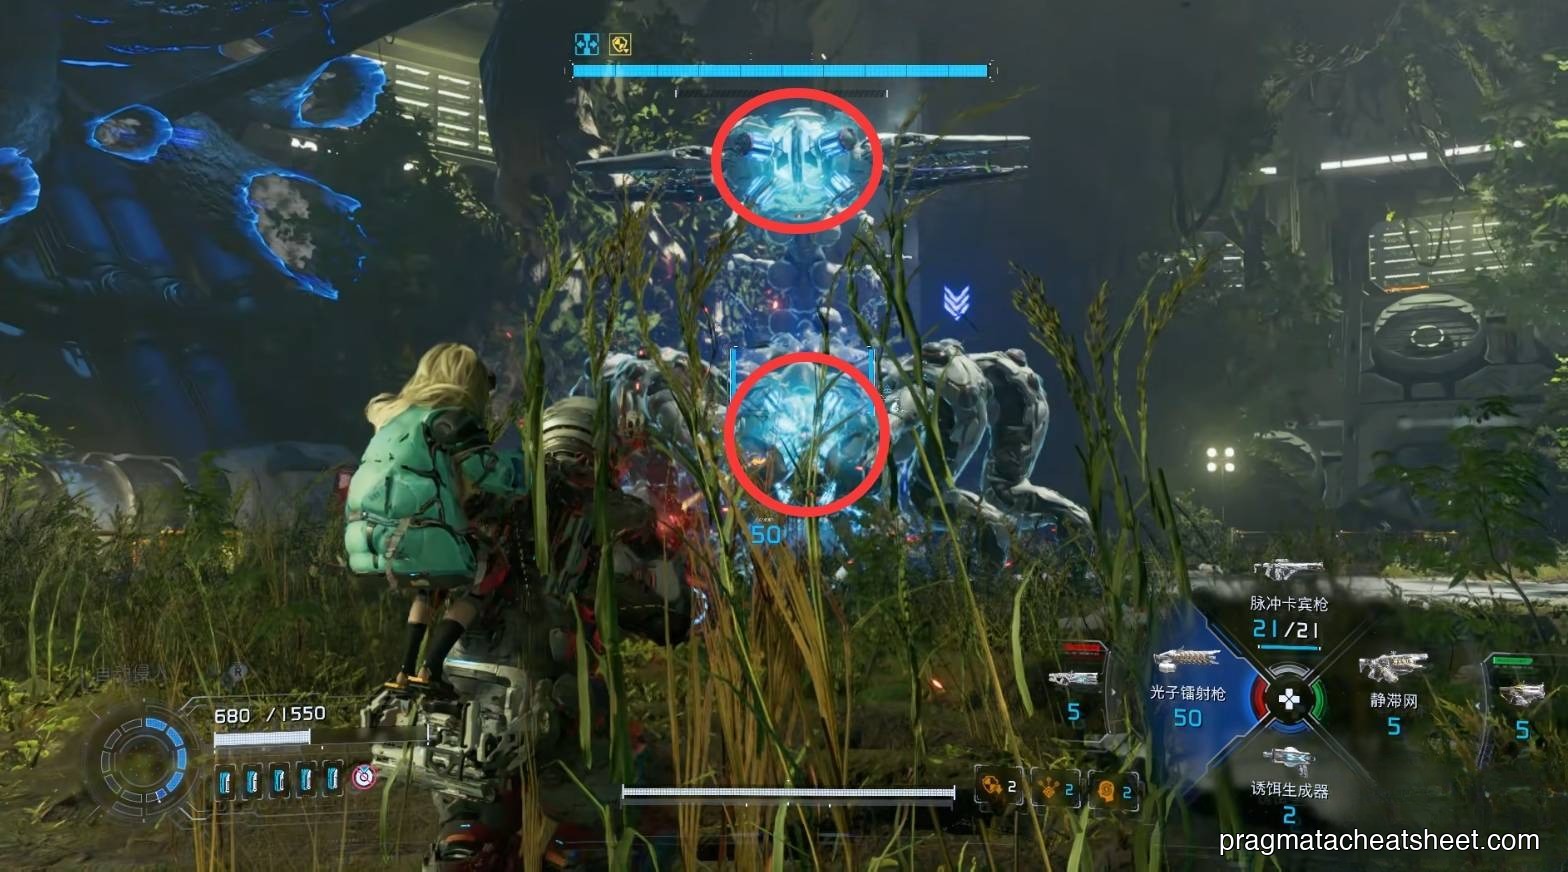
Blaster enemy
Paths merge again; meet a Blaster — weak points are the four protrusions on its top.
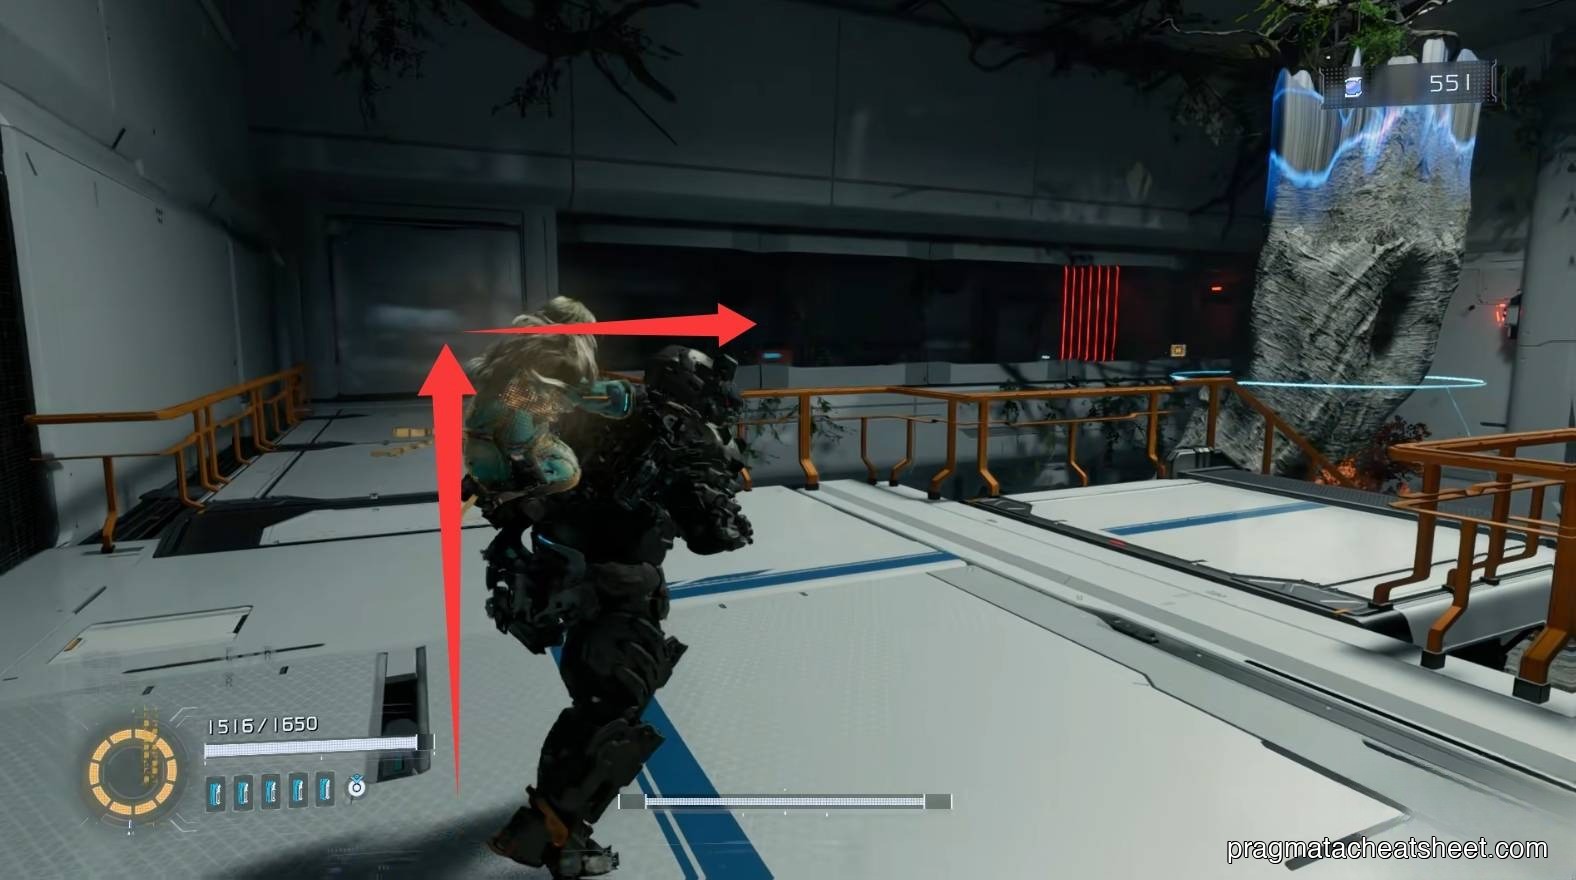
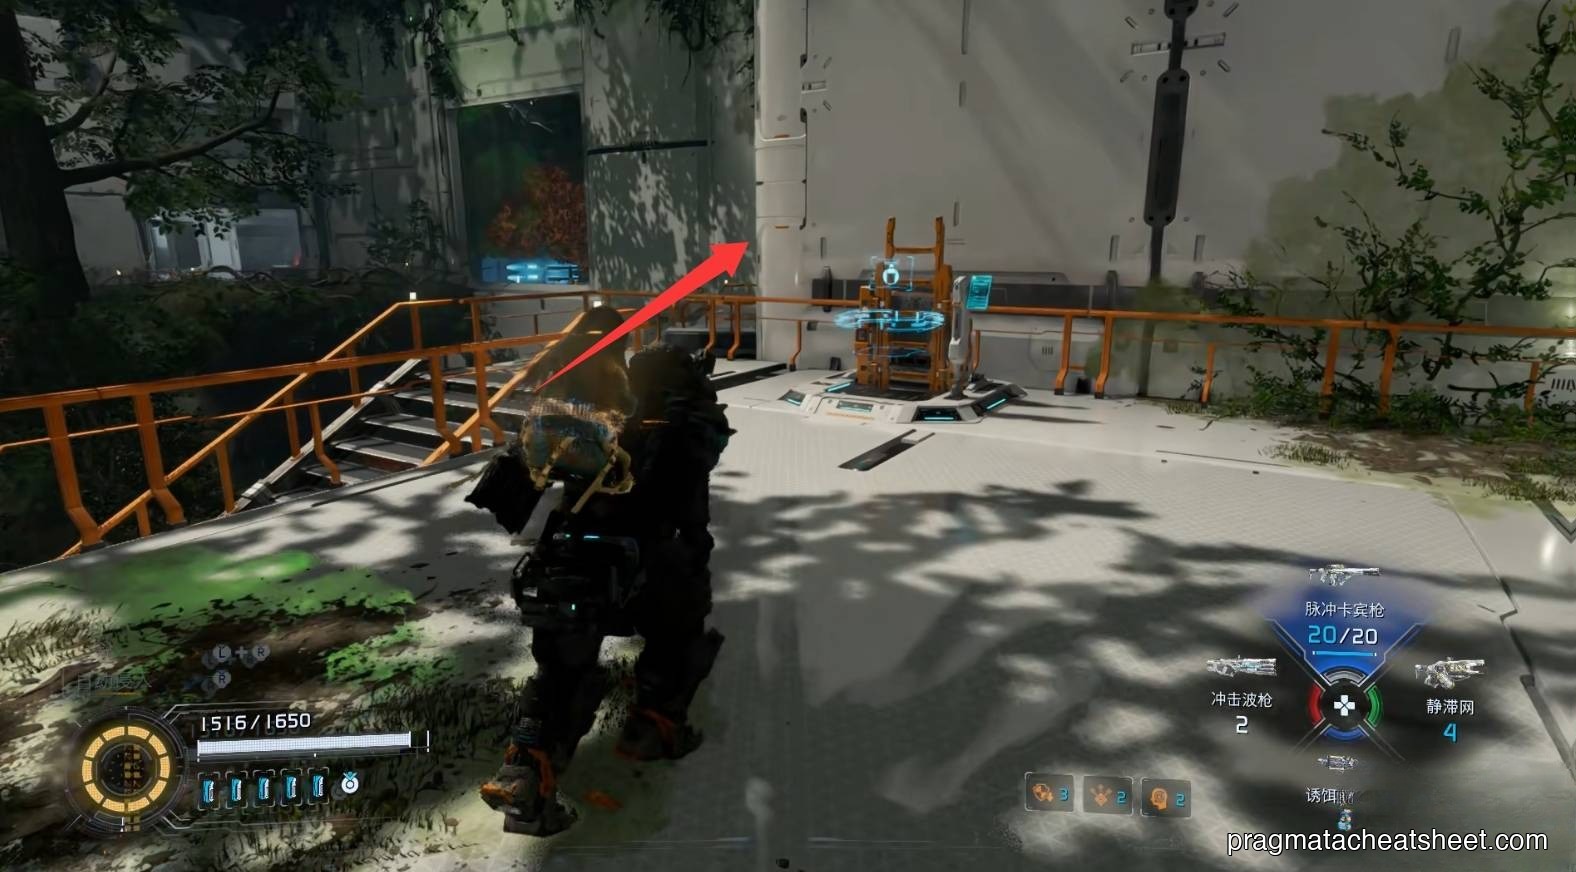
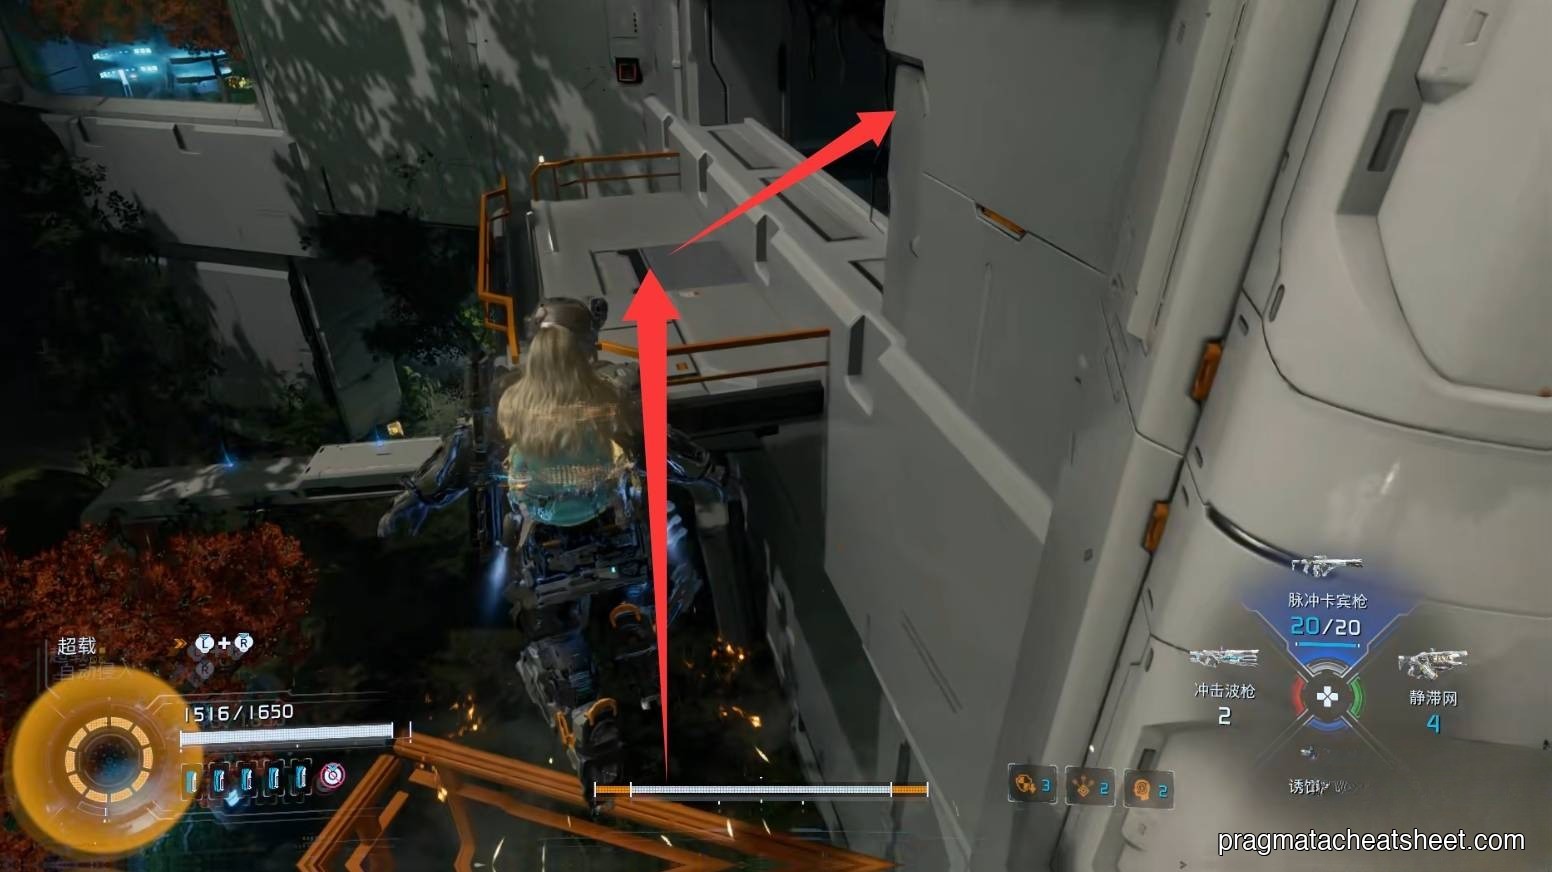
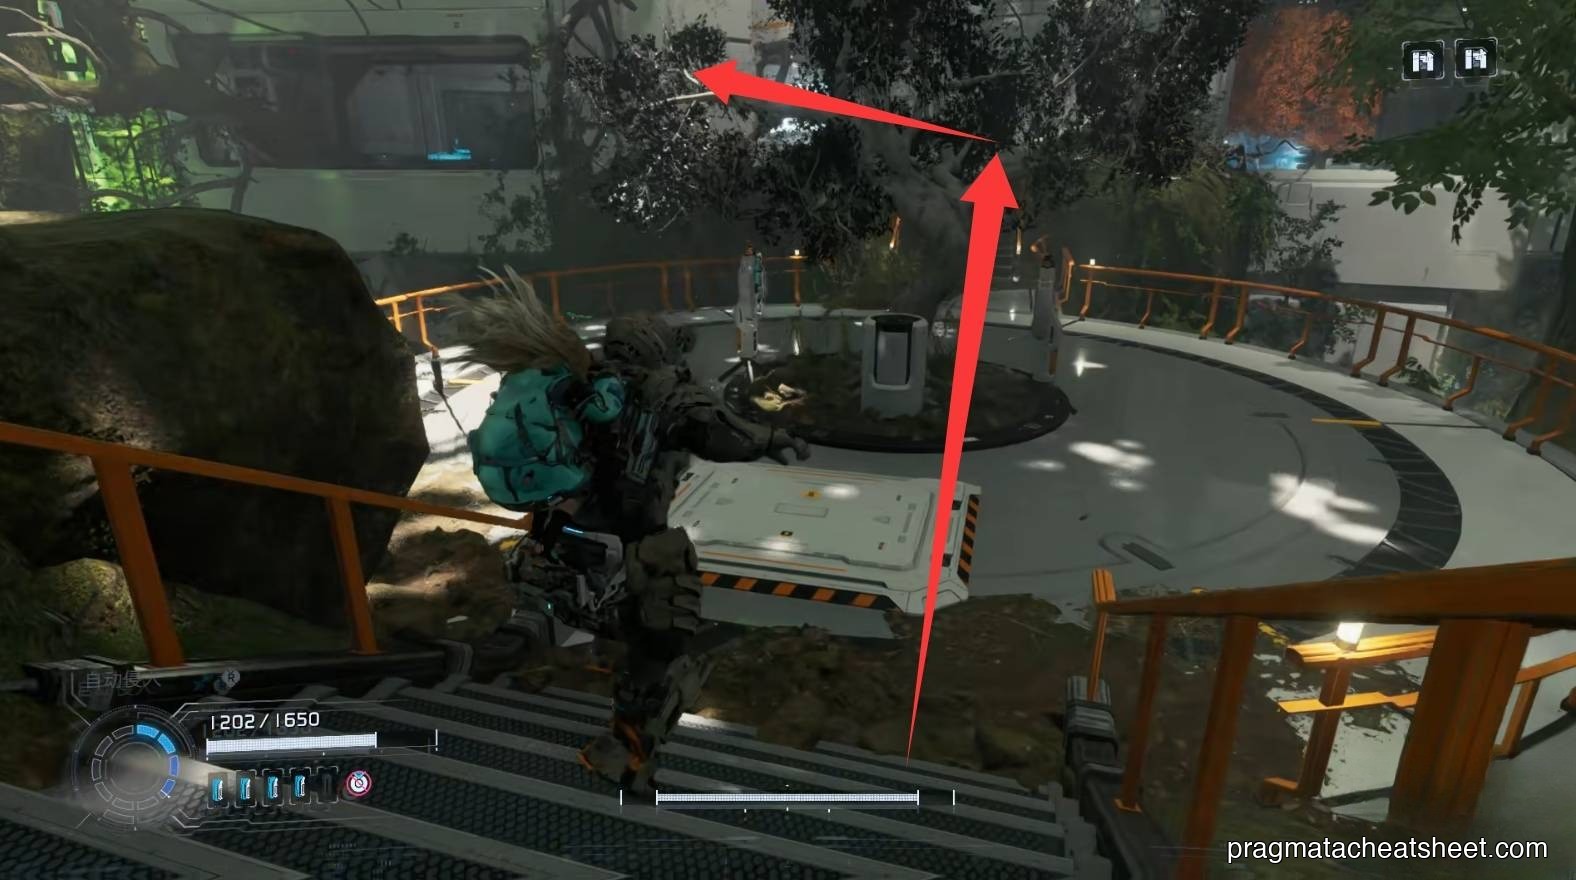
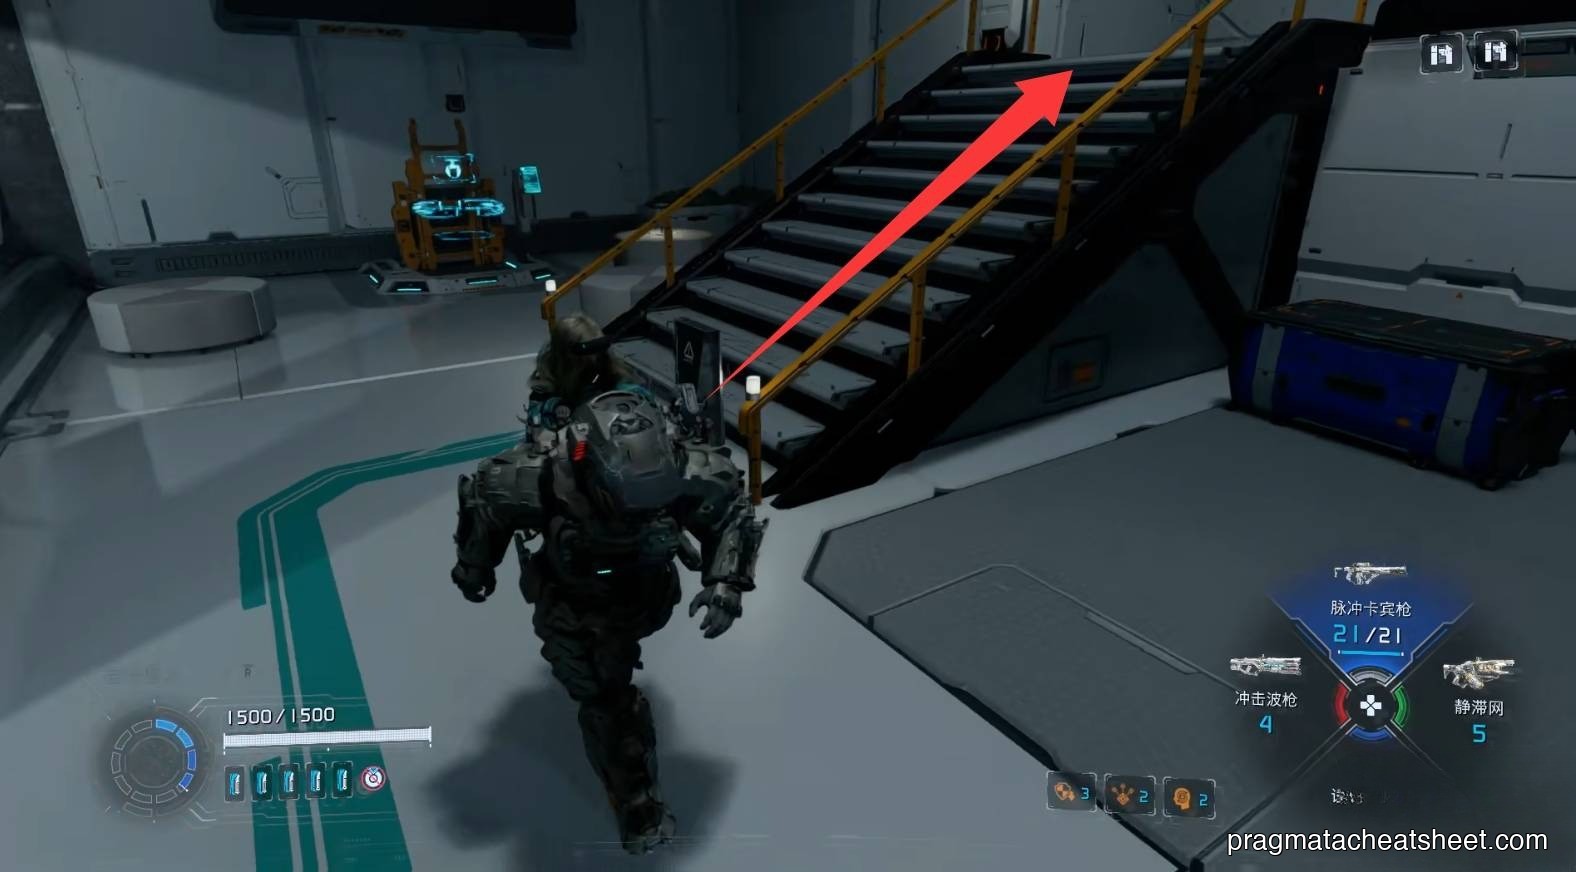
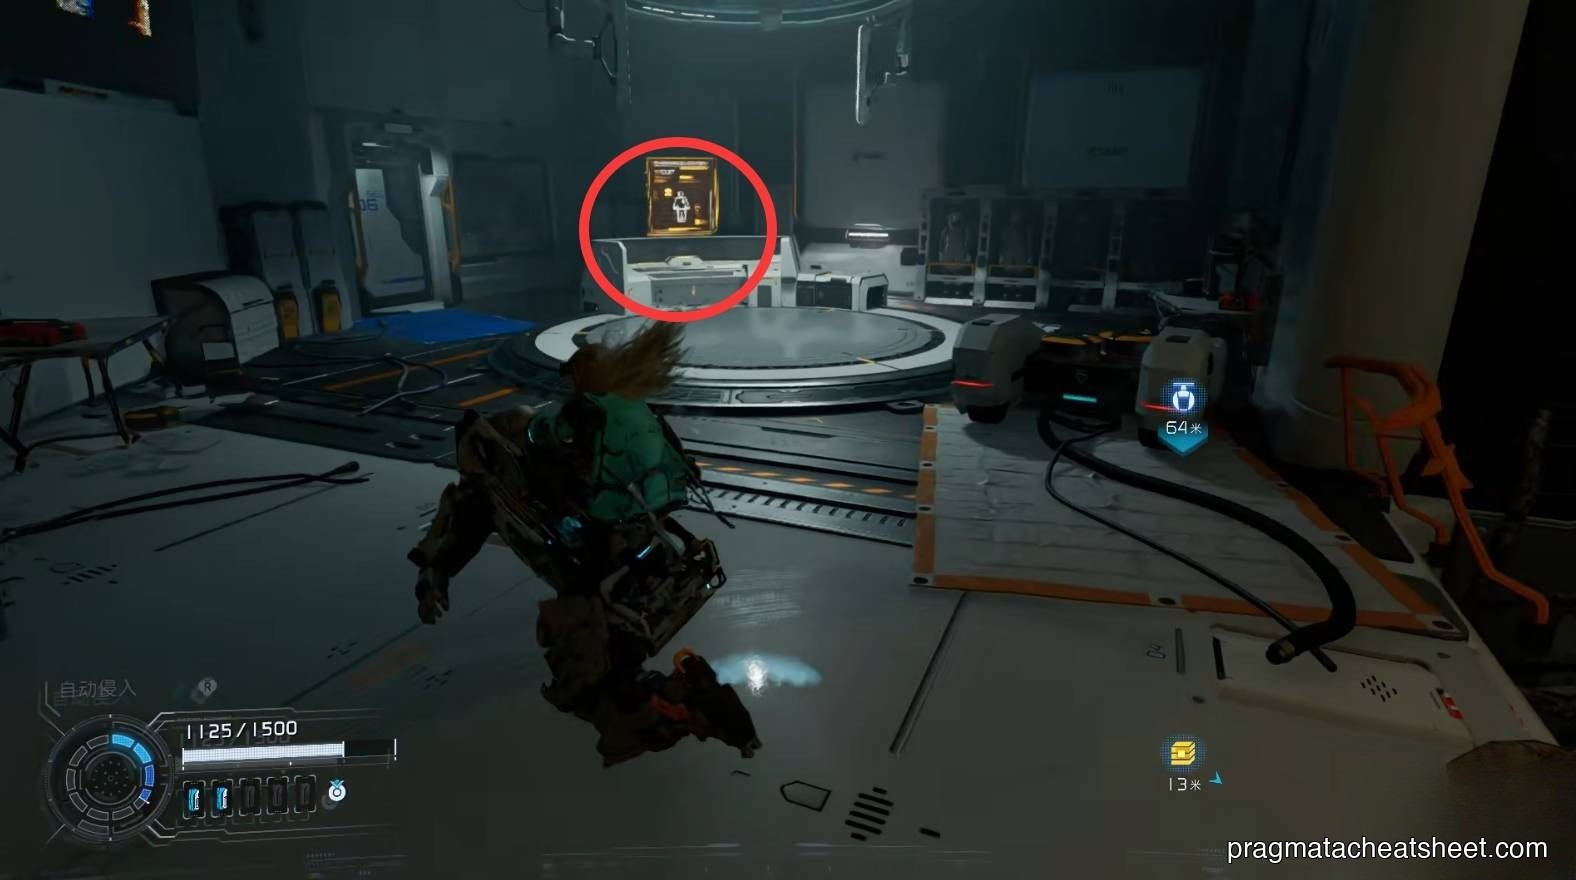
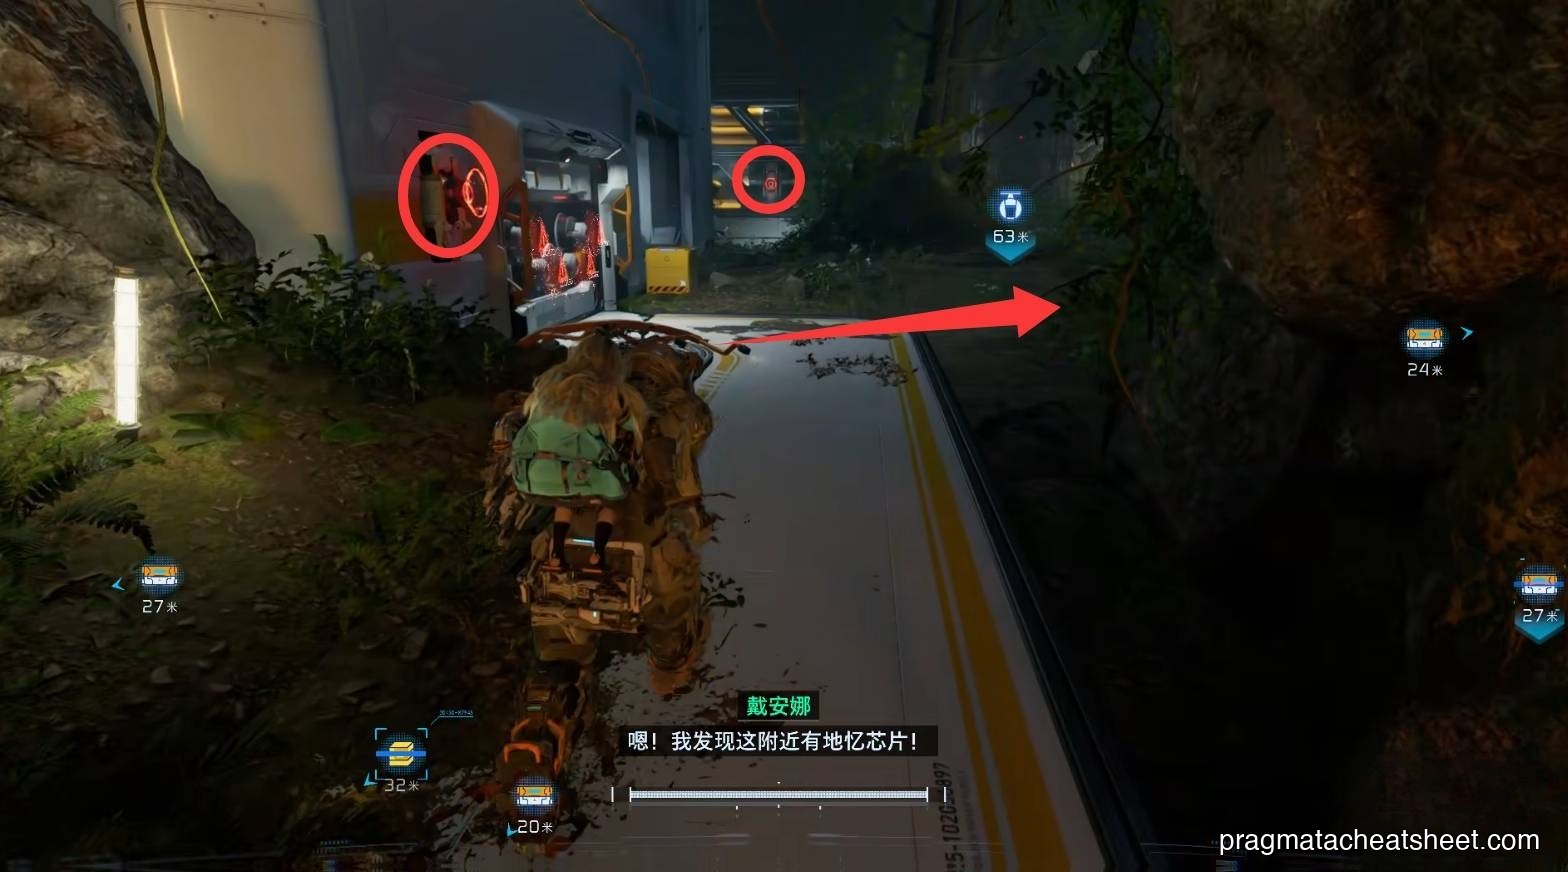
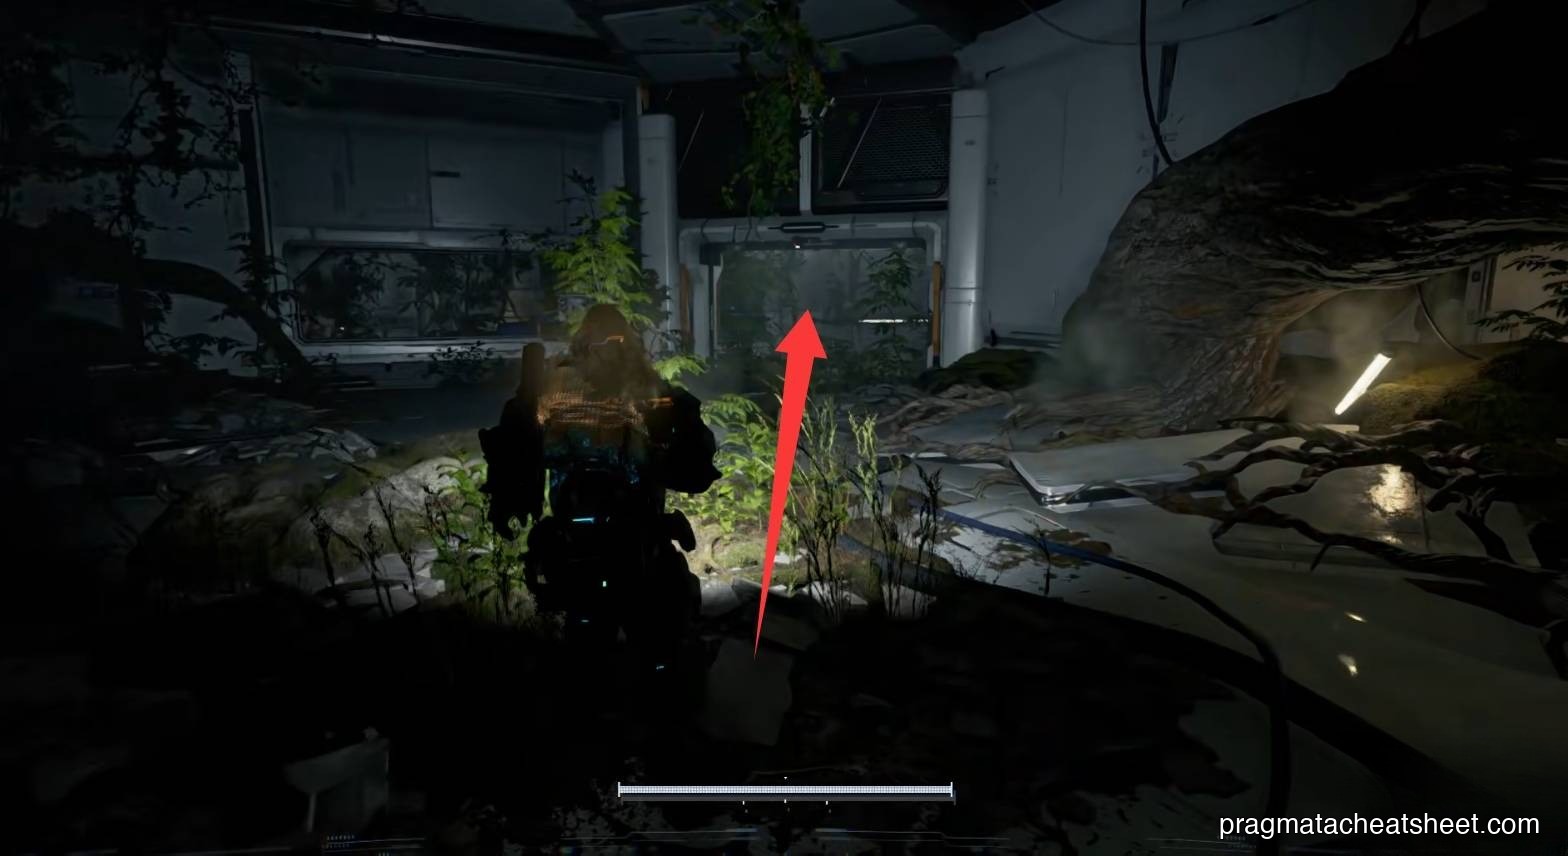
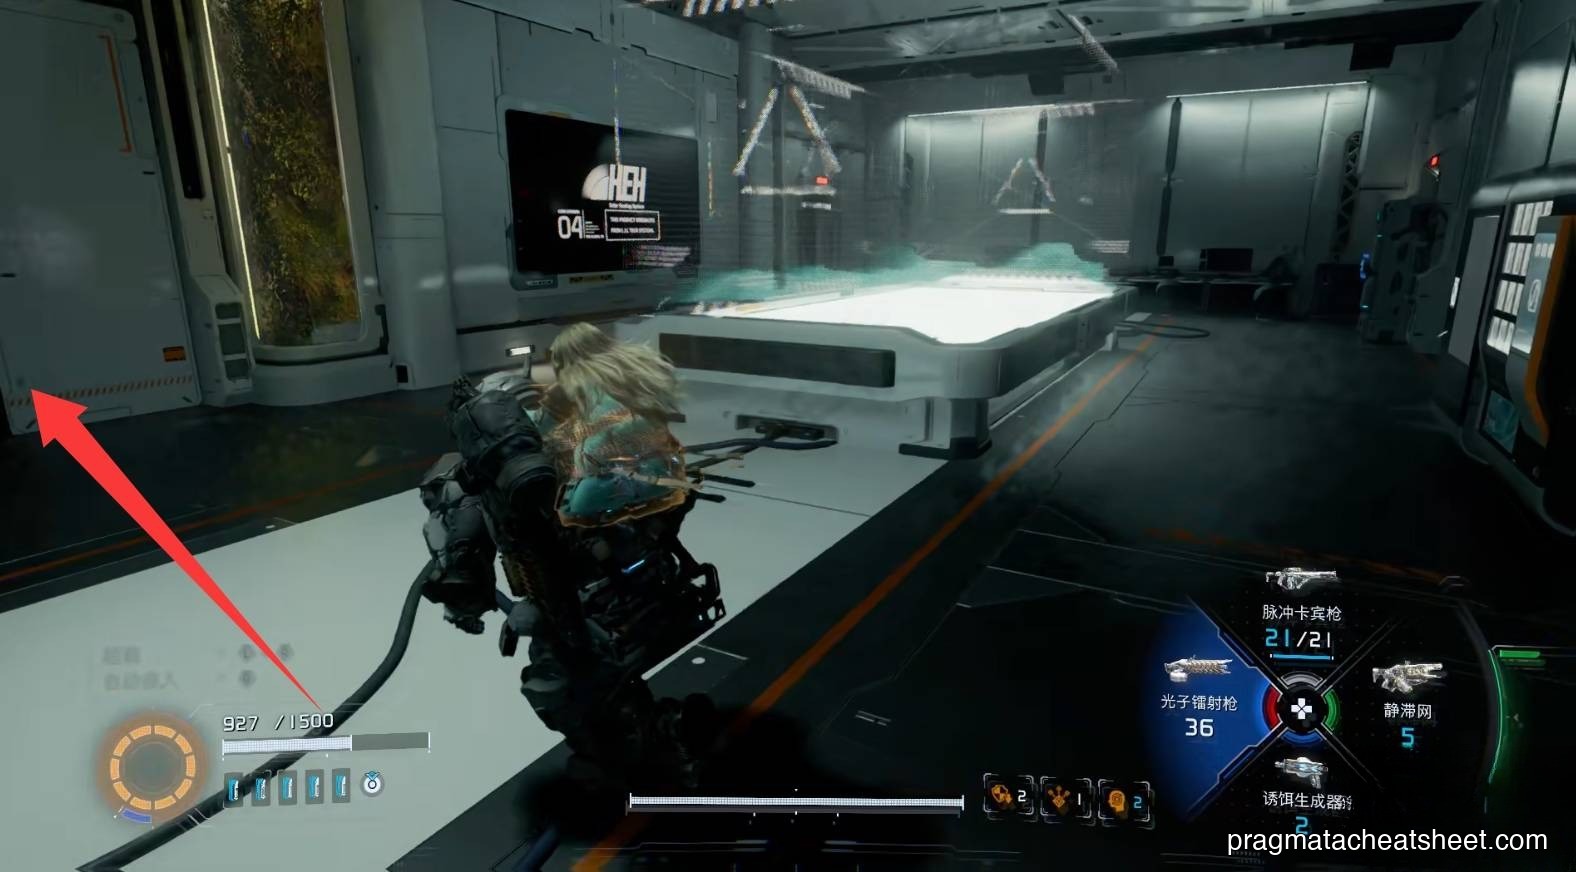
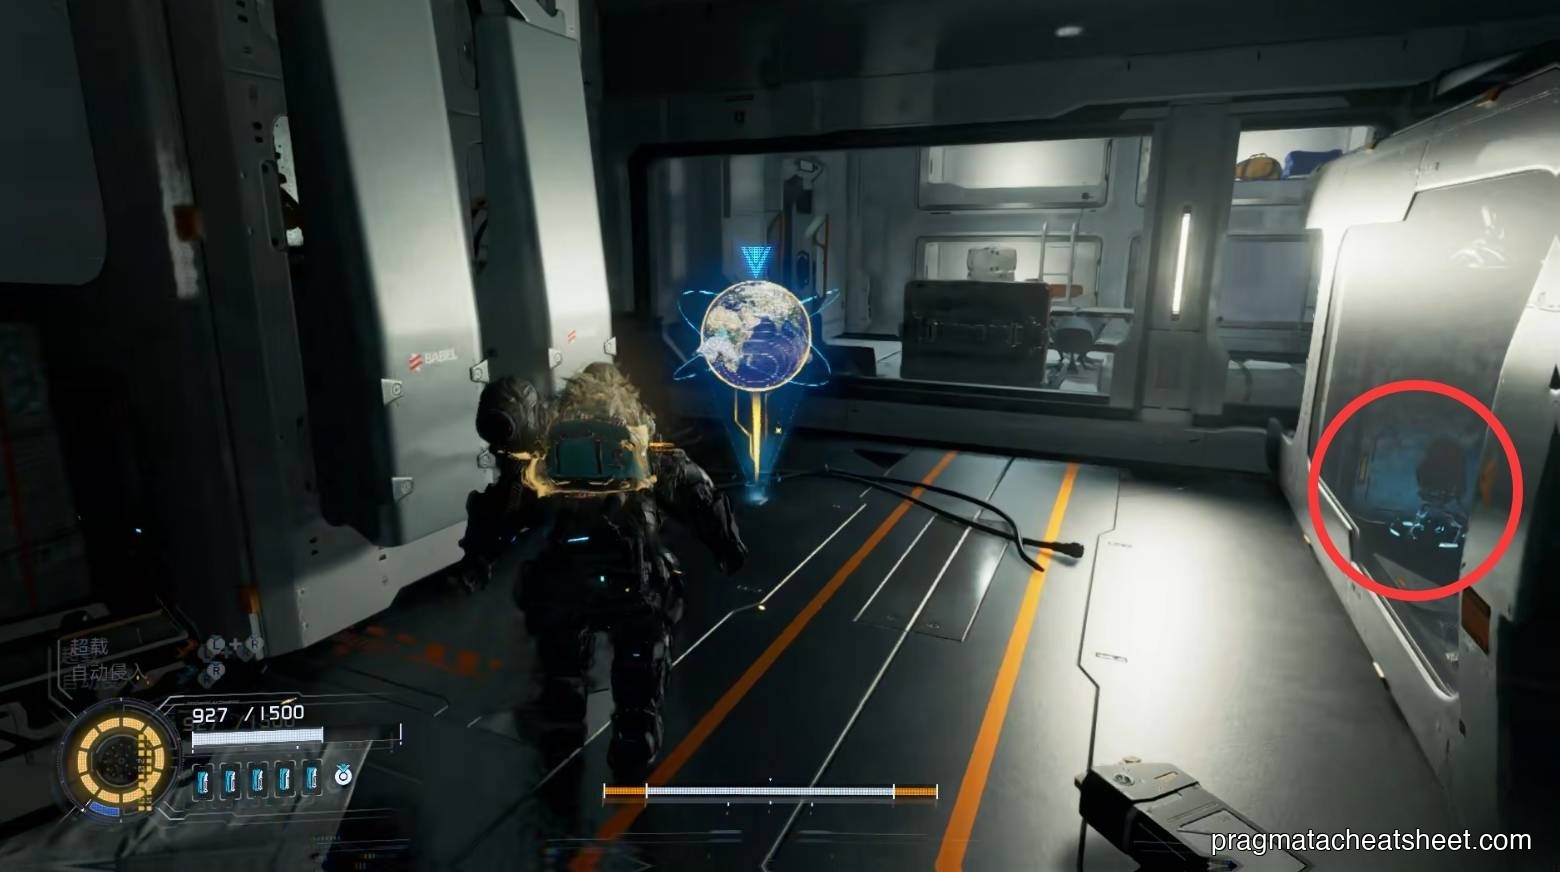
Continue, right side shows a deer hologram. Left room: Mod + Training Data. Wall-rail up for the Pulse Carbine weapon, then reboot the first Lim regulator.
Items in this area
- Upgrade Components × 3+
- Safe Box × 4
- Pure Lunum (Red Zone)
- Mod × 1
- REM chip × 1
- Training Data × 1
- Pulse Carbine · dropped weapon
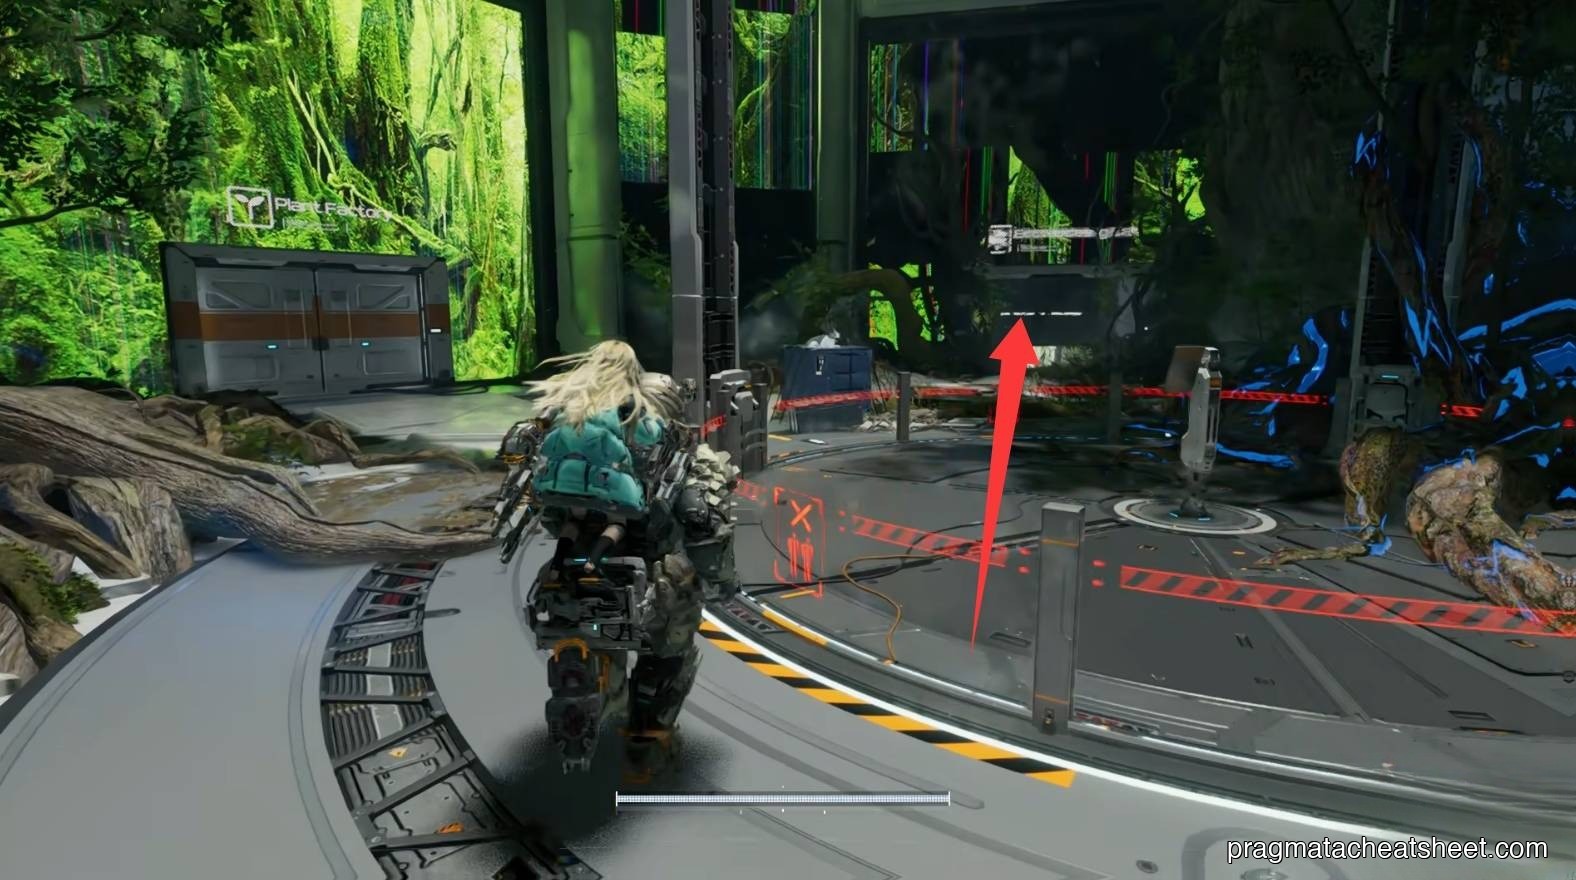
02 — Eco Modeling Lab
Back at the central elevator, take the right path this time. You'll cross a butterfly scene.
Cultivation Chip puzzle
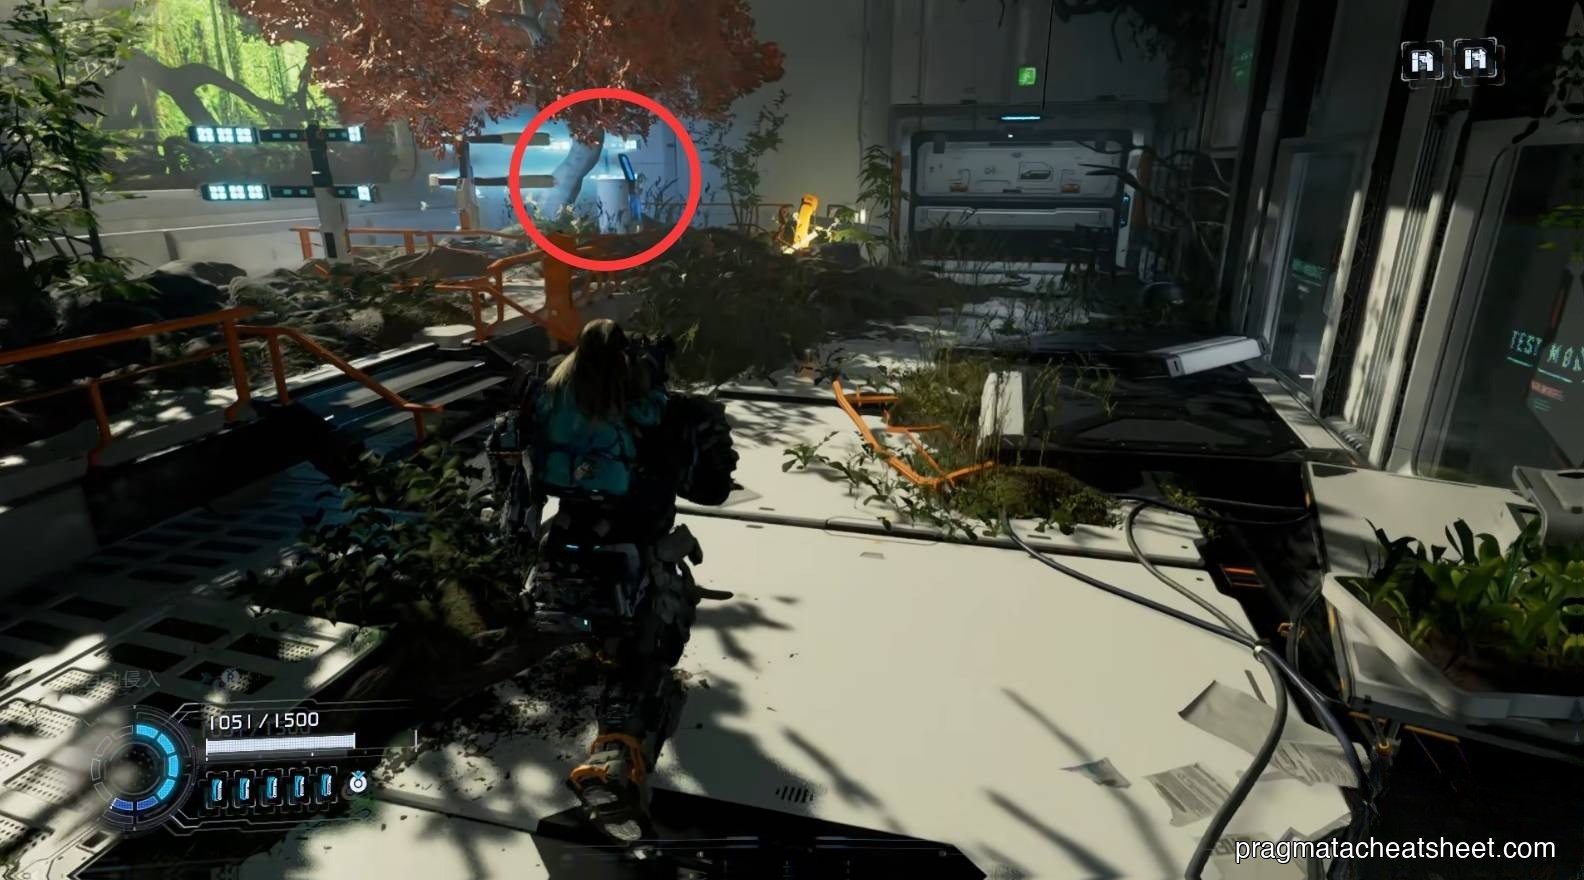
Stairs are broken. Grab a Cultivation Chip from under the red tree in a lower hollow, install it → stairs extend.
Upstairs right = hidden wall → Safe Box + Upgrade Component (one sits behind lasers; disable from outside later).
Mini Cabin and the three-chip map
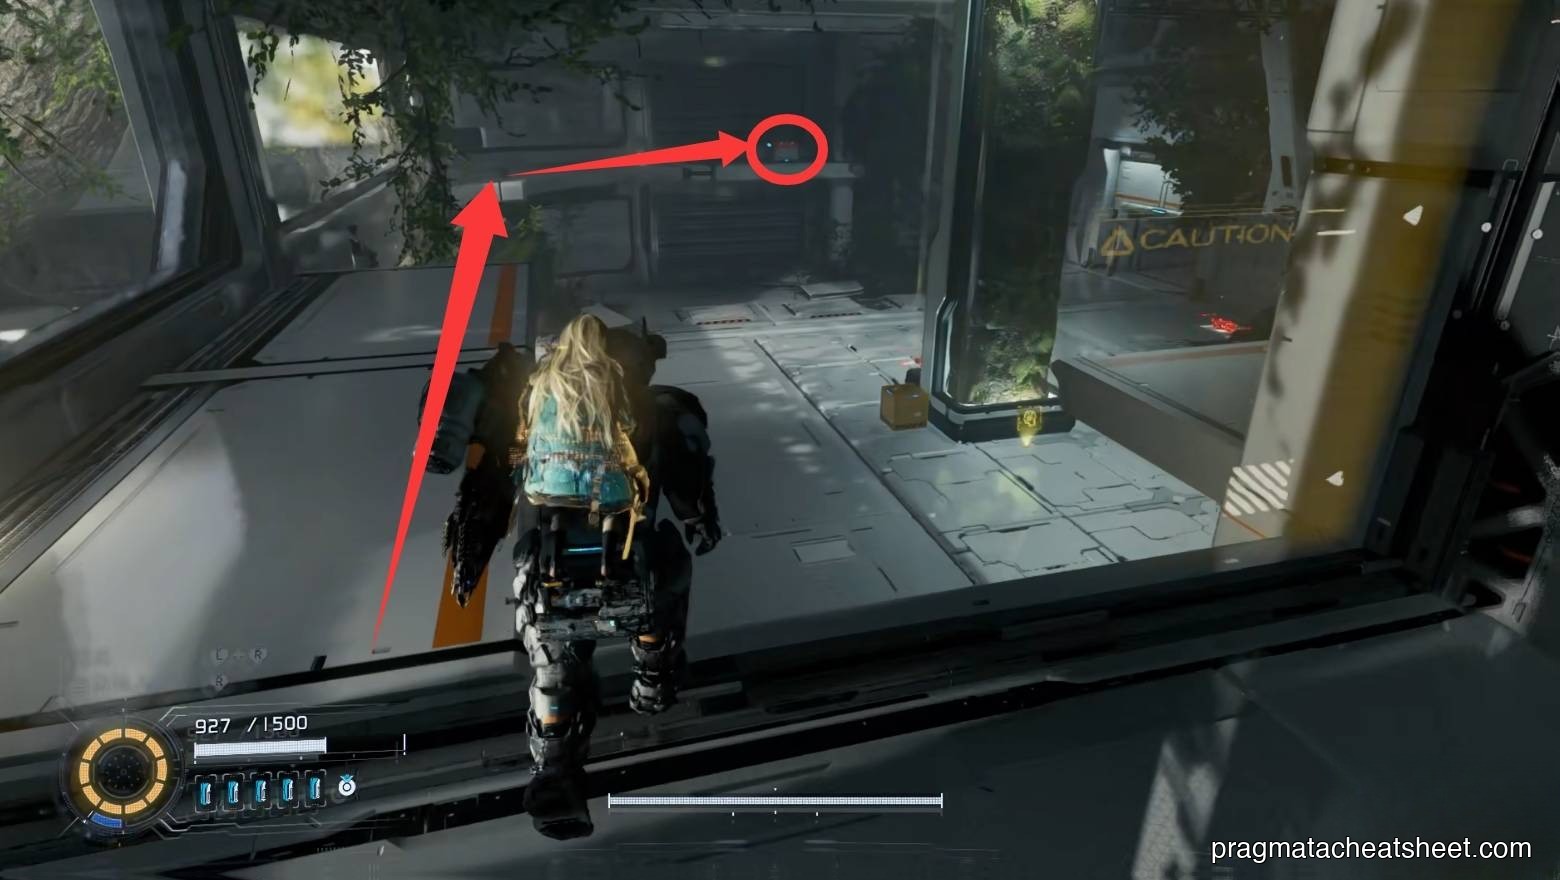
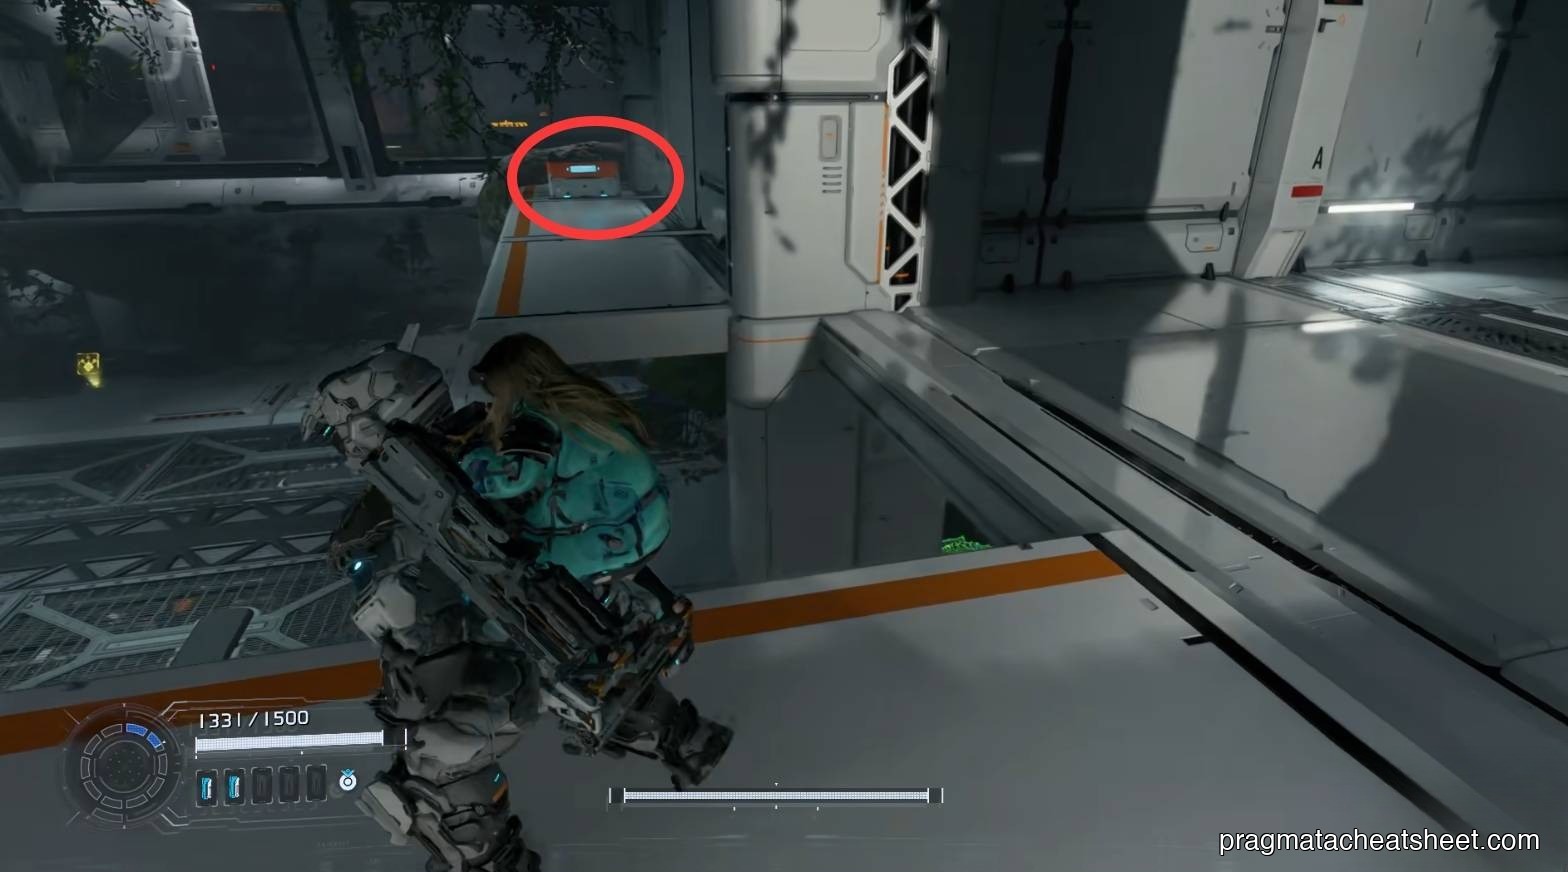
Look up: Mini Cabin on a high branch. Left of the door: Upgrade Component. Open door, step out.

You need three Cultivation Chips to rebuild a path.
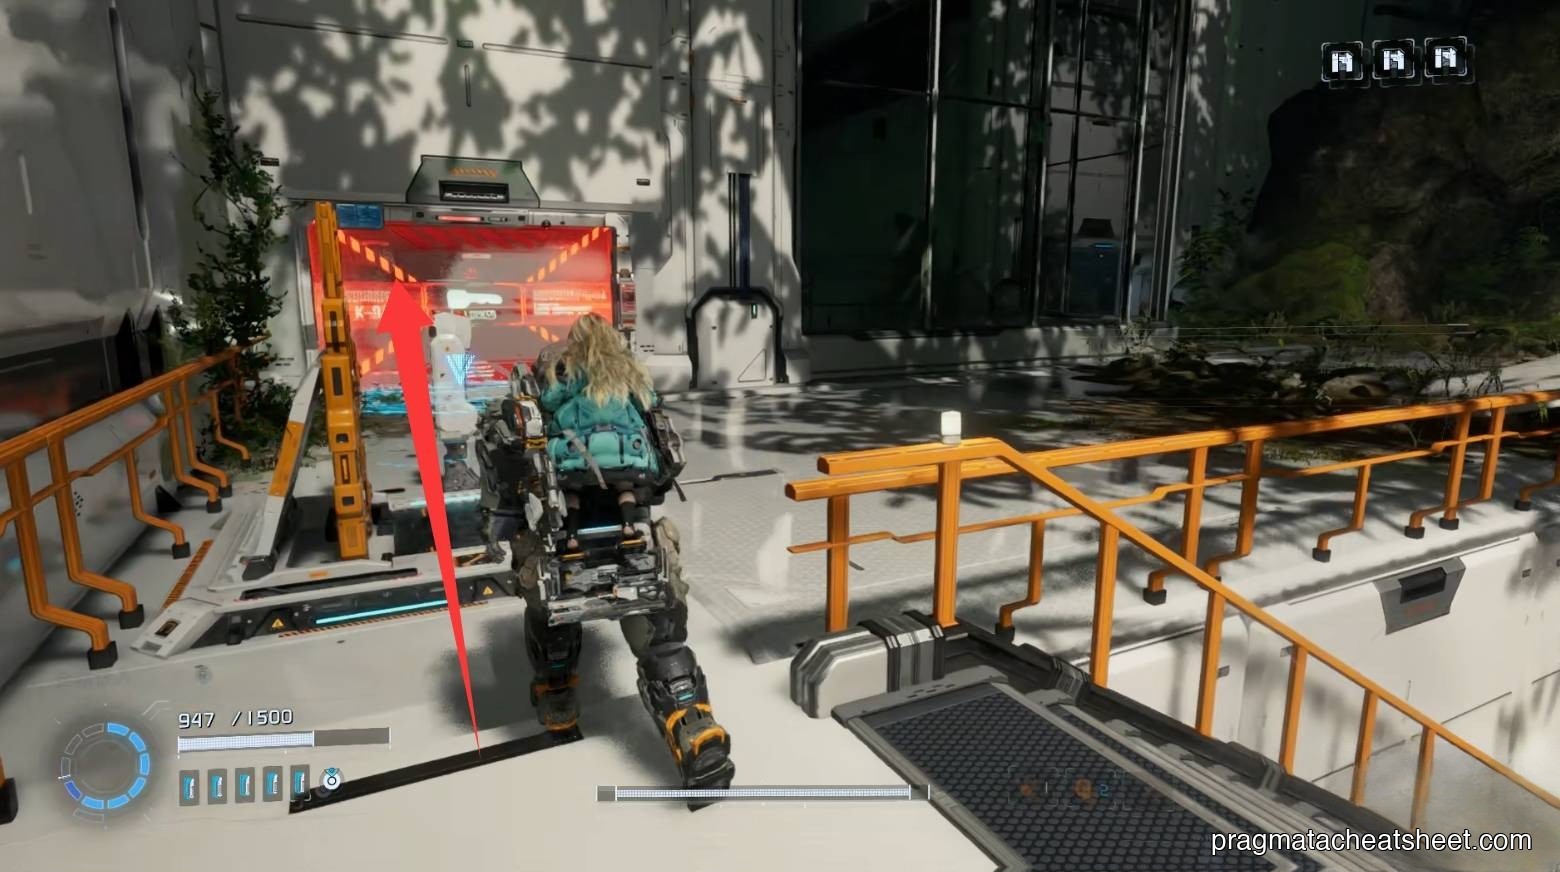
- Left · clear a Lim barrier → Upgrade Component in a cave
- Right · Escape Hatch (Red Zone locked; come back with a key)
Jump from the Hatch stairs to the opposite platform: Upgrade Component.
Down the stairs: first Cultivation Chip. Ahead: Upgrade Component.
Right corner from there: REM chip. Then go left.
Forks and hidden walls
Fork: right first.
Inside the cave: Upgrade Component. Hidden wall beside it → climb up for a Mod. Back out, cross to the right path, clear a barrier for a Safe Box.
Back to the stairs behind the Hatch, grab the Sticky Bombs weapon.
Top of the climb = second Cultivation Chip.
Drop down first, clear extra loot: Safe Box, plus a laser-hallway REM chip.

Return up, open the room for a Red Gate Key + Upgrade Component + Mod, and activate the next Escape Hatch.
Open the next arena door, clear enemies, pick up another Upgrade Component.
Exit → third Cultivation Chip.
Drop down — you land right at the Red Zone.
Red Zone loot: stair corner Upgrade Component, lower laser corridor Upgrade Component, upper fight drops Pure Lunum + Mod.
Install all three Cultivation Chips, path extends up.
Clear, exit for Pure Lunum. Right-side hidden wall → Safe Box. Then left.
Lower corner: Upgrade Component. Interact with the console to unlock extra weapon slots, then continue to the second Lim regulator.
Items in this area
- Sticky Bombs · dropped weapon
- Red Gate Key
- Safe Box × 4
- Pure Lunum × 2
- Mod × 3
- REM chip × 2
- Mini Cabin × 1
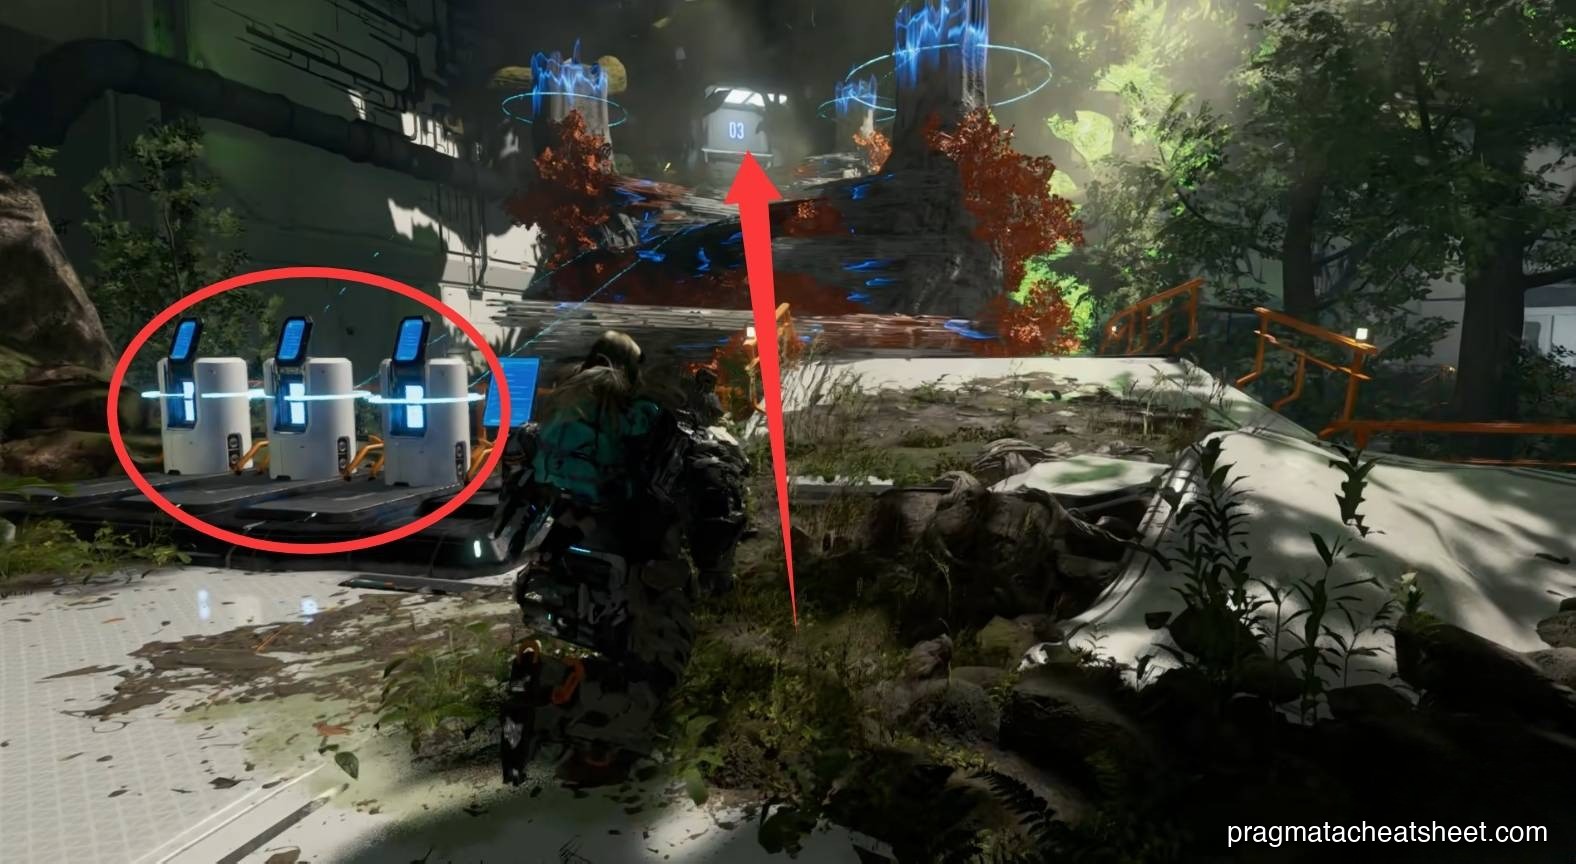
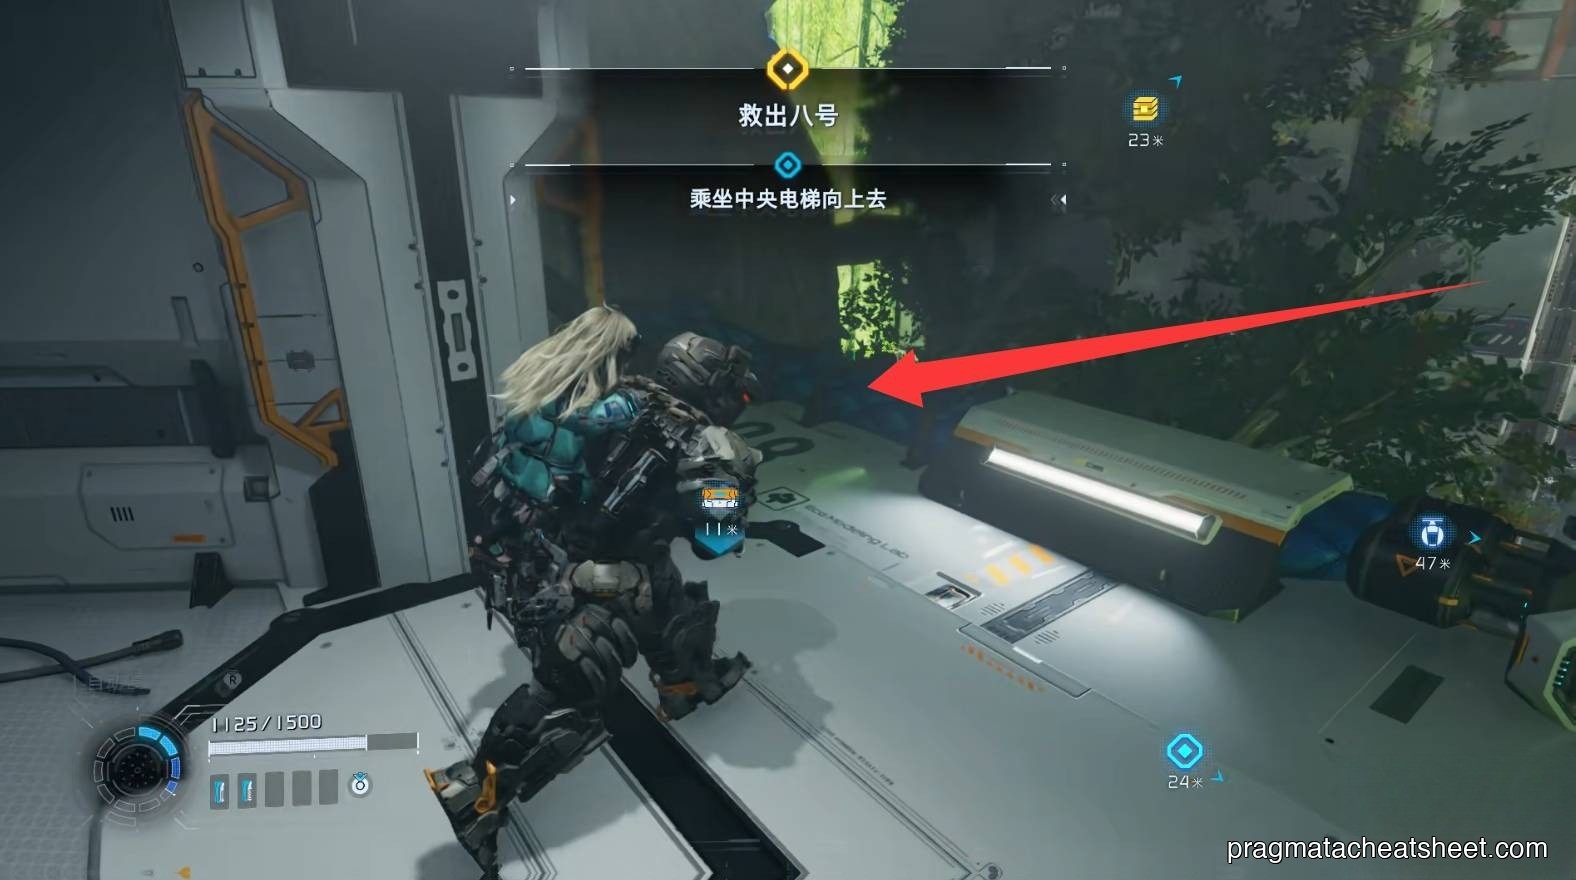
03 — Central Hall (Upper)
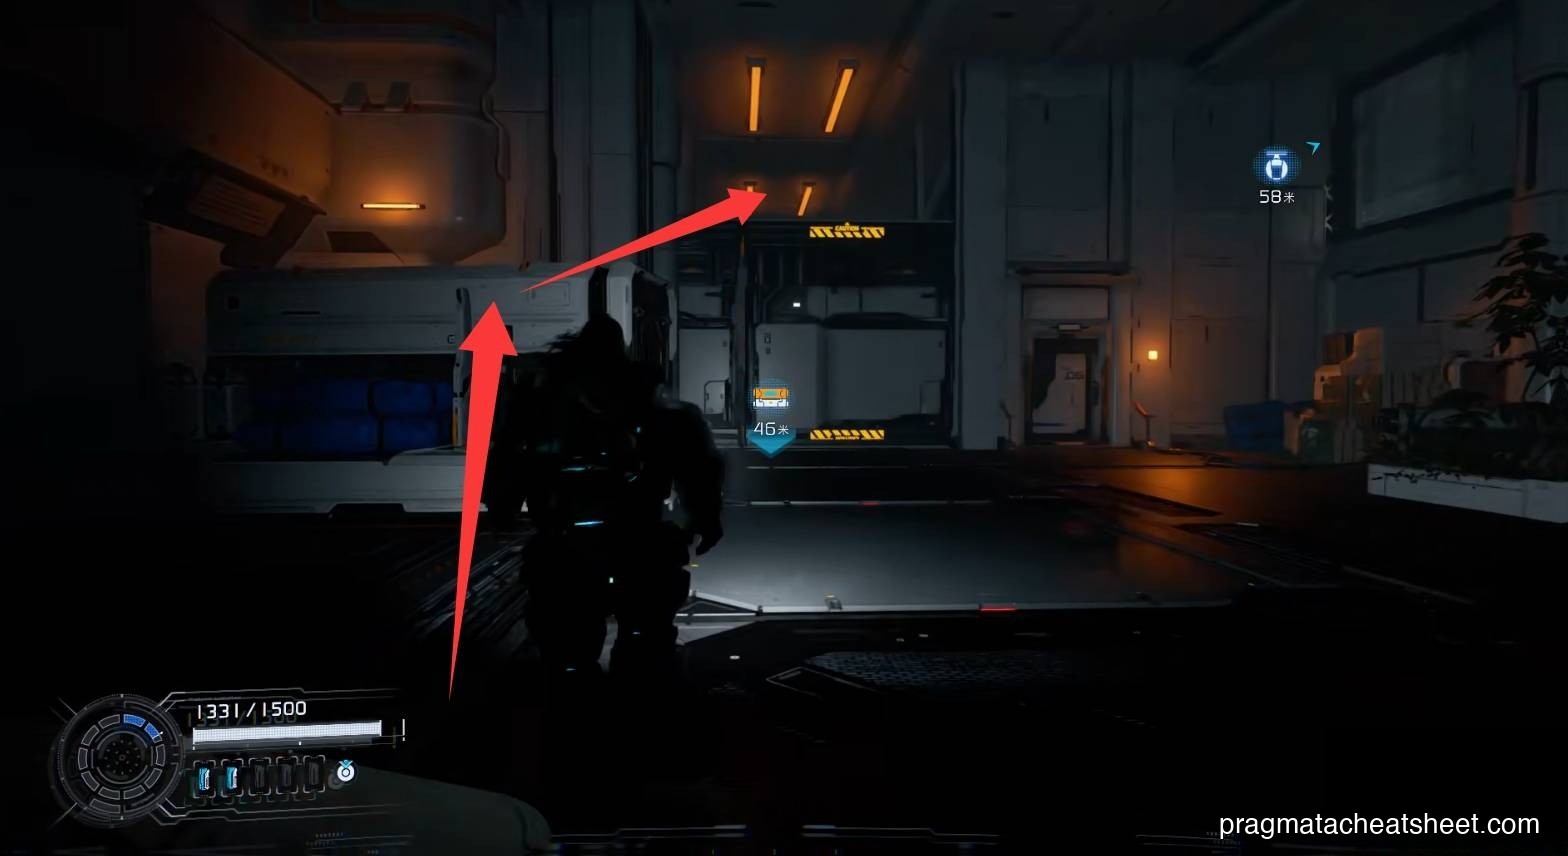
Reboot the second regulator → back to the central elevator, now unstuck. Before dropping, note the Safe Box at the lower-left and grab it (or ride up first, drop for it second pass — both work).
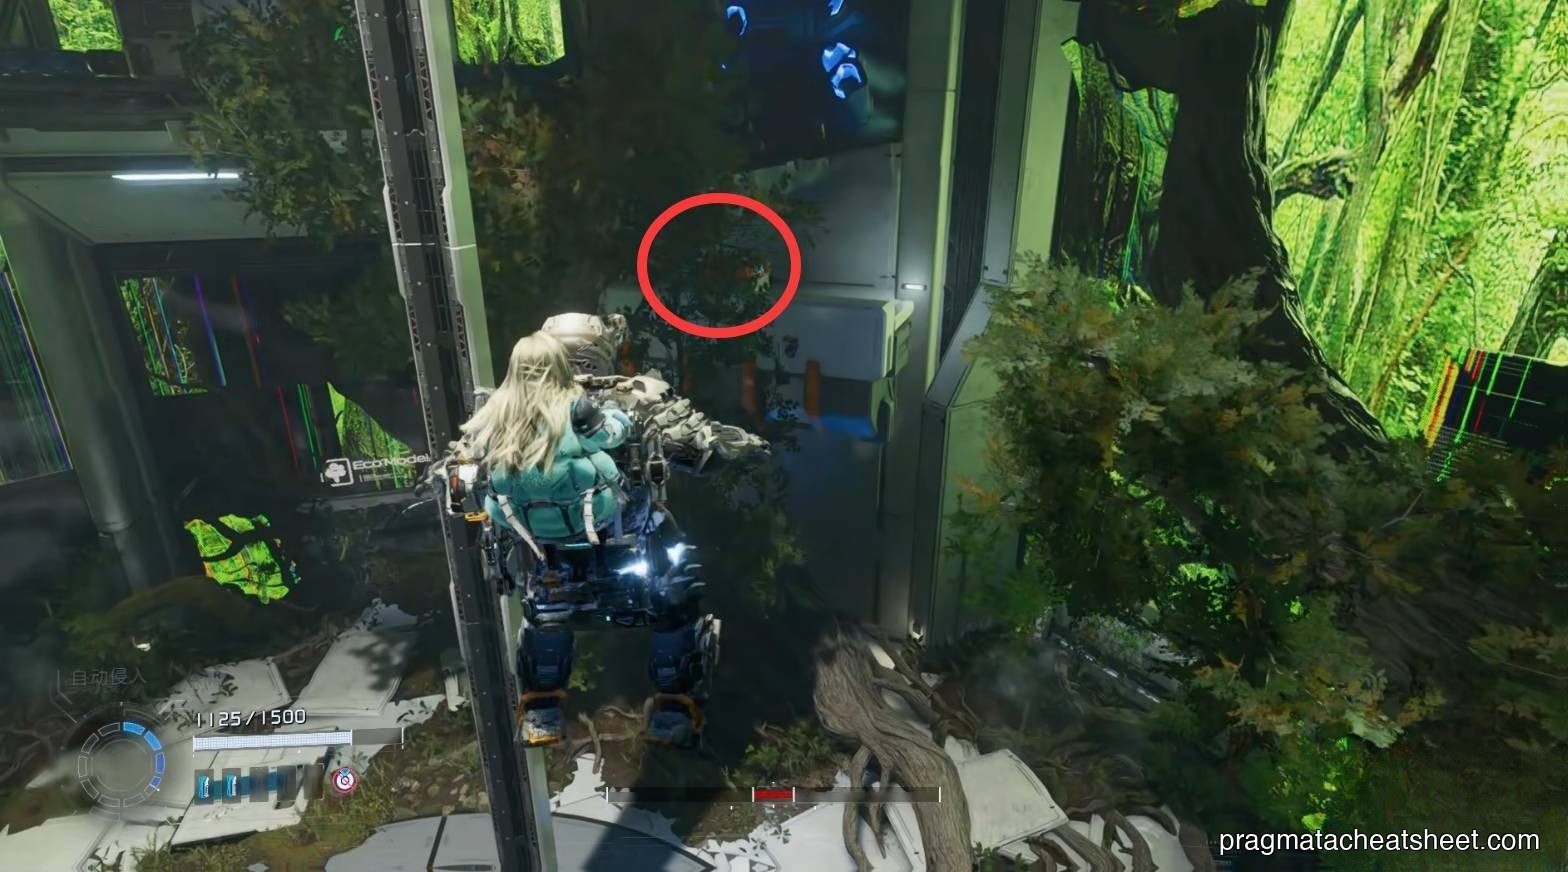
Ride up — Escape Hatch by the elevator. Adjacent ledges:
- Mod · platform beside the elevator
- Upgrade Component · platform below the Mod
Up the stairs, behind the tree root: Upgrade Component.

Items in this area
This page mainly finishes off 01's collection list: Safe Box × 1, Mod × 1, plus scattered Upgrade Components.
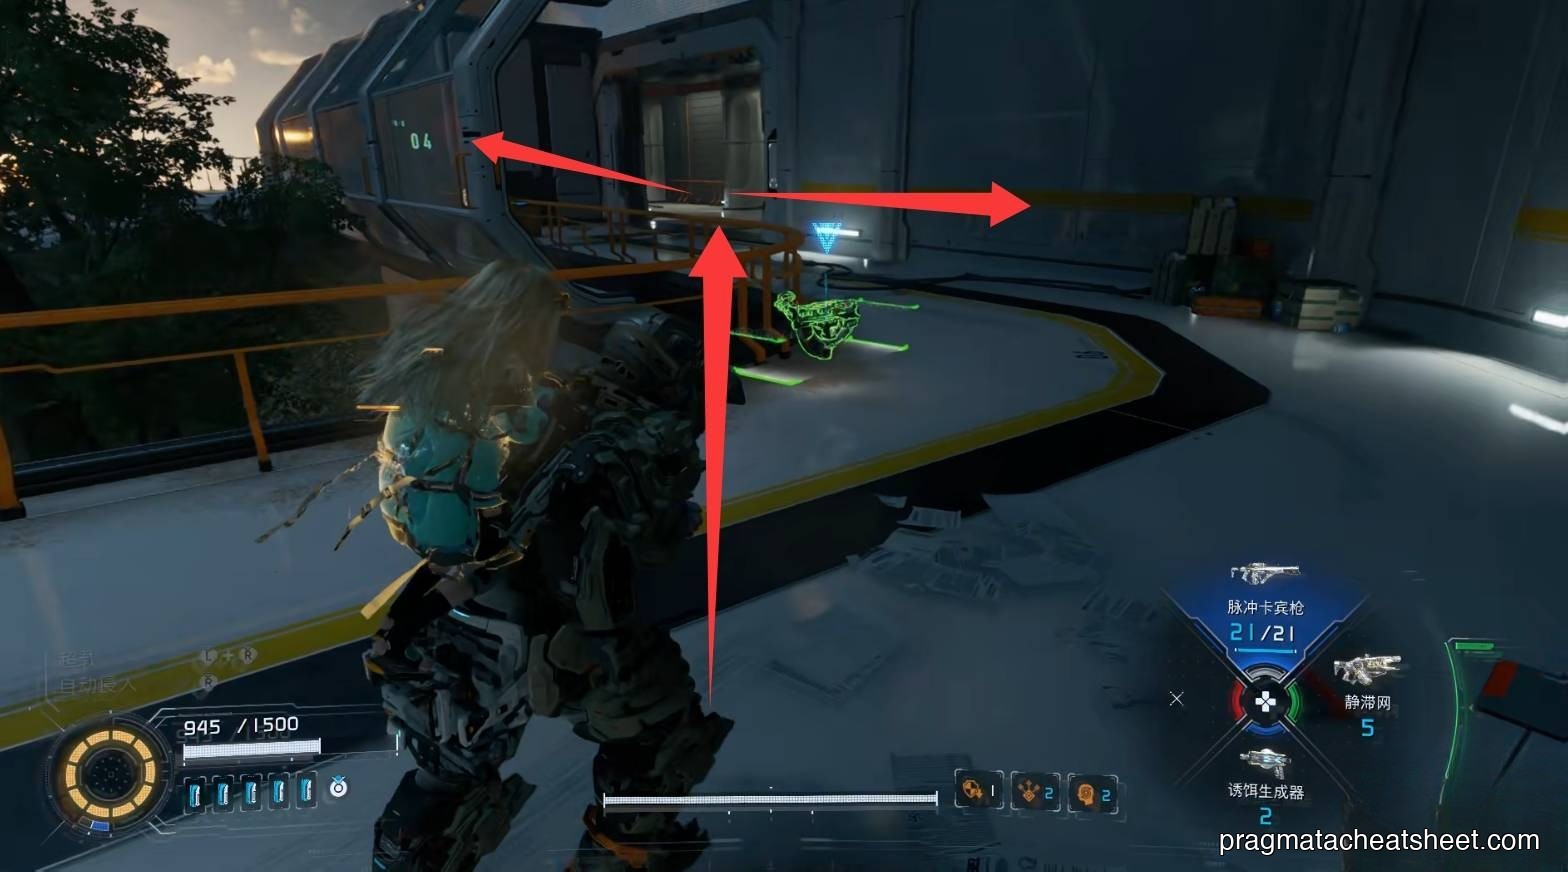
04 — Soil Research Center
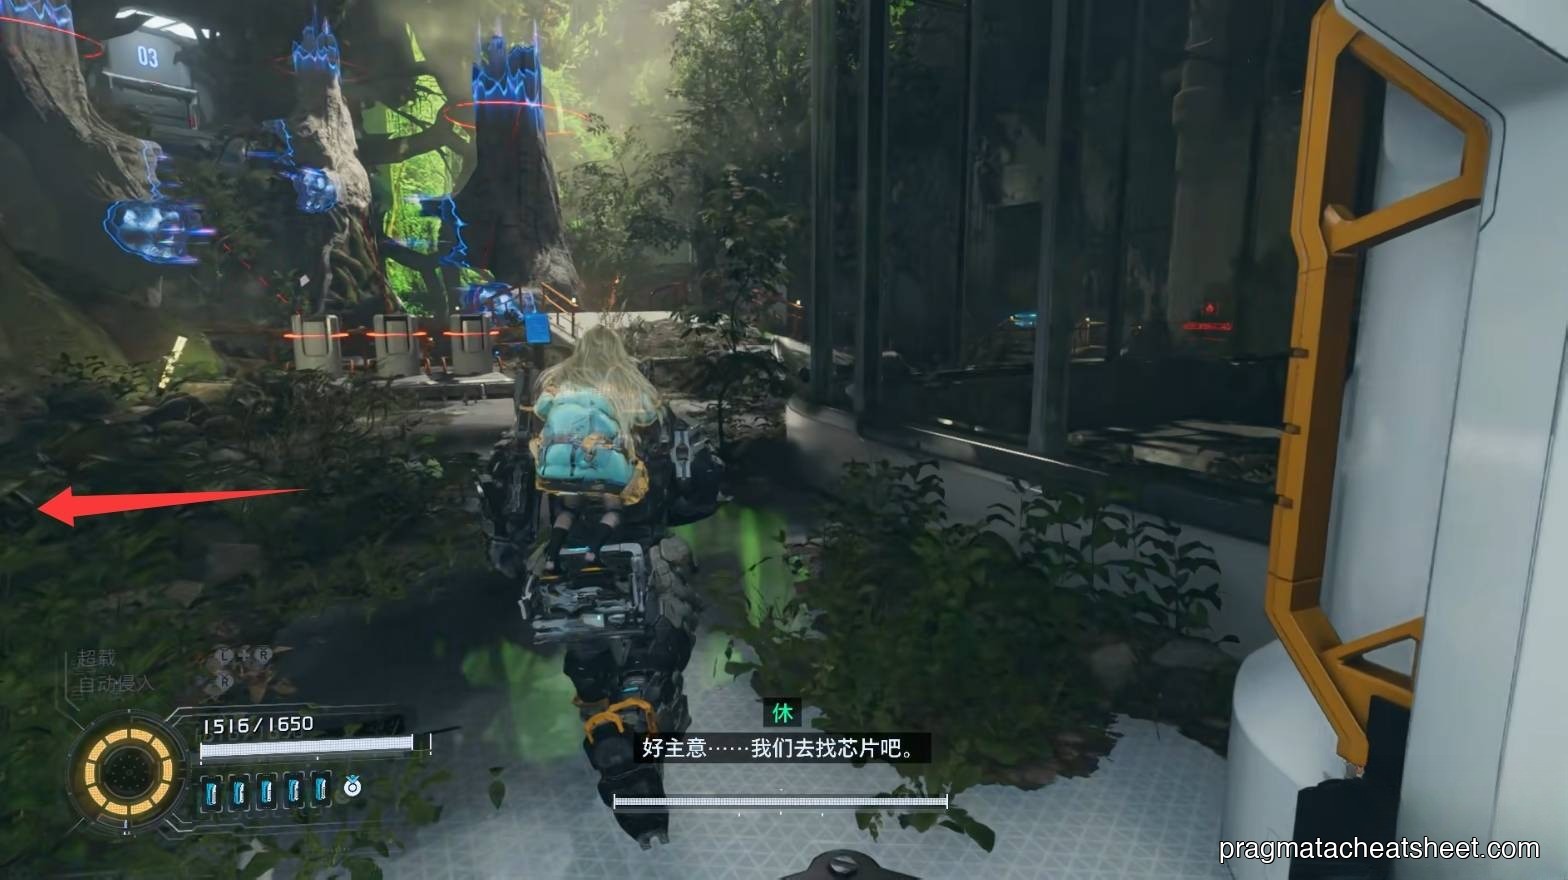
Past the Escape Hatch → forest zone. Right fork first: Safe Box.
Beach cutscene and invisibles
Post-cutscene, a cave-mouth Lim barrier hides Training Data below.
Back on the beach, across the mouth → Upgrade Component behind a large rock.
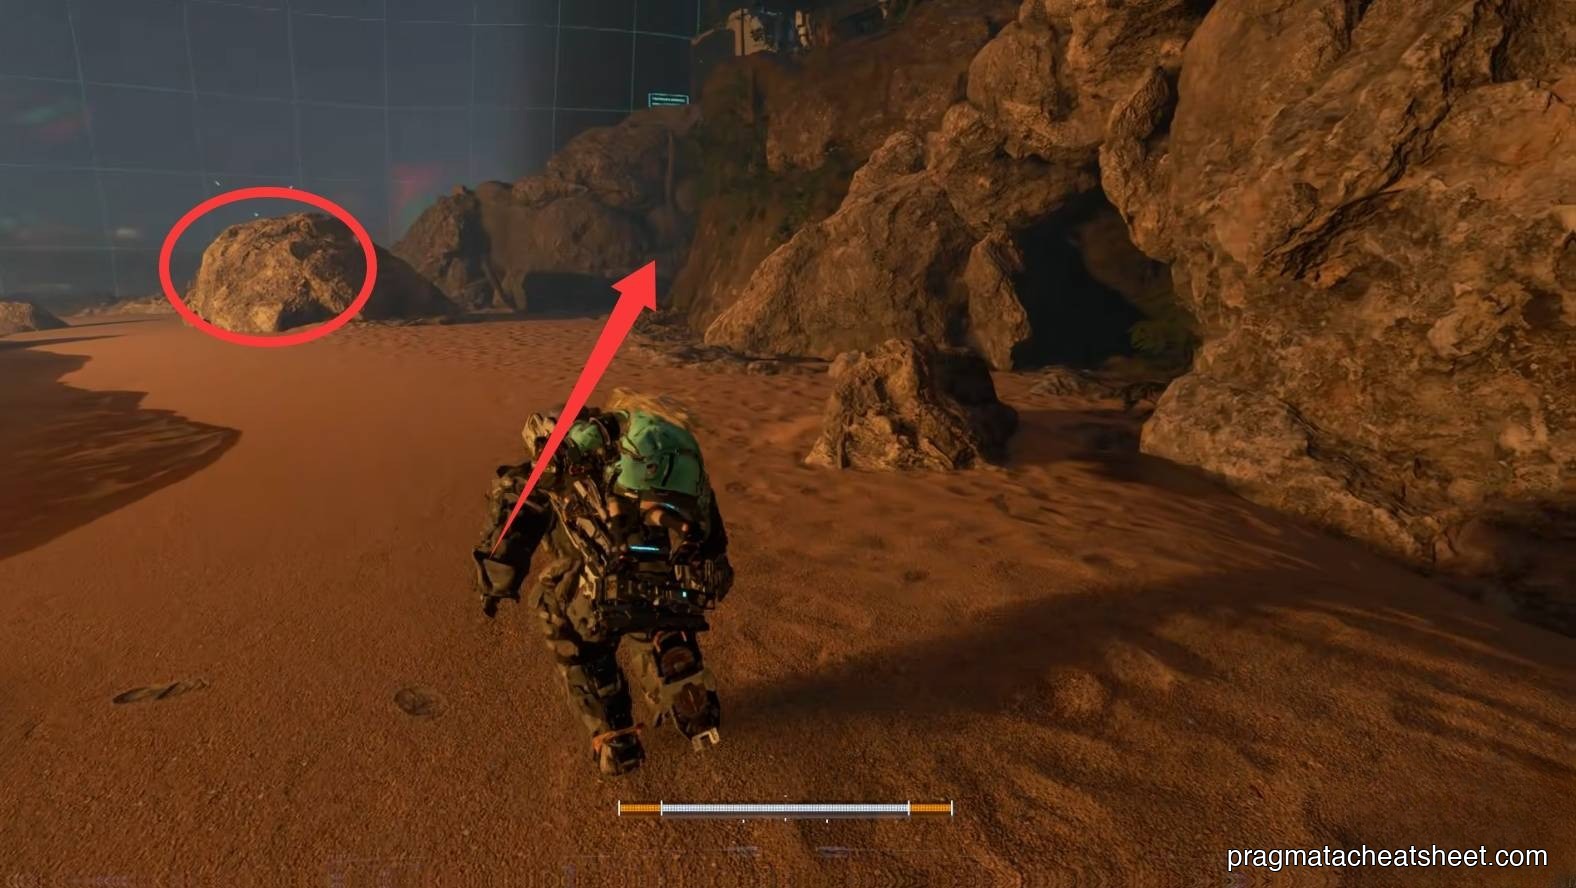
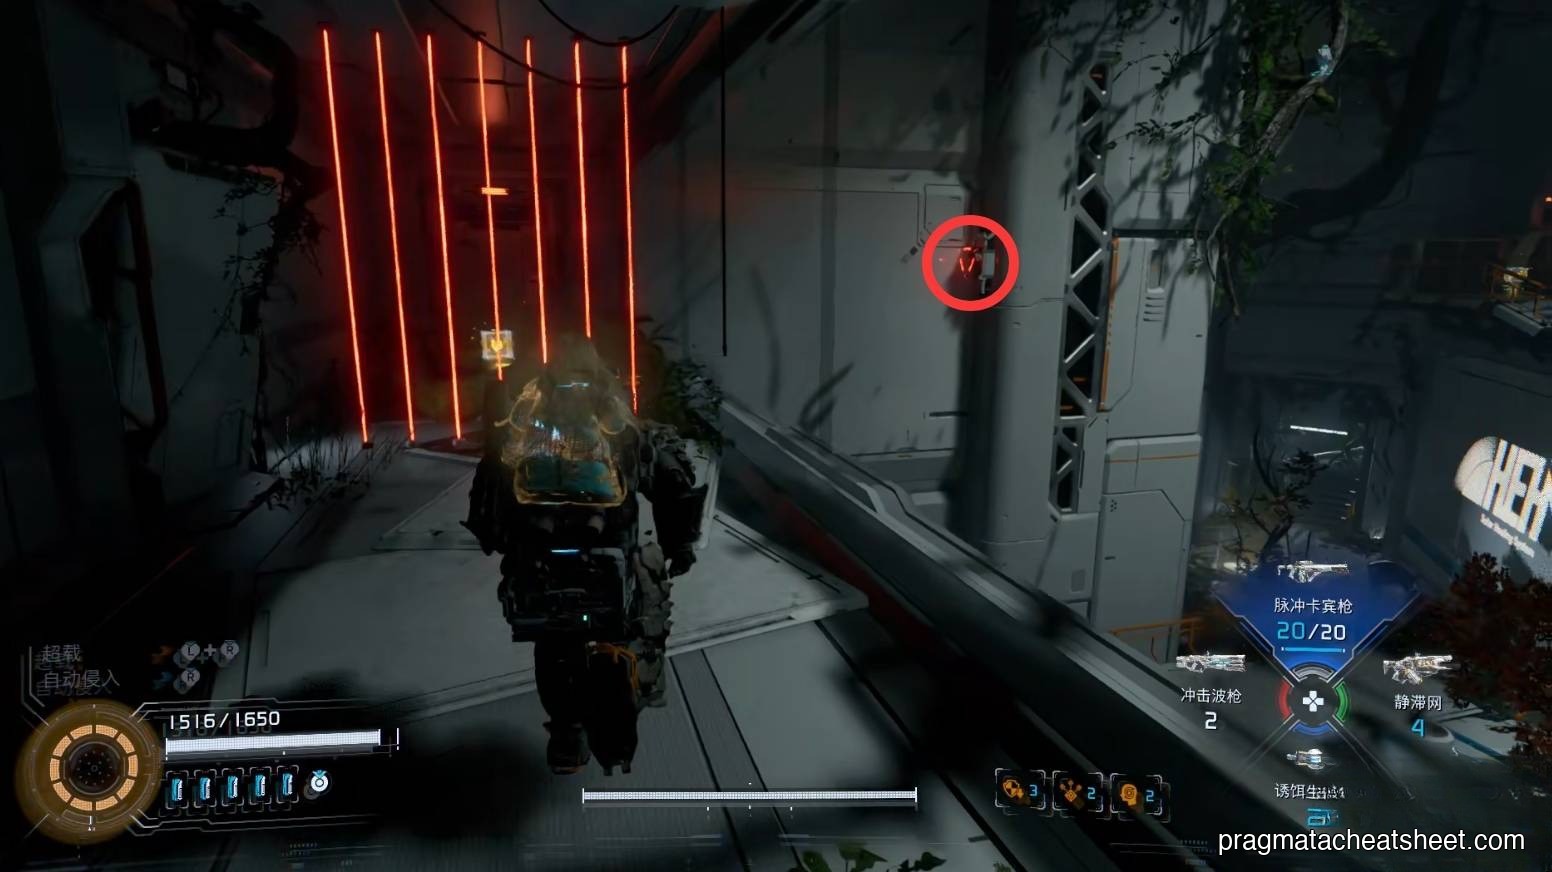
Four-lock door ahead. Hack the two adjacent red nodes, then take the right cave.
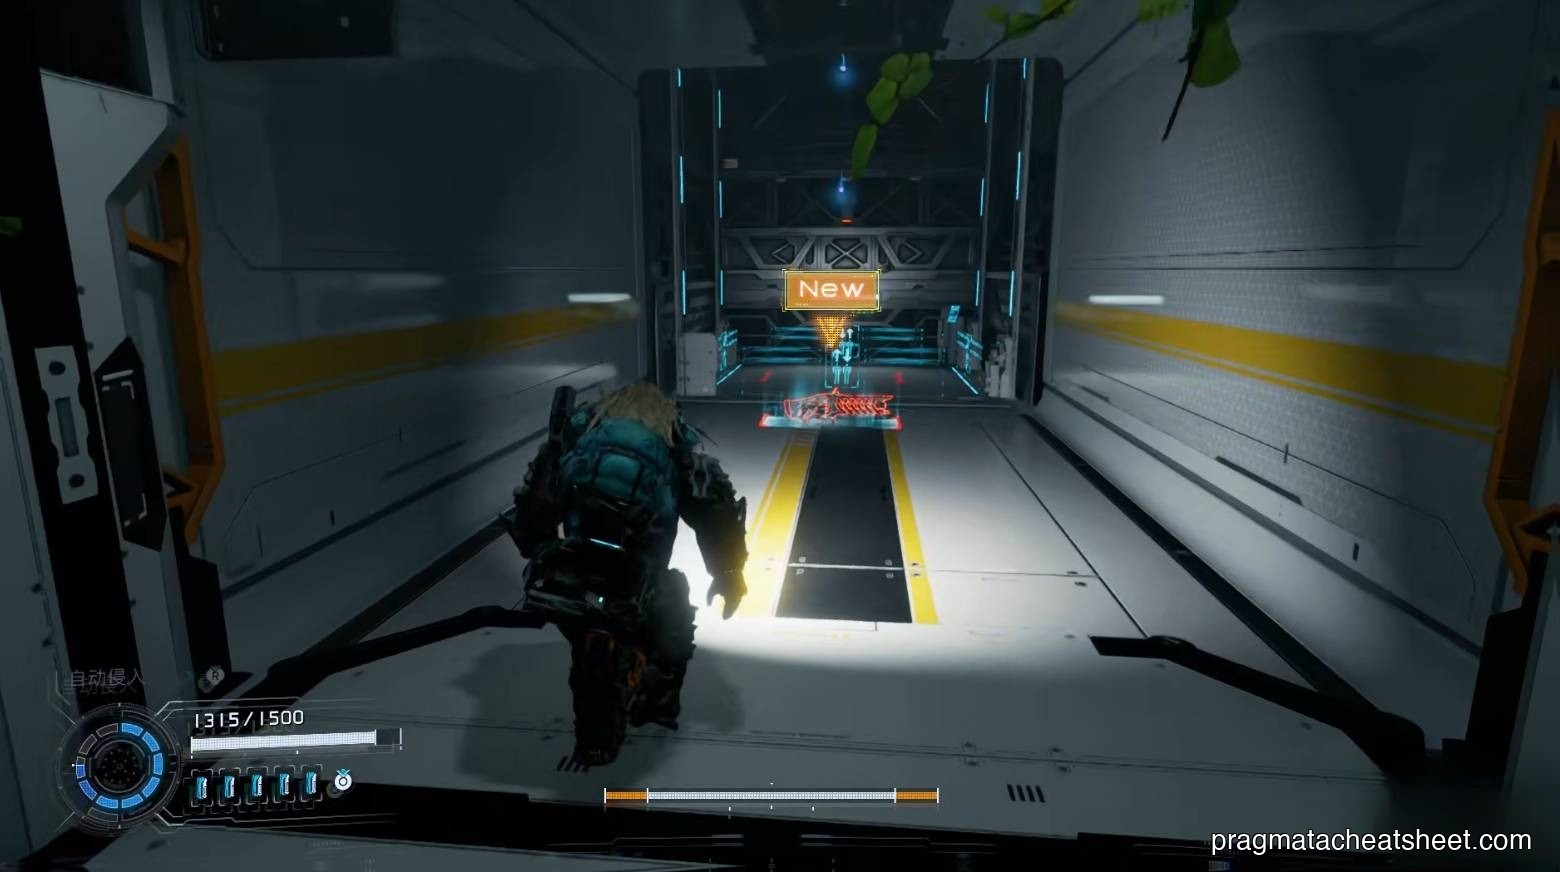
Invisible enemies inside. Clear them, hack a red node, grab the Photon Laser weapon.
Mini Cabin and filament climb
Ride up. Along the corridor, left side branch: Mini Cabin.
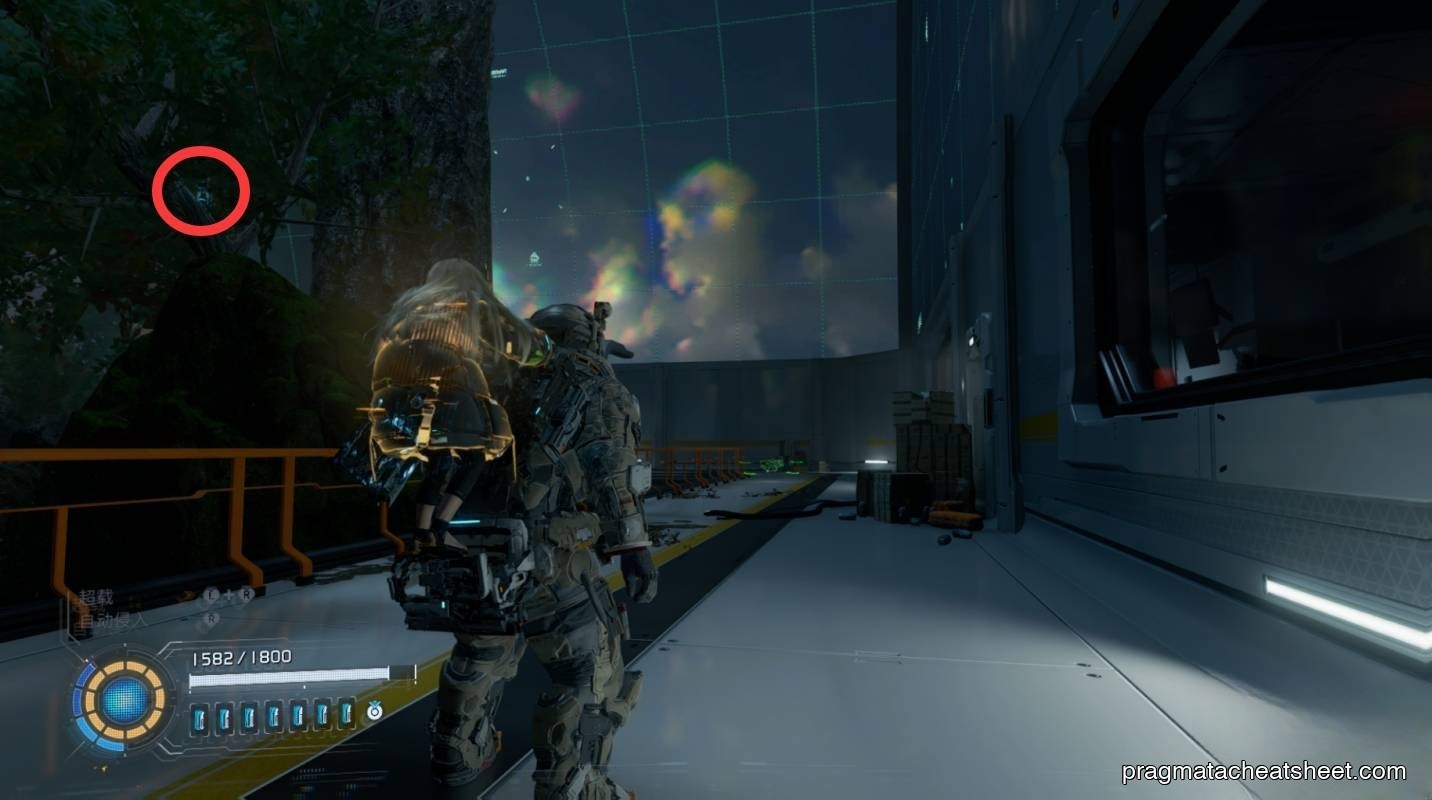
Enter, right-turn for a Safe Box, then left to hack a red node.
Exit to the platform, follow a hanging Lim filament downward for a Safe Box.
The four-lock door on the beach is now open → Escape Hatch.

Light-wave machine
Ride an elevator down. A machine shoots light waves — contact temporarily blocks hacking. Jump over the waves, quickly hack the emitter — it changes color and will even hack passing enemies for you.
Corner by the elevator = hidden wall → Safe Box.
Left: clear barrier, Safe Box. Right door: Safe Box at end, then operate a machine to clear tree roots.
New path opens.
Drop, clear enemies. Side bedroom: Safe Box.
Exit door, left clear barrier → REM chip. Then through the yellow barrier for a big fight.

Tricky Mini Cabin
Near the REM chip, a Mini Cabin sits behind glass. Shoot through a gap on the side.
Through the yellow barrier, upper deck has two Safe Boxes. Grab before or after combat — your call.
Post-fight, exit → Pure Lunum.
Jump in, clear barrier → Safe Box. Small right door → elevator. Walk to the end first for an Upgrade Component, then take the elevator for the next Escape Hatch.
Items in this area
- Photon Laser · dropped weapon
- Safe Box × 10
- Pure Lunum × 1
- REM chip × 1
- Training Data × 1
- Mini Cabin × 2
05 — Terrarium
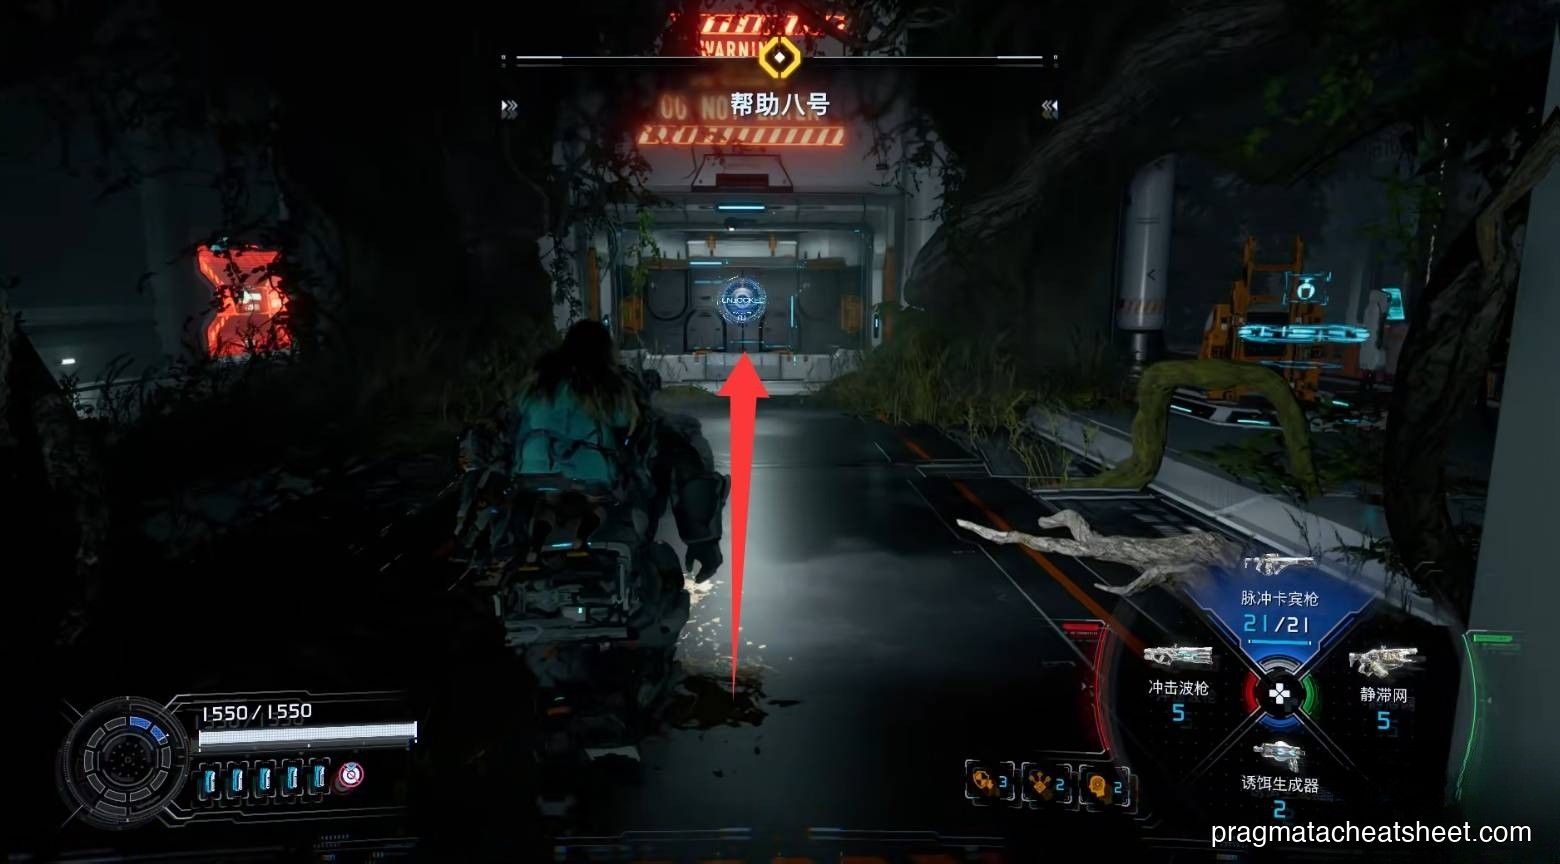
Upgrade Component behind the elevator. Along the Hatch side, hack a red node at the end to open the door.

A Red Zone on the other side — no key yet. Skip, drop through the middle door to the boss.
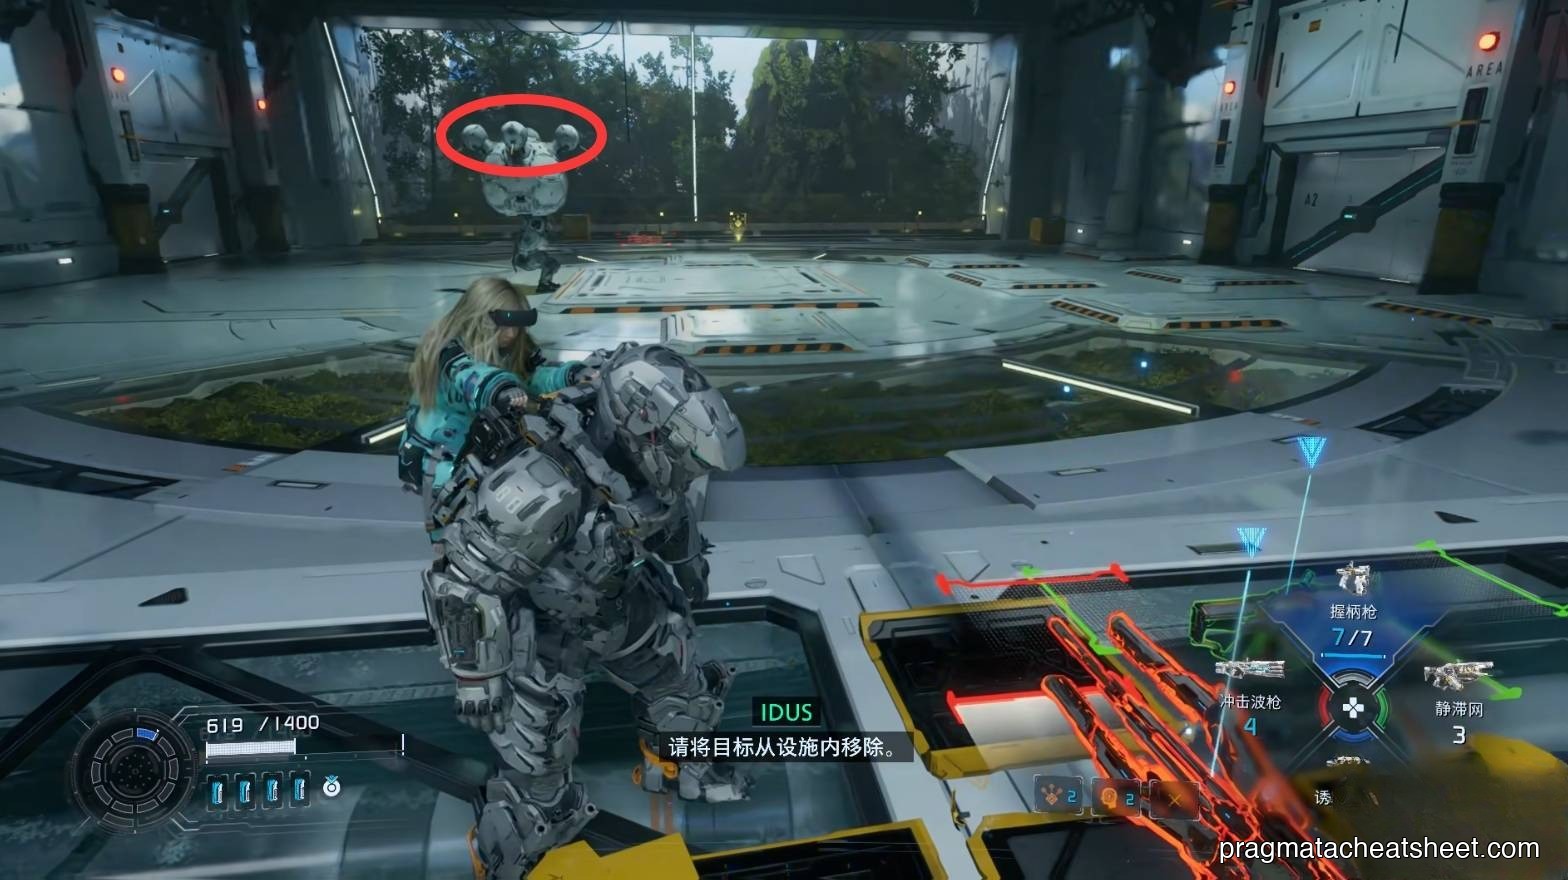
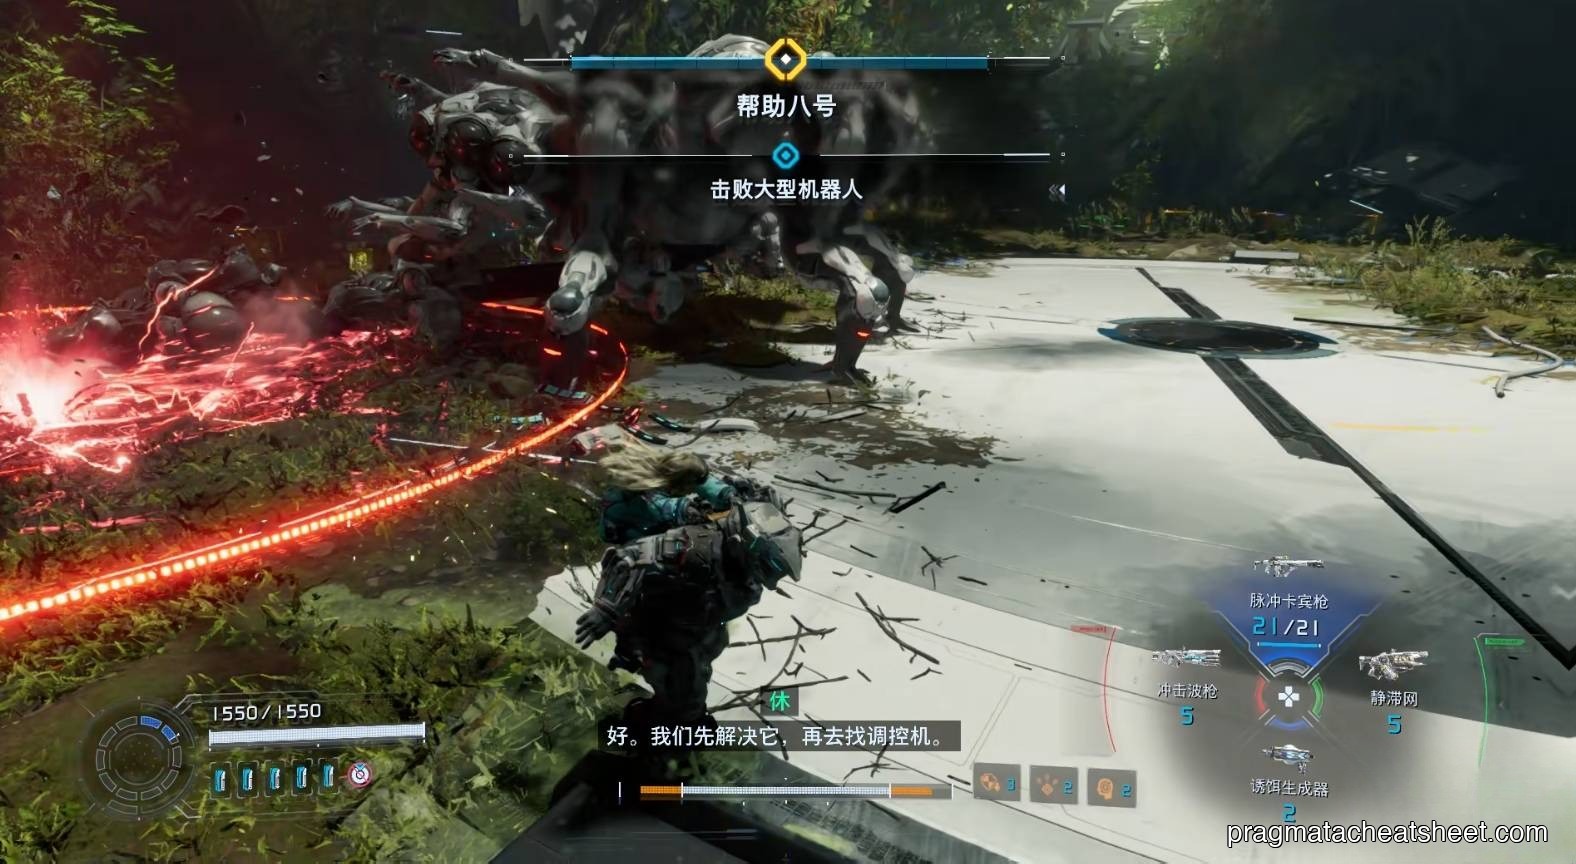
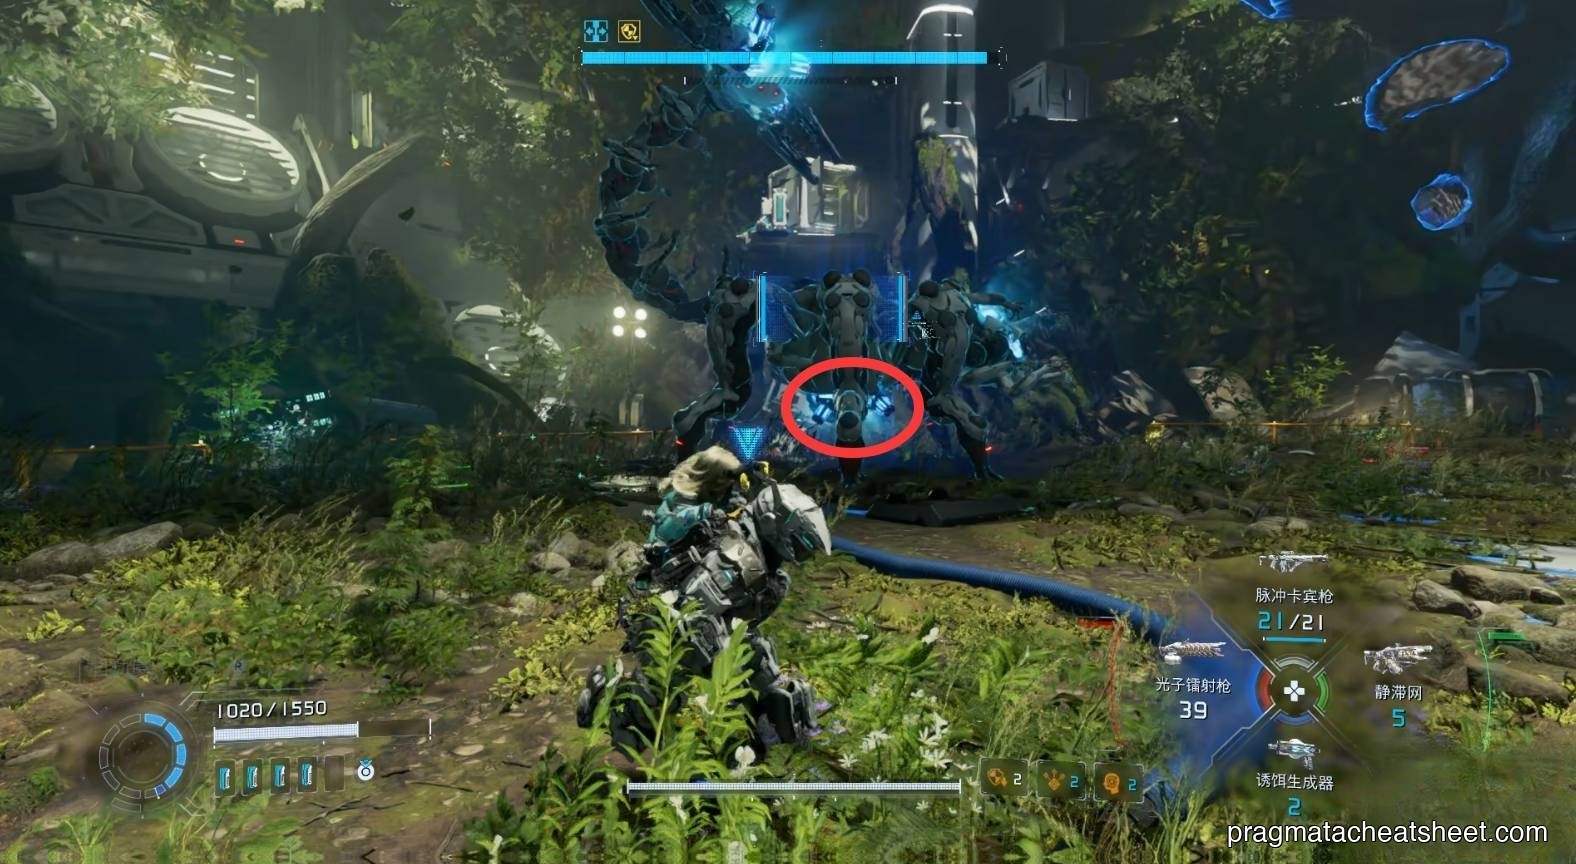
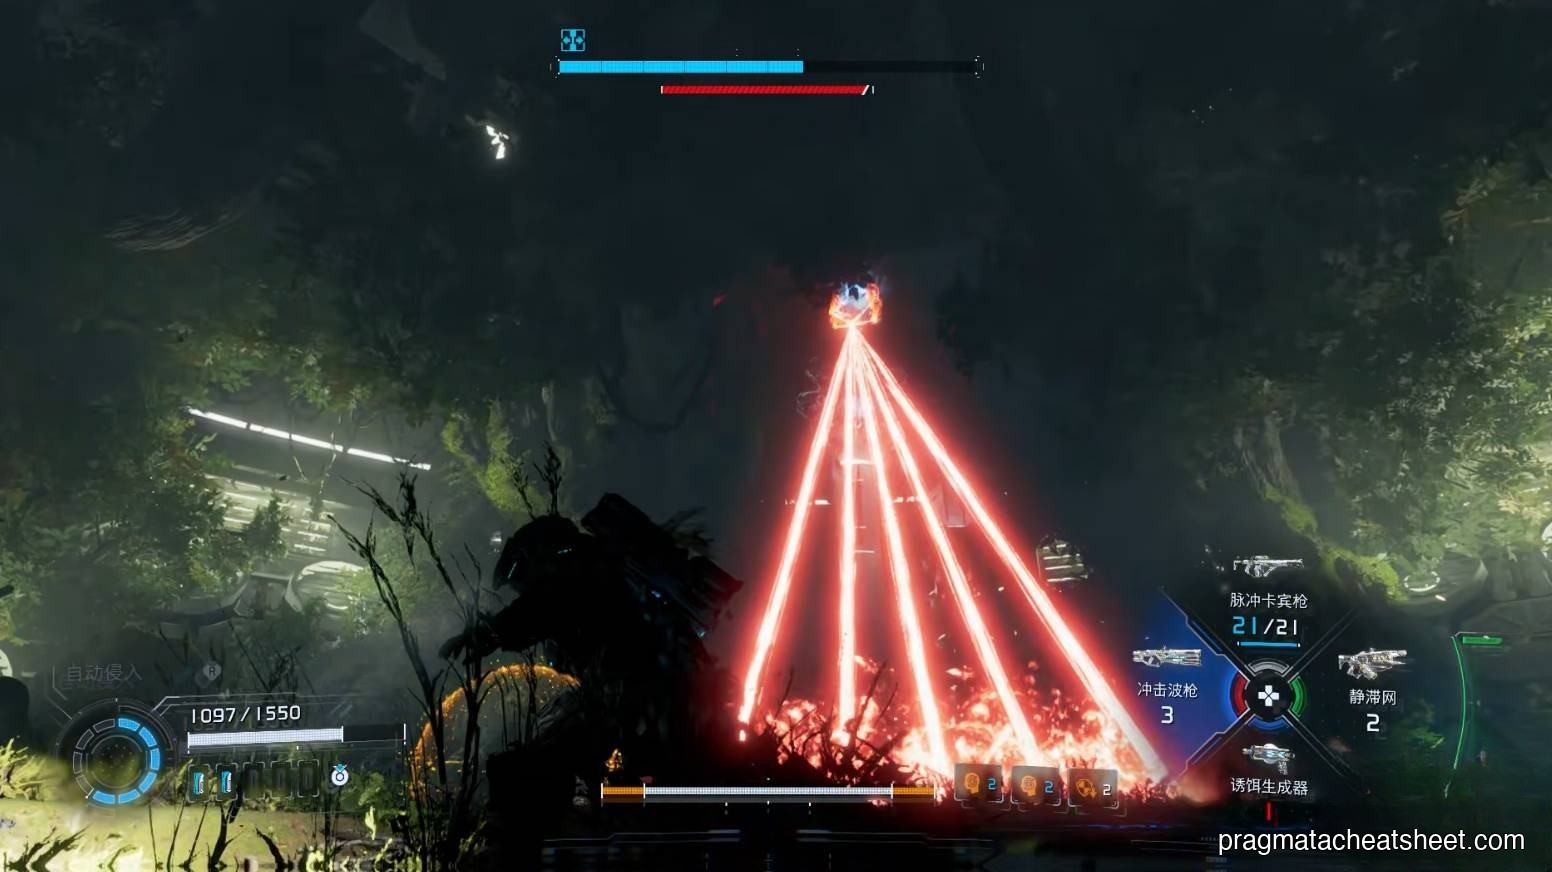
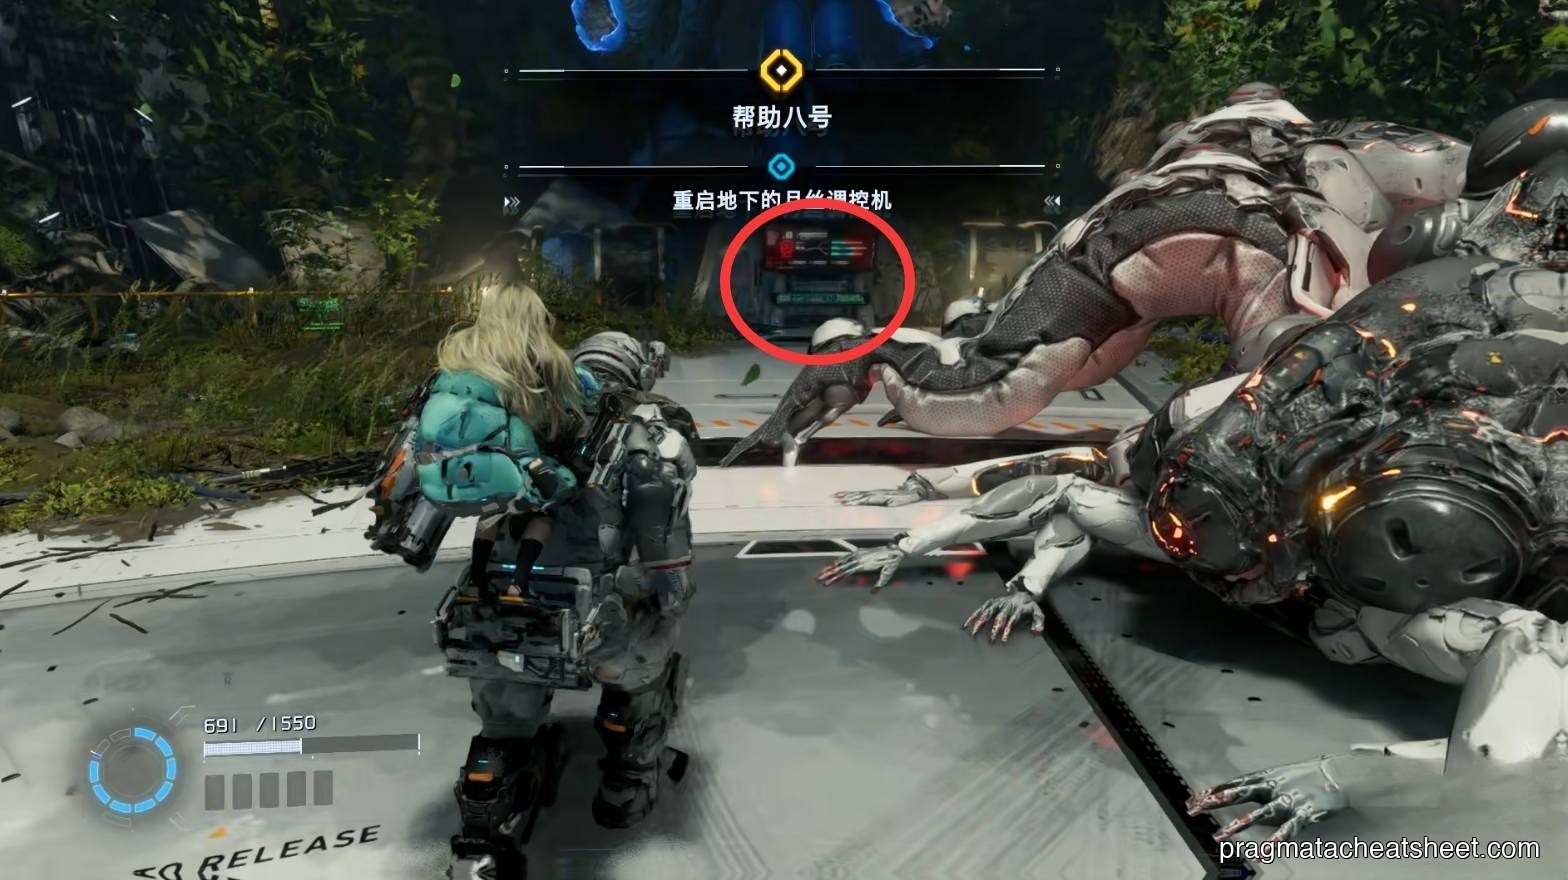
BOSS · Large Bot (Garden Warden)
Location: bottom of the Terrarium drop Phases: 2 (tail-sweep, then laser leap) Weak Points: head, glowing tail tip, belly
Top up Overdrive on the local adds.
Opening
Charge = side-dash clear.
Tail forward + glowing both ends = incoming sweep. Jump or back-dash.
Weak points after hack: head, glowing tail tip, and belly.
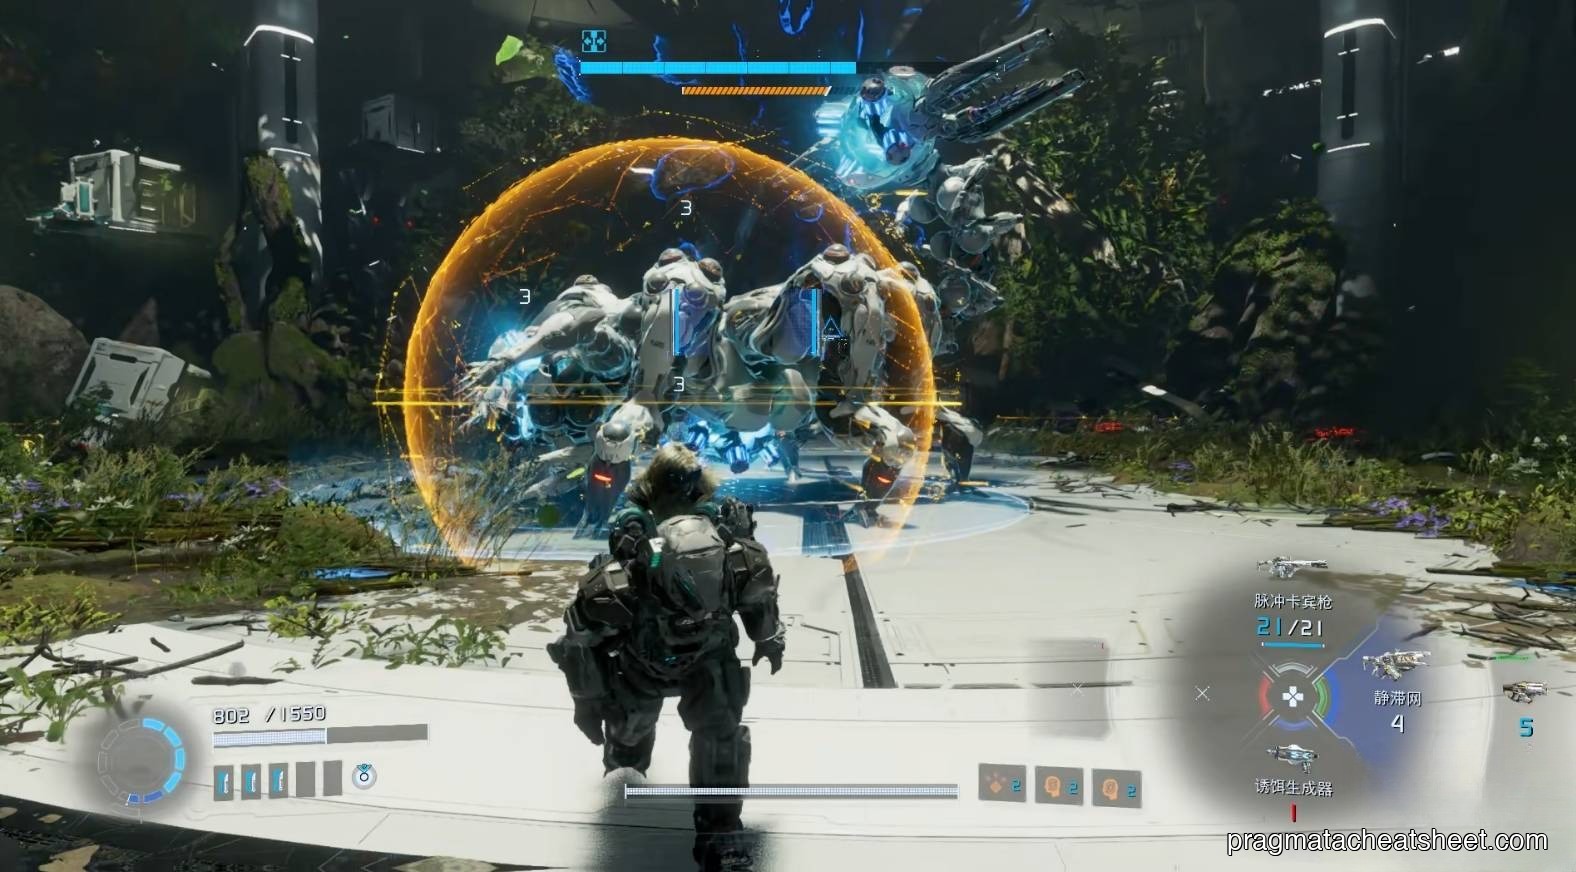
Mid-fight
Grab resupply around the arena. Decoy Generator grabs aggro, Stasis Net locks it in place for weak-point shots.
~50% HP: it leaps to a perch and fires laser arcs. Thread the gaps.
It also shoots bombs — hack them mid-air to reflect back at itself.
Execution and reward
Staggered prompt = sprint in to execute.

Rewards
- Tier 3 License Key
- Reboot the final Lim regulator after the fight
- A permanent Escape Hatch spawns in the arena
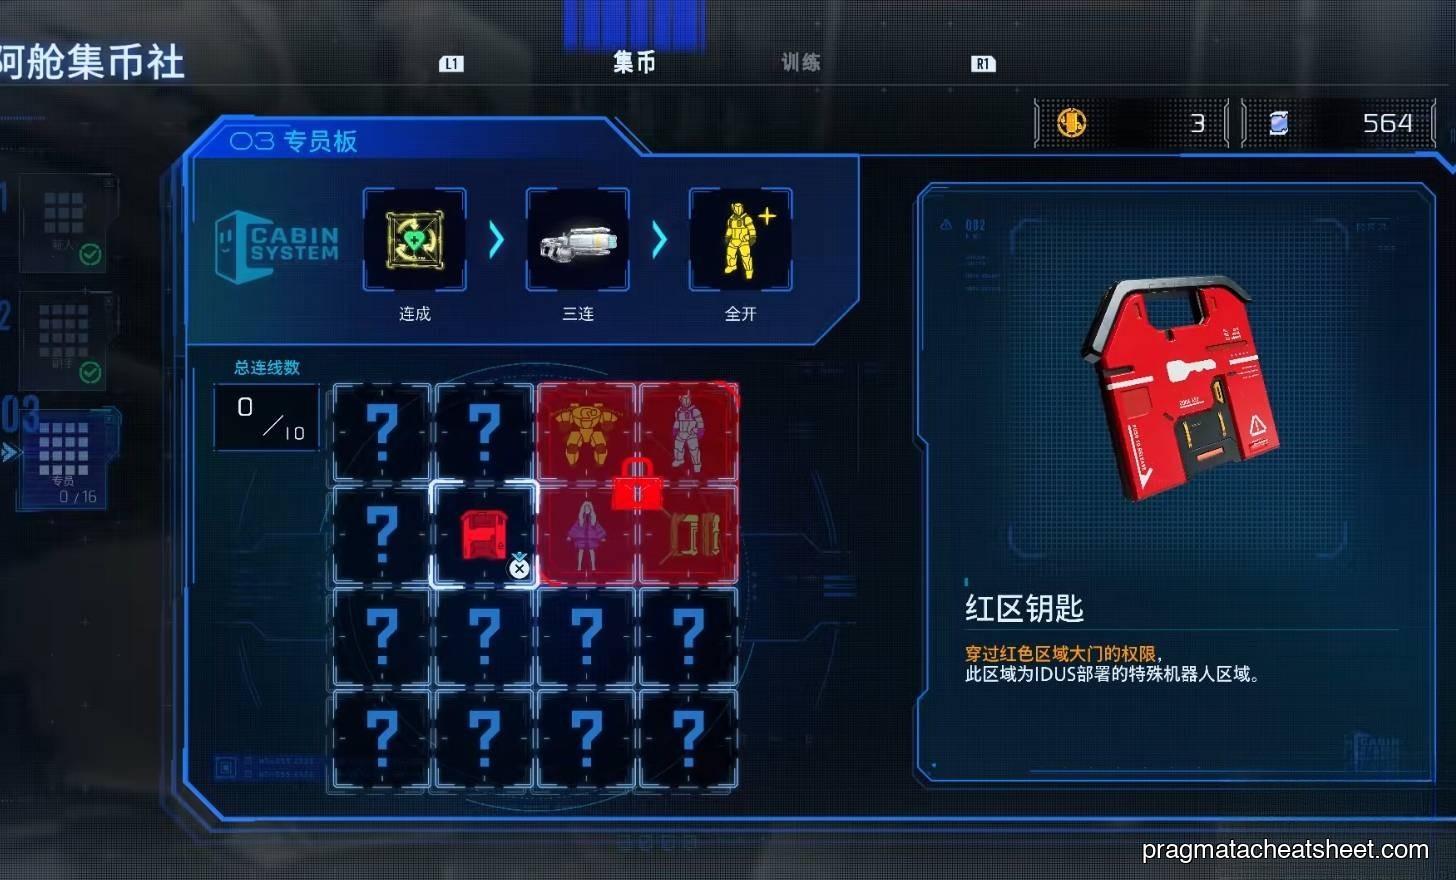
Back at the Shelter, the new Stamp Club rewards a Red Gate Key and a three-line reward: Code Generator weapon. With the key, revisit Terrarium's Red Zone for Pure Lunum + Storage Expander.
Tips
- Reflect its bombs back — you'll chunk the fight by thirds
- Tail hits both horizontally and vertically, so jump-back beats a forward dodge
- The perch phase has bulk ammo; reload before climbing down
Next
→ Continue to Sector 4 · Lunum Mines