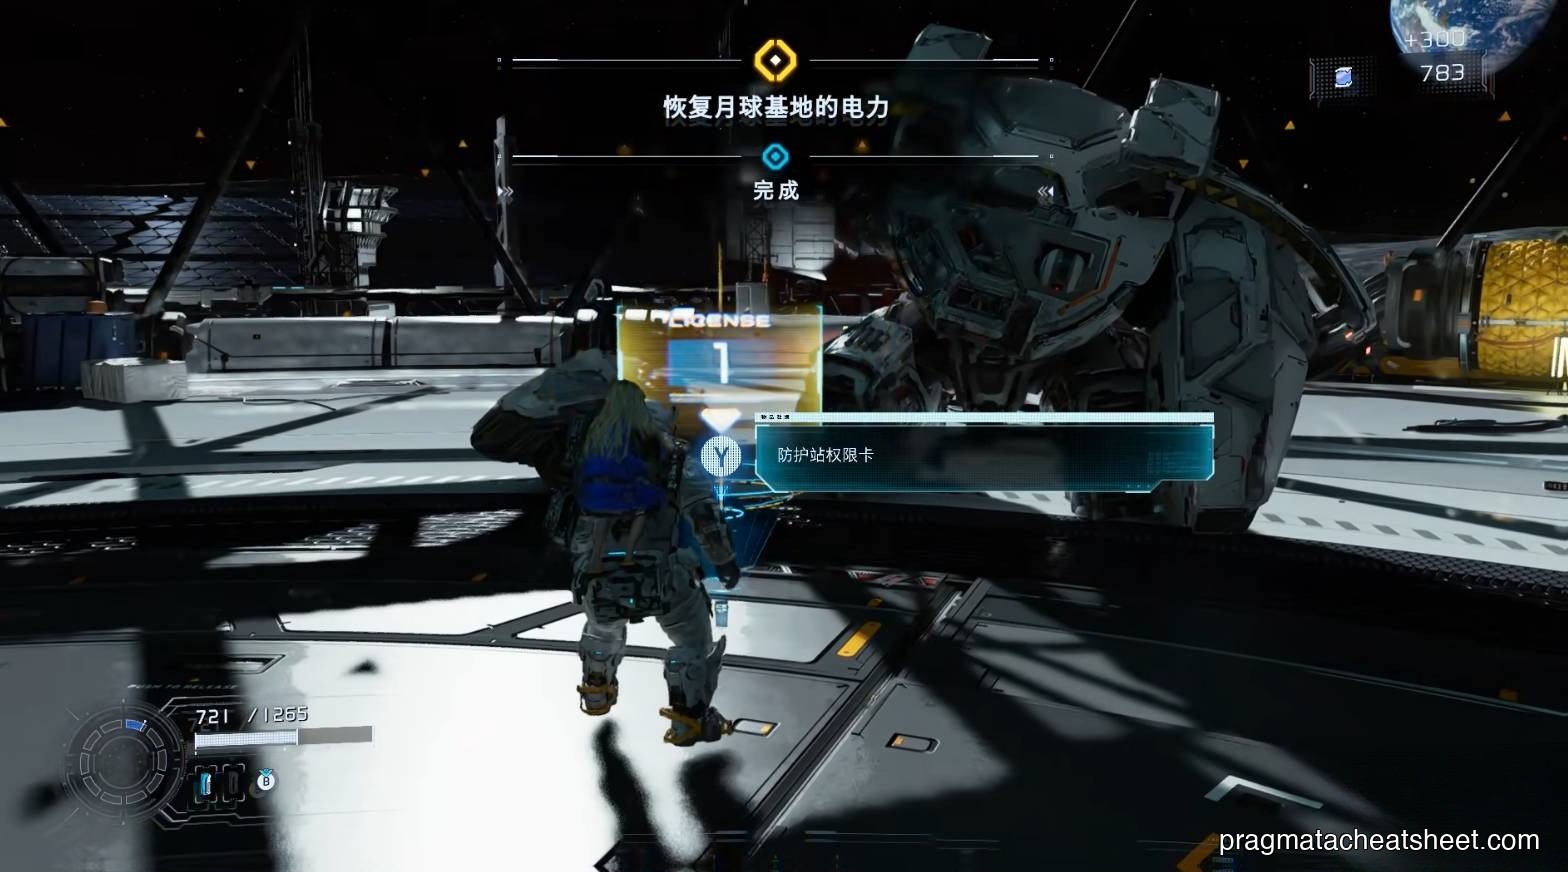
The Sector Guard (IDUS) is the first real wall the Cradle throws at you — a lumbering frame bot that sits at the top of the Solar Power Plant and guards the Tier-1 License Key. It's a teaching fight: if you land the full hack → weakpoint loop once, the rest of the game clicks.
Fight Overview
Trigger the fight at the top of Hub Hall after powering up the Solar Power Plant elevator. Two clear phases — a grounded opener and a more aggressive follow-up after the first execution. The core loop is Stasis Net → hack → shoot the back canister → execute on stagger. Learn that rhythm and everything else is footwork.
Preparation
- Recommended weapons: Pulse Carbine for hack-ready chip damage, Shockwave Blaster for weakpoint bursts at close range
- Throwables to bring: Stasis Net — this fight practically requires it
- Heal reserve: at least 2× Repair Canister
- Before you walk in: clear the trash mobs on the approach floor first — they fill Diana's intrusion gauge so you can open with Overdrive Protocol
- Shelter upgrades that matter: any Shockwave Blaster firmware upgrade from the Firmware Updater, plus one Pulse Carbine mod that boosts hack-chain damage
Phase 1 — Stabilize and Probe
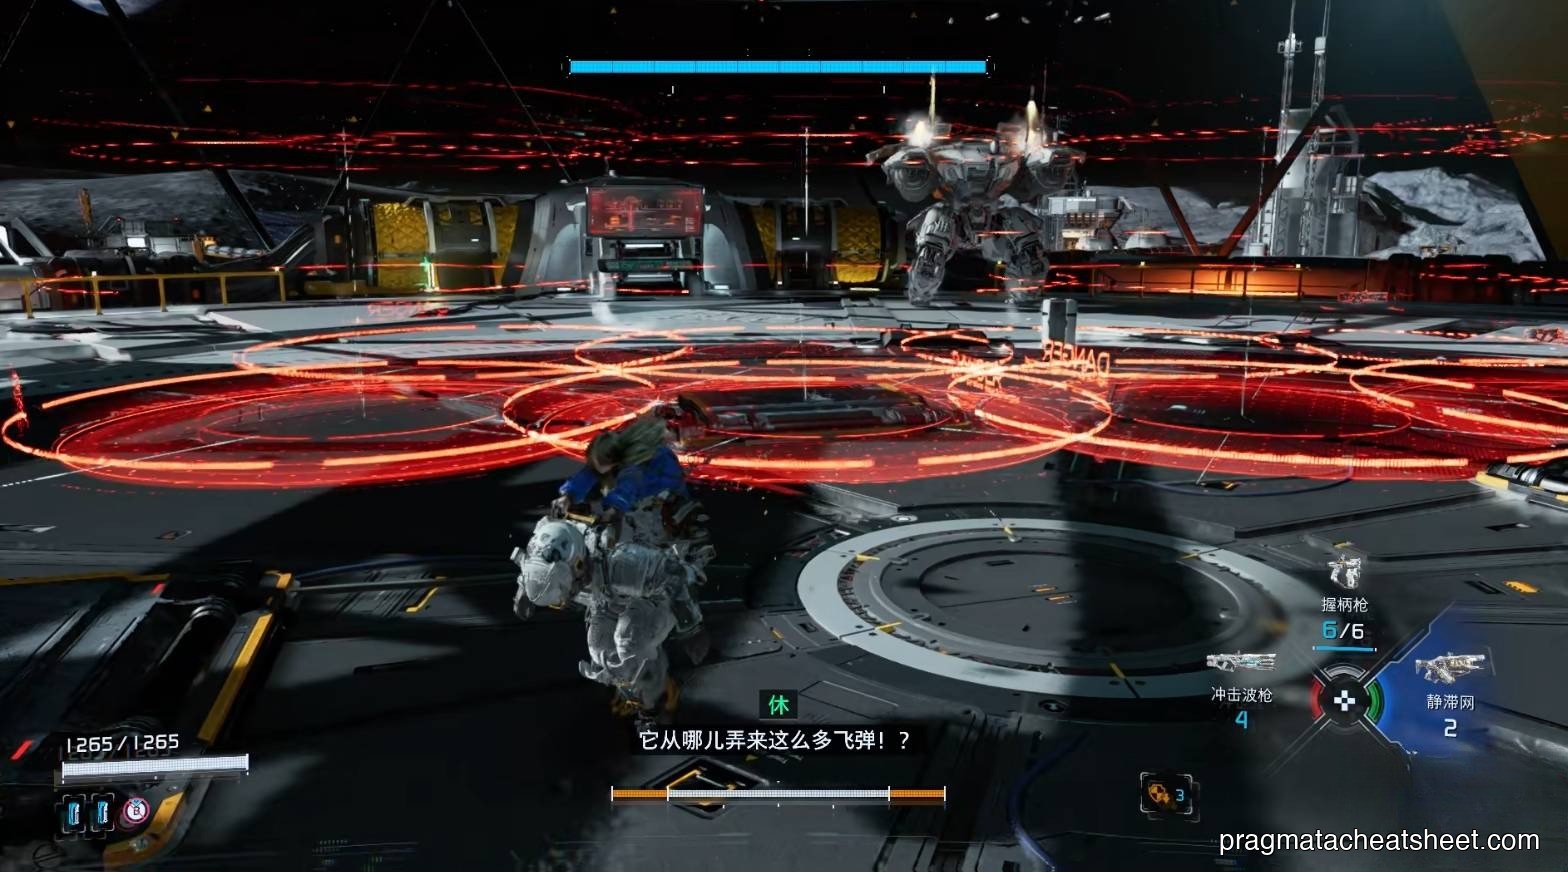
The fight opens with missile volleys. Red circles on the floor telegraph the impact — dash-roll sideways the moment they bloom, don't try to out-range them. IDUS is slow but his attacks track you if you stand still.
Moves to watch
- Missile Volley — red floor rings; side-dash on bloom, keep moving
- Shoulder Charge — closes the gap fast; roll through him, not away
- Arm Slam — short telegraph, big stagger if it hits; back off
How to handle it
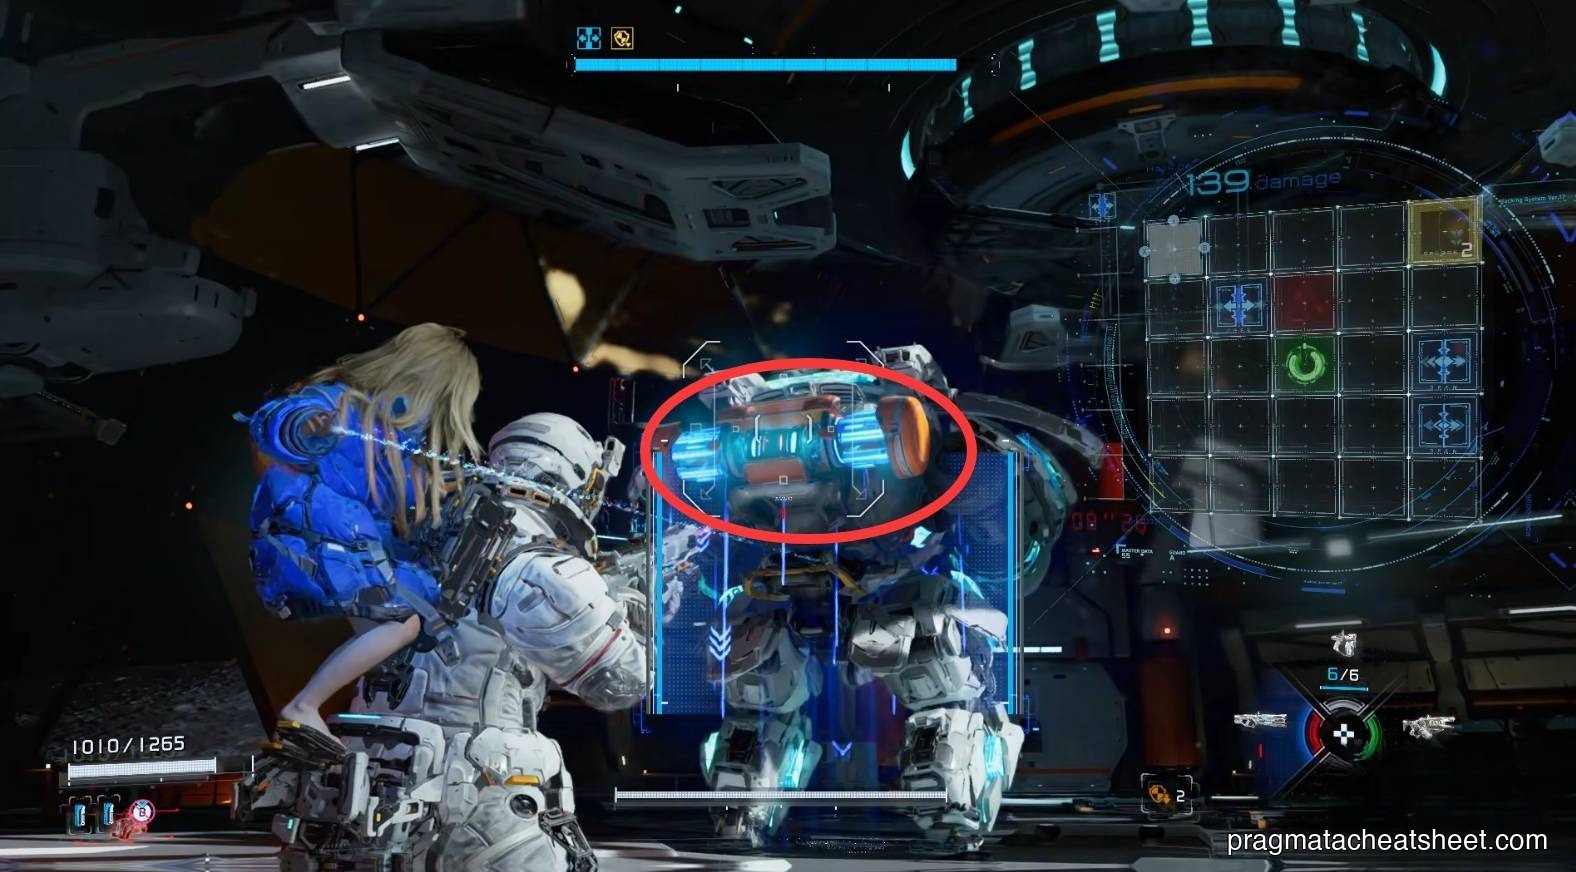
Net → Hack → Burst is the whole phase.
- Stasis Net him as soon as you have line of sight. He'll freeze for a beat.
- Open the hack panel and chain as many blue nodes as you can — blue extends the hack state. Yellow nodes in the same chain chip his defense down so the damage window hurts more.
- The orange core canister on his back is the weak point. Get behind him and unload the Shockwave Blaster at close range — it does noticeably more damage when the pellets aren't spread out.

Phase 2 — Execute and Finish
When his HP dips below the stagger threshold, he'll drop to one knee. Watch the HUD — a purple bar under his health and a purple ring around his body mean the finisher prompt is live.
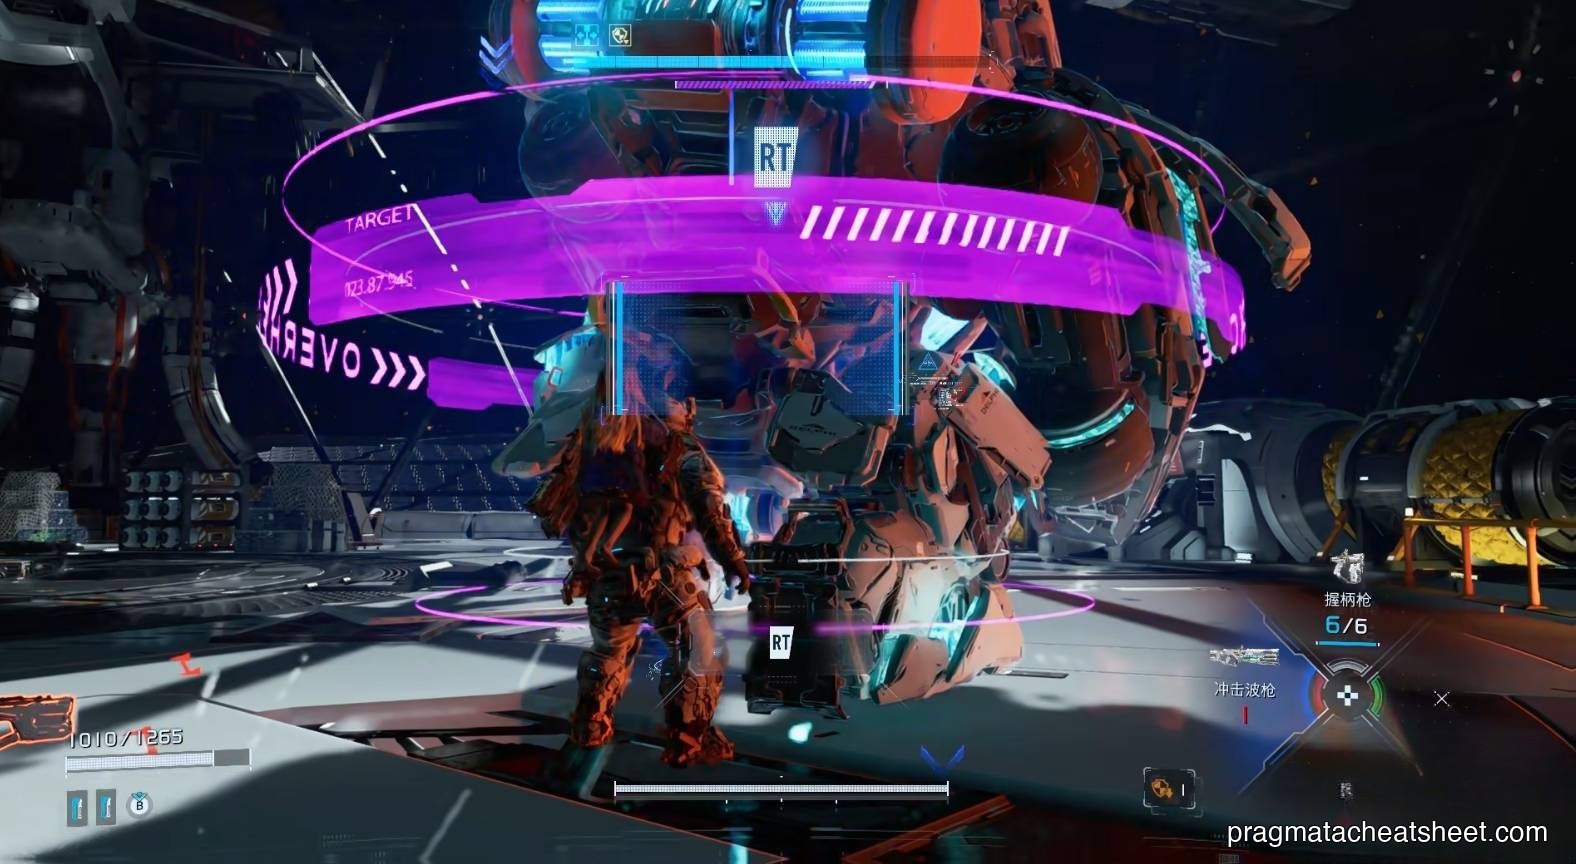
What to do
- Sprint in and execute. The finisher chunks a huge piece of his remaining HP — don't waste it poking from range.
- If Diana's intrusion gauge is full, fire Overdrive Protocol right after the execute. It freezes everything nearby, puts him straight back into a hack state, and deals damage on top.
- Save Overdrive for the second half of the fight, not the opener — you'll get far more value cashing it in during Phase 2.

If you run dry
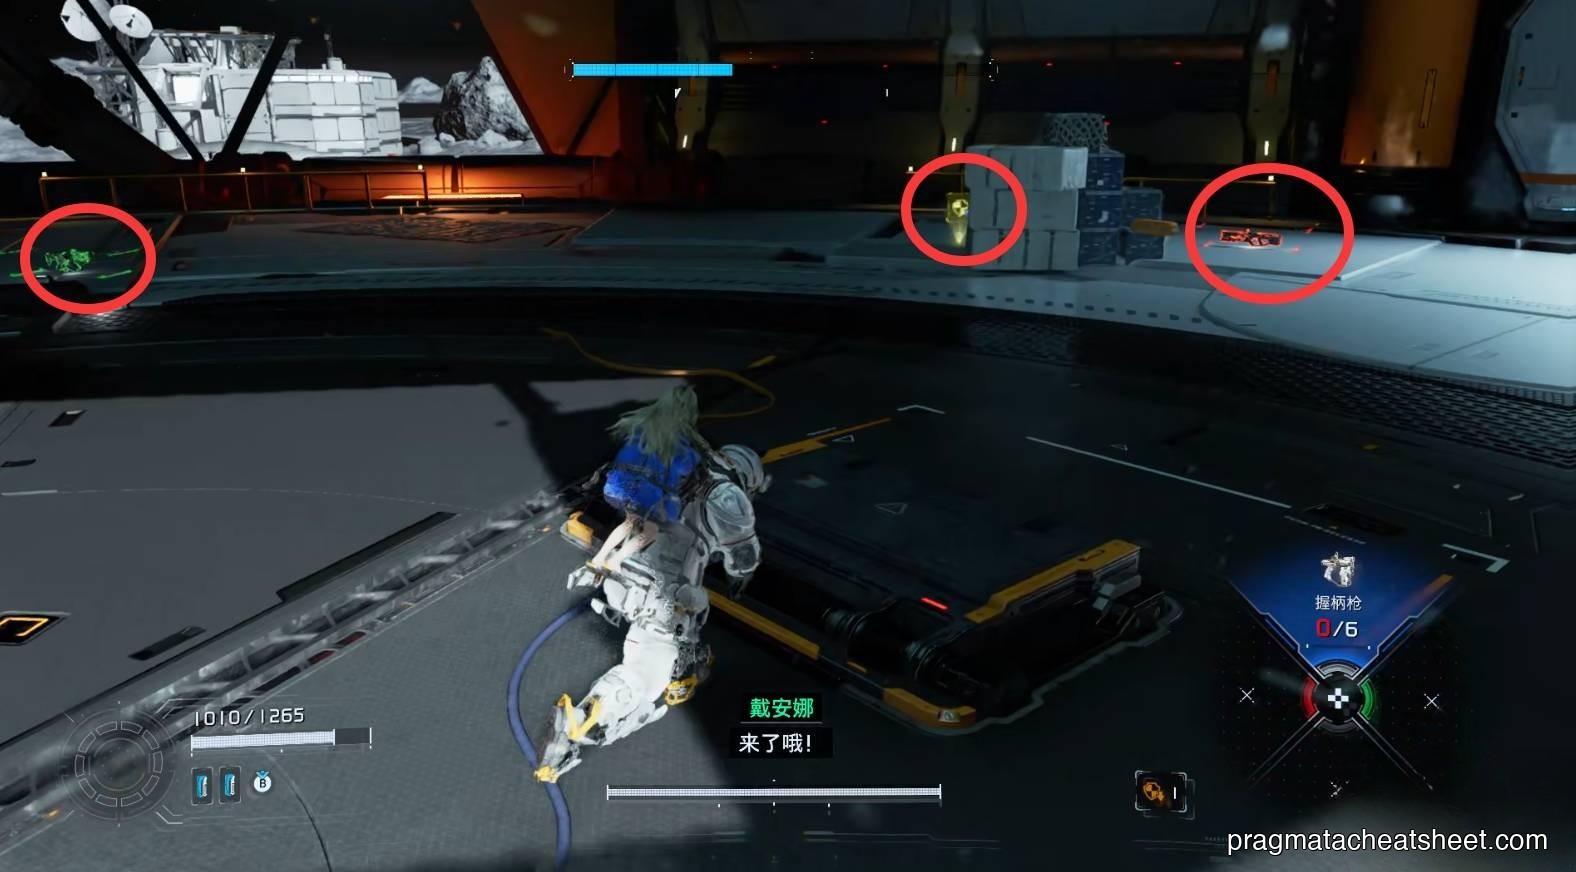
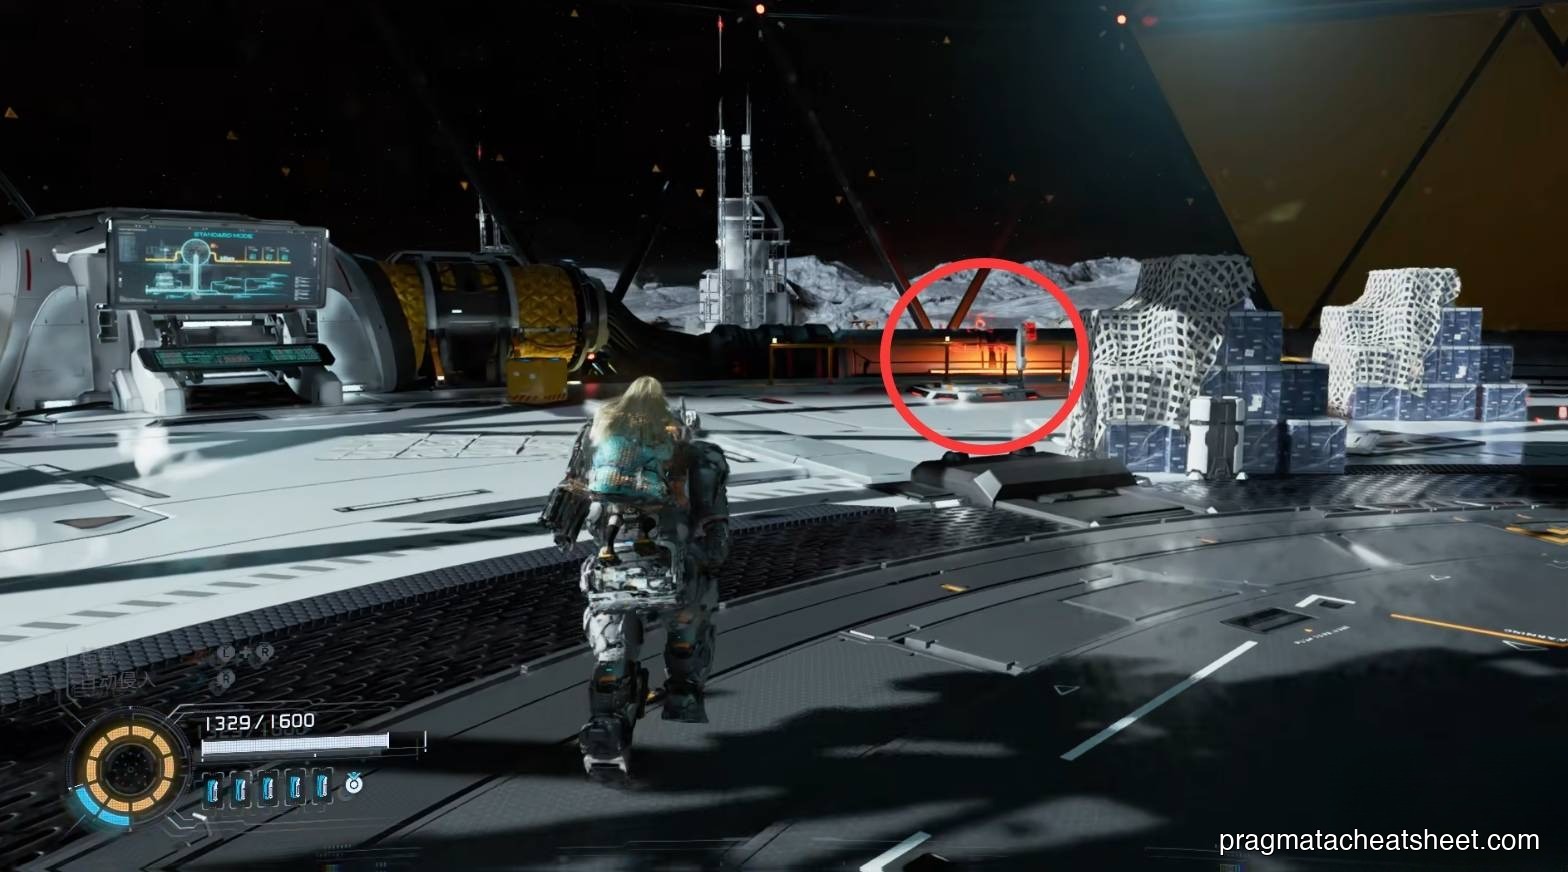
Out of ammo? Disengage. The arena perimeter has supply crates — circle out, pick up canisters and ammo, then come back. He resets to a passive patrol pattern when you break line of sight, so you're not losing much.
Common Mistakes
- Shooting the back canister from range. The Shockwave Blaster wants to be in his face. Commit.
- Blowing Overdrive on cooldown. Hold it for Phase 2 or for a panic moment — not as an opener.
- Dodging backwards on Shoulder Charge. You'll get clipped. Roll through him sideways.
- Hacking without extending the chain. A two-node hack is barely worth the animation. Always grab at least one blue extender.
Reward
- Tier-1 License Key — unlocks the rest of the Shelter's upgrade tier
- Upgrade Components
- An Escape Hatch appears in this arena on your next visit — use it as a fast-travel pin back to the Shelter
Next
→ Continue the story: Sector 2 · Mass Production Array → Next boss: Analysis: Creator