Mass Production Array is where the game opens up. The set is a simulated New York city street — a six-lock main gate, five subsectors branching off a central avenue, and a recycling facility that finally hands you the Lim Eraser. By the end you'll fight Analysis: Creator, a massive boss that throws lasers in every direction you can think of.
Route Overview
Enter the street, unlock one gate lock up front, then loop through Shopping District → Side Alley → Business District → Lim Recycling Facility, collecting a gate-lock hack in each. With all six locks open, the street's main gate slides aside for the boss arena.
01 — Mass Production Entrance
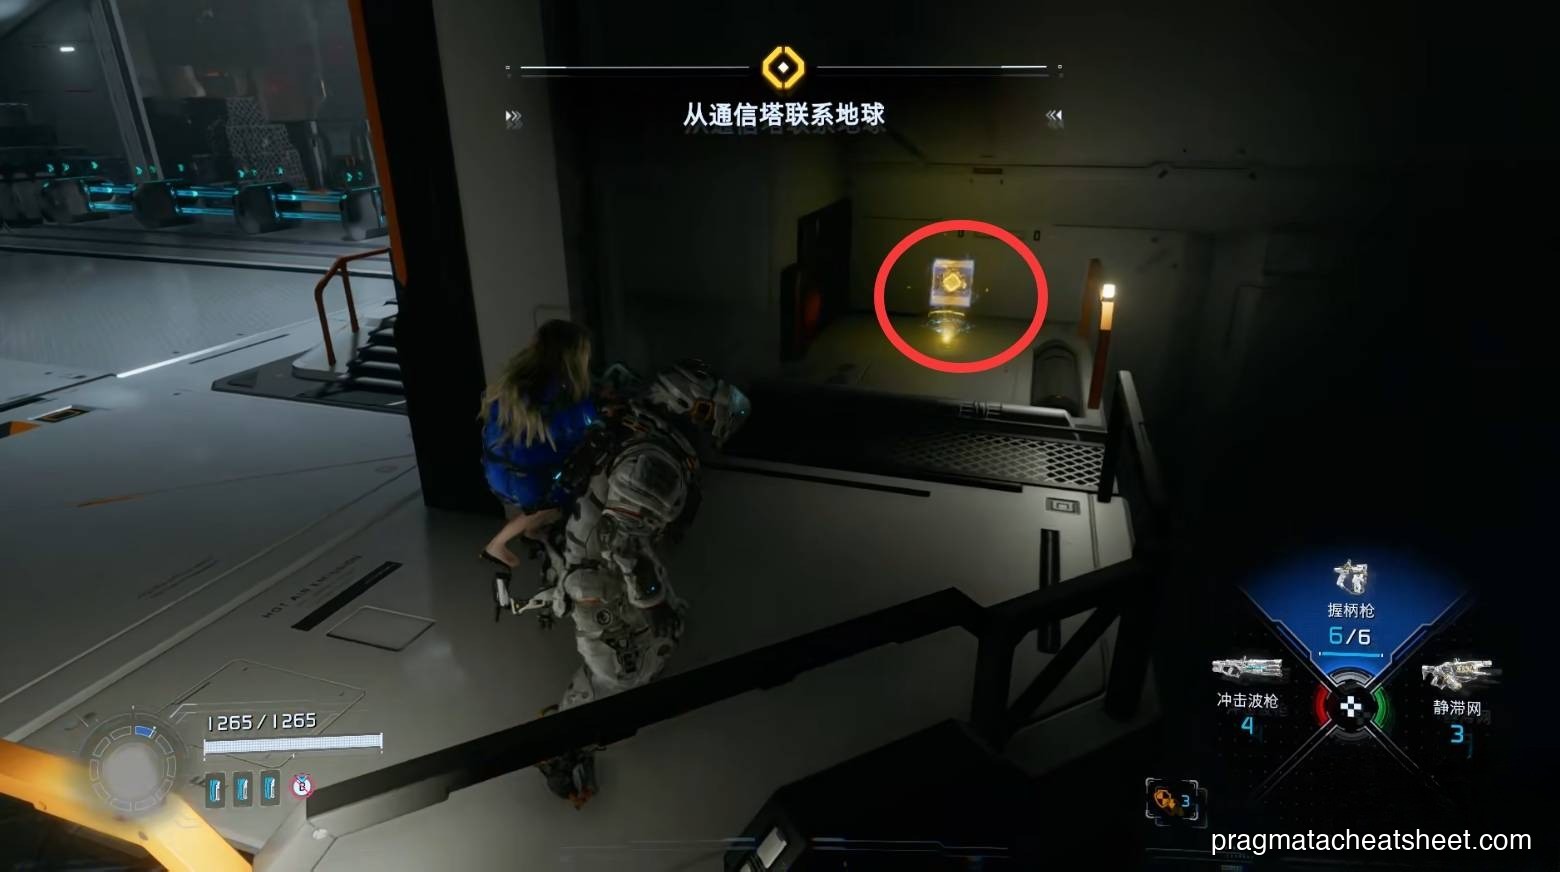
Step off the platform. Right corner: Upgrade Component.
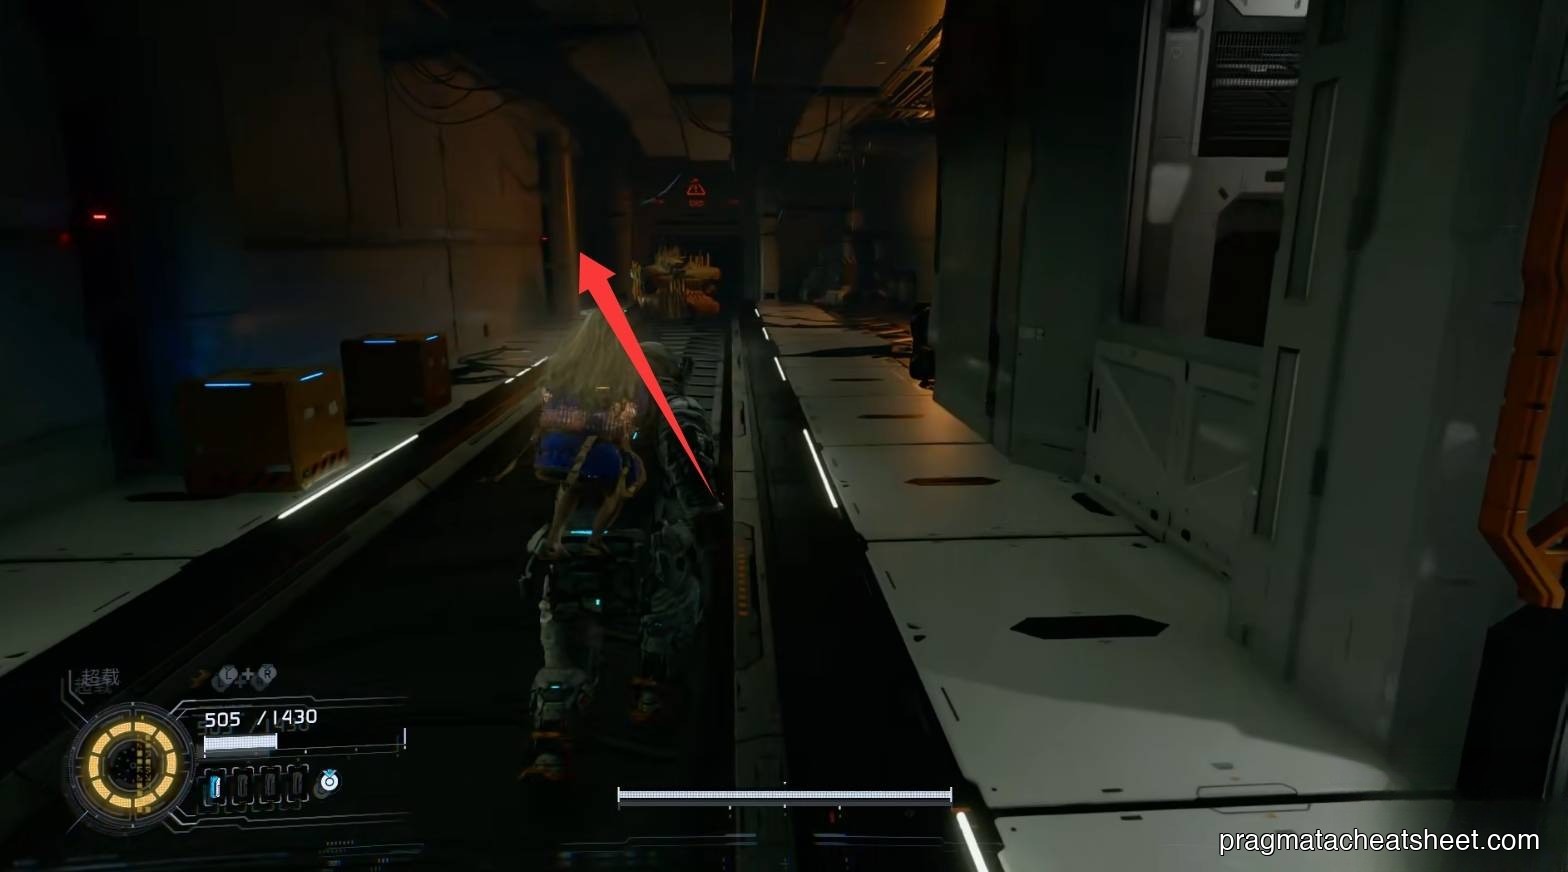
After the cat cutscene and the first spider-bot, sprint the length of the tunnel — there's an Upgrade Component in the end corner, then take the right door.

Side rooms
Two small rooms flank the tunnel: documents, a short interactive scene, and a third Upgrade Component.
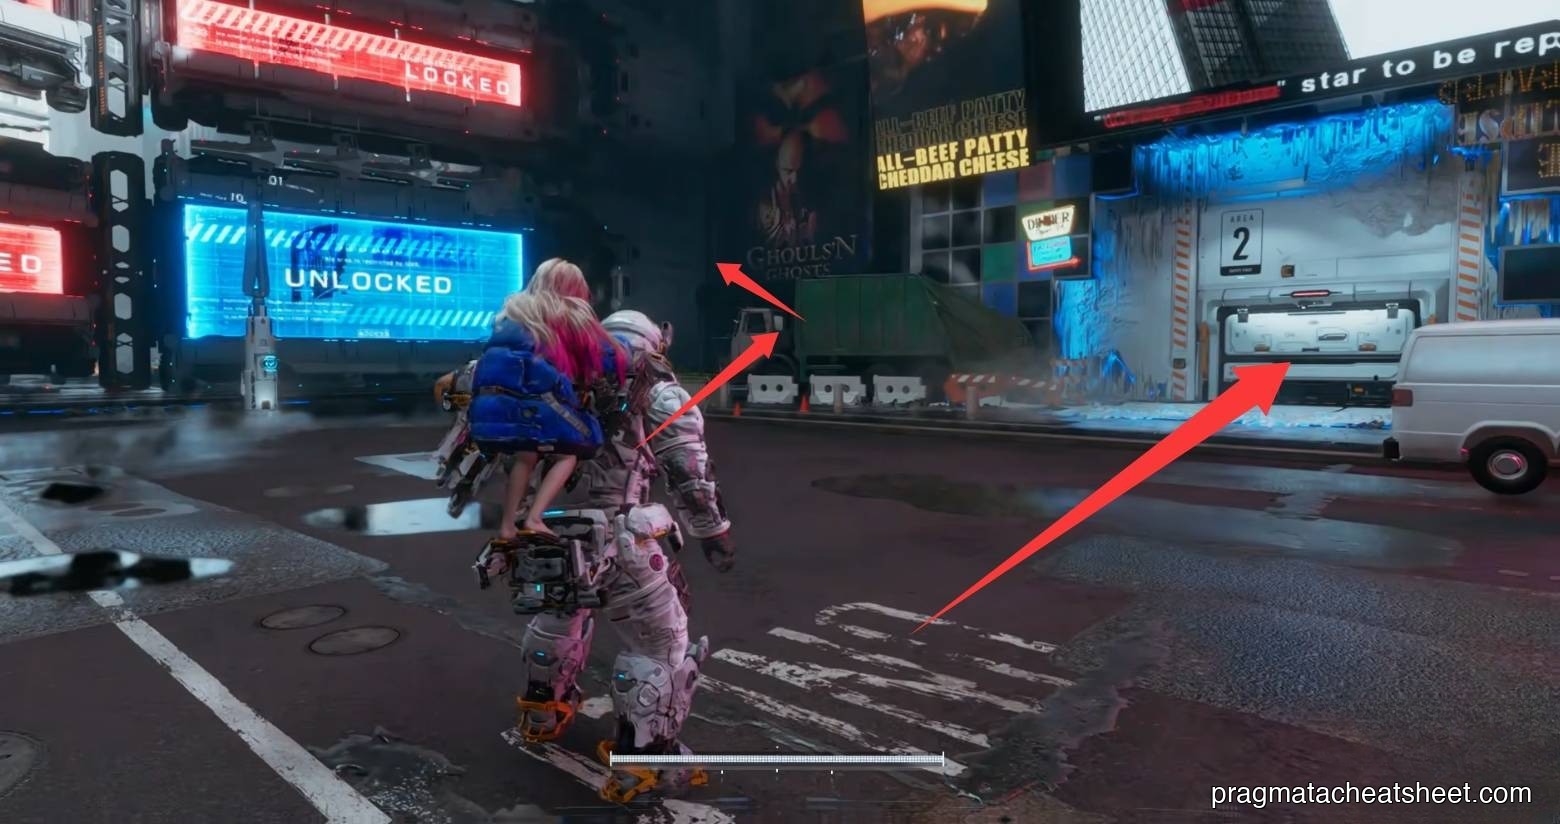
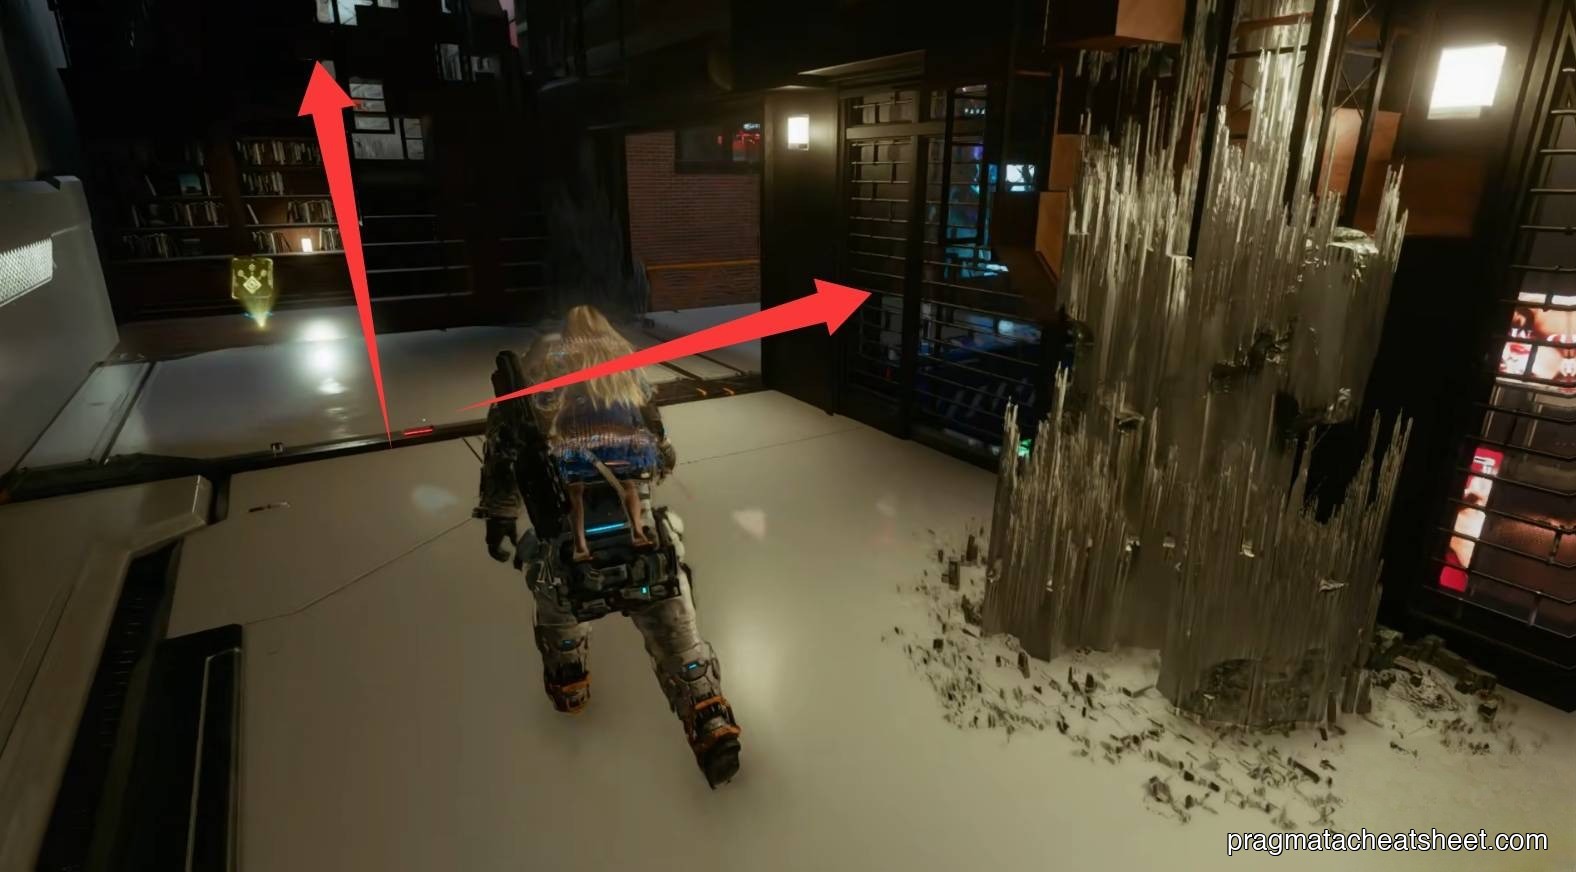
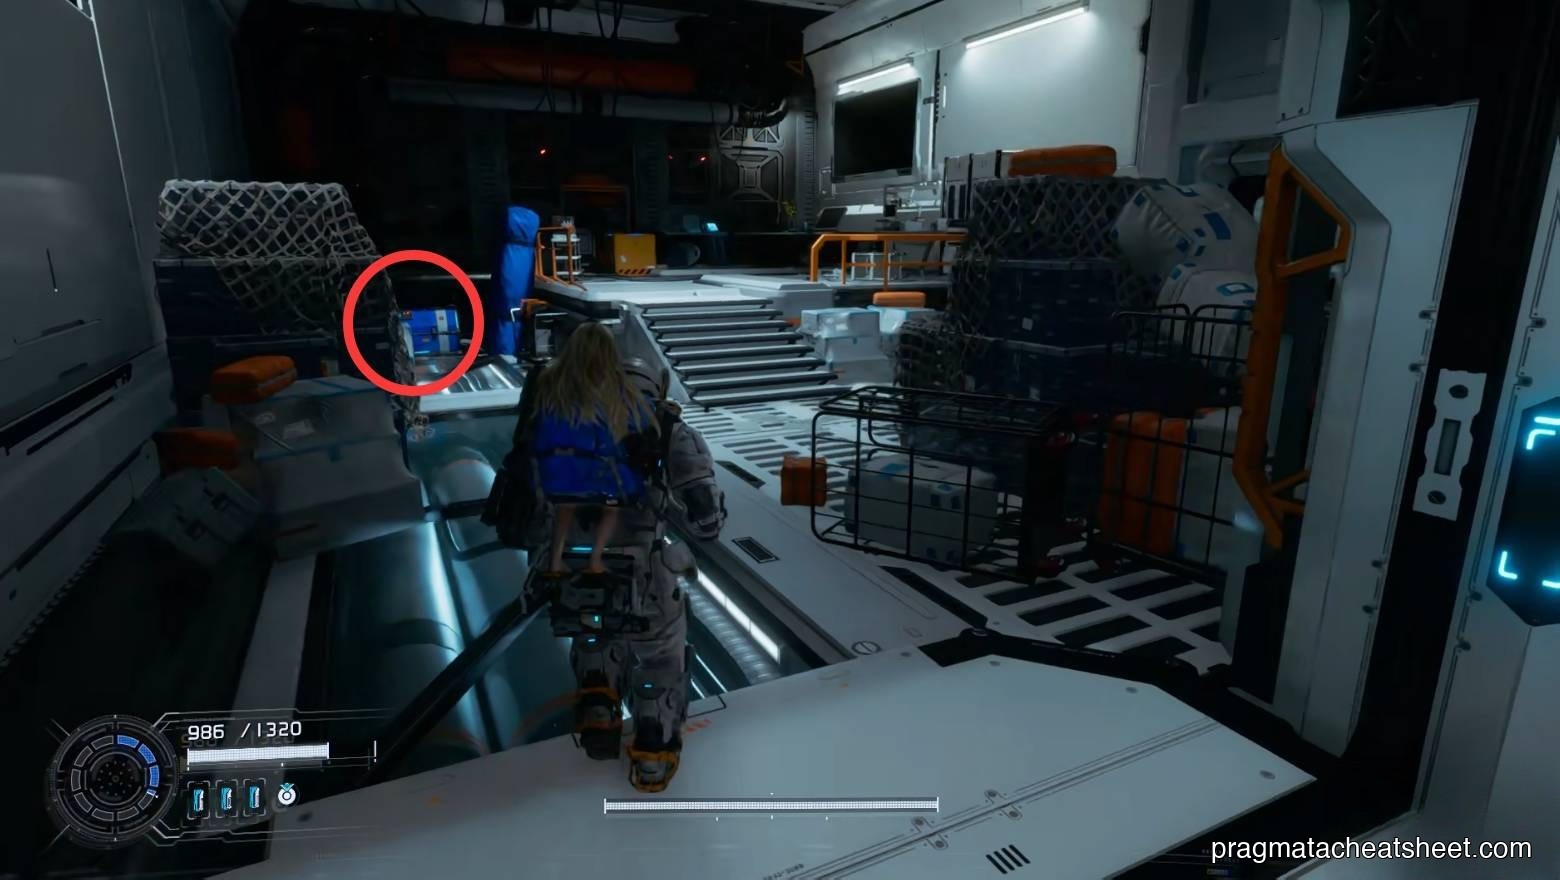
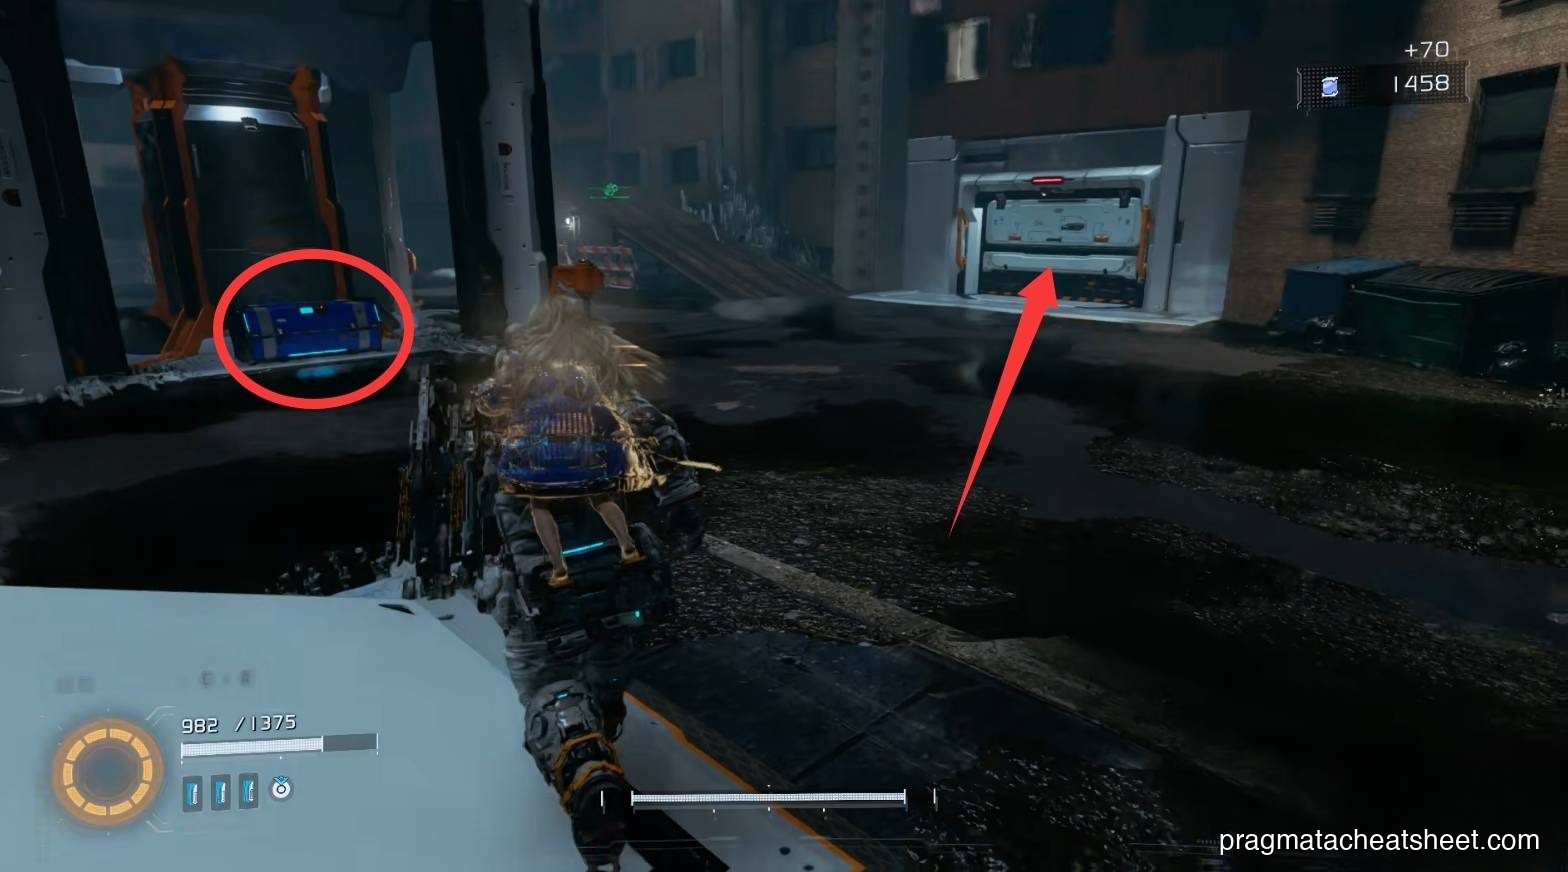
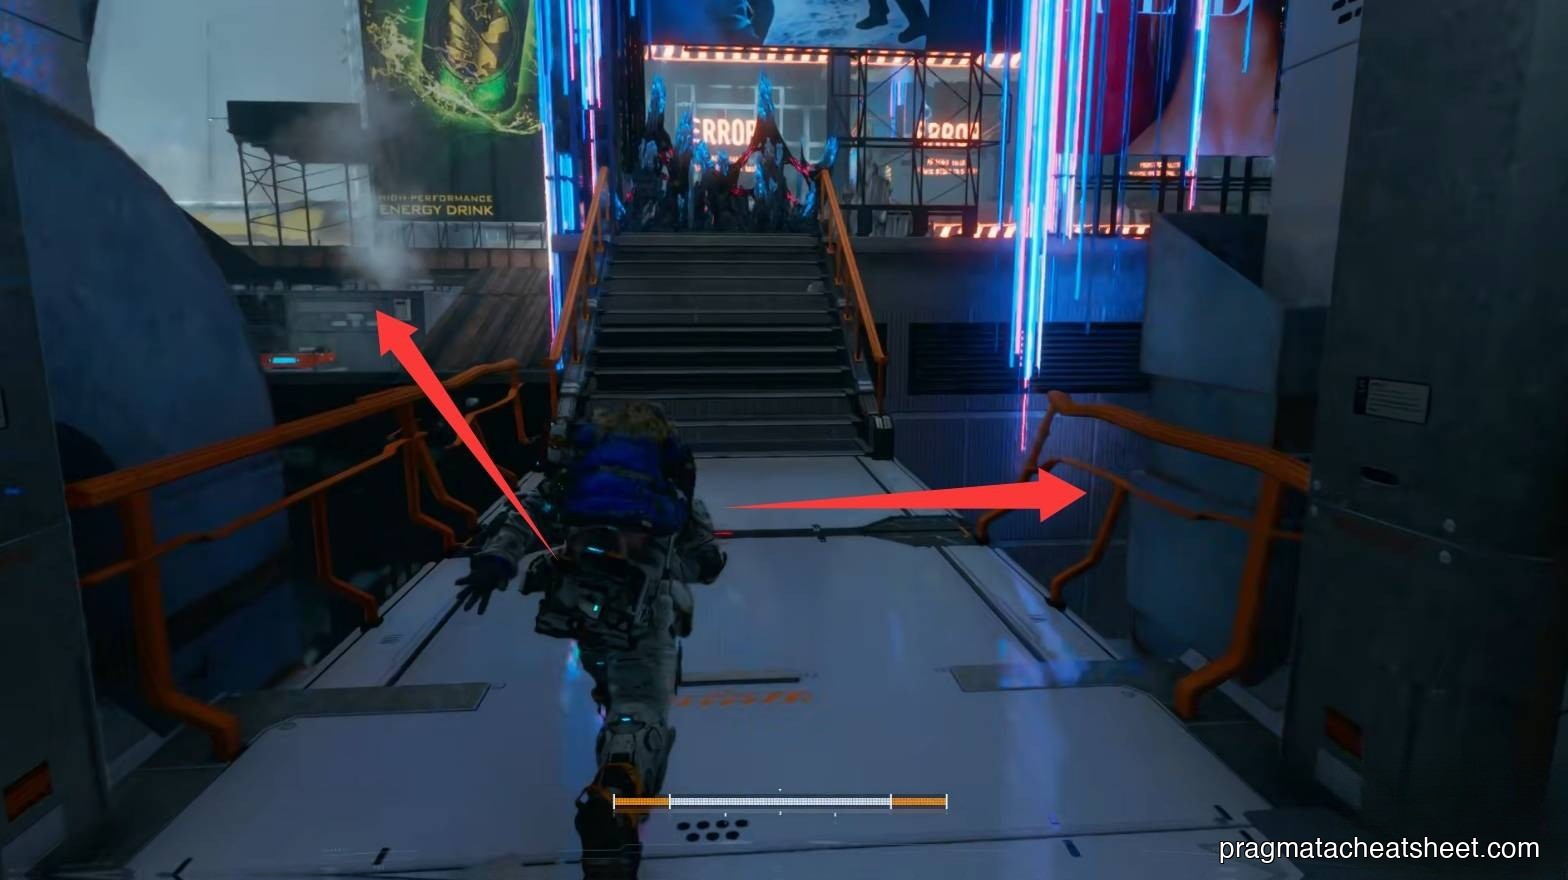
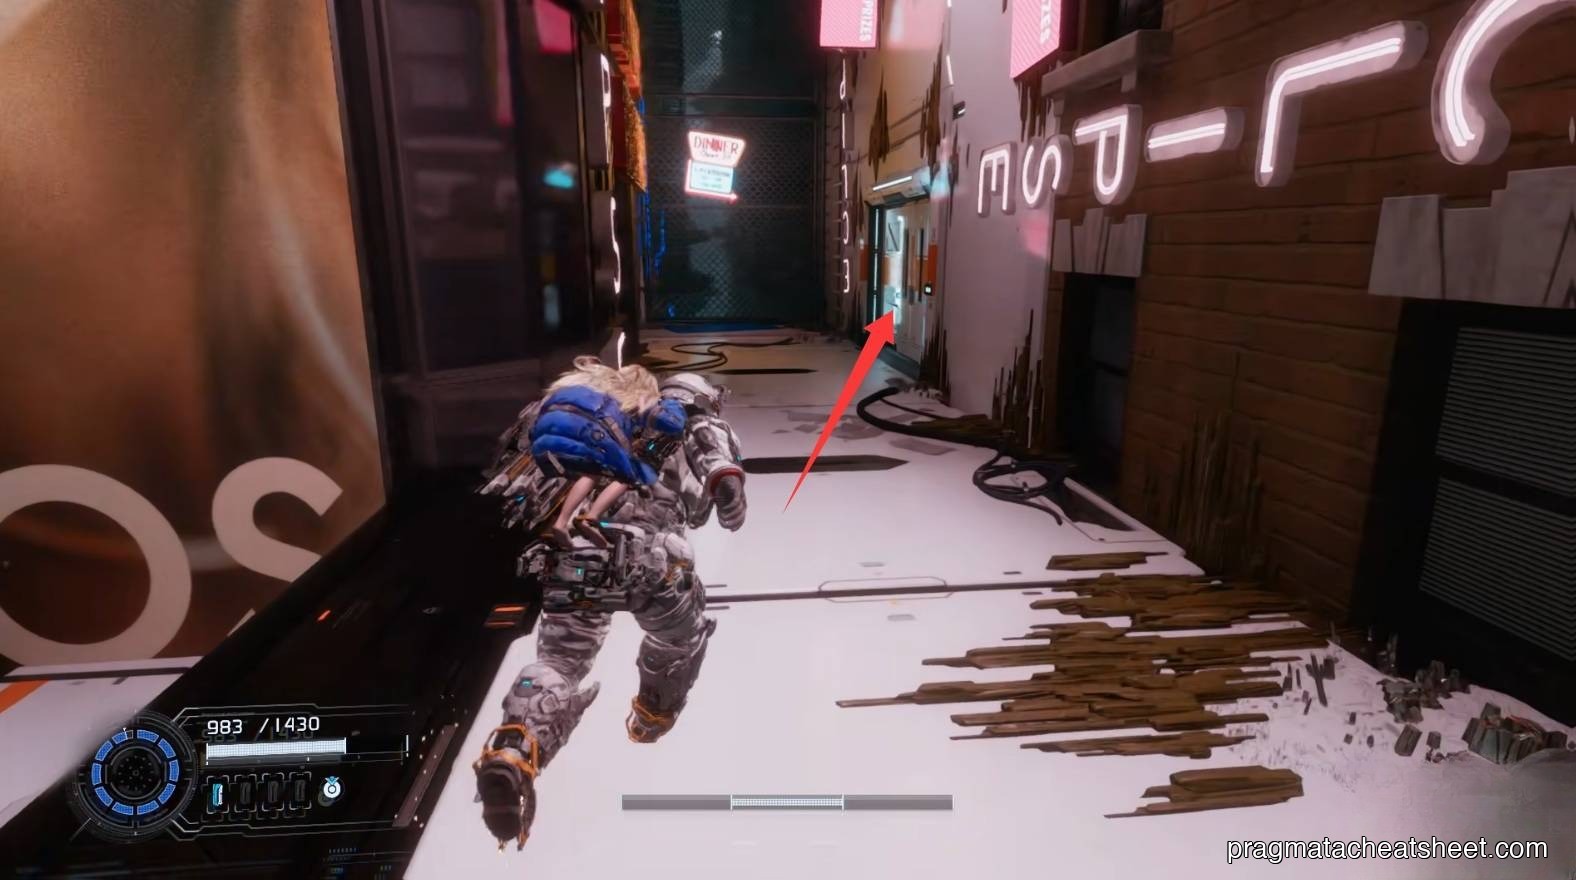
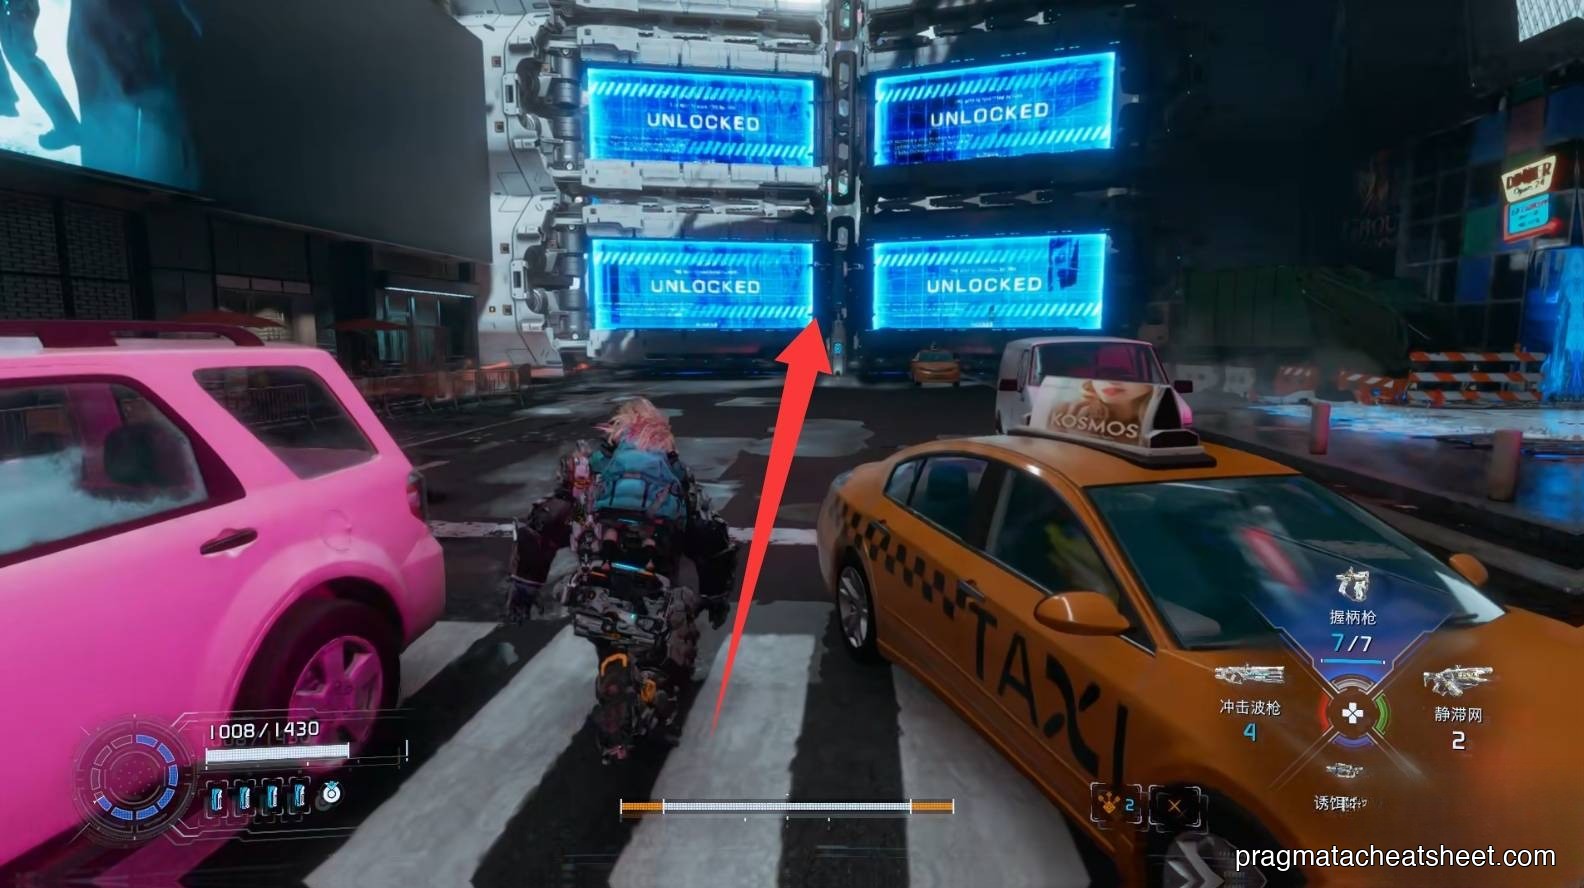
The New York street
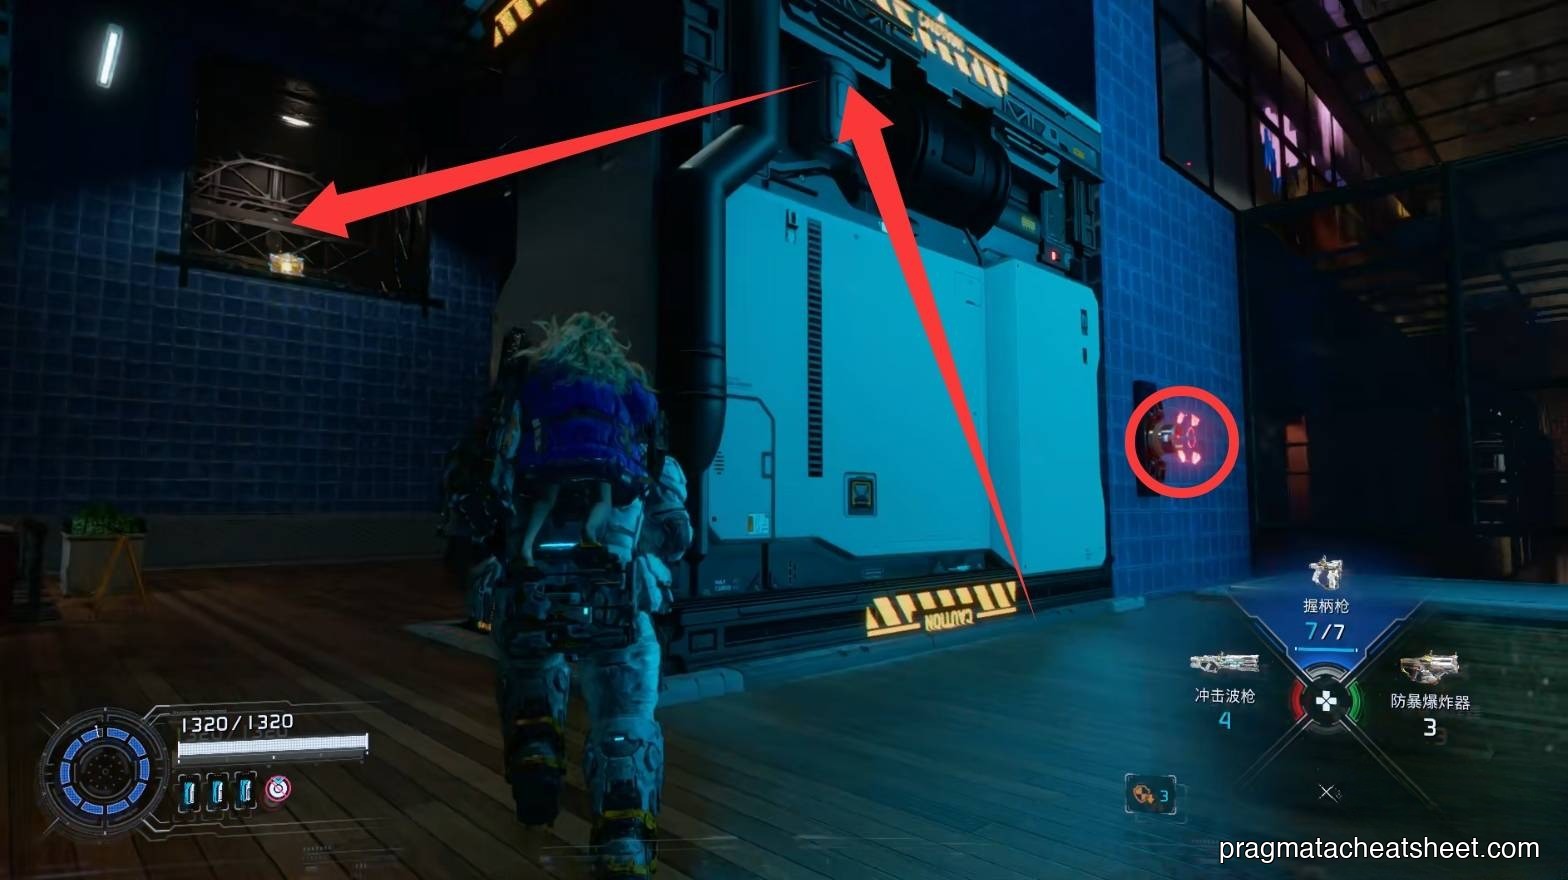
Drop into the street. Corners and alleys carry loot; the main gate at the far end has six locks and a red hack panel for the first one.
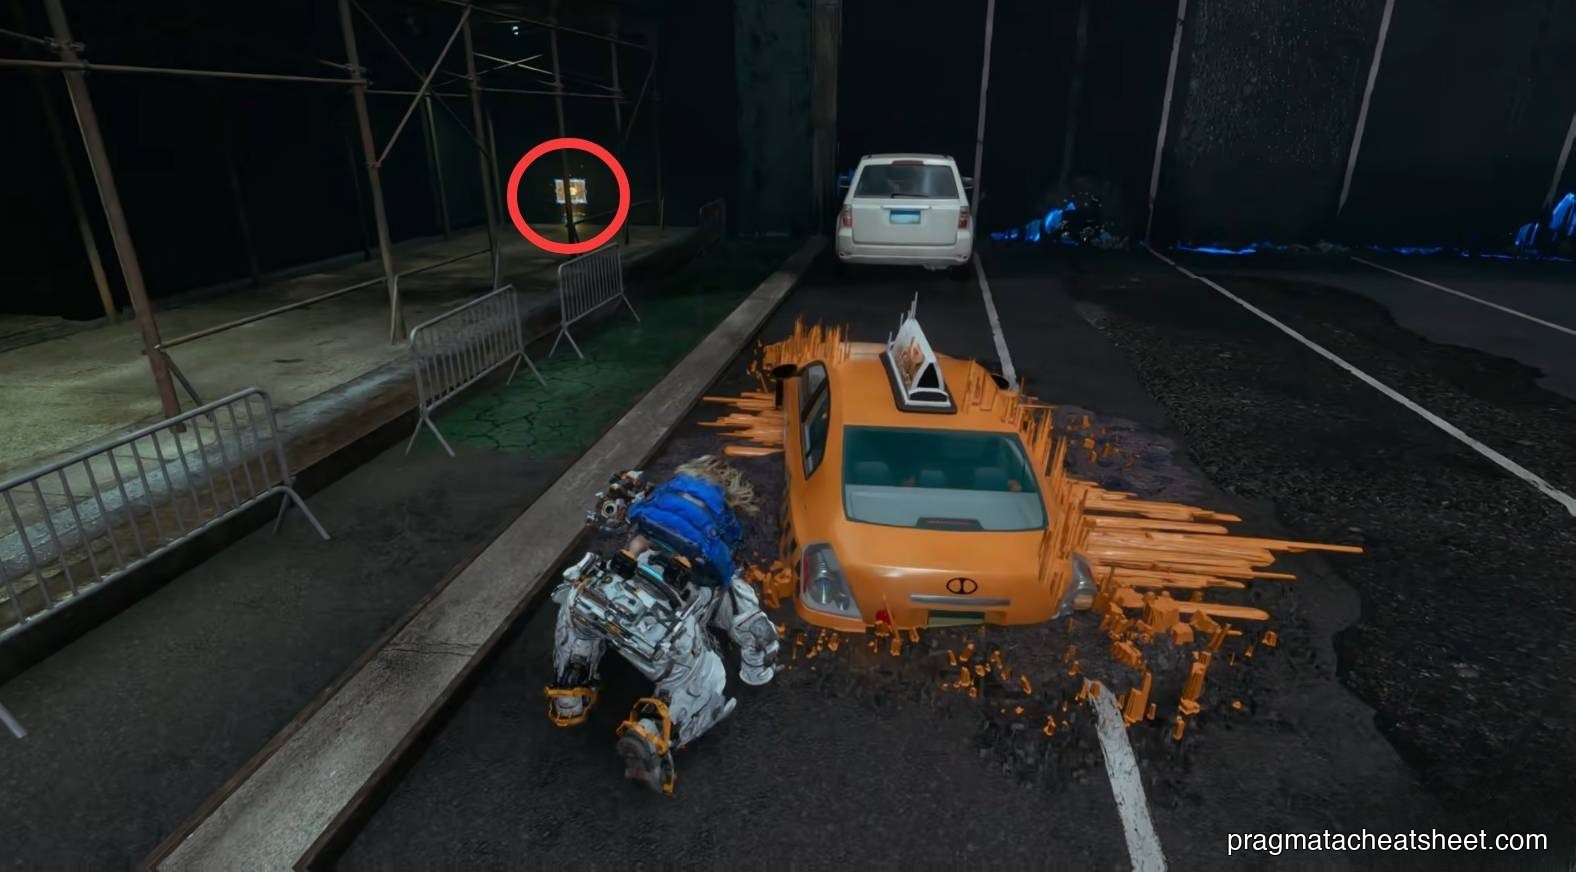
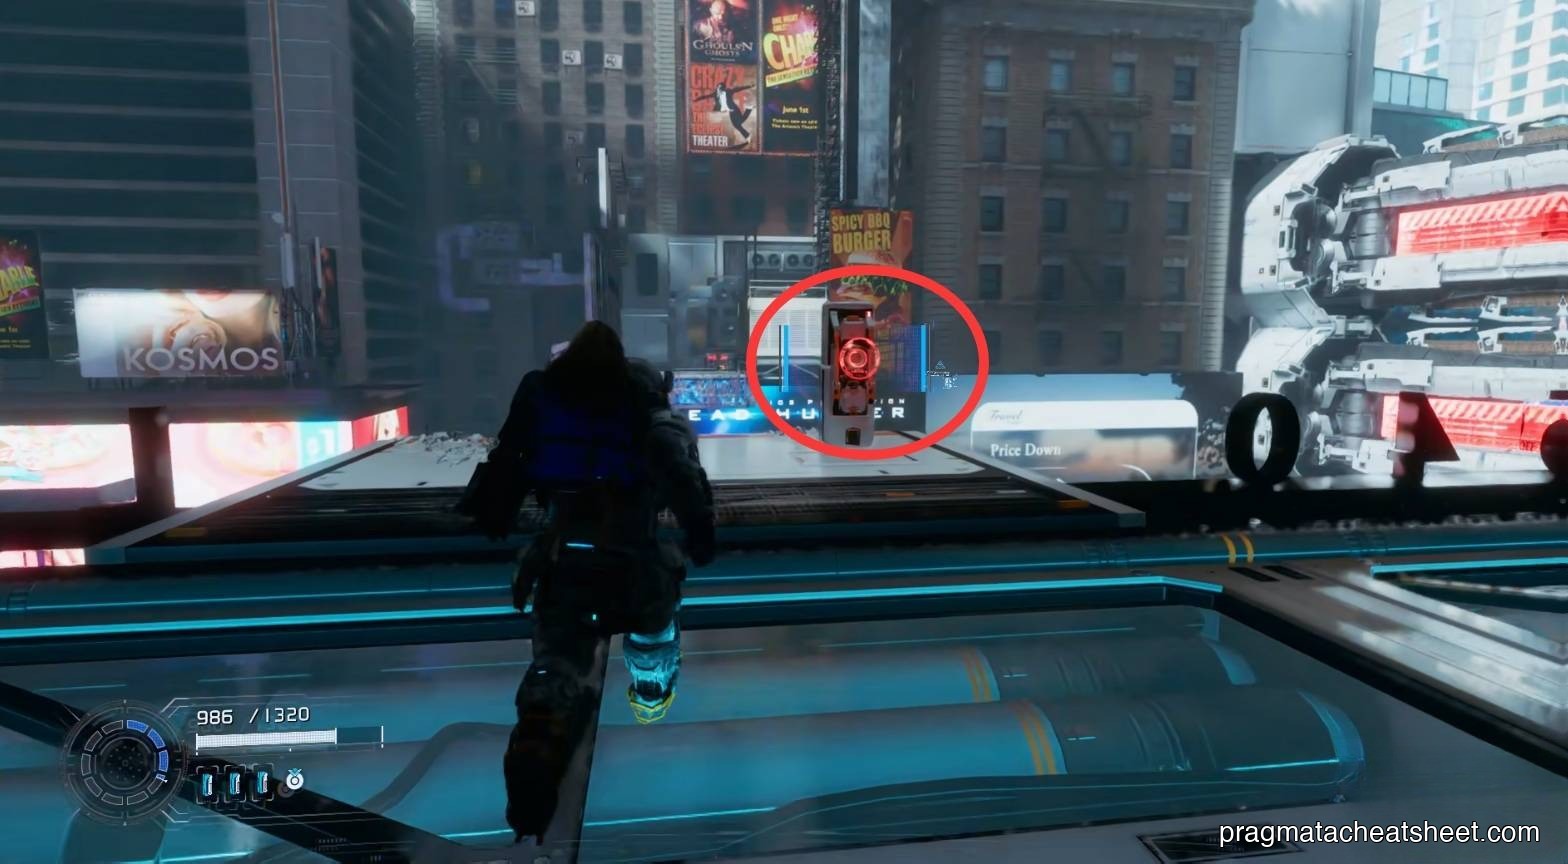
- Left alley · Upgrade Component
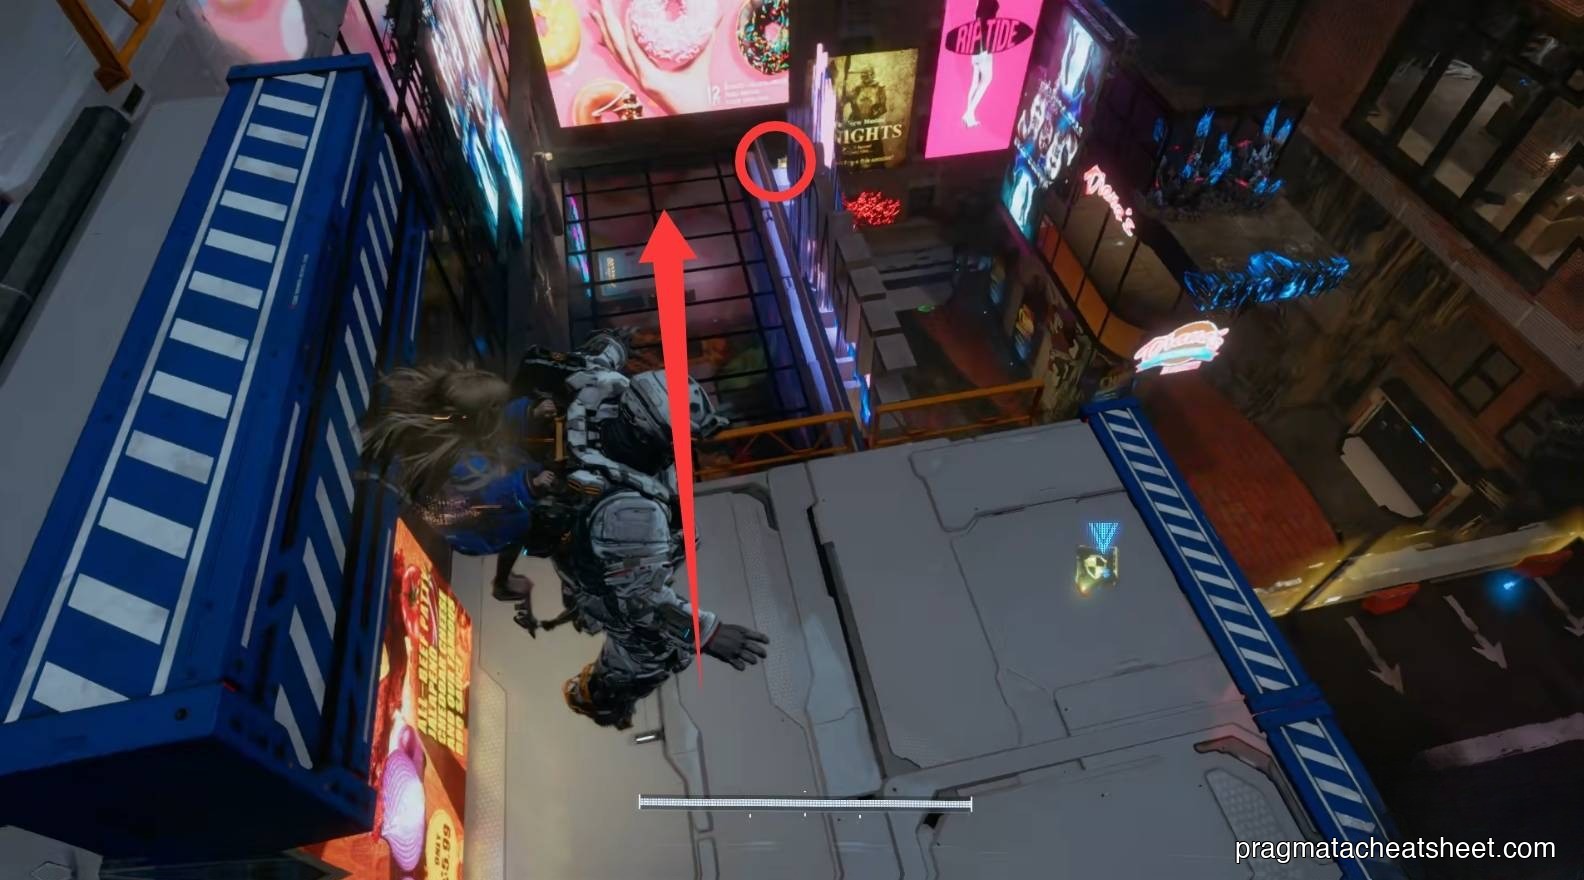
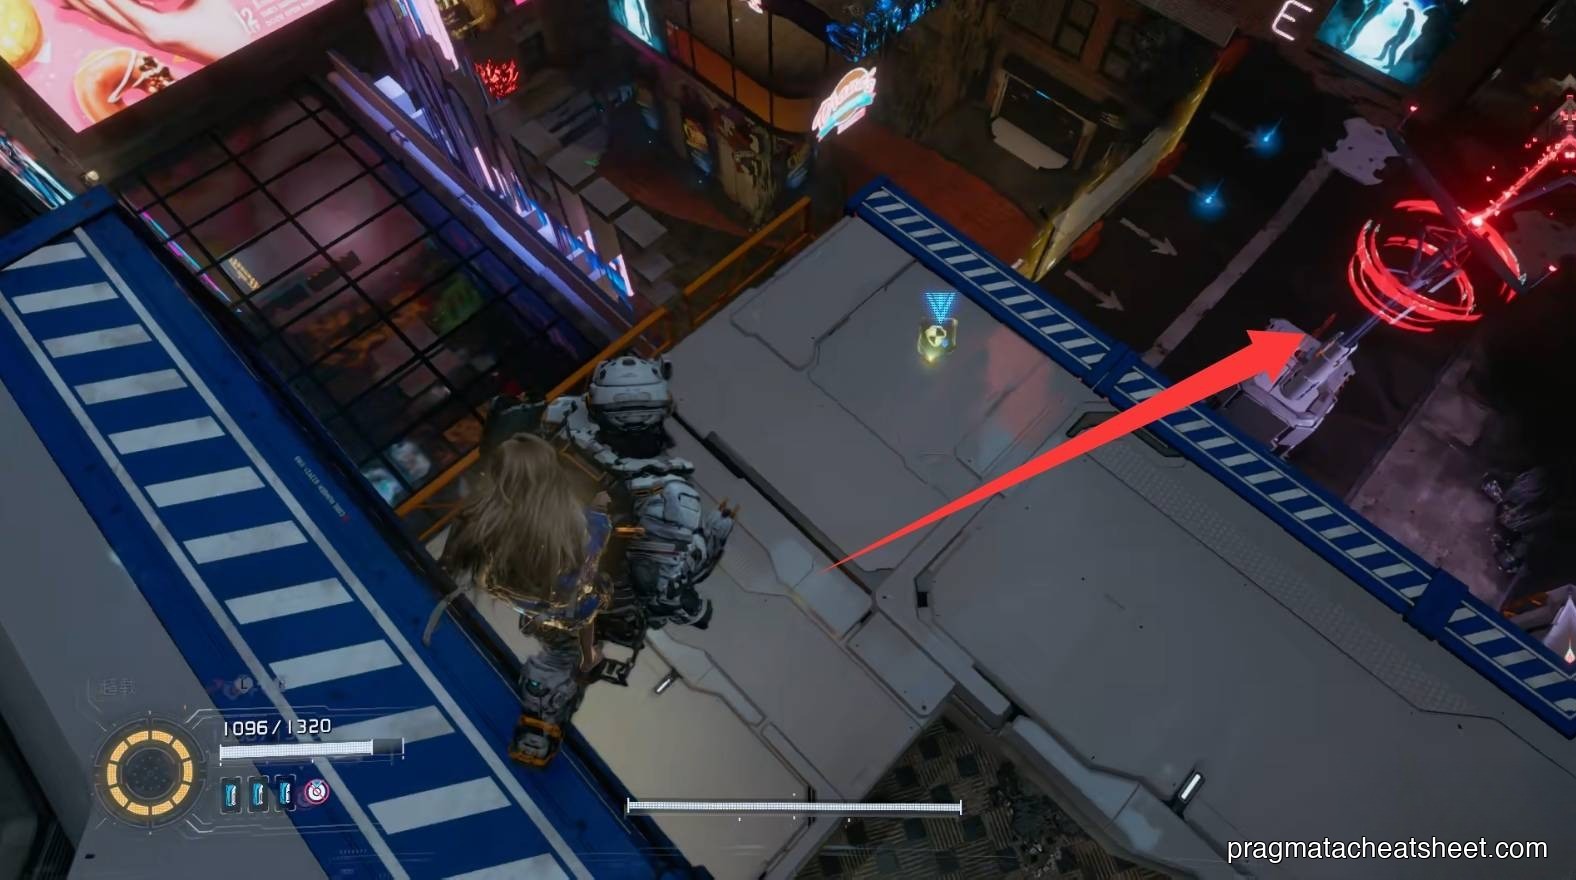
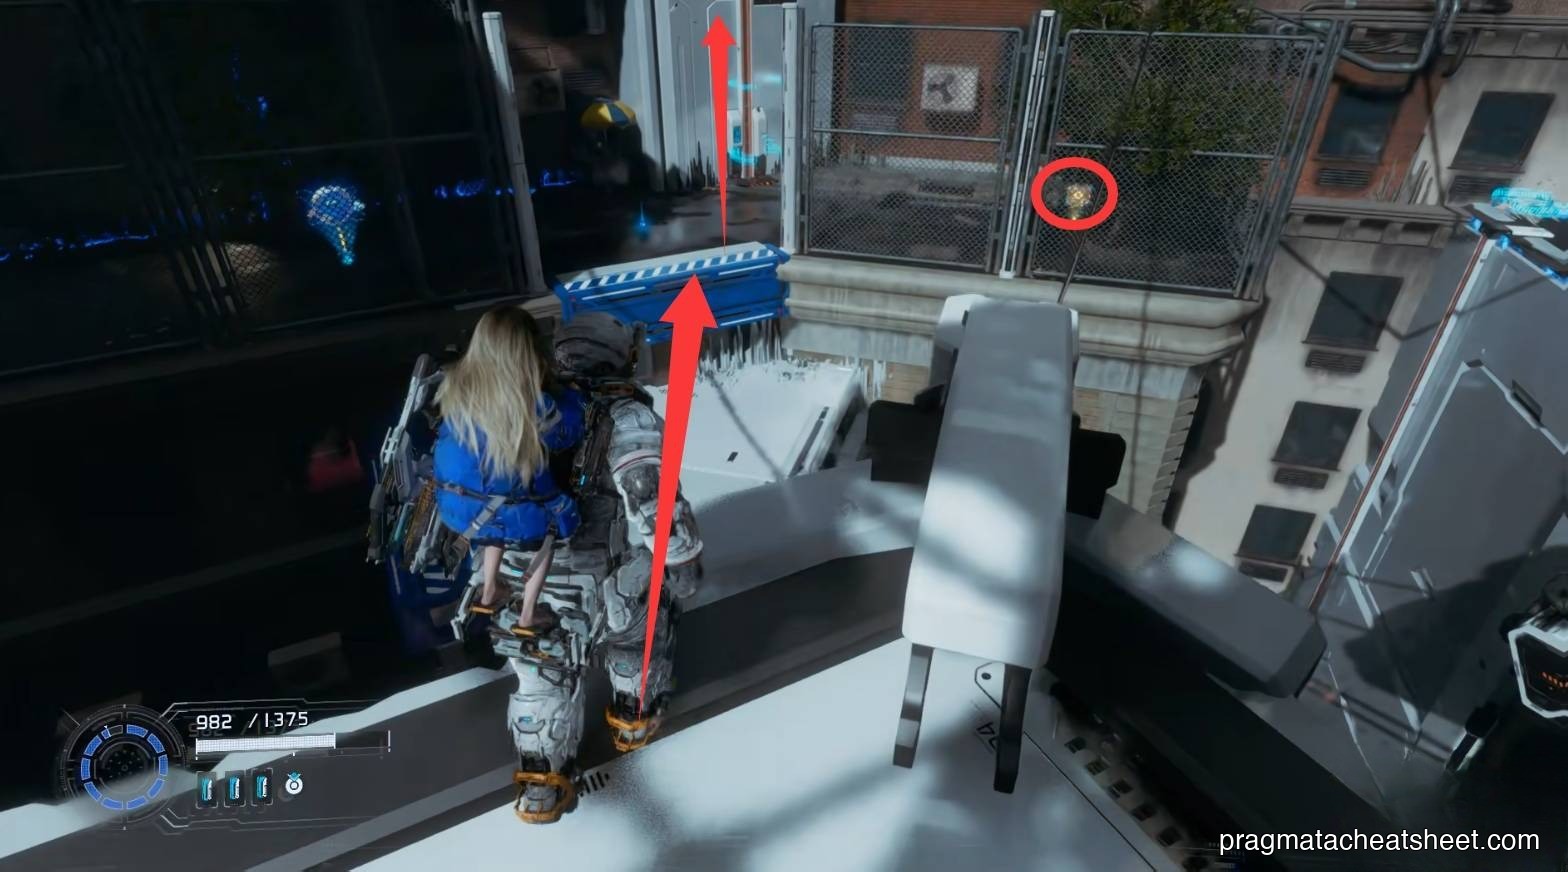
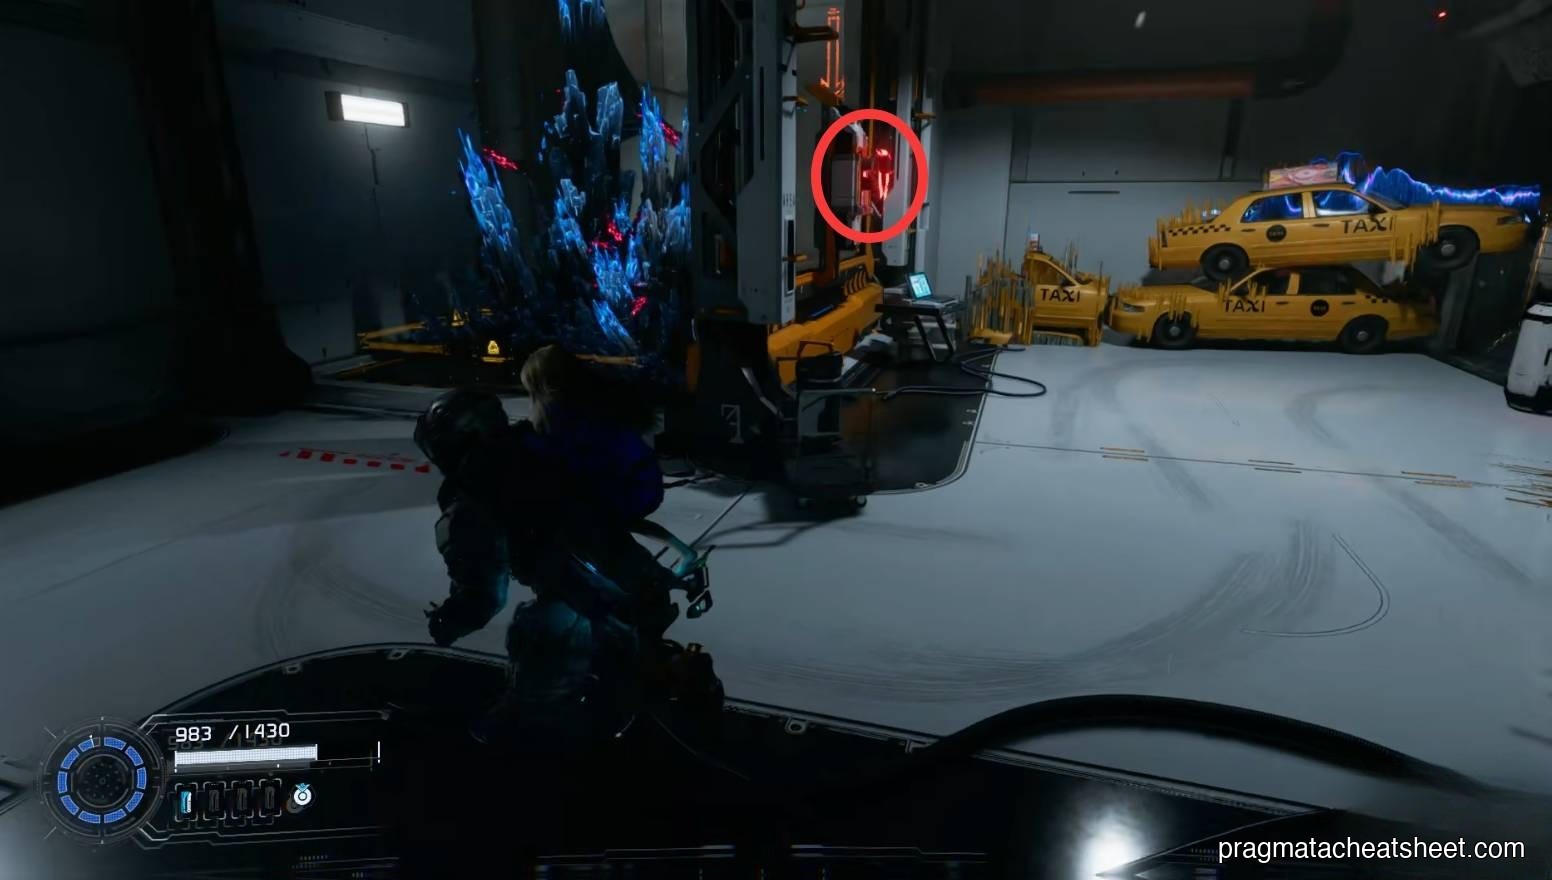
- Right corner near the gate · jump onto a car, then onto the film poster → Upgrade Component
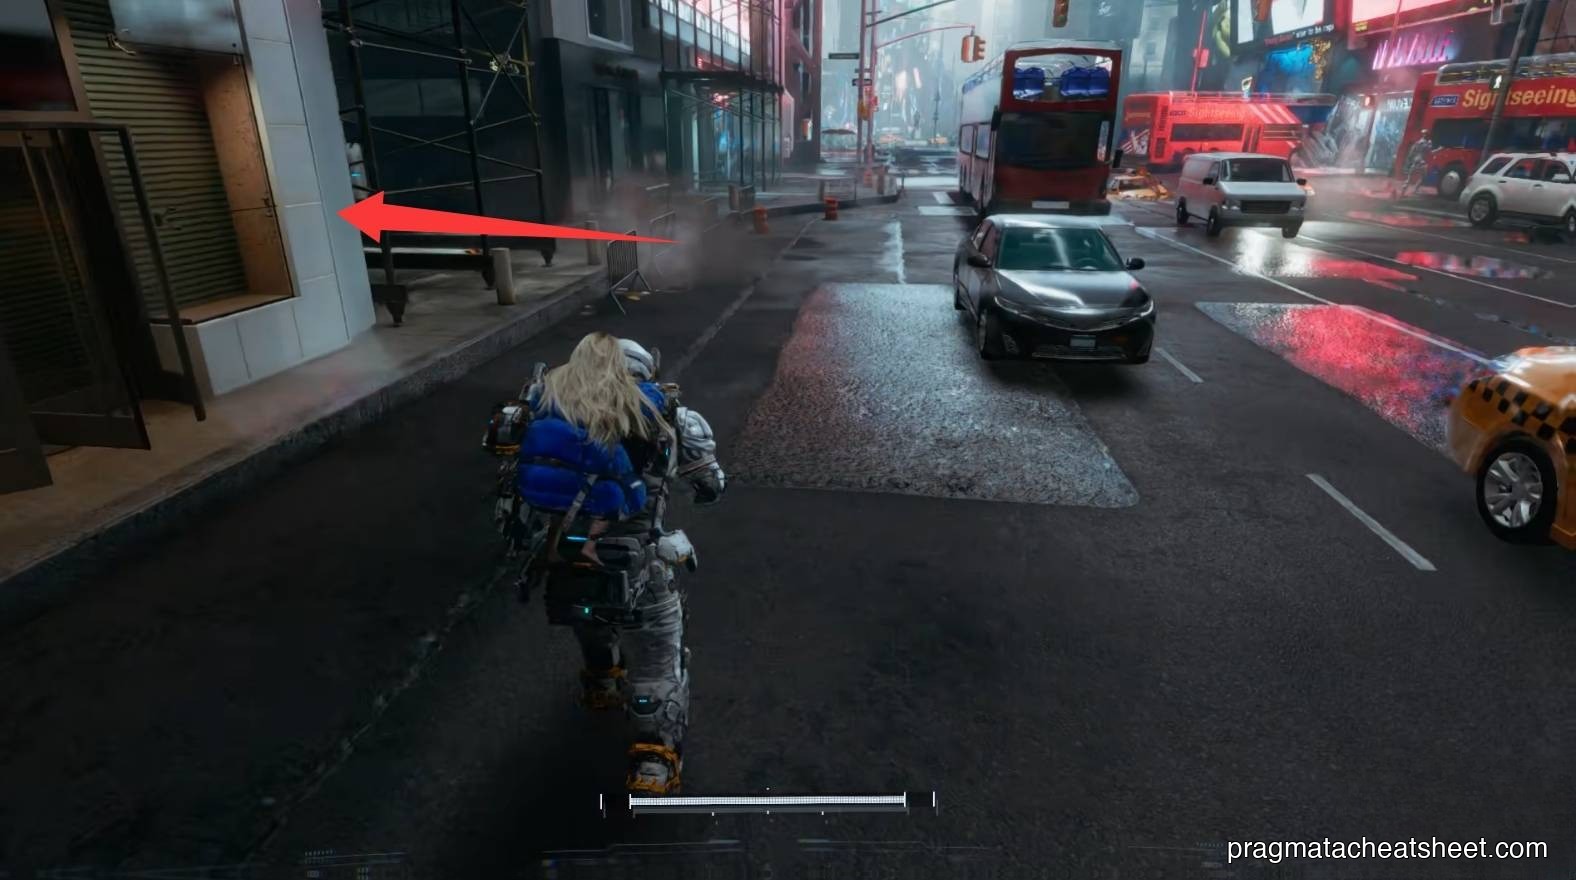
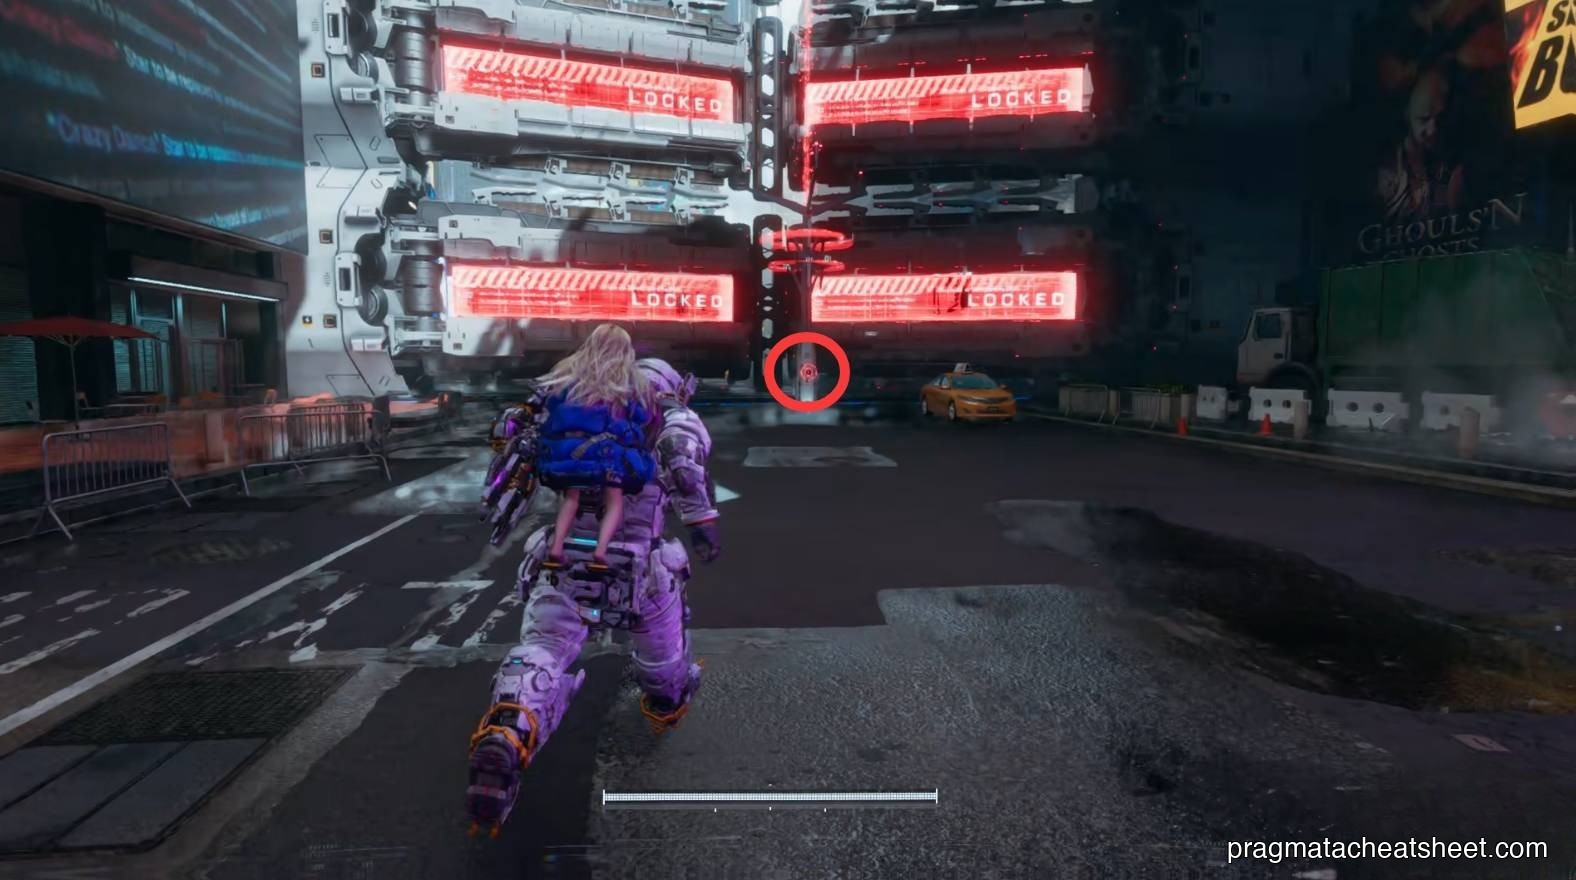
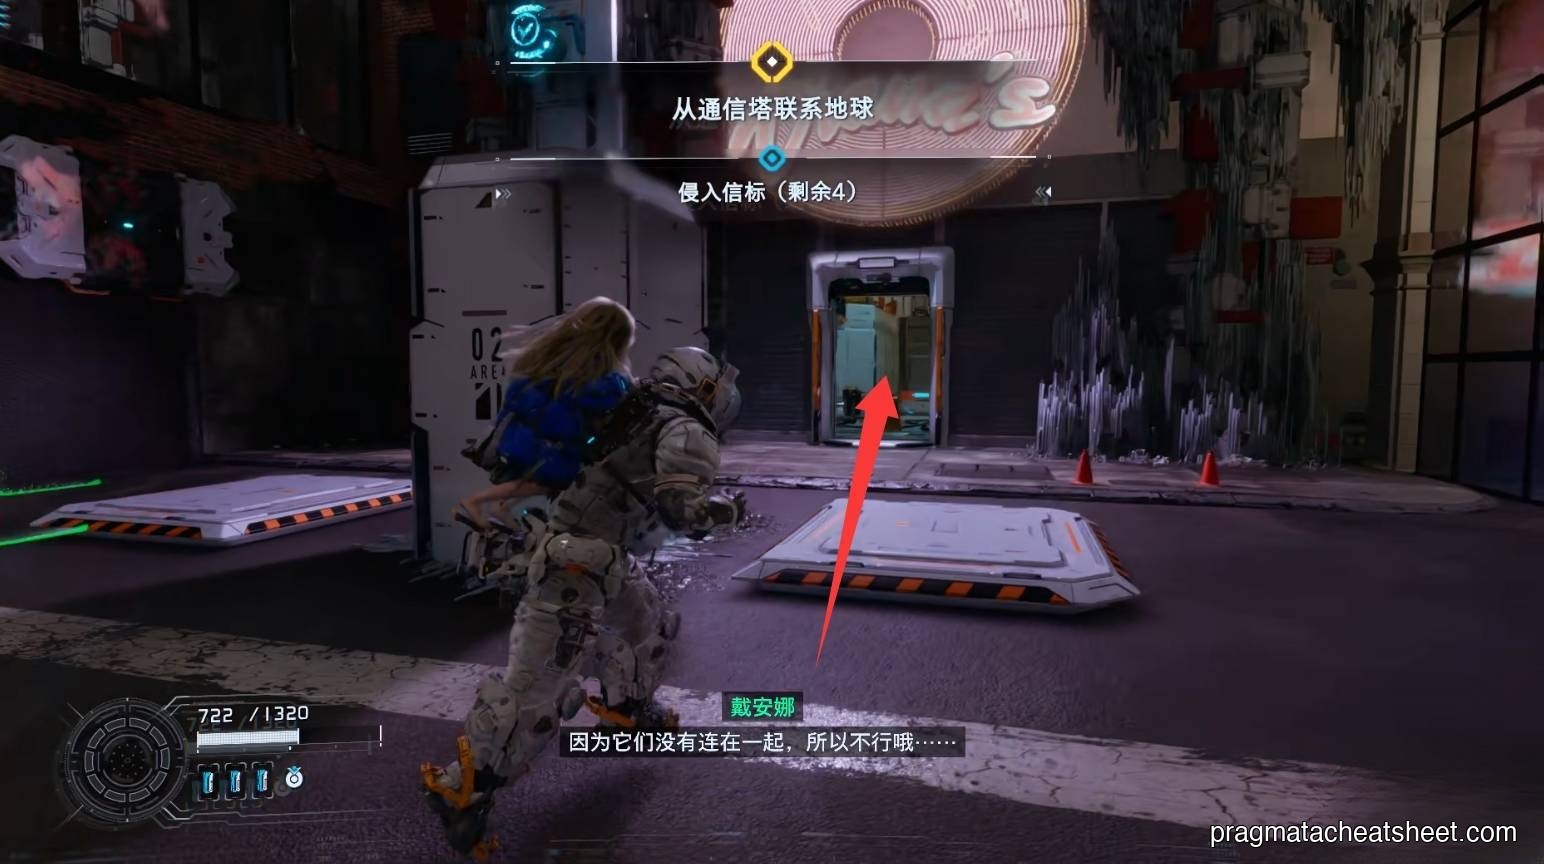
Many obstacles along both sides of the street are blue Lim barriers — come back after the facility. Hack the first gate lock, then open the right-side door to enter the Shopping District.
02 — Shopping District
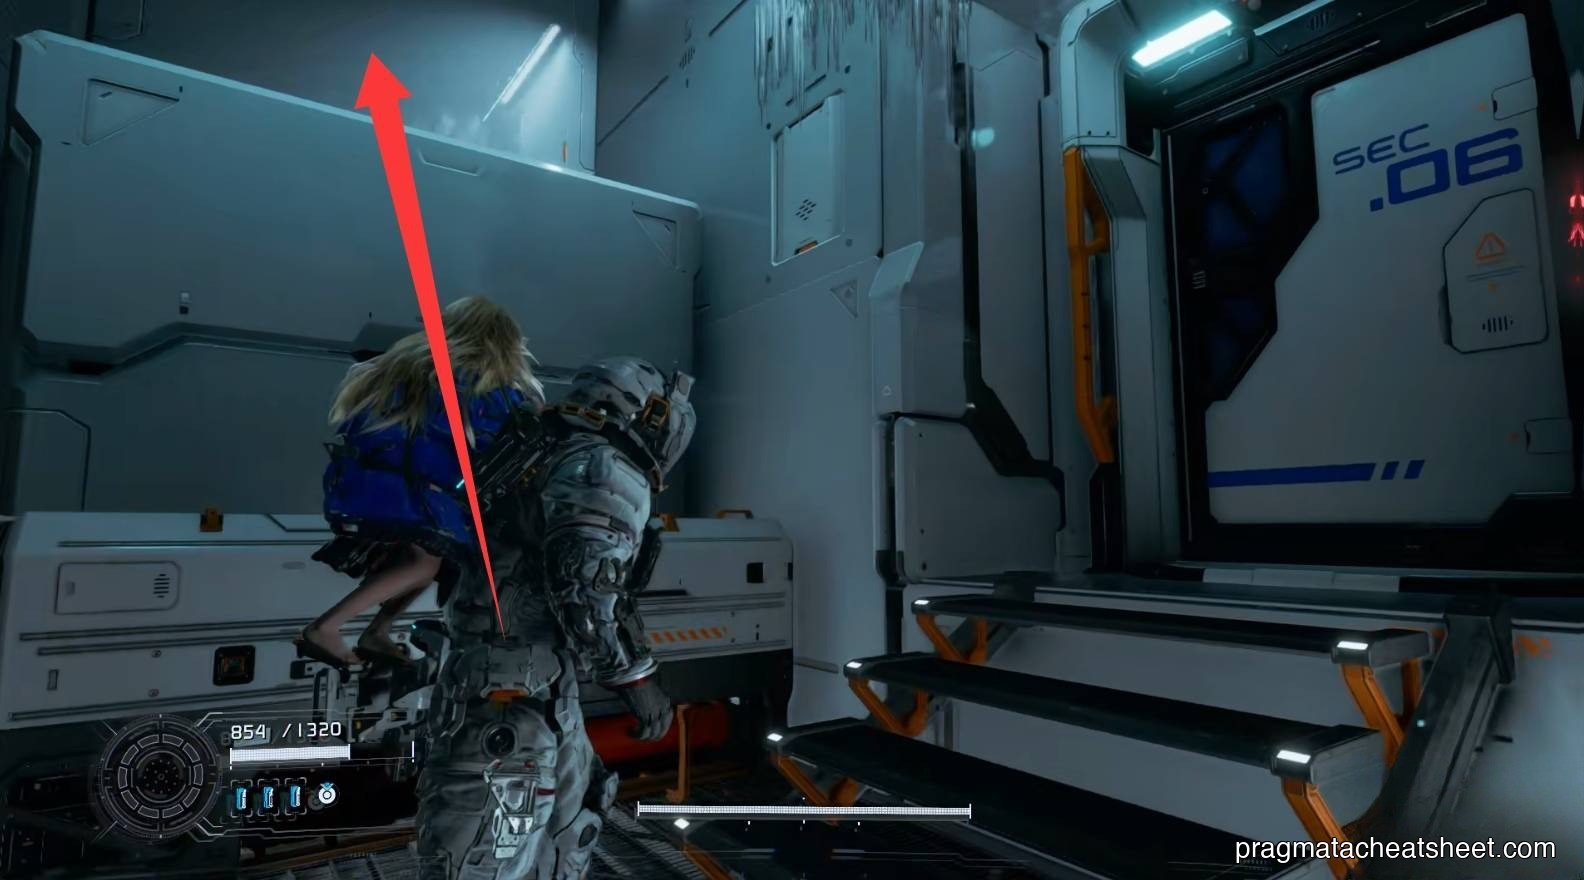
Chased by heavies into the door. Activate the Escape Hatch on the way in.
Red Zone Pure Lunum
If you already traded for a Red Gate Key at the Stamp Club (you should have), the first Red Zone is right here. Clear the enemies for a Pure Lunum. No key? You'll find another one soon — don't sweat it.
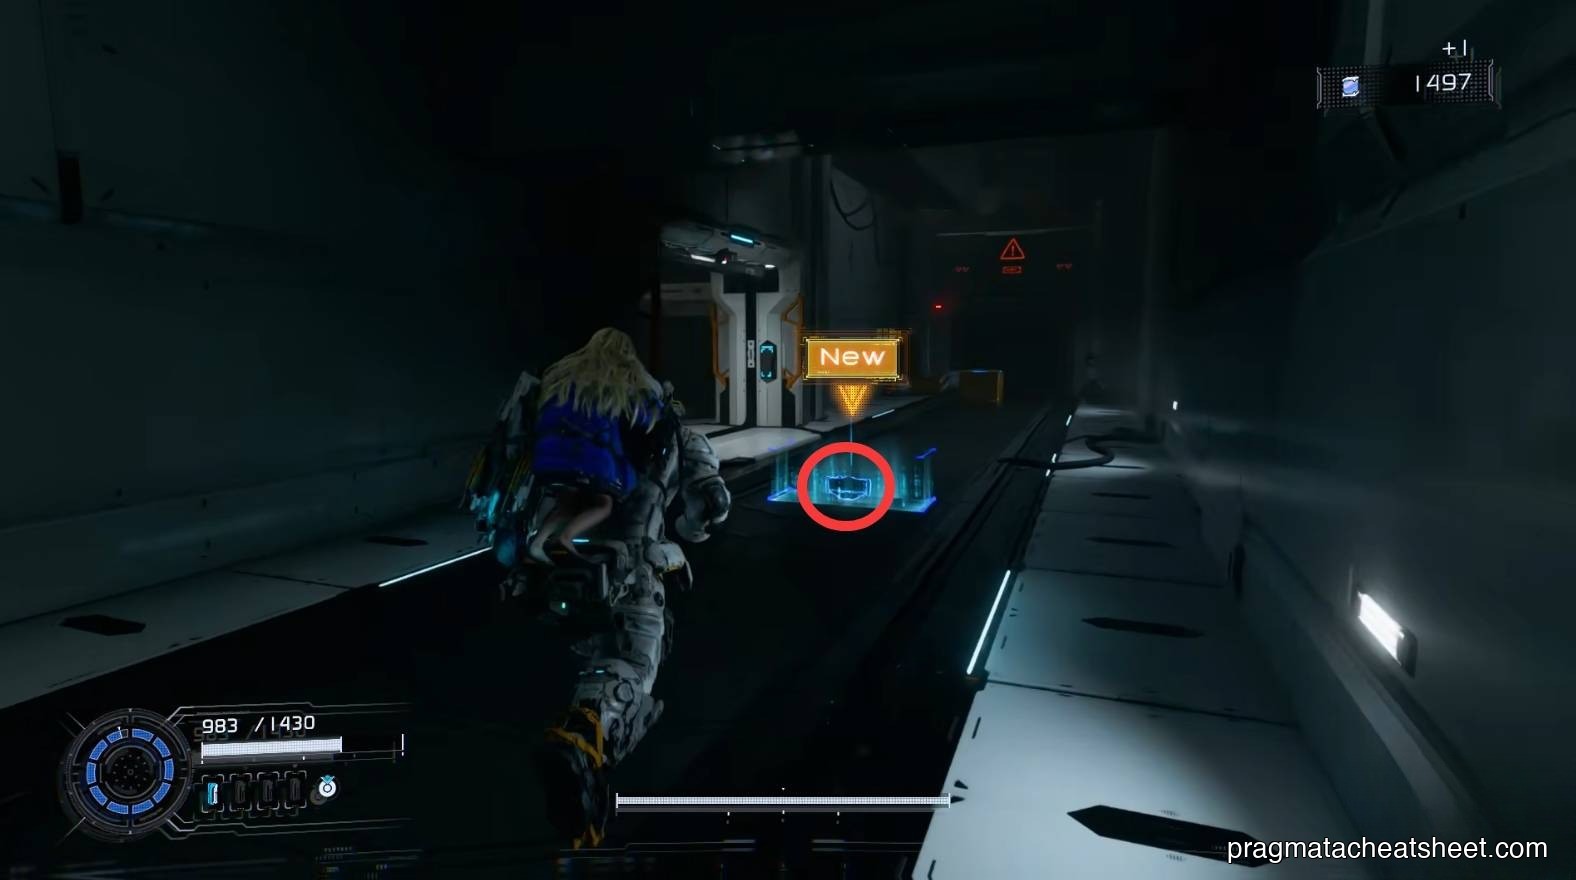
Riot Blaster and the diner
The next street pickup is the Riot Blaster — an AoE weapon that staggers.
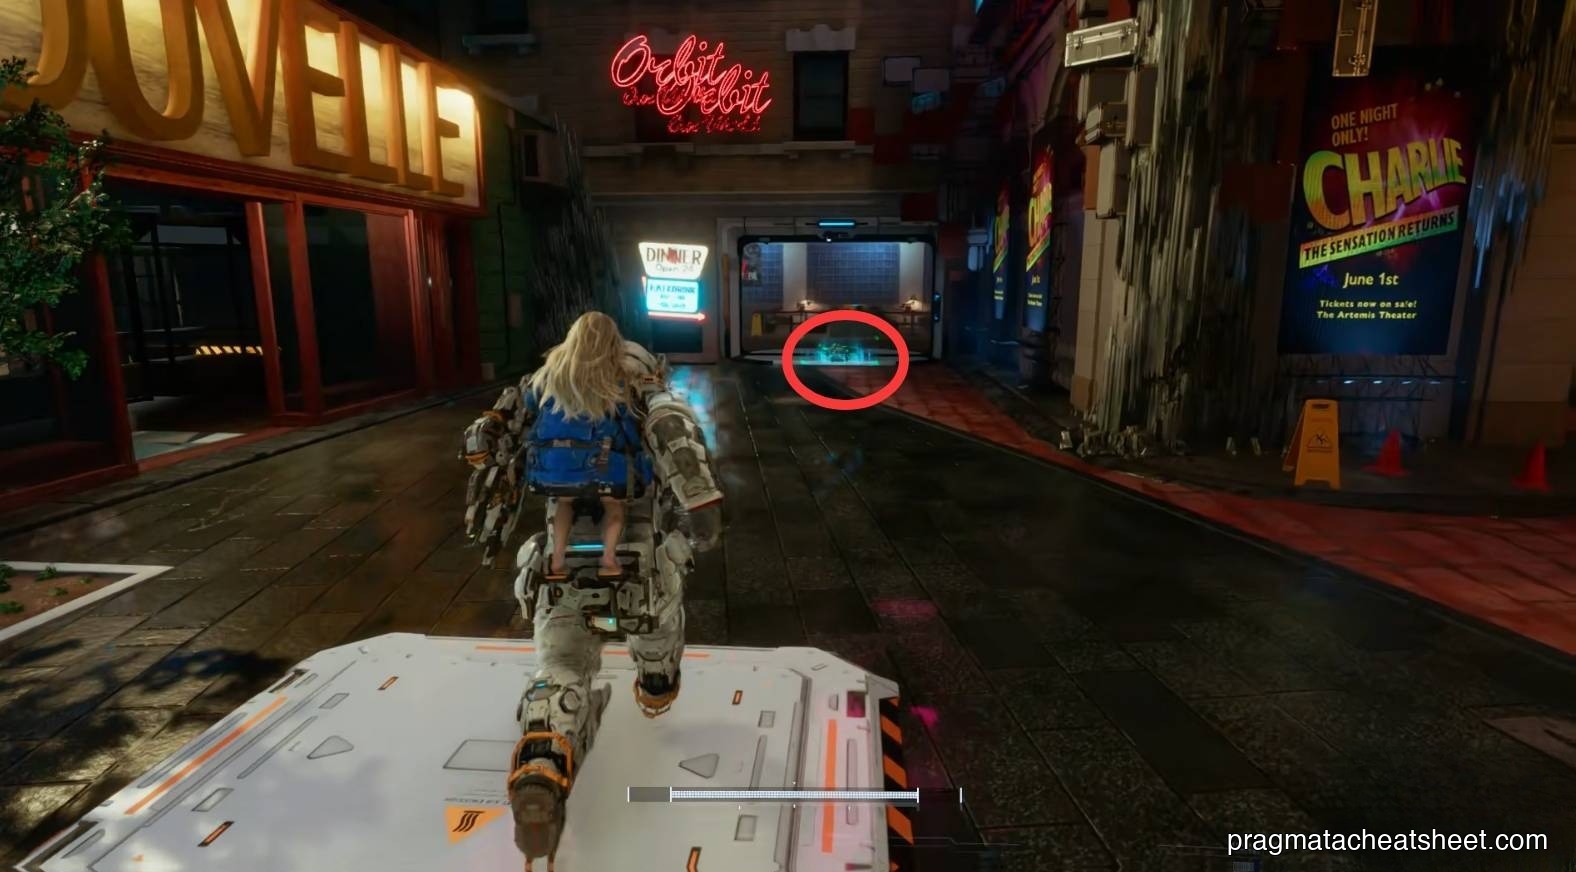
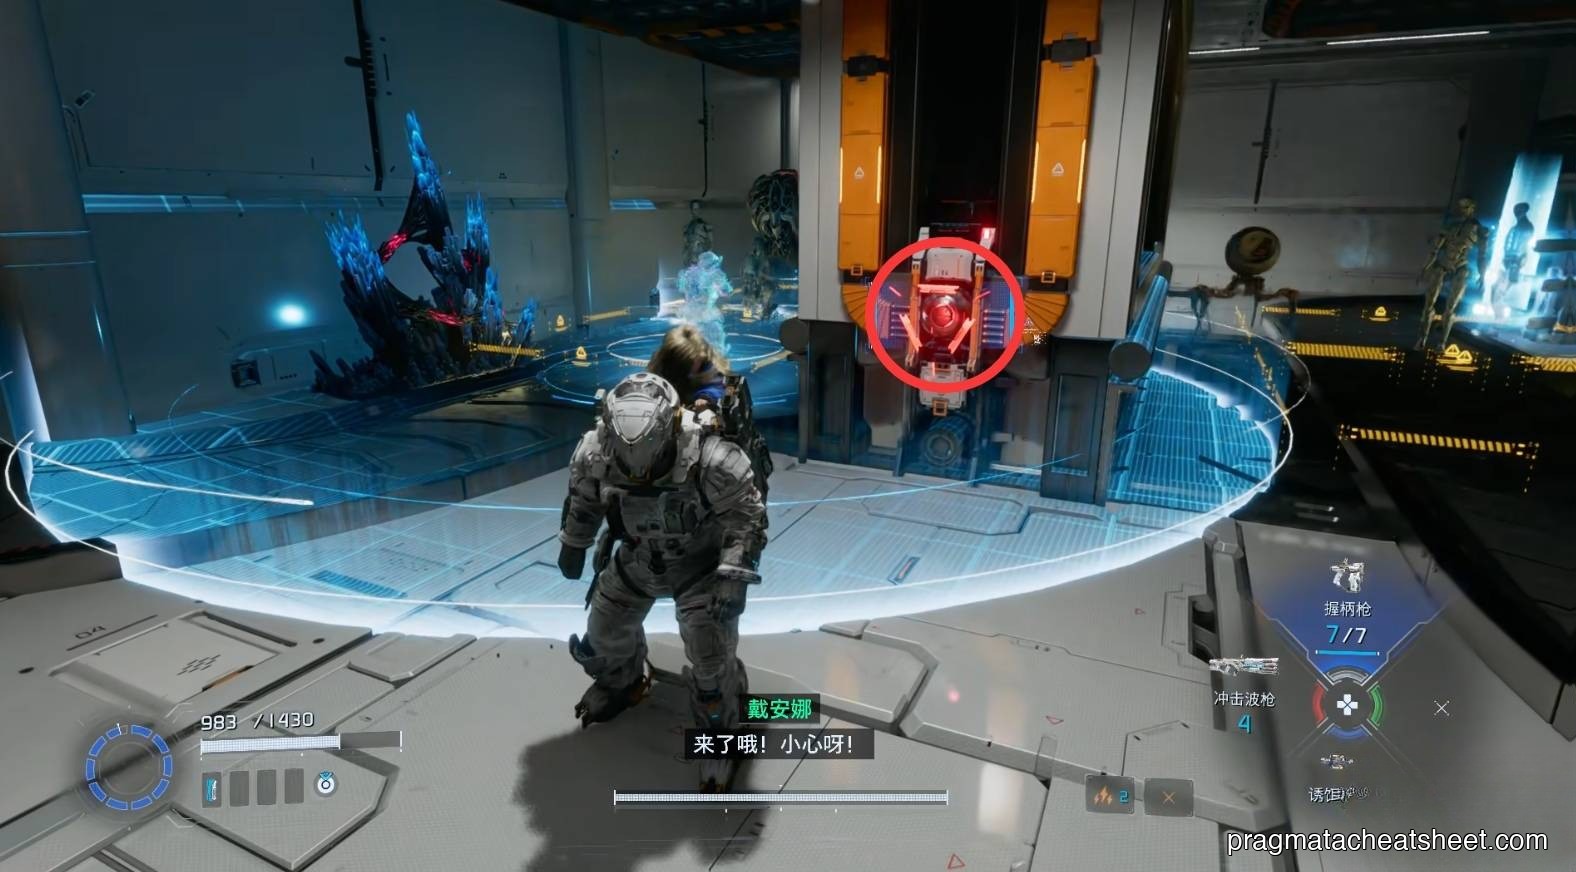
Enter the diner; a Red Gate Key sits on the counter.
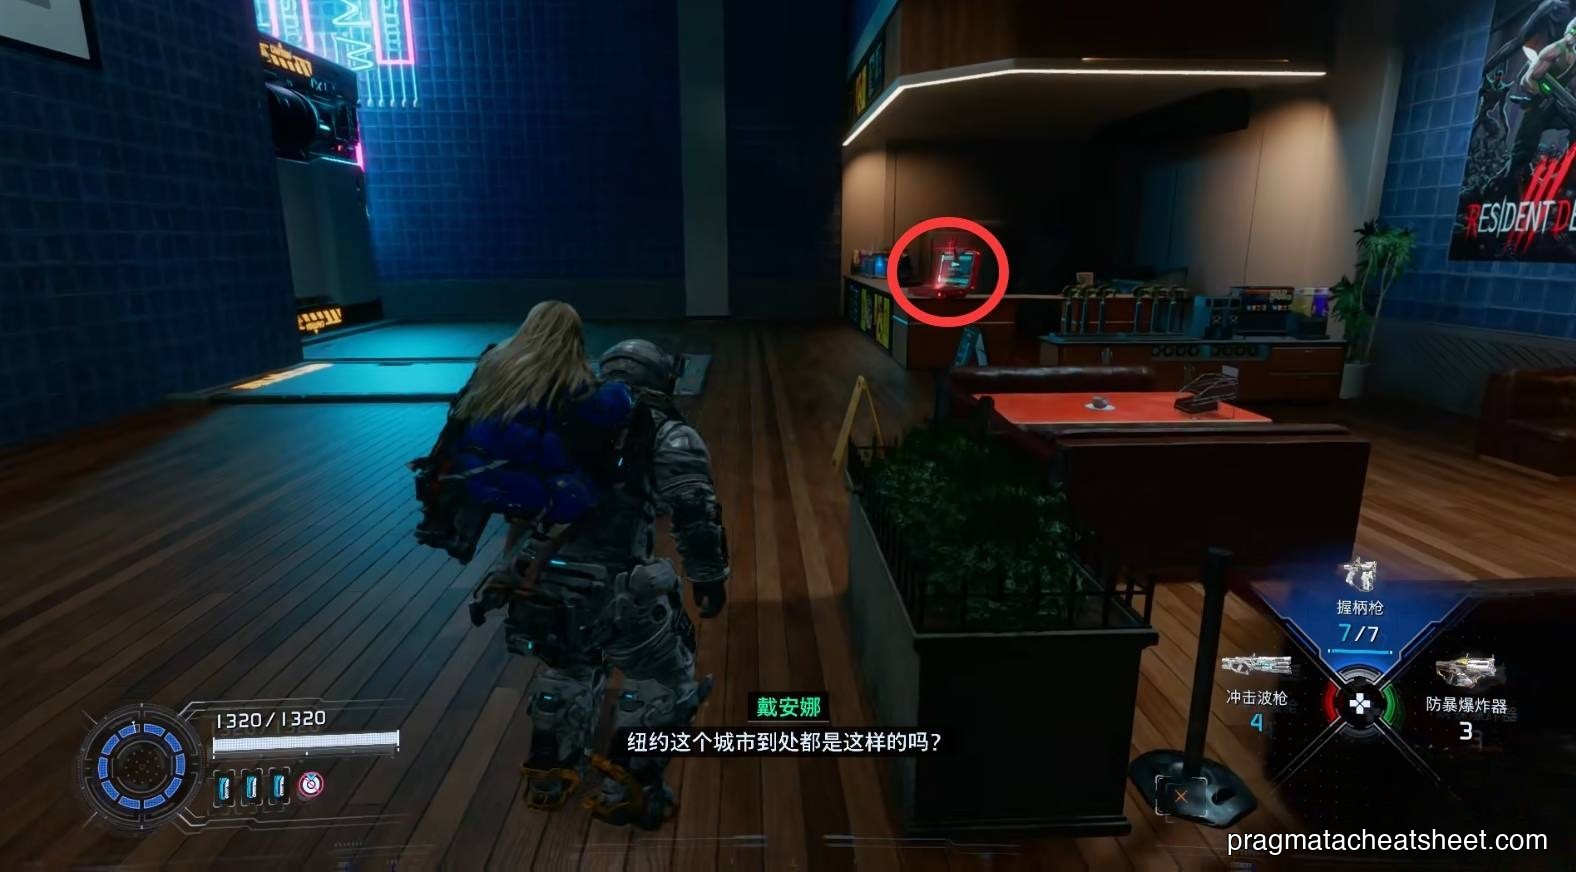
Look up in the diner — an Upgrade Component is stashed on a raised shelf. Stand on the platform, hack the red node to raise it, and jump across.
Ride the platform up into the clothing store. Check the back-corner shelves for a third Upgrade Component.
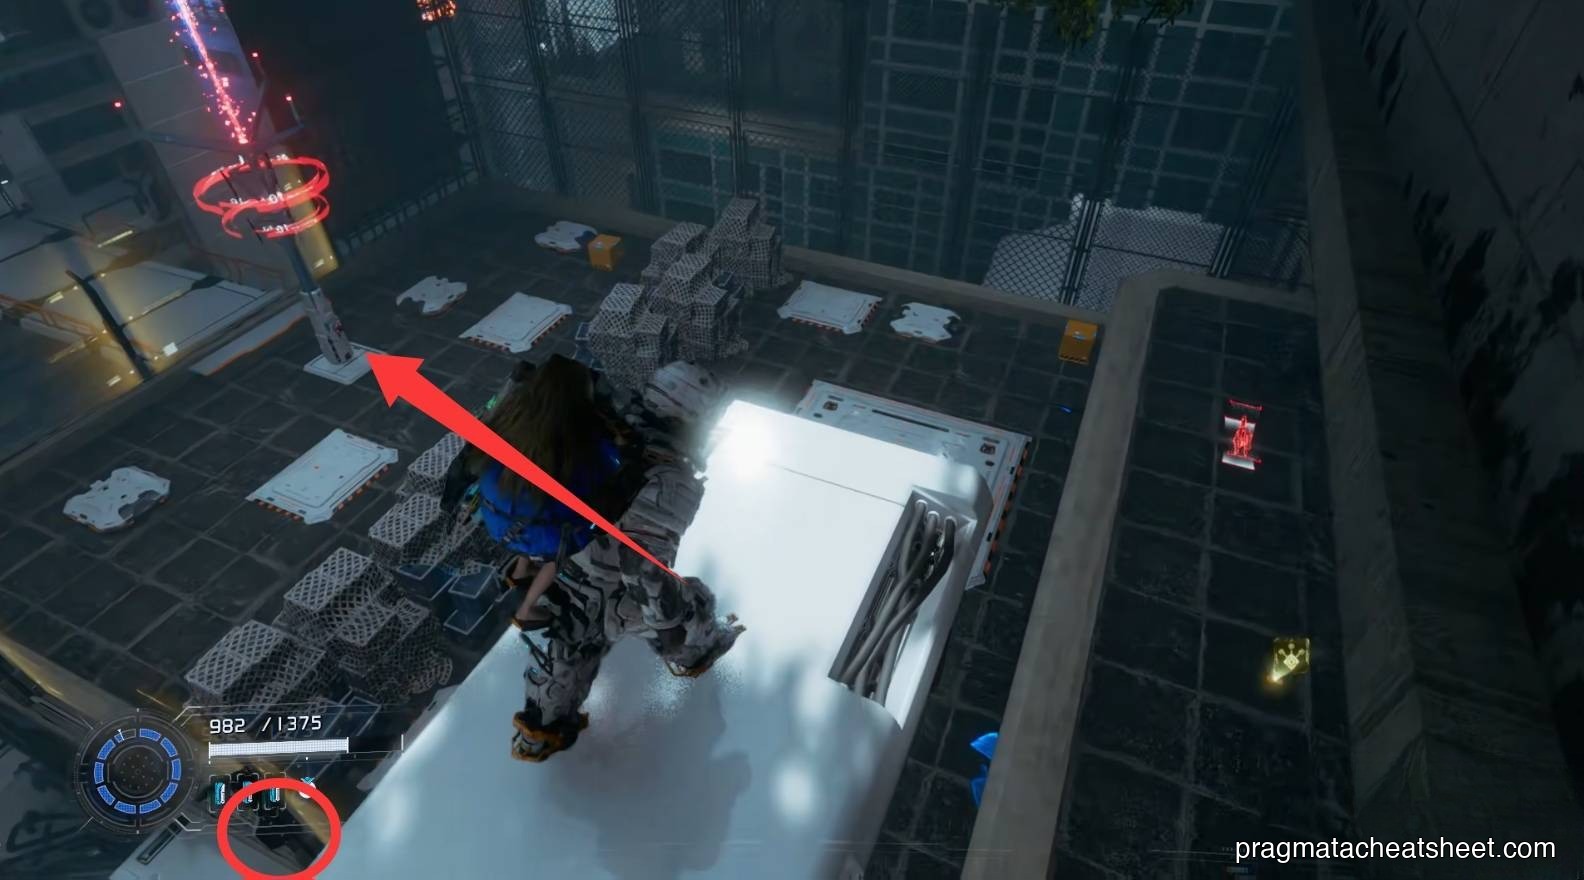
Laser steps and a hanging Mini Cabin
Past the clothing store, take the short stairs to dodge a laser, crack a box for a Mod, then wall-rail up.
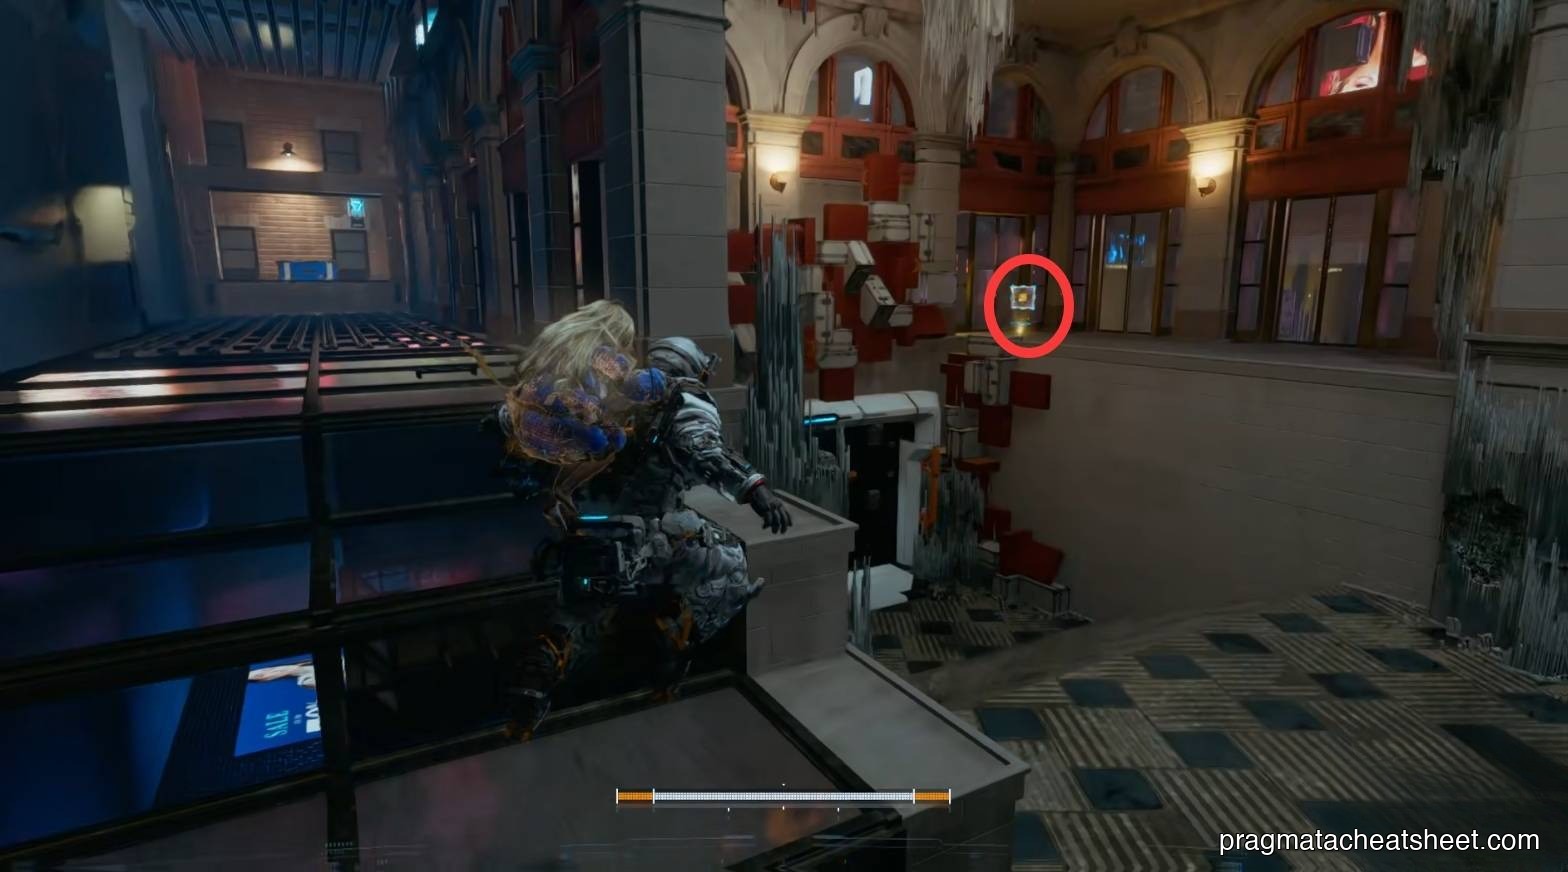
At the top, look across — a Mini Cabin sits on the red-brick rooftop.
Head deeper into the bookstore interior for a Safe Box, then come back out.
Drop one floor: Upgrade Component. Another floor down, onto a glass skylight: Upgrade Component.
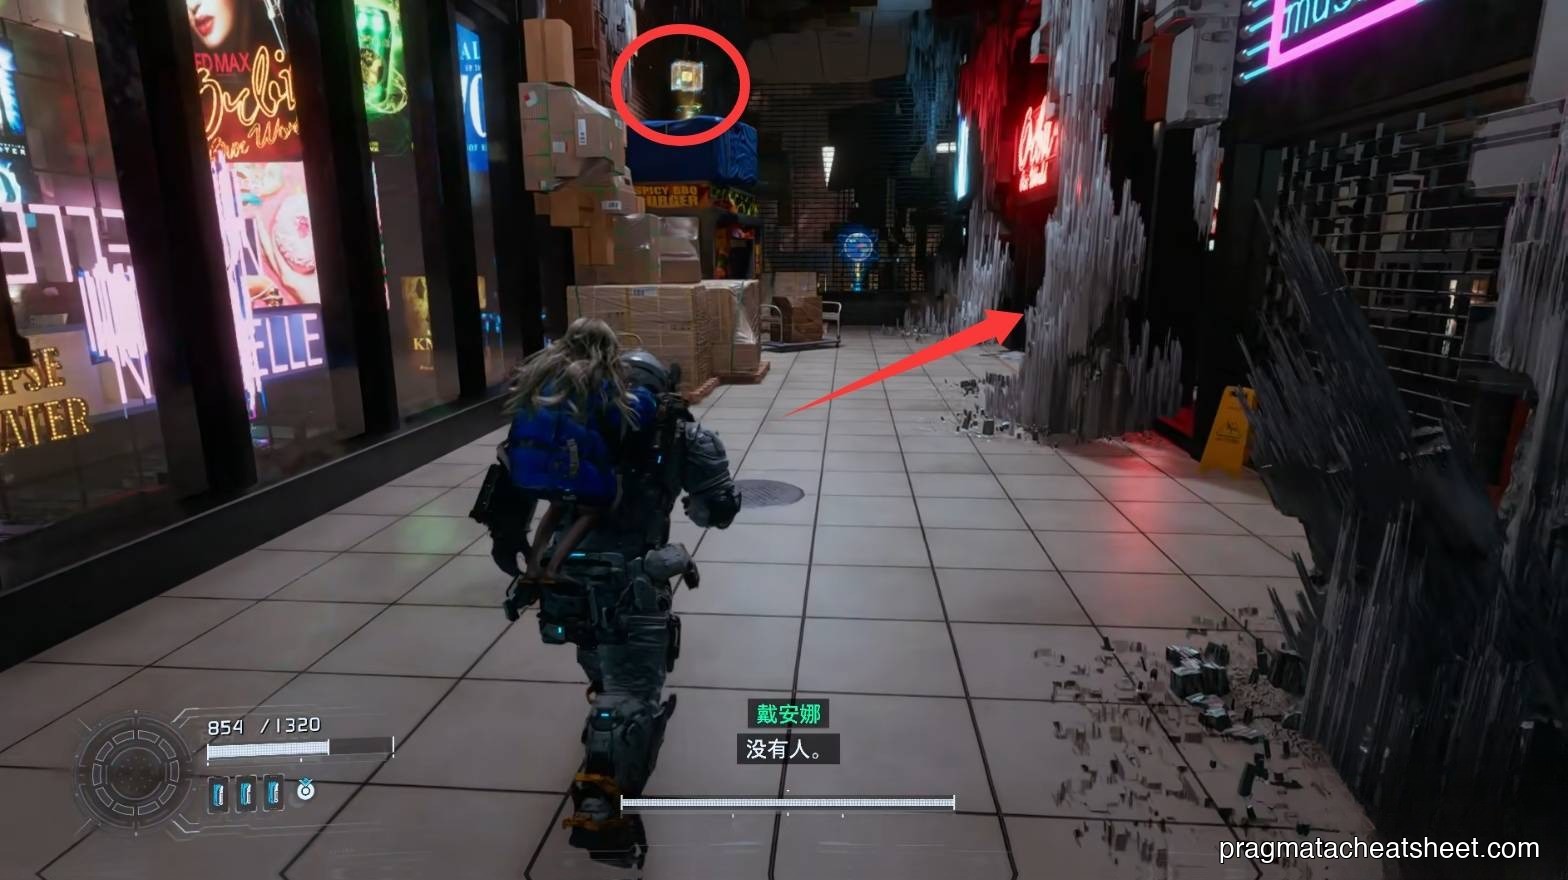
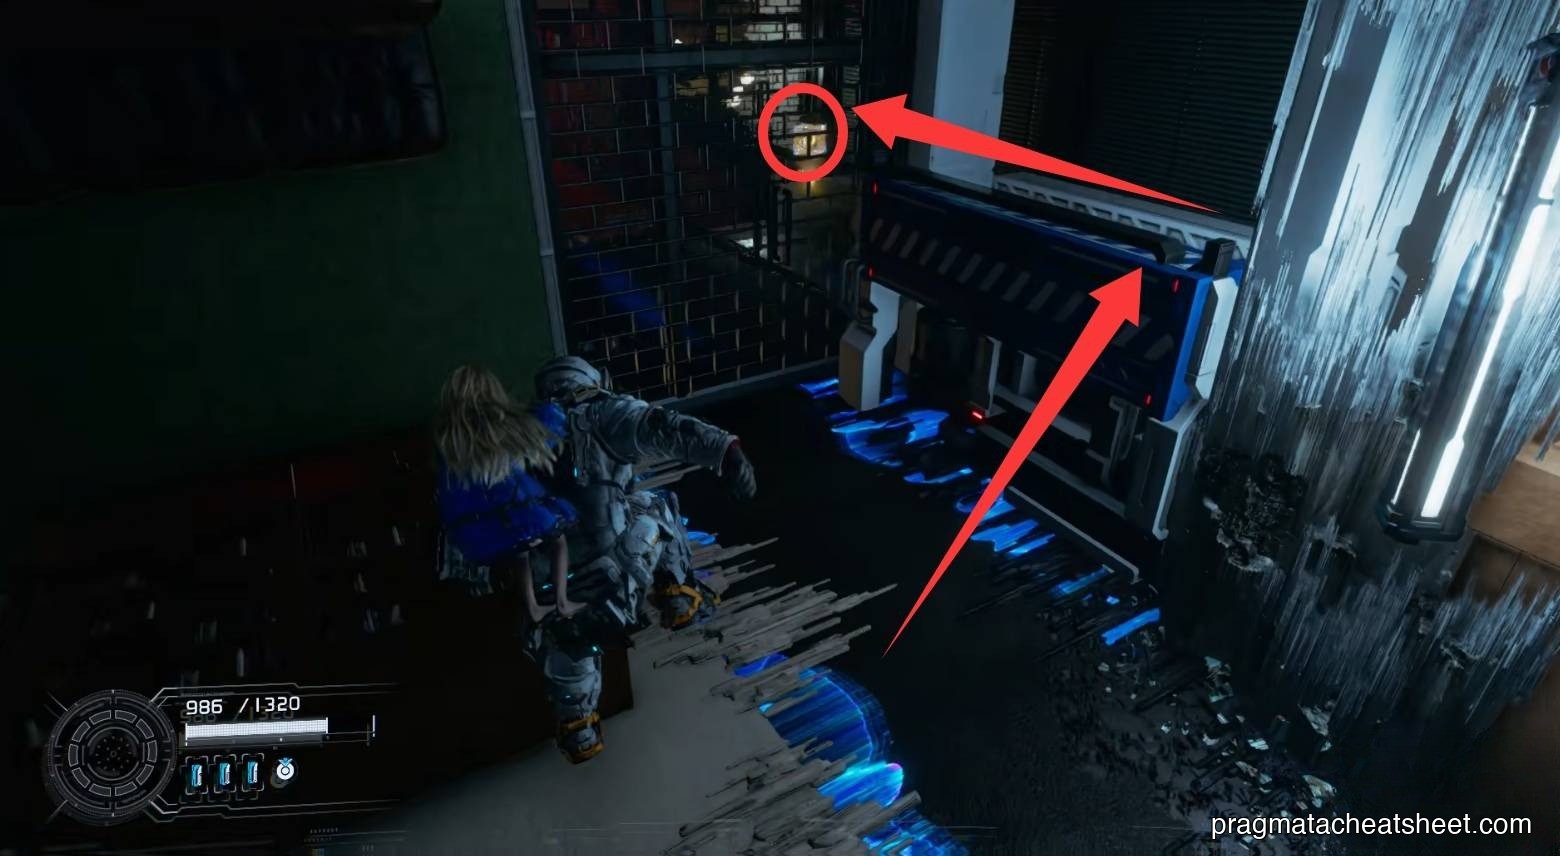
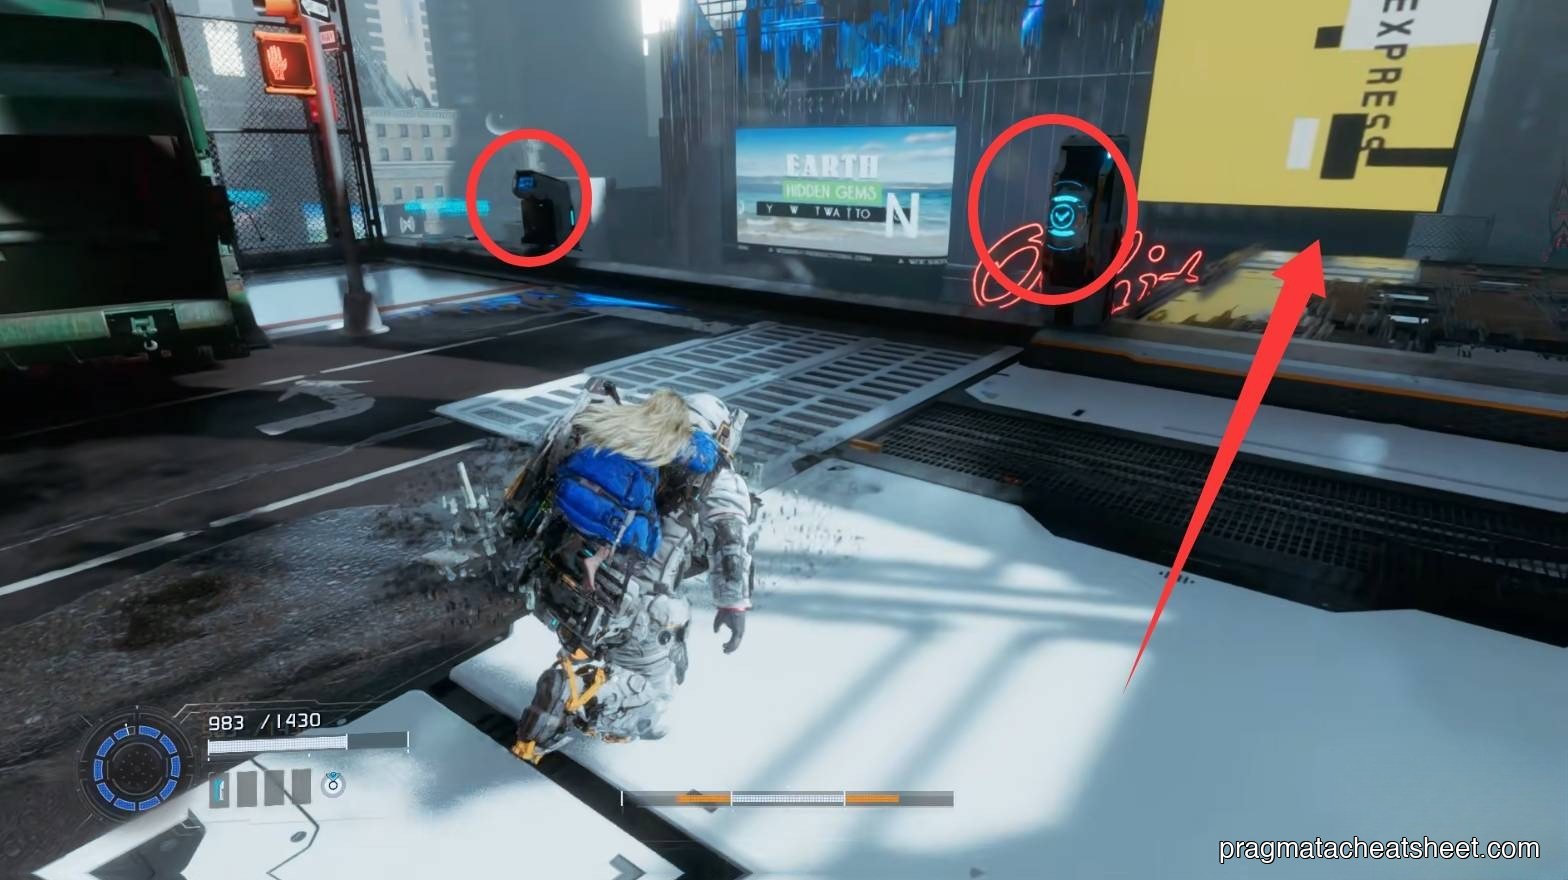
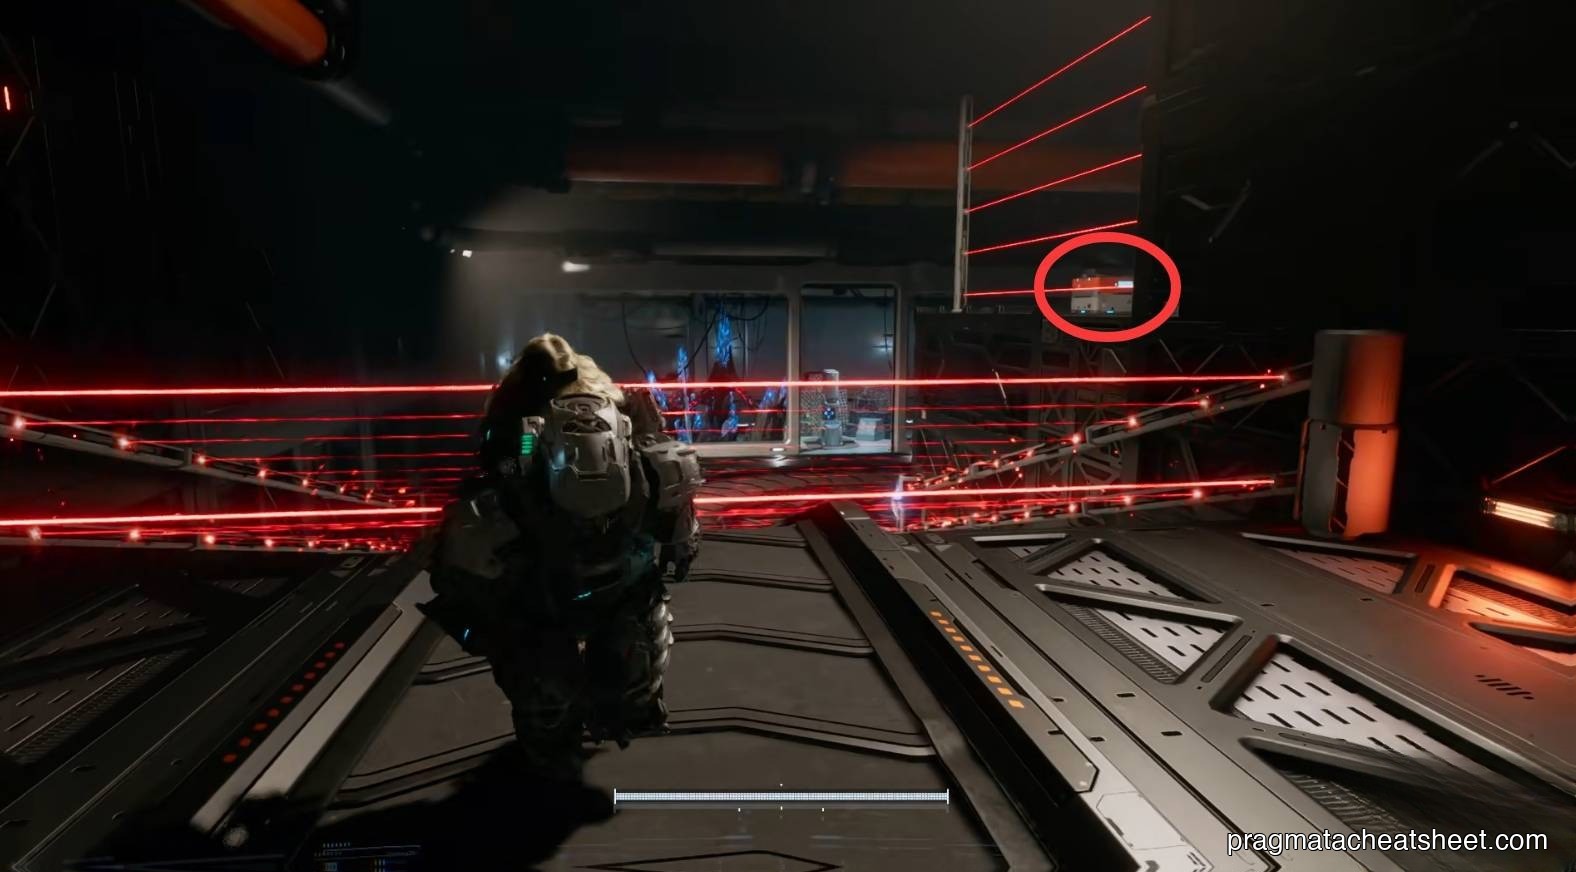
Beacon hack and the hidden wall
Ride back up, drop a different direction this time, and hack the beacon to open the way.
Through the next door: Safe Box + Pure Lunum.
Climb the next stairs. Before the hack-panel door, jump to the left ledge — a hidden wall hides another Safe Box.
Upstairs: another Upgrade Component visible up high. Enter the door, right turn, jump up.
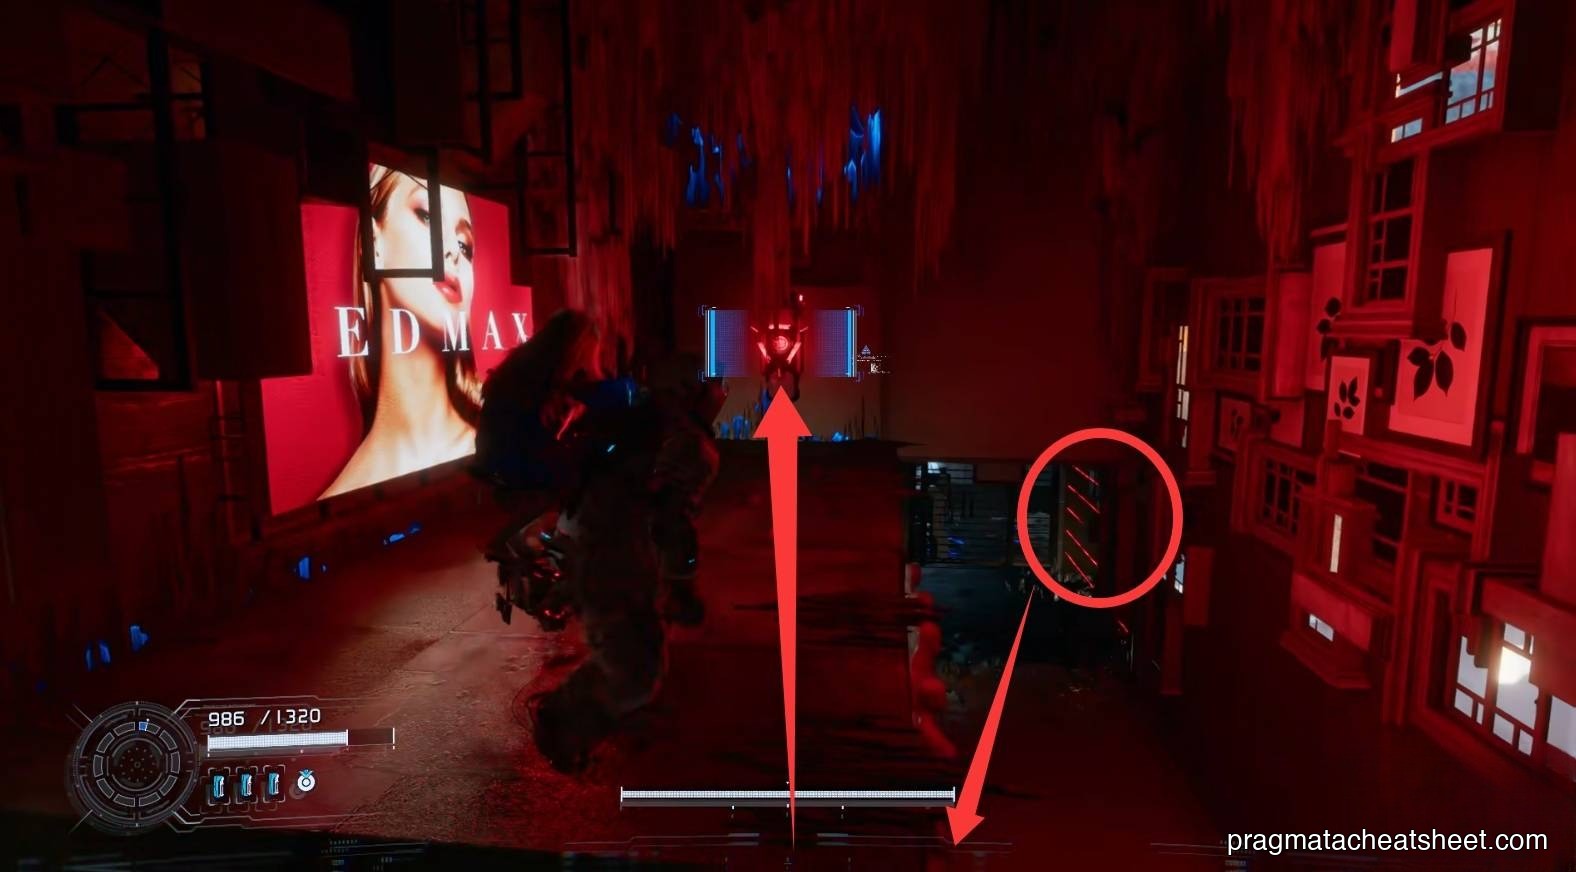
Laser-Safe Box combo and mannequin enemies
Inside: an Upgrade Component and a Safe Box locked behind lasers.
Watch for mannequins — they're disguised enemies. Jump onto one, hack the red node above it to kill the laser, then grab the Safe Box.
Exit. Behind a rack on the left: REM chip.

Clear the next mannequin wave, open the door to a small room for a Mod.
Hack a red node to extend a bridge, cross, activate the next Escape Hatch.
Items in this area
- Pure Lunum · Red Zone entry
- Red Gate Key · diner counter
- Upgrade Components × 5
- Safe Box × 4
- Mod × 2
- REM chip × 1
- Mini Cabin × 1 (brick rooftop)
- Riot Blaster · dropped weapon
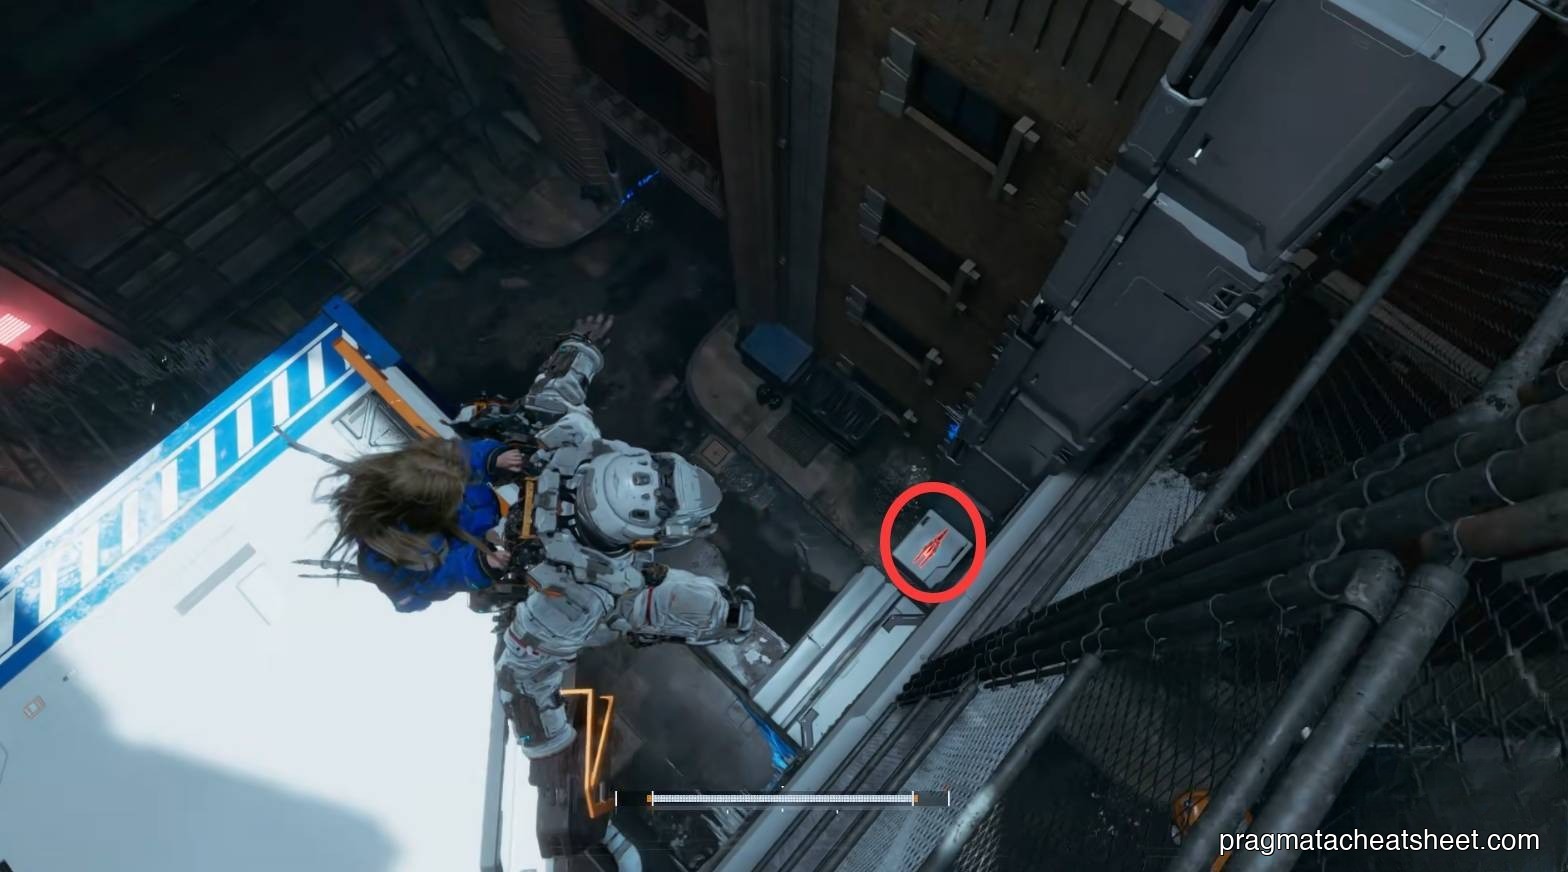
03 — Side Alley
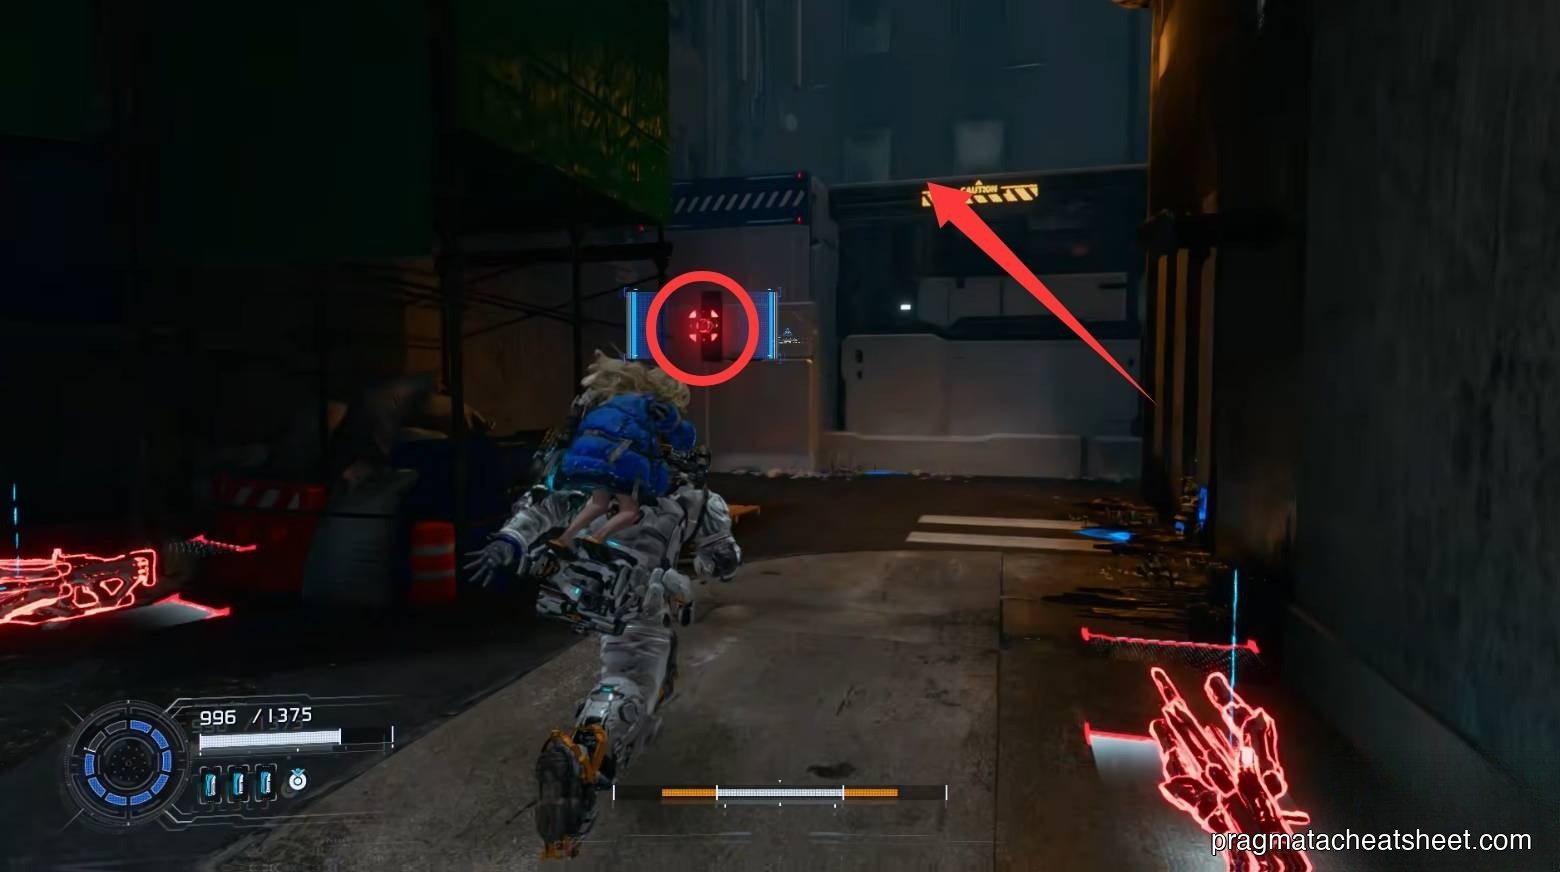
From the Escape Hatch, jump down to the north. The Charge Piercer weapon sits by the door — a burst-charge sniper.
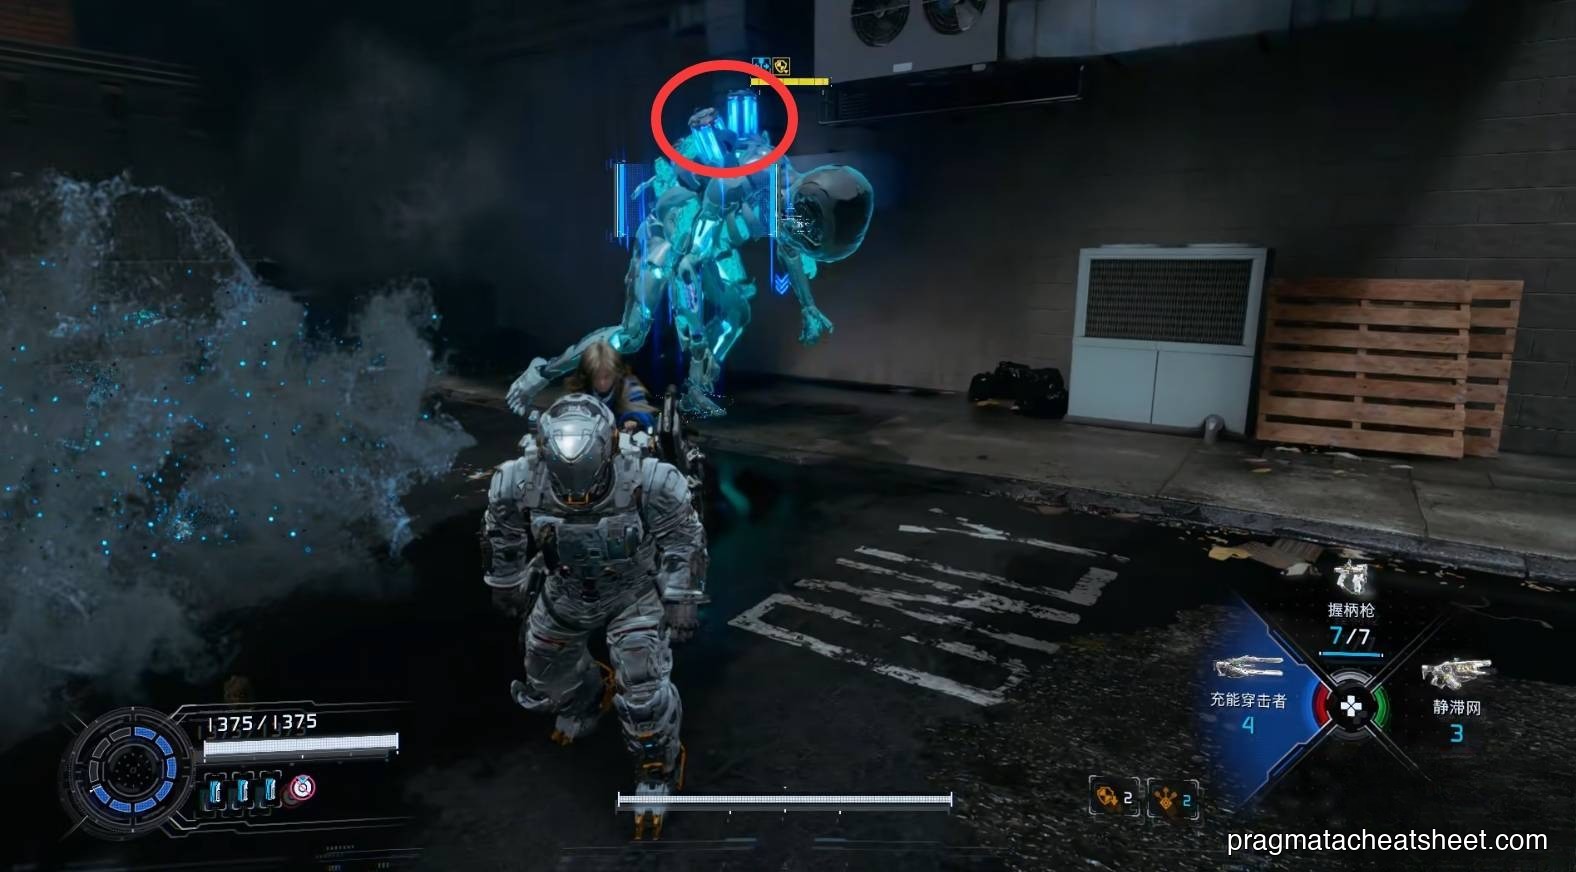
Executioner enemy
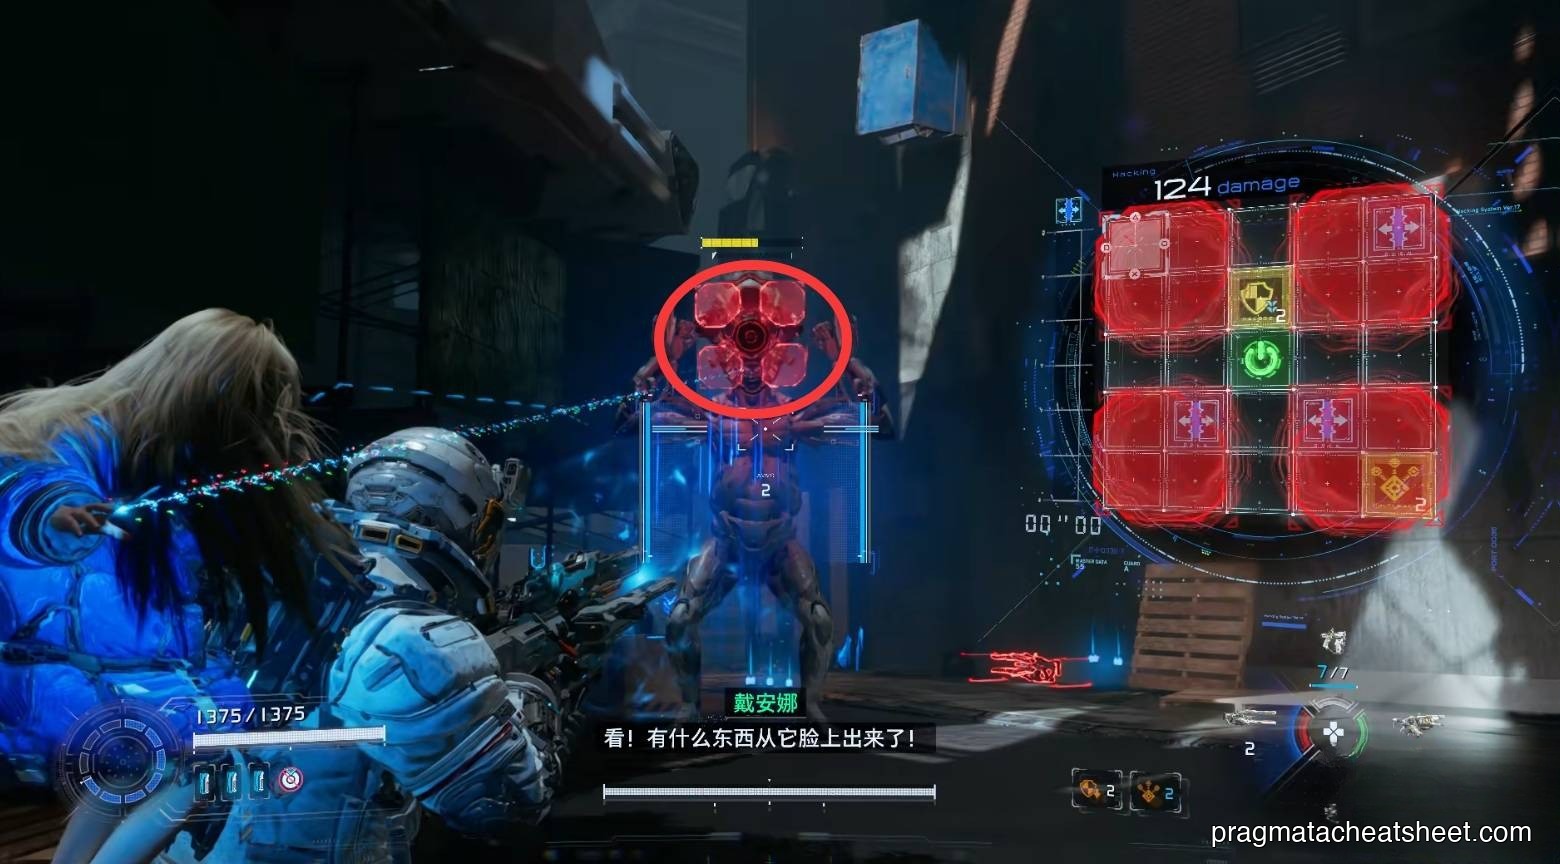
Executioner: weak point is a canister on its back. Riot Blaster staggers it; Stasis Net pins it. When it summons four red shields on its face, shoot those out before you can re-hack — once all four pop, it falls over and opens the hack window.
Tower climb
Hack to lower a platform, climb up.
Up top: Mod.
Ahead stands a tall tower. Climb it first — hack the beacon at the top, then sweep the ground after. Drone projectiles can be hacked mid-flight and reflected back.
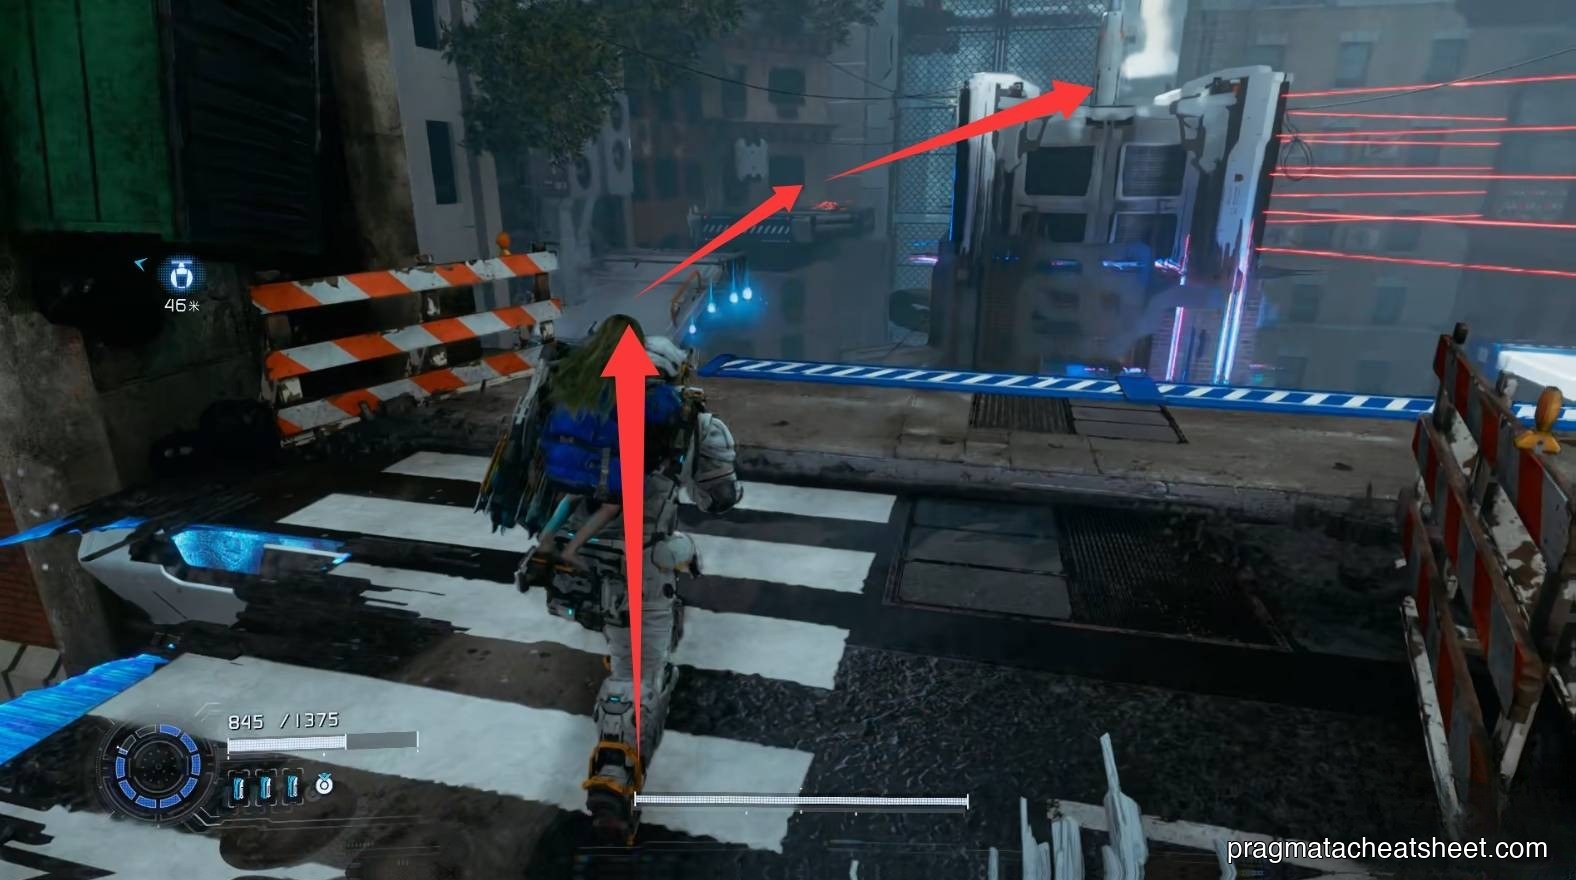
Beacon-hacked, jump across for an Upgrade Component, wall-rail up, investigate the dinner table for a short scene.
Mini Cabin and REM chip loop
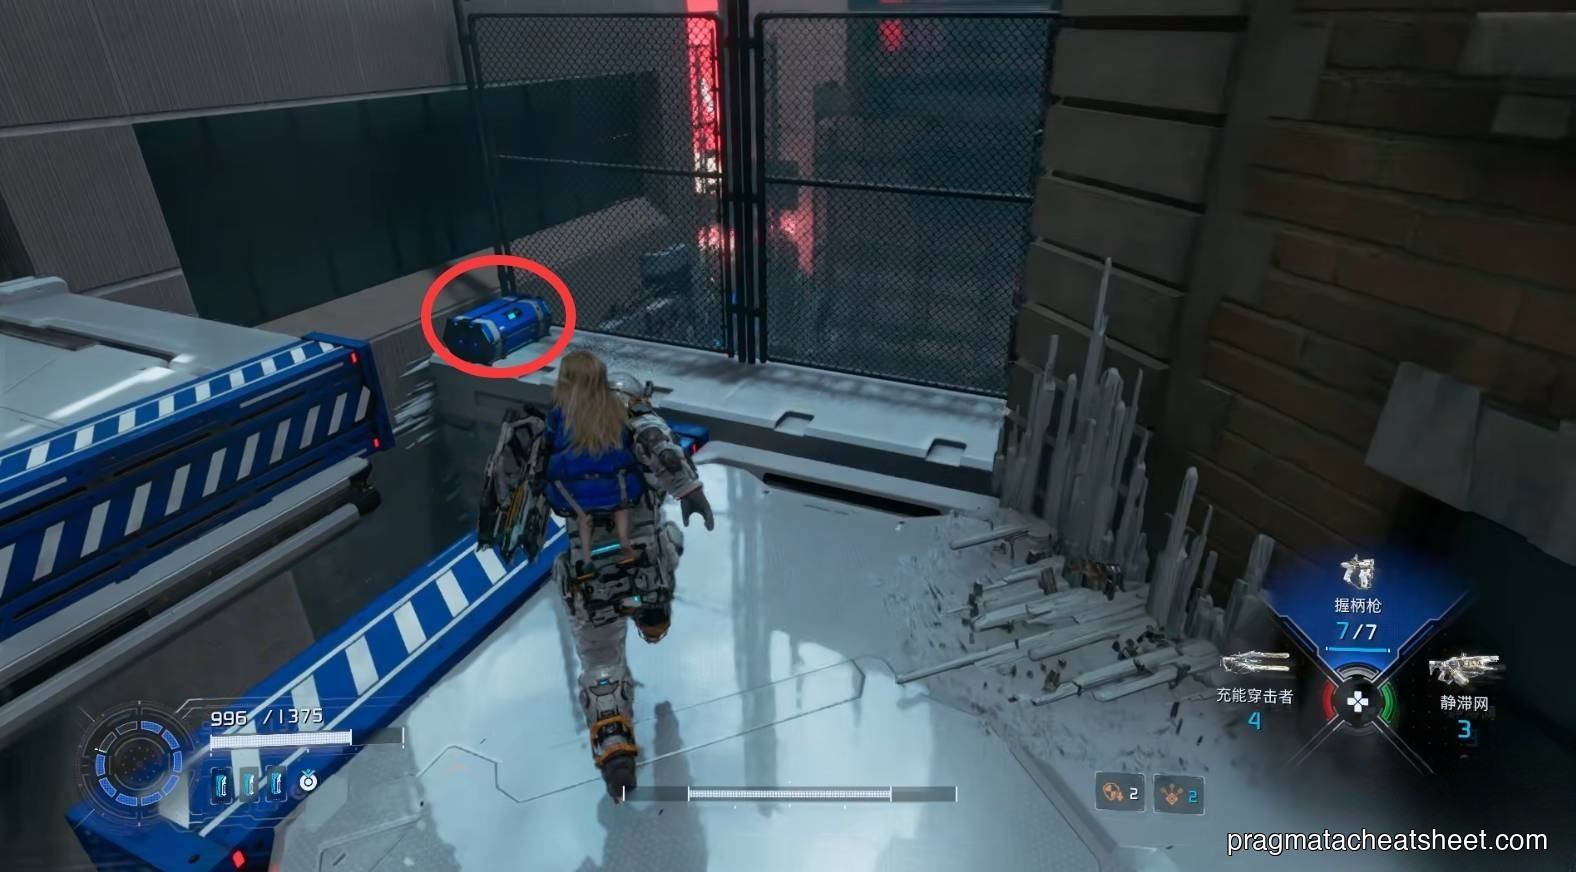
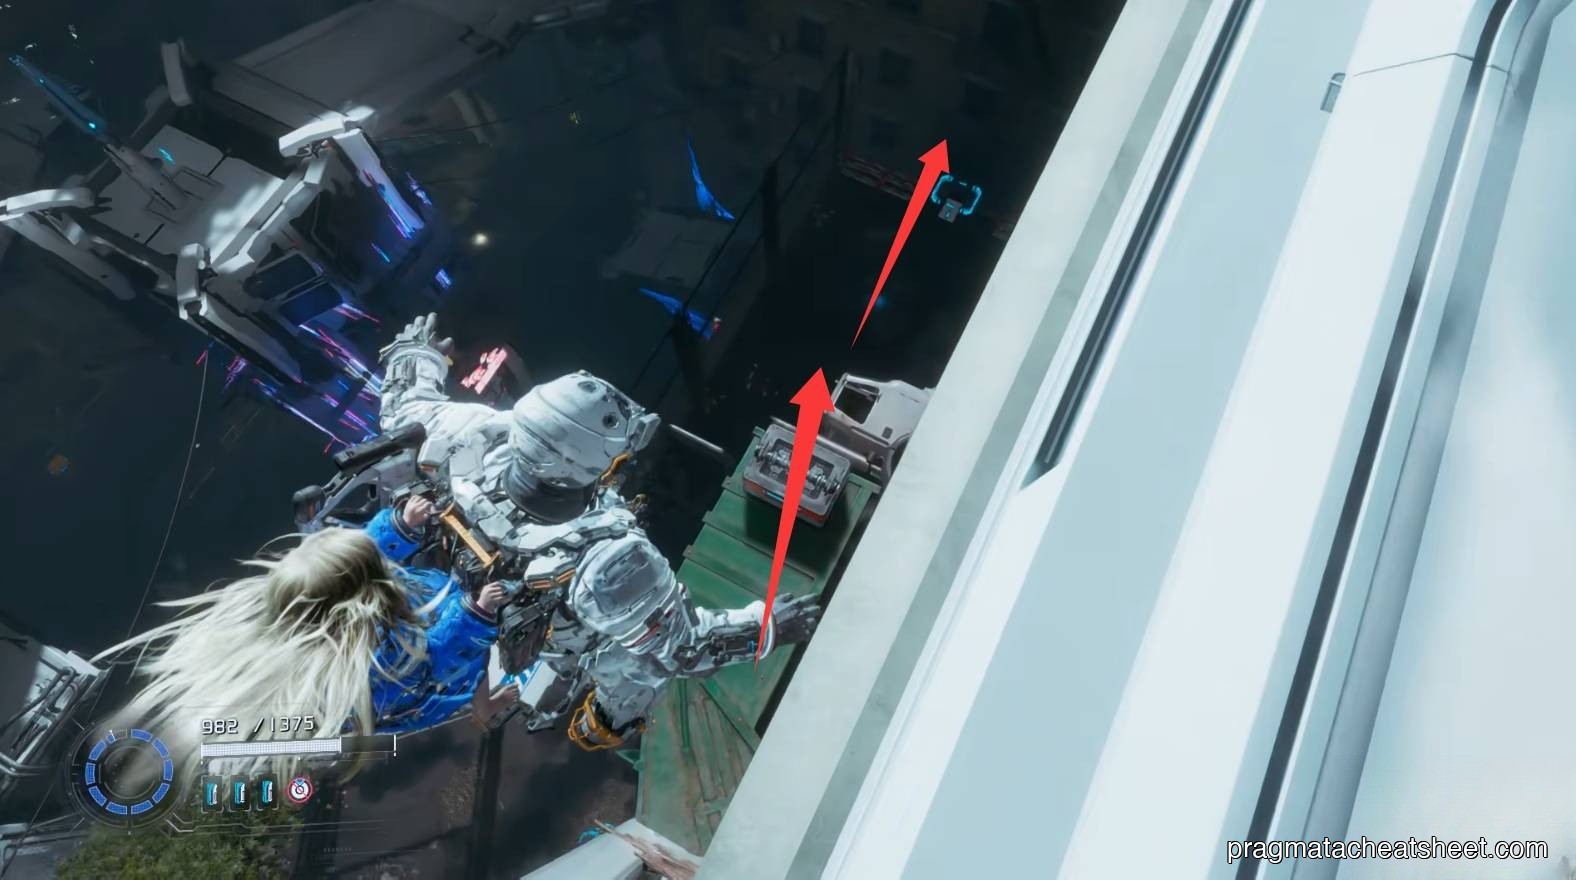
Before continuing, look out the window — Mini Cabin on a car hood. Drop to grab it and a Safe Box.
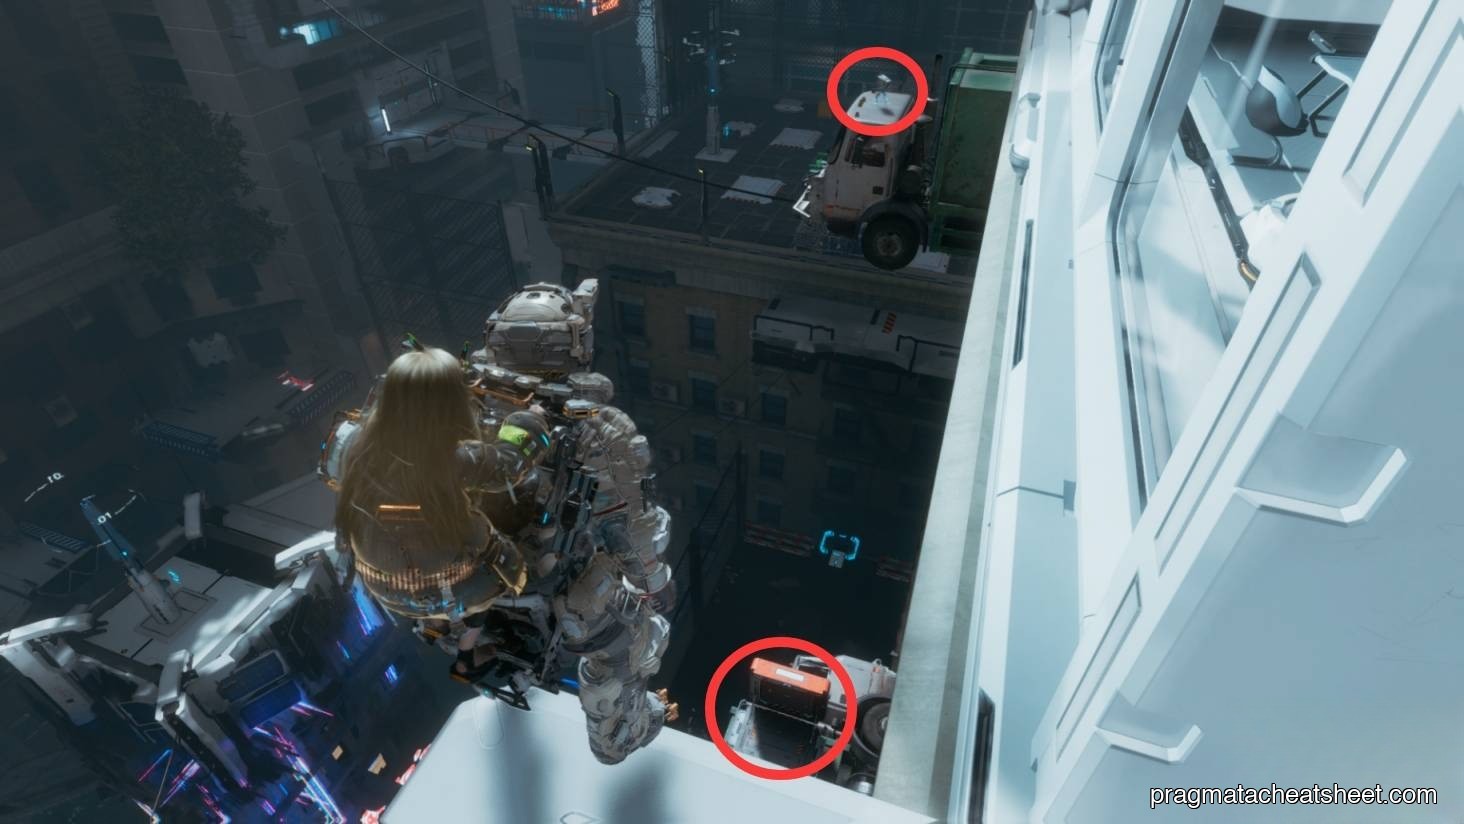
Continue down for a REM chip.
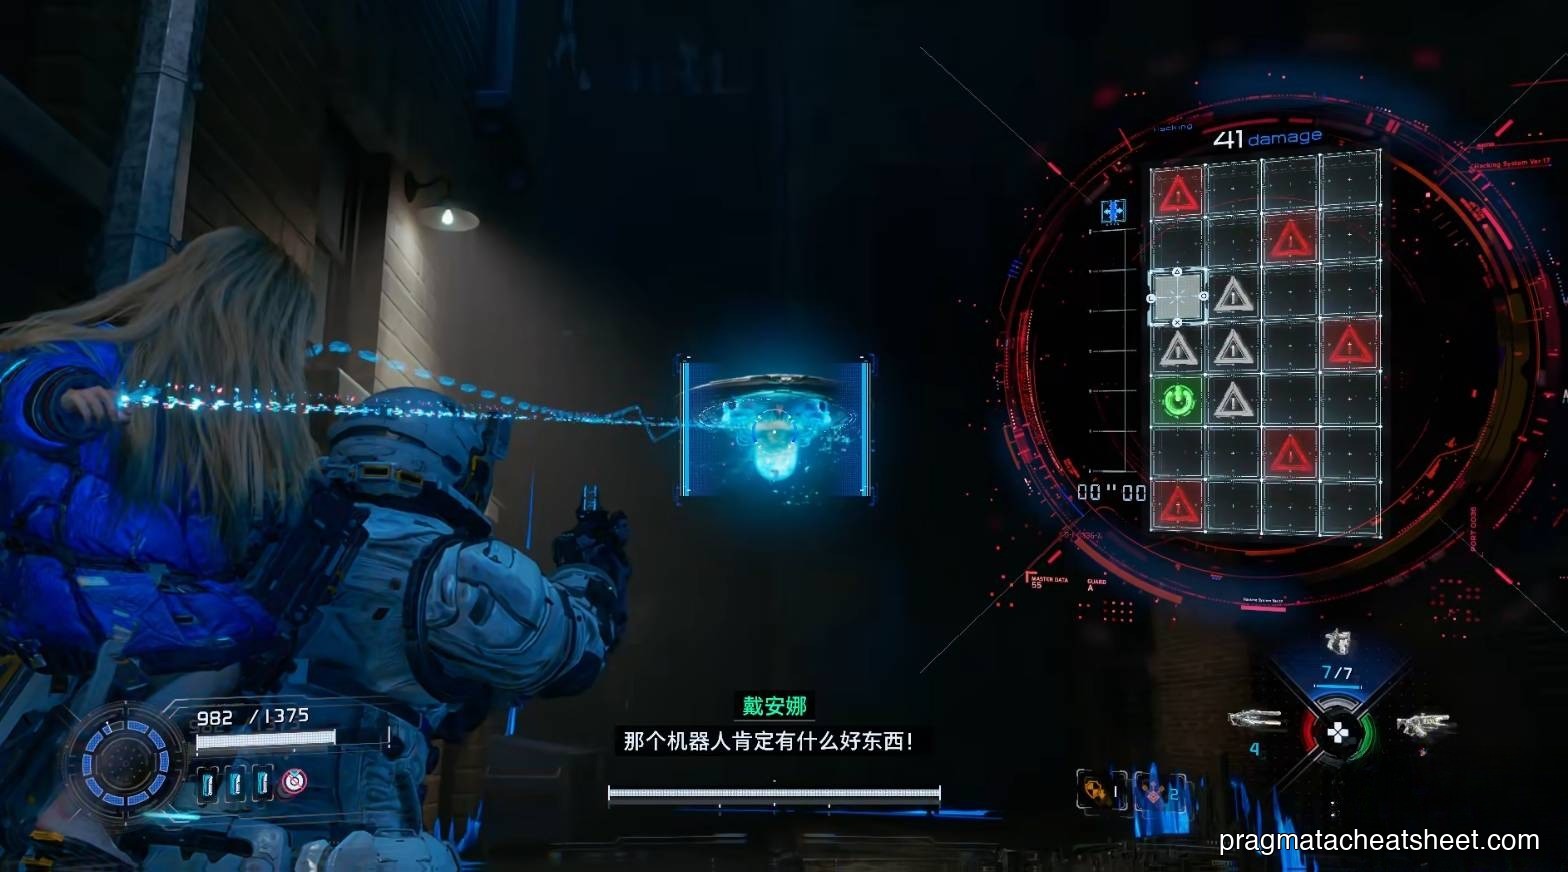
Cleanser (Lim collector)
Sometimes you'll run into a Cleanser — a roaming bot that flees when spotted. Chase it and hack it in chunks; the hack interrupts safely, just keep pressing. A full clean gives a fat Lunafilament payout.
Tower base: Mod. Open the door for an Escape Hatch shortcut.
Go back up the tower, rail across, hack the next beacon. Note the side-platform Upgrade Component on the roof as you pass.
Through the door, activate the next Escape Hatch.
Items in this area
- Charge Piercer · dropped weapon
- Safe Box × 1
- Mod × 2
- REM chip × 1
- Mini Cabin × 1
04 — Business District
Pure Lunum near the Hatch. Corner: Upgrade Component.
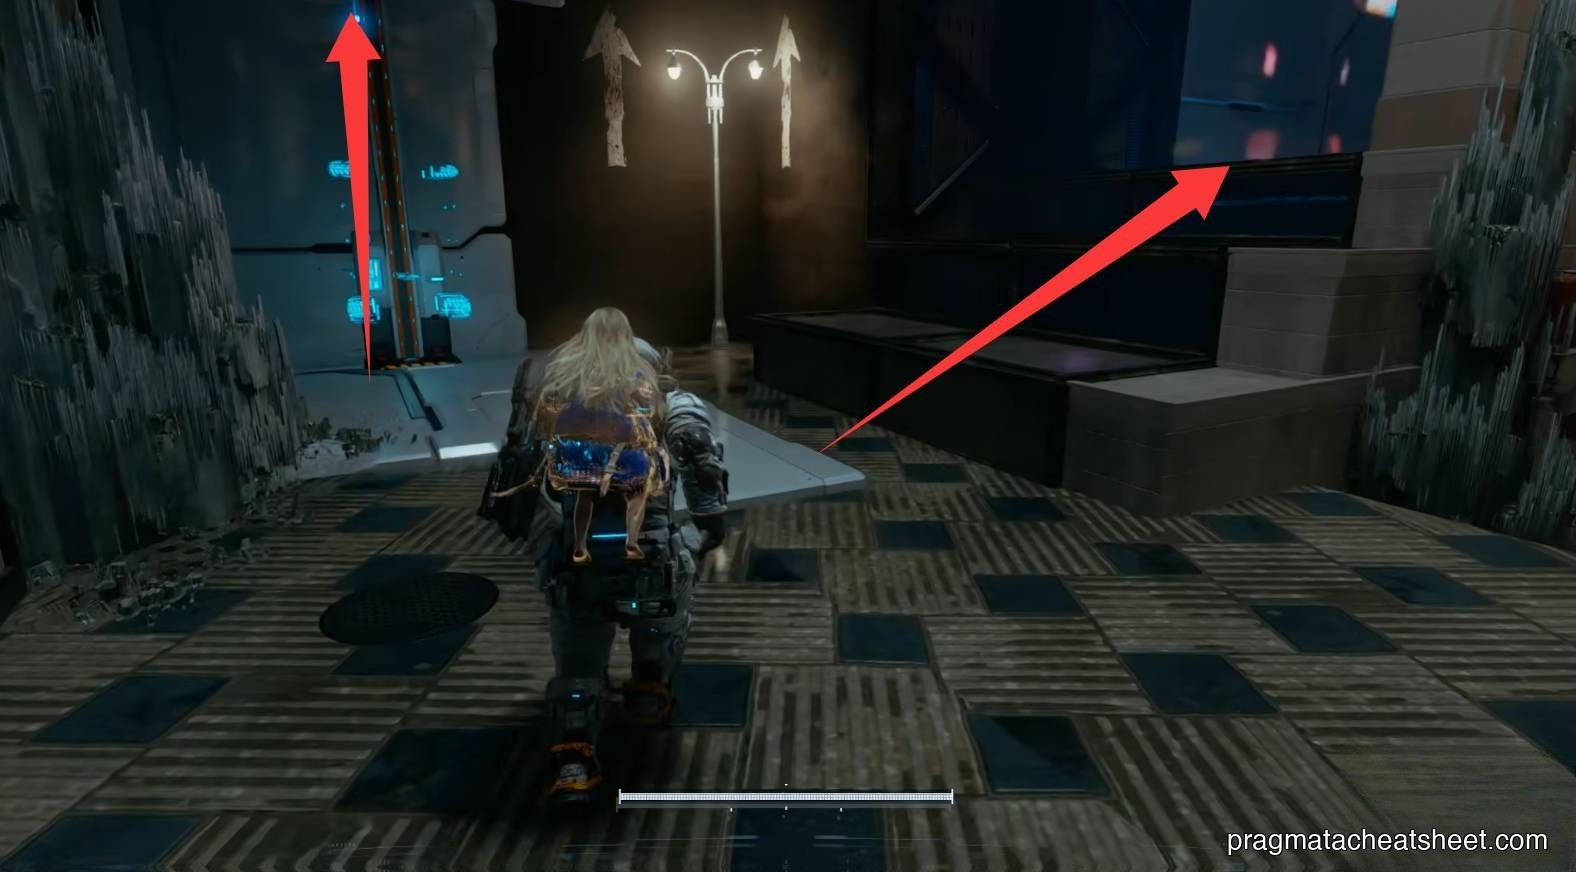
Both-sides loot pass
Exit, right turn — a barrier blocks the way forward. Instead jump down to the left-front for a Safe Box, come back, drop right for another Safe Box.
Then go left: Red Zone entry → Mod + Pure Lunum. On the right: door-room Safe Box, wall-rail up for a Storage Expander.
There's a console tucked under the Storage Expander machine — interact, then hack a red node to raise a platform back to the Escape Hatch.
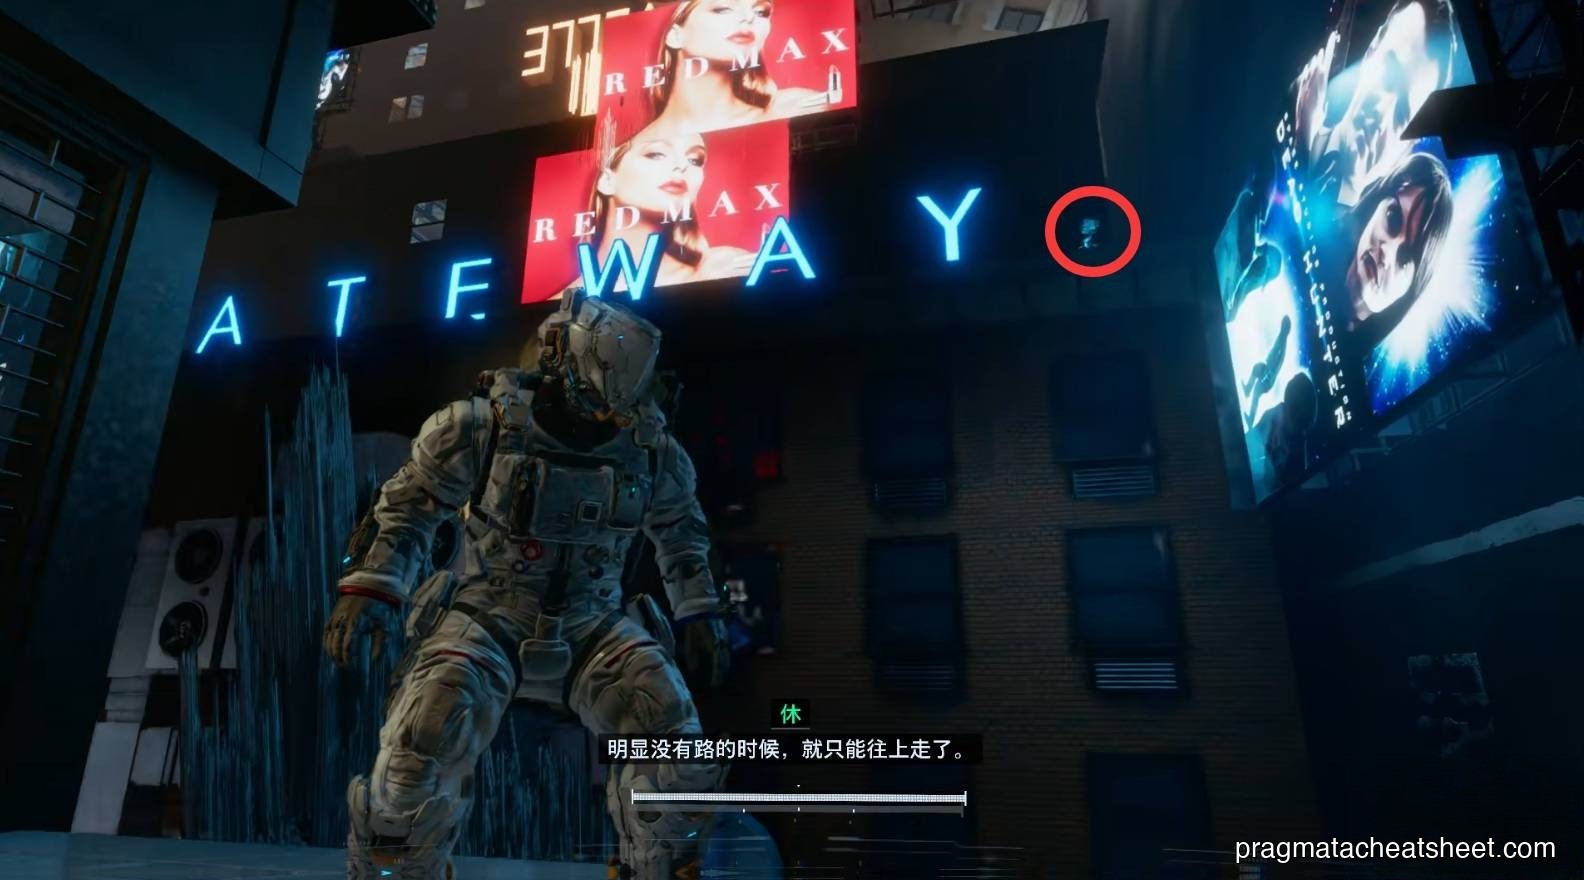
Skybridge shortcut
From the Hatch, exit left, wall-rail up, hack the beacon — this unlocks rails to the street below and extends a bridge.
Cross south through the next door.
Items in this area
- Pure Lunum × 2
- Mod × 1
- Safe Box × 3 (includes one attributed to 01)
- Storage Expander × 1
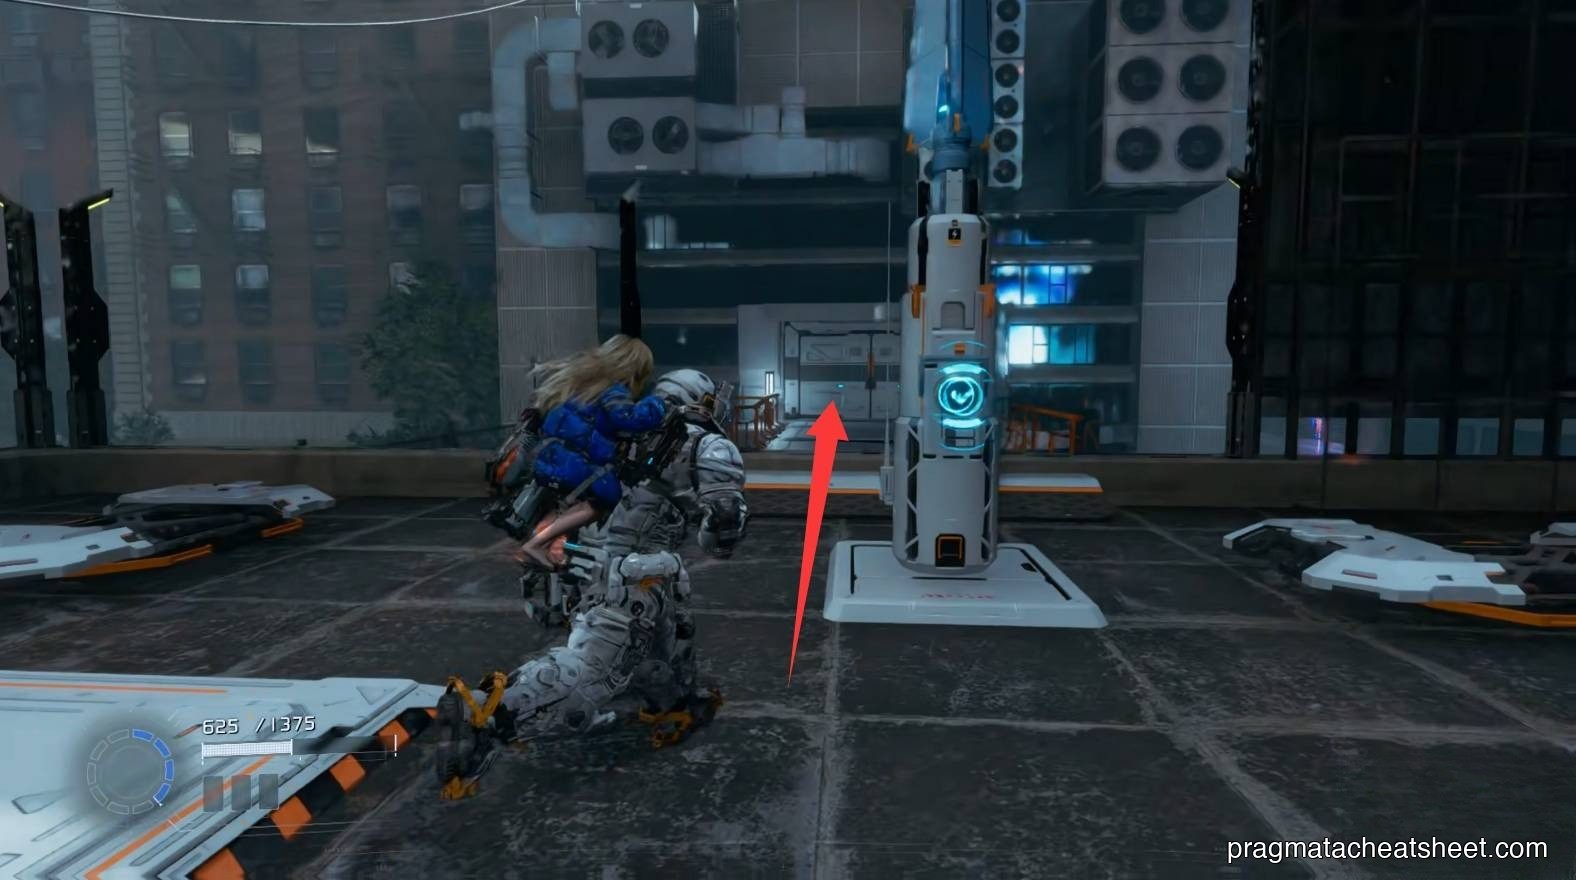
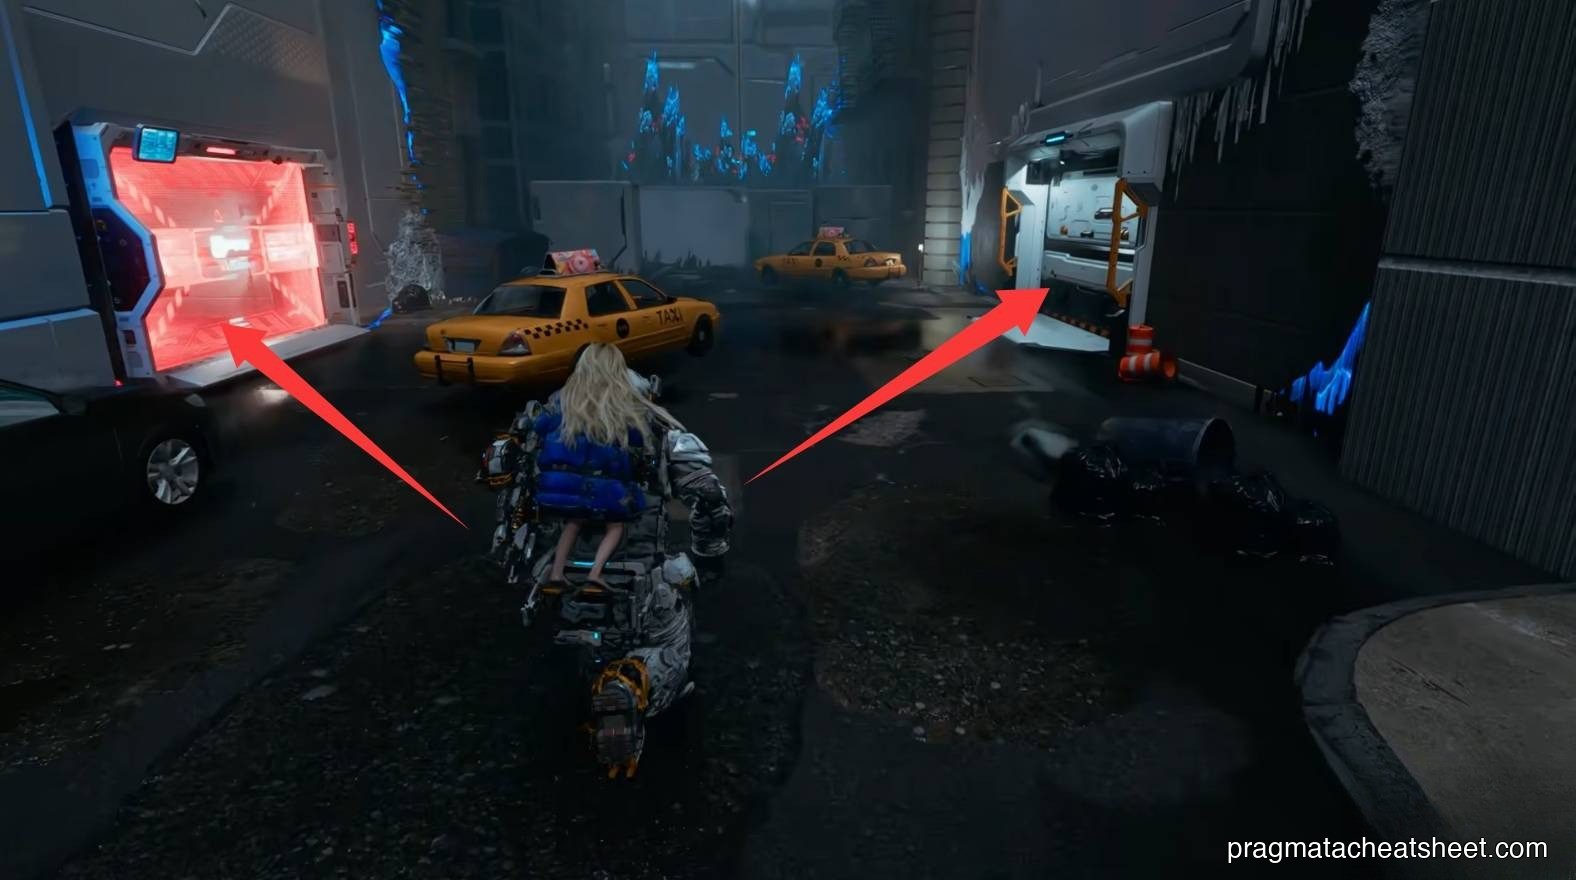
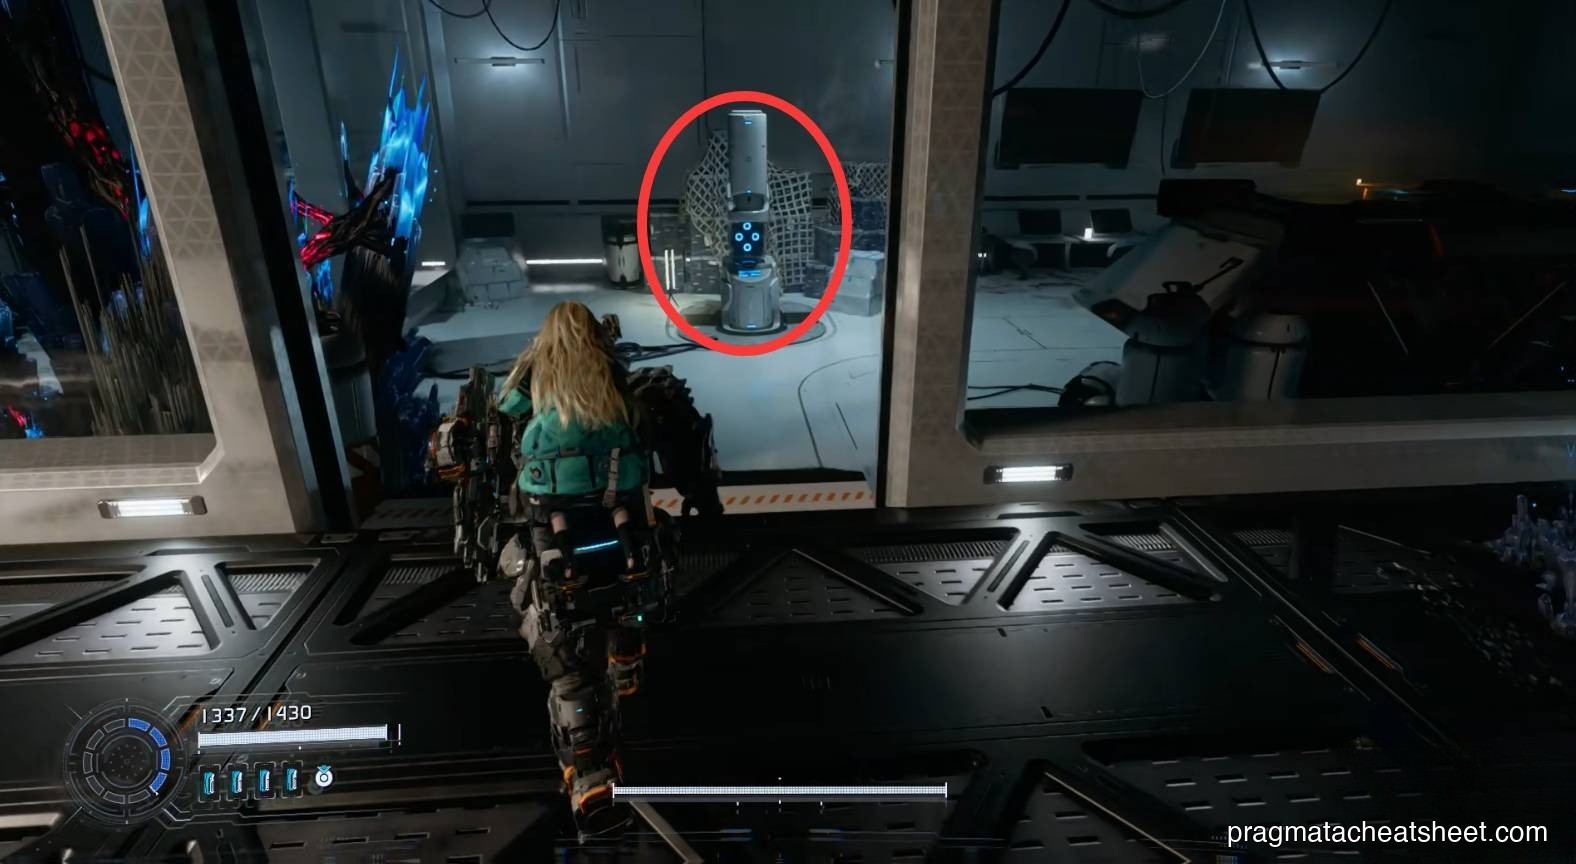
05 — Lim Recycling Facility
Hack the Lim recycler to demolish barriers — and it'll vaporize any enemy standing on the platform.
Drop for the Decoy Generator — lure enemies onto a recycler pad and delete them.
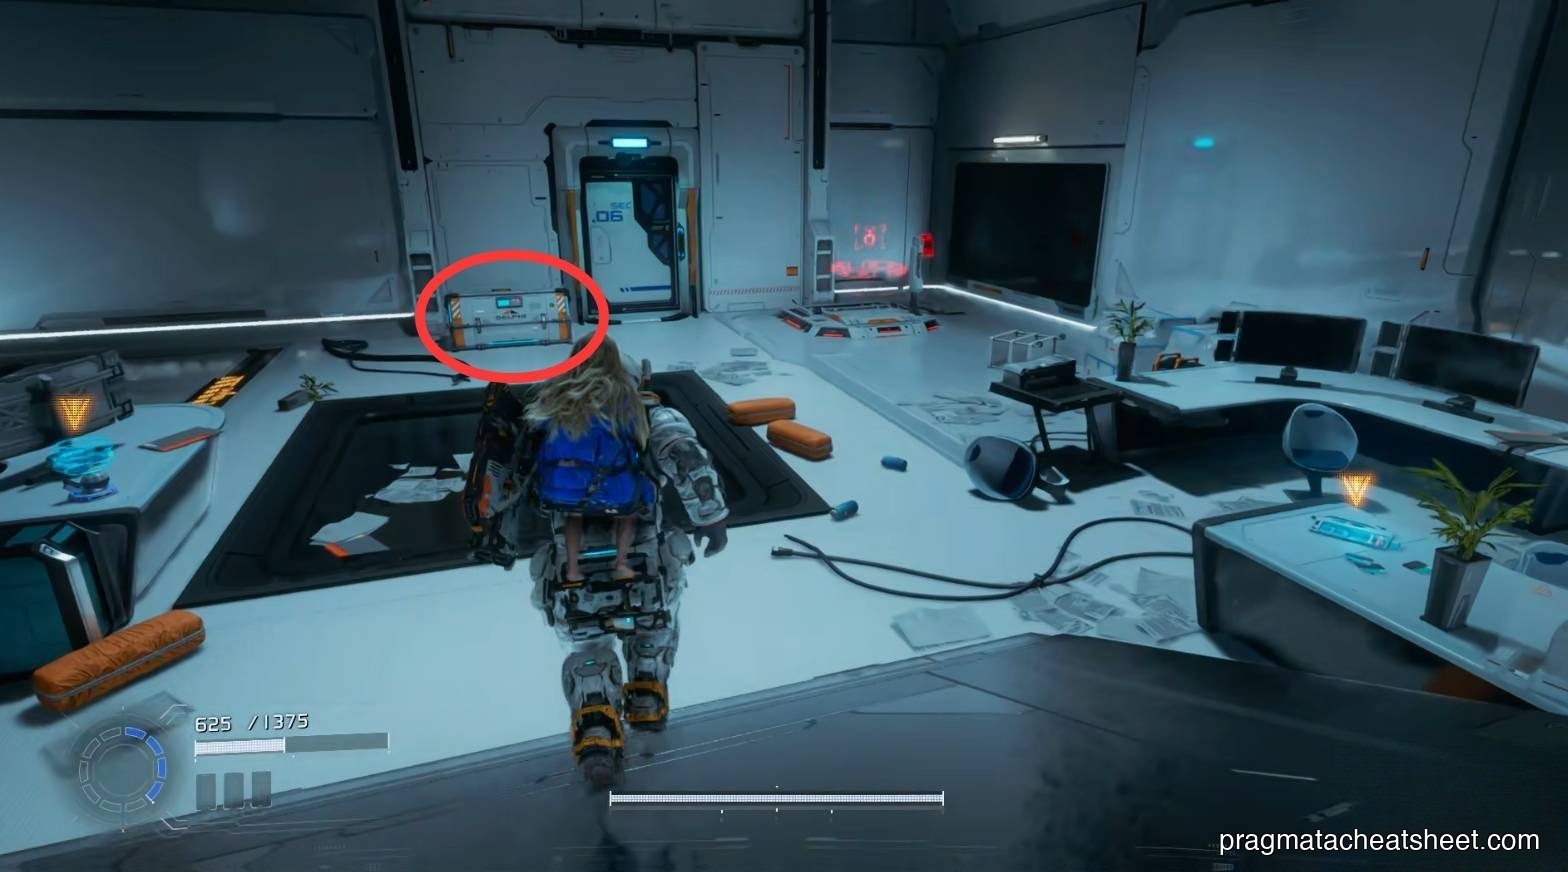
Hallway Safe Box
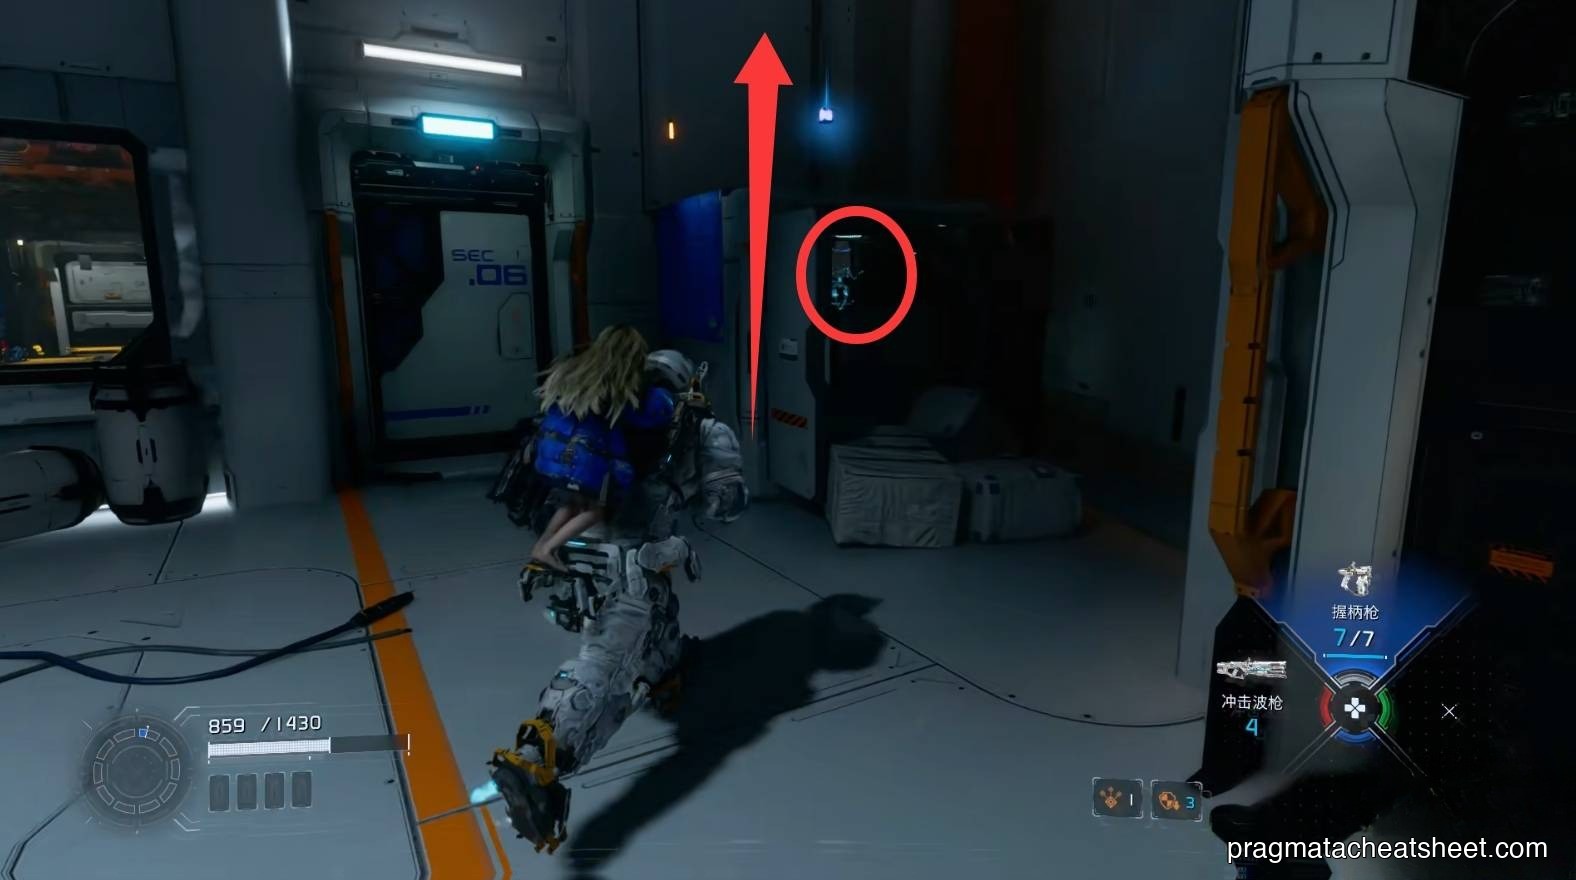
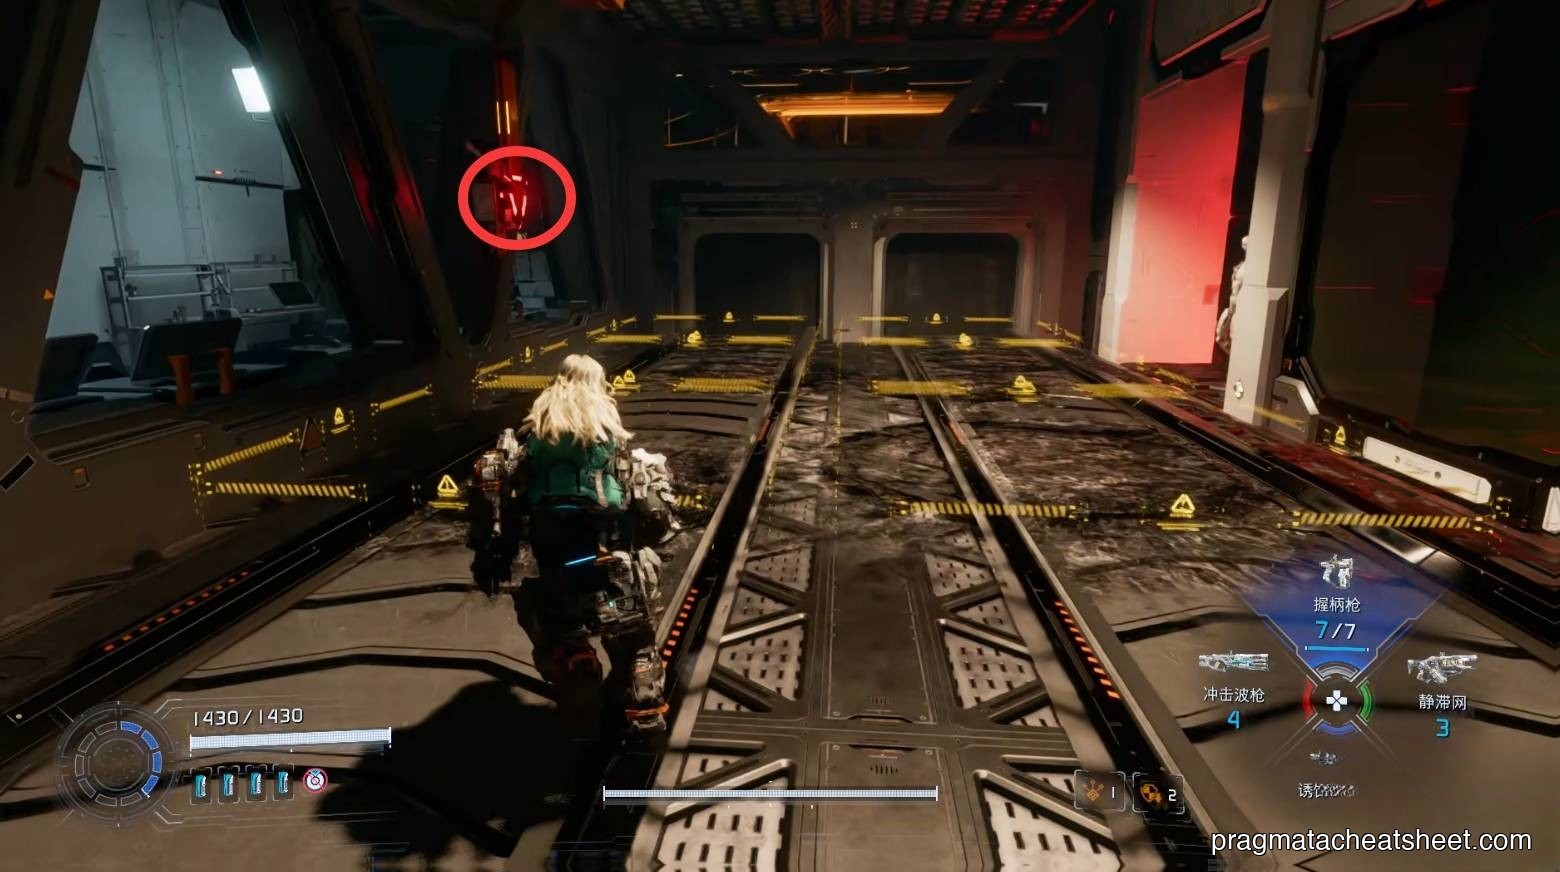
In the supply hallway, a hidden wall on the left-front hides a Safe Box.
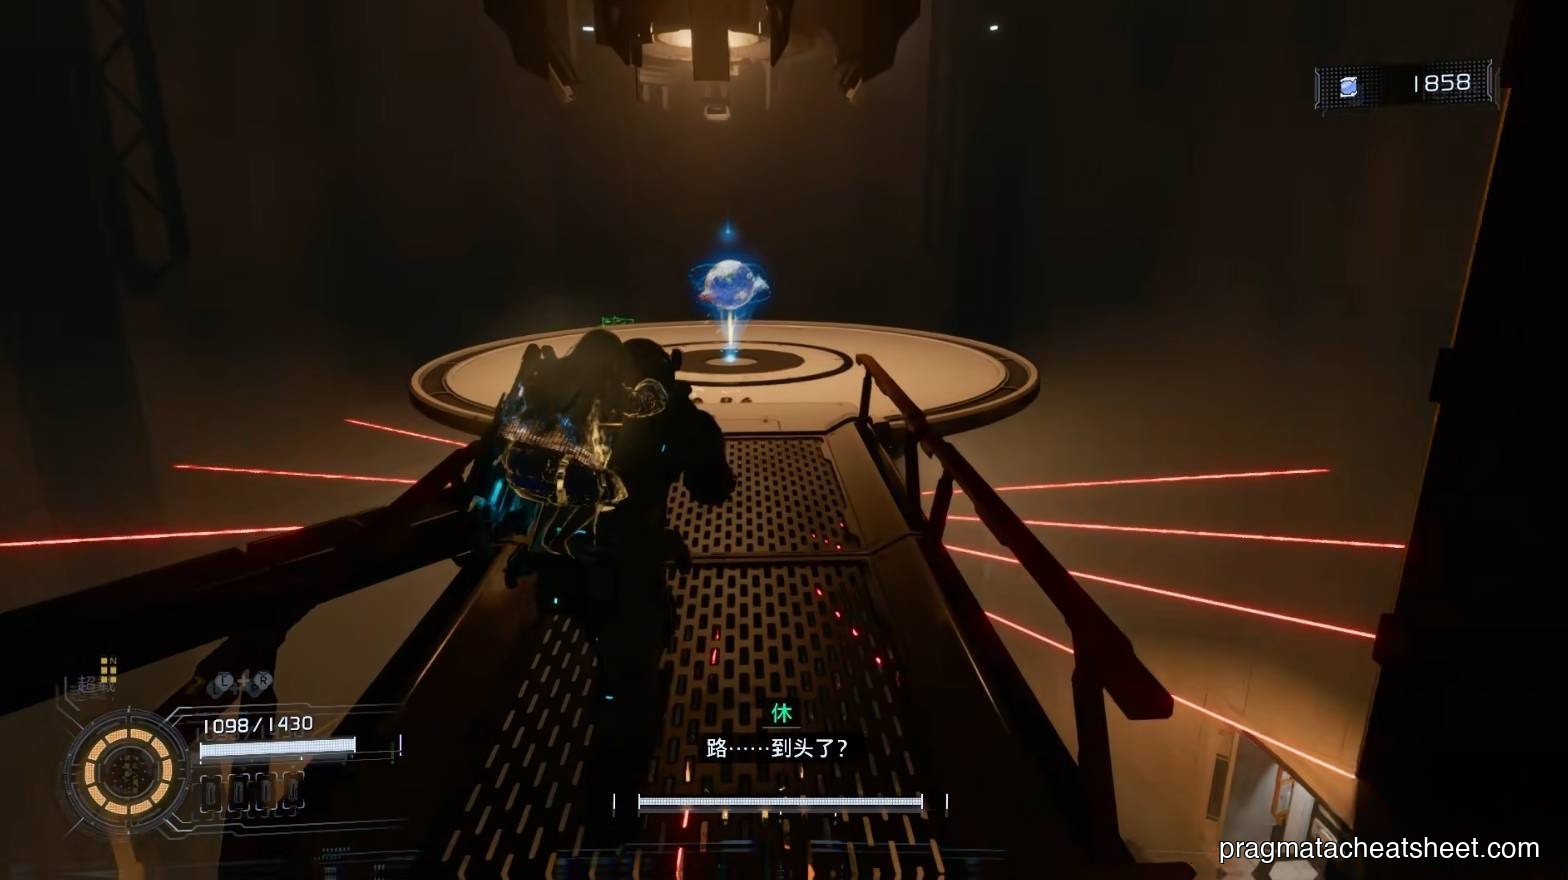
Continue to the round platform — REM chip. Drop through a gap in the lasers, clear enemies, open the door for an Escape Hatch.
At this point you have a complete REM set — hand-off time with Diana (see 00-shelter.mdx).
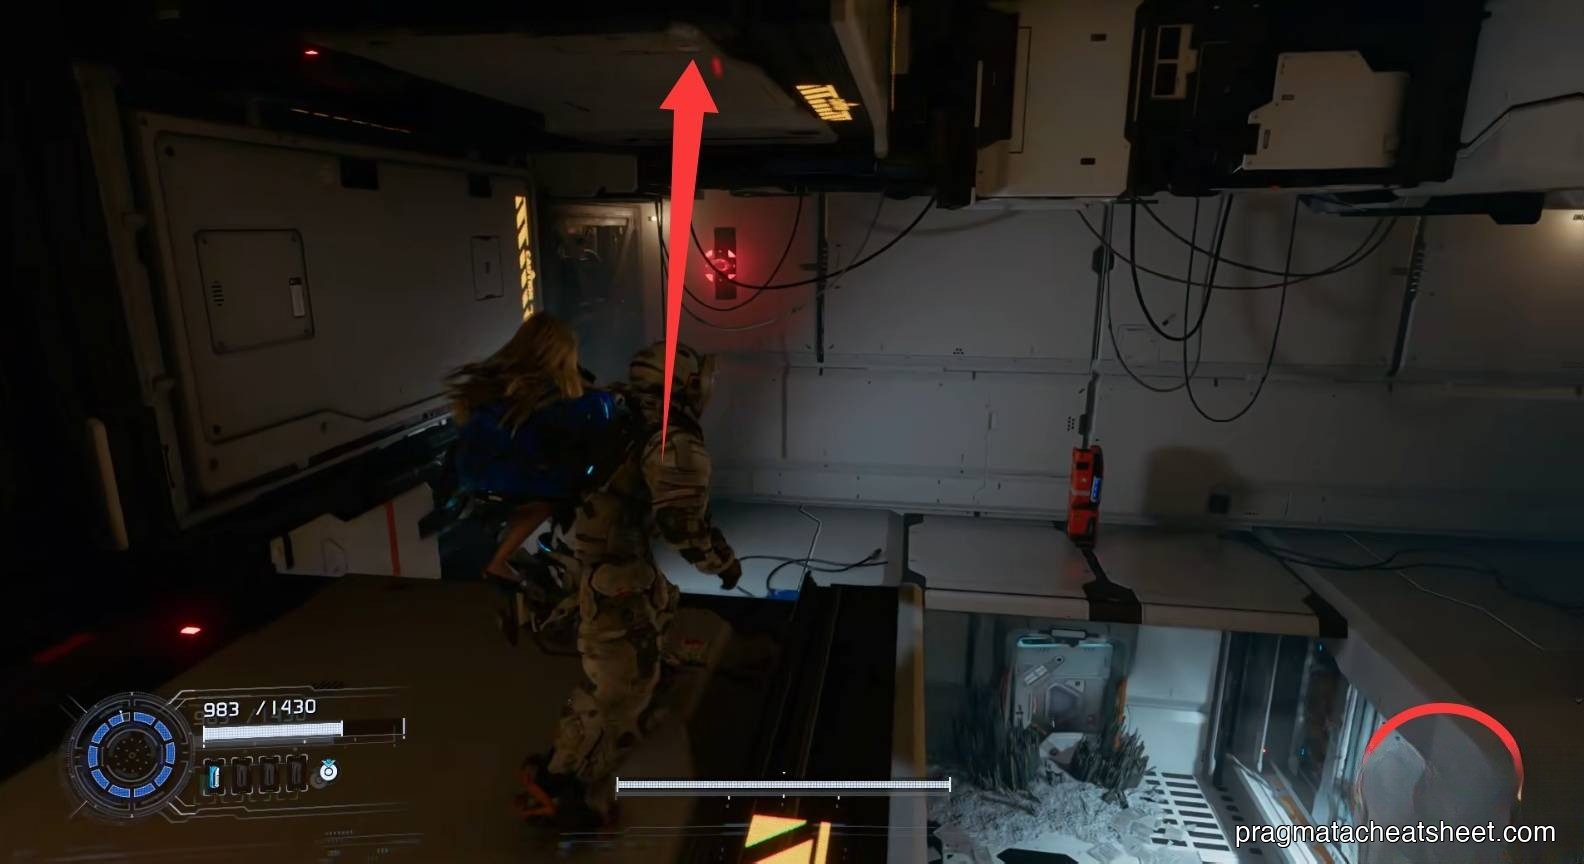
Mini Cabin and the Lim Eraser
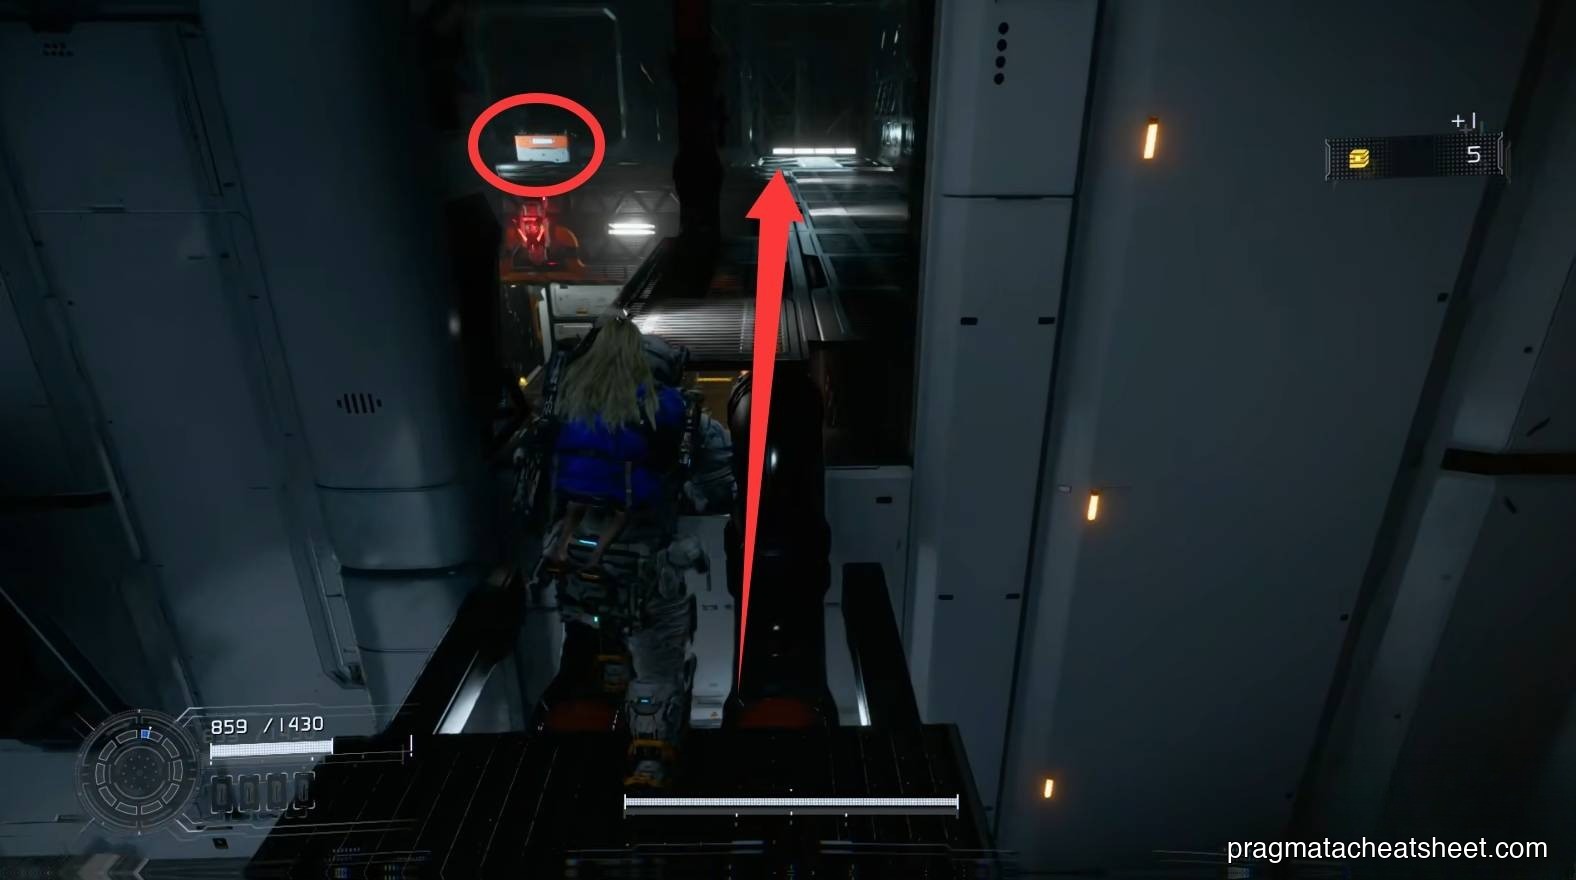
Back here, the doorway corner hides a Mini Cabin. Jump up to the pipe for an Upgrade Component.
Upper opposite side: Safe Box. Use the recycler on enemies below.
Red node to the front disables lasers → another Safe Box up high.
Lim Eraser unlock
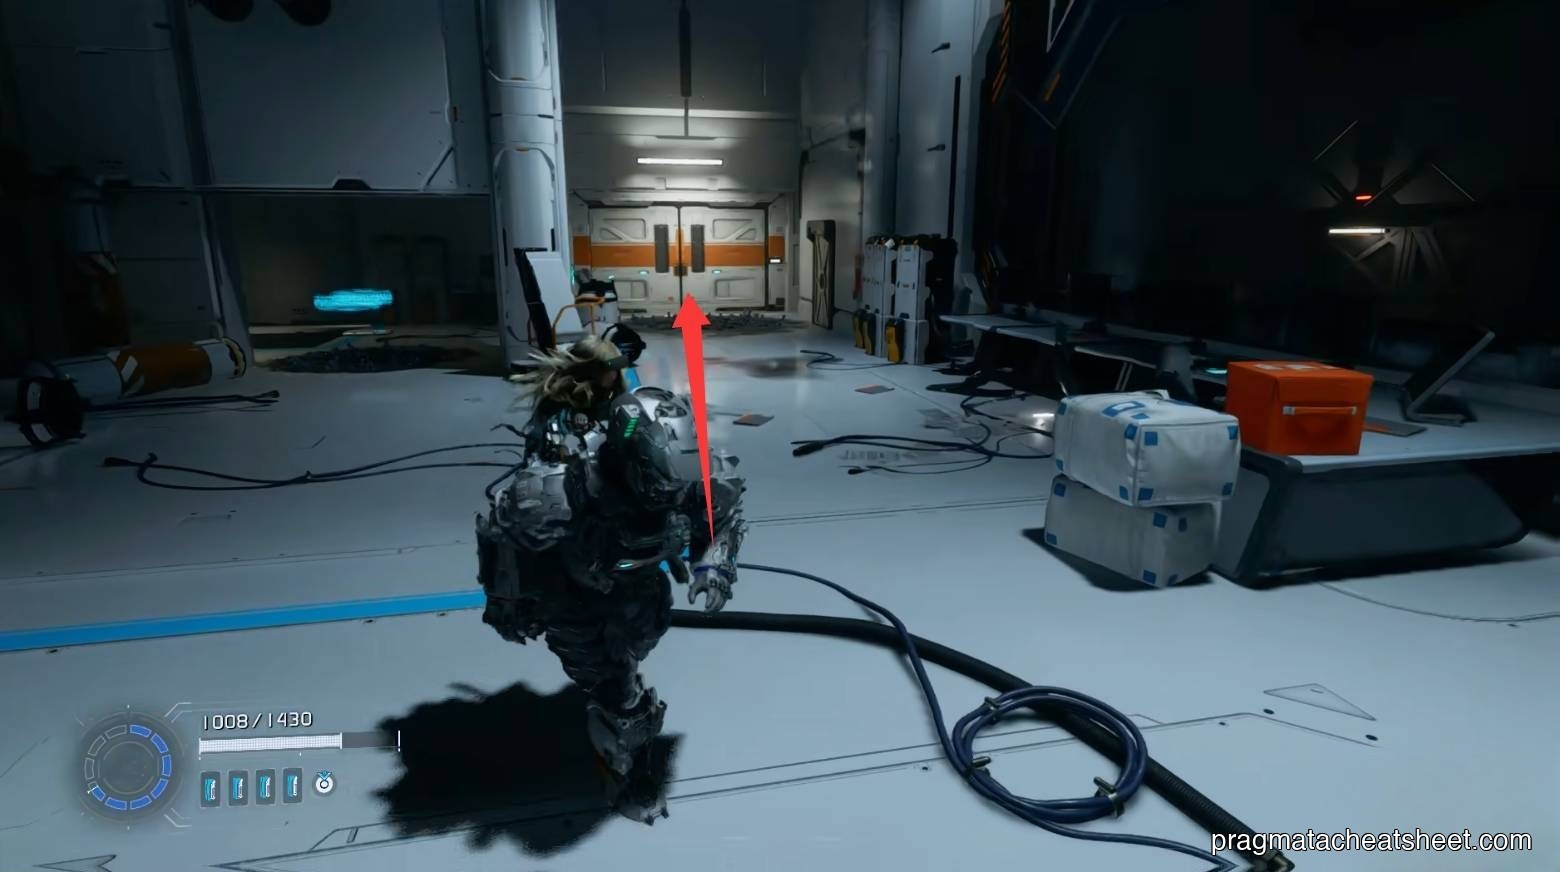
A cutscene hands you the Lim Eraser — you can finally vaporize blue barriers. There's an Upgrade Component immediately to the left.
Hack one more beacon, grab an Upgrade Component behind the door, wall-rail back up — you're at the Escape Hatch again. Break a blue barrier to open a door, and you land back on the main street.
All six gate locks open now. Walk the length of the street, activate the final Escape Hatch before the boss.
Items in this area
- Decoy Generator · dropped weapon
- Lim Eraser · ability unlock
- Safe Box × 3
- REM chip × 1
- Mini Cabin × 1
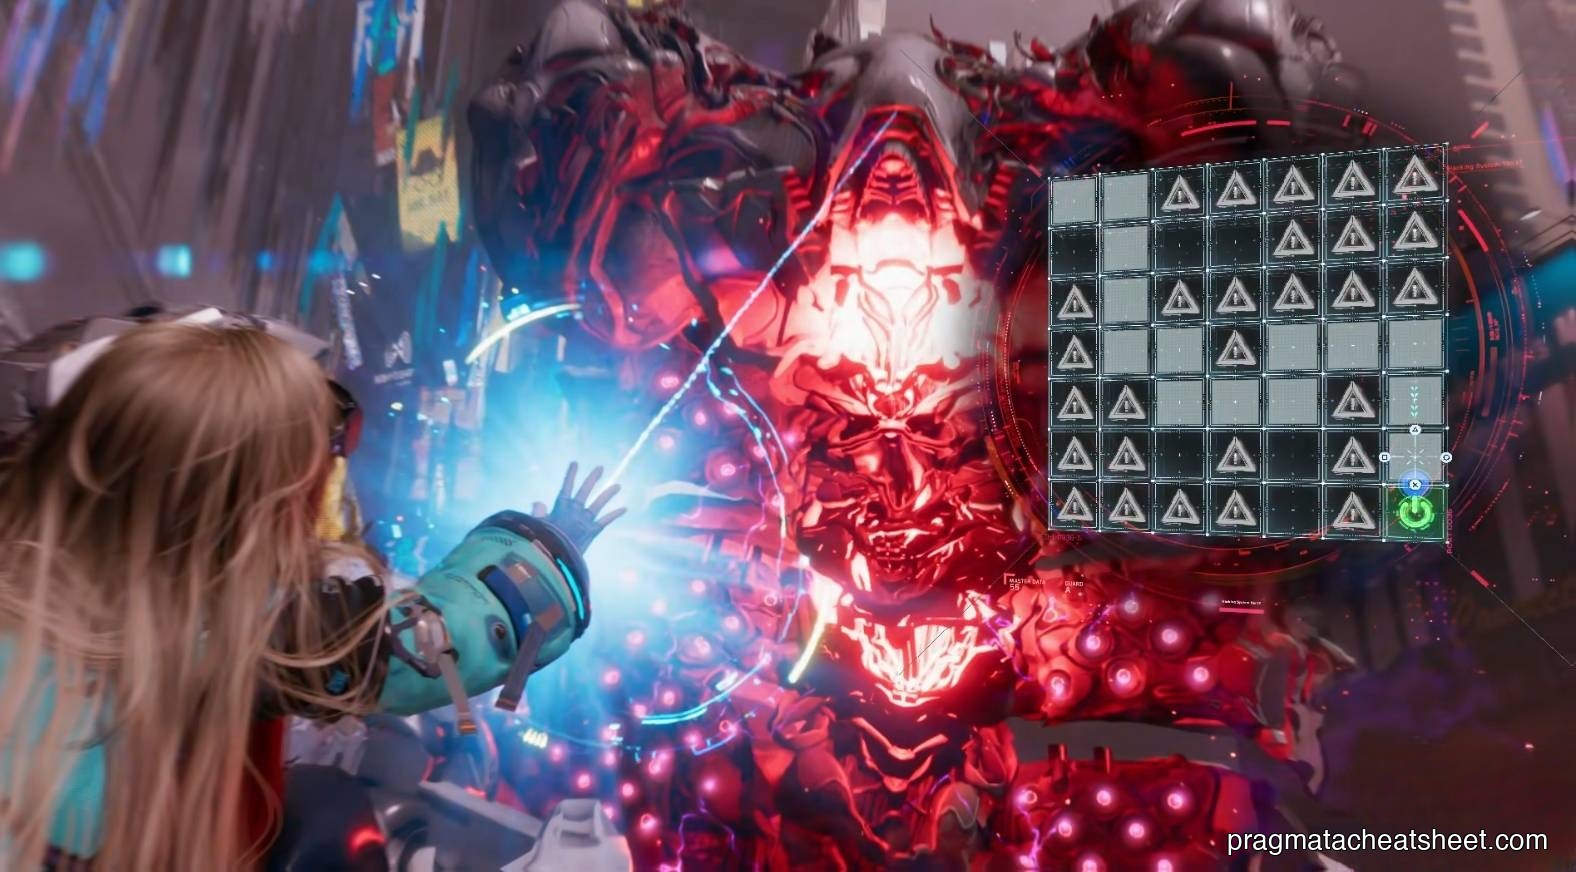
BOSS · Analysis: Creator
Location: end of the main street Phases: 2 (arena rises mid-fight) Weak Points: head, belly, back shield (phase 2)
Top up Overdrive Protocol on the last few enemies before triggering the arena.
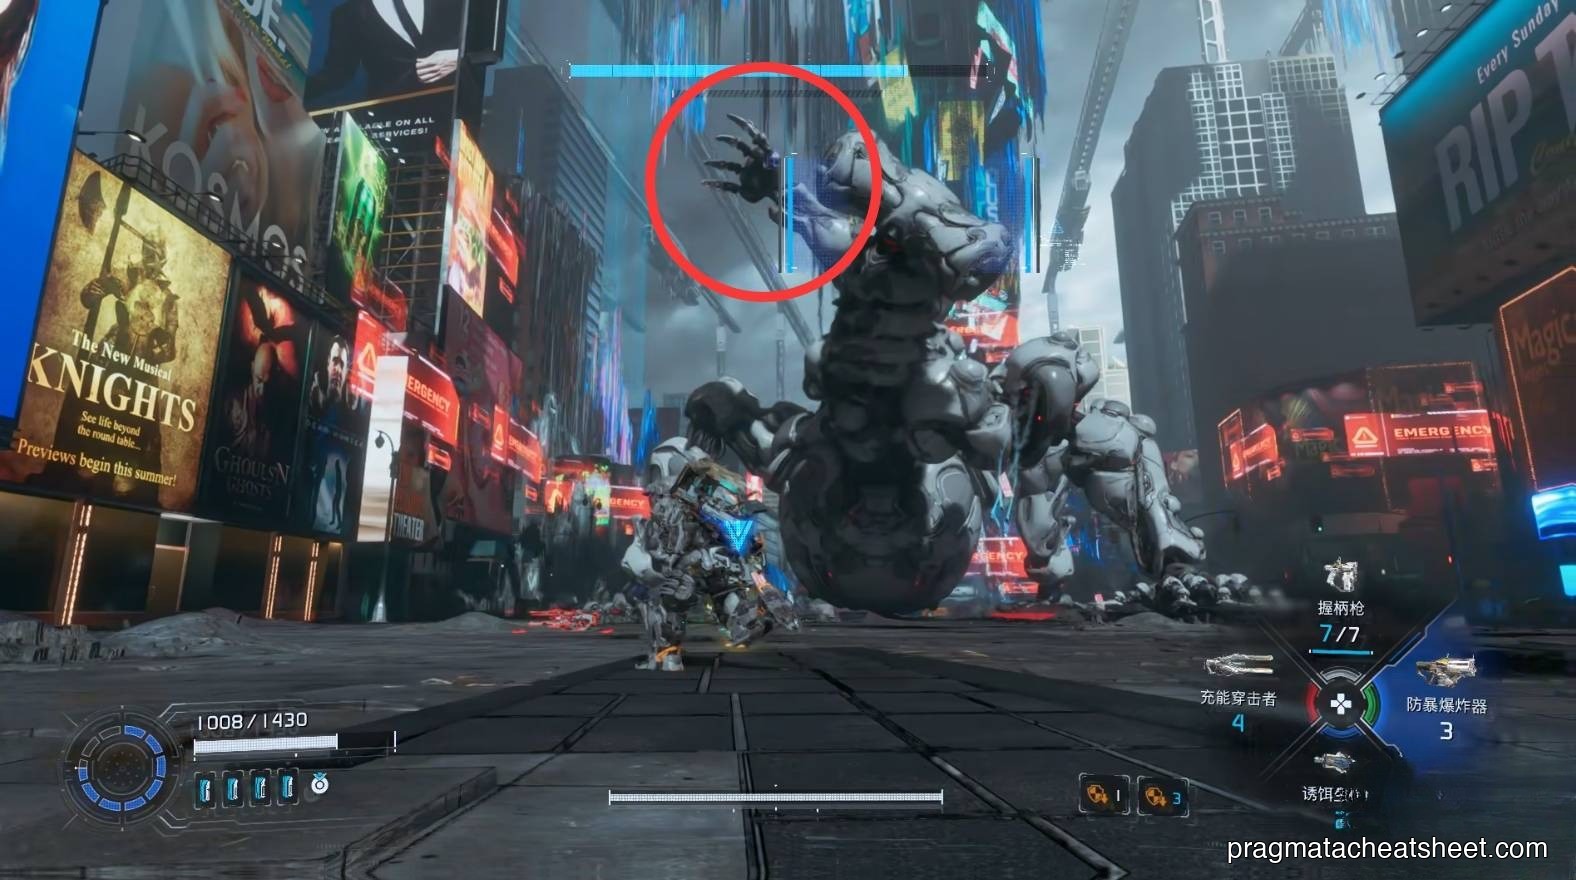
Phase 1 — close range
The Creator charges forward firing a head laser. Dodge sideways.
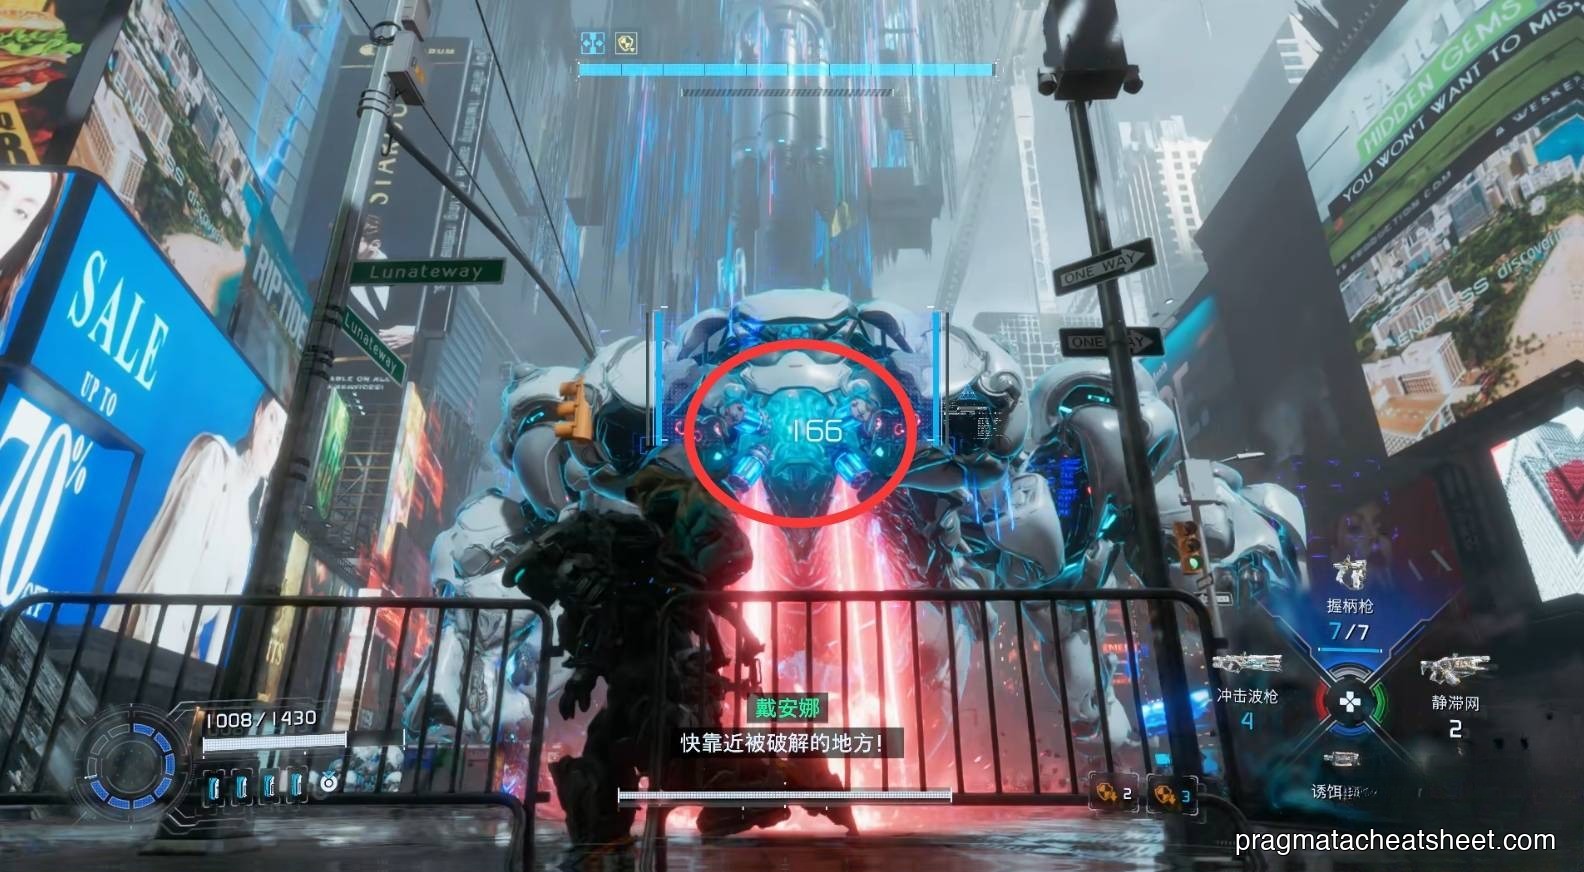
Hack it. Weak points: head and the glowing belly.
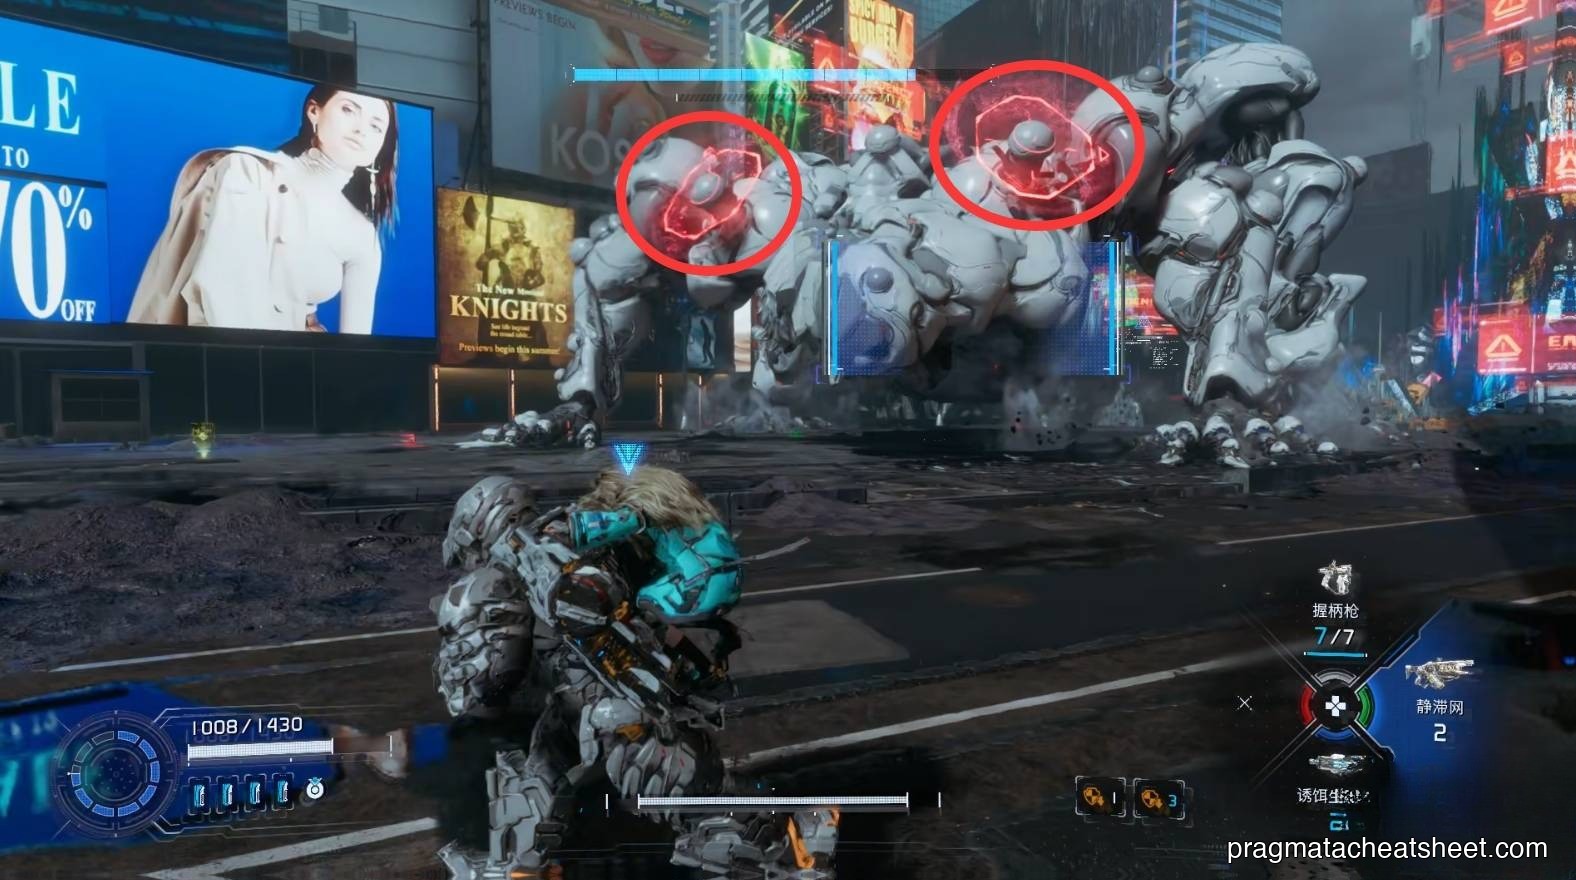
When the four limbs summon red shields, shoot them all down before hacking becomes possible. Break them all → stagger.
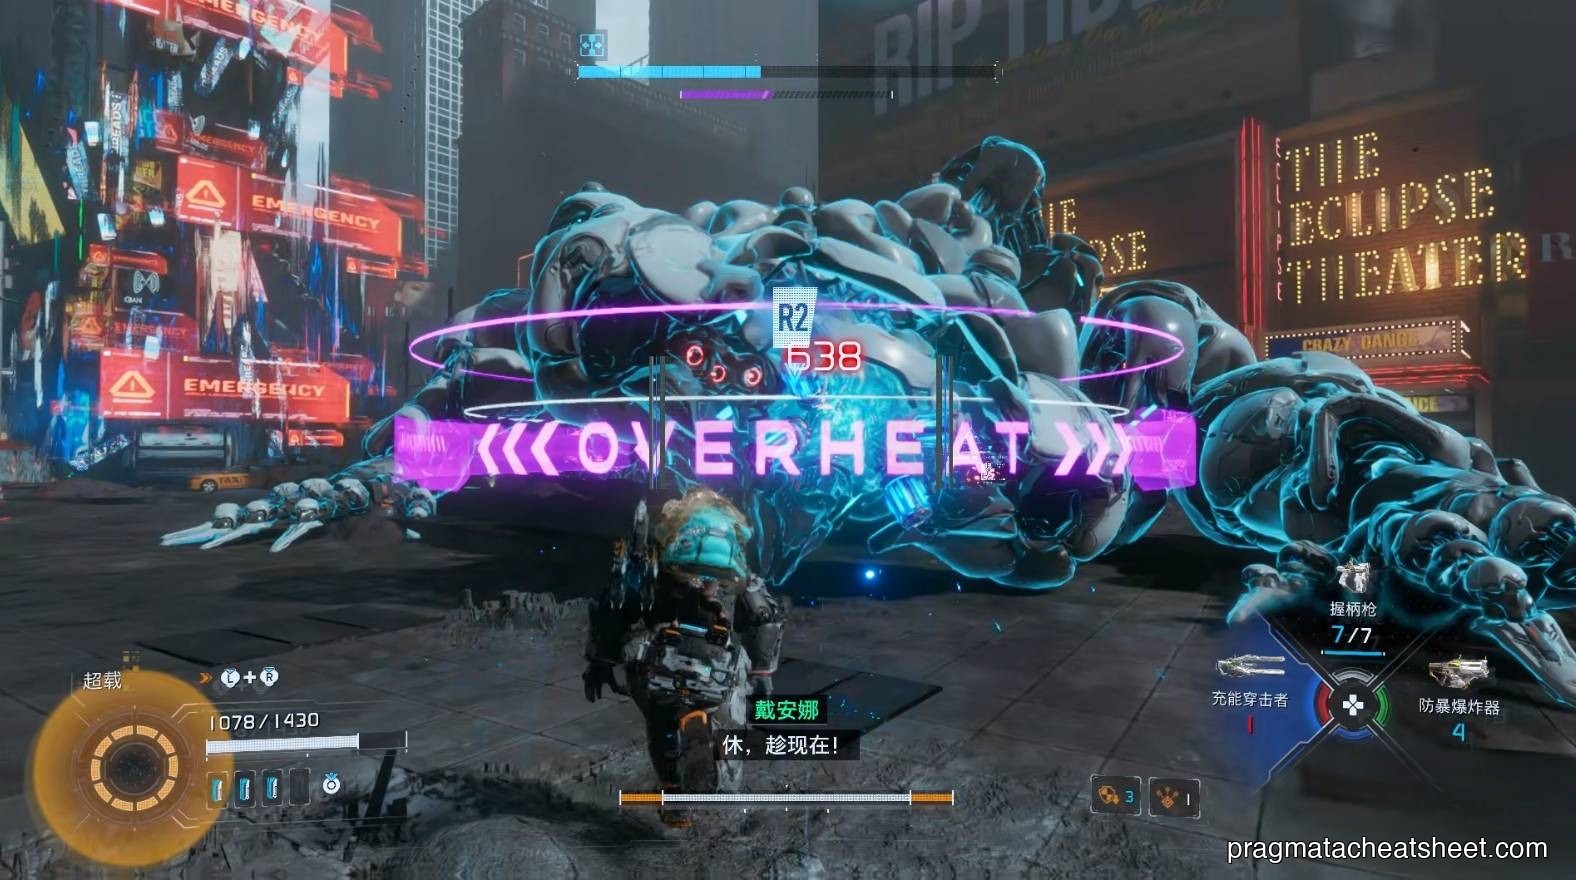
Hand-raise tell = incoming slam. Dodge clear.
Execution prompt lands on the head when staggered.
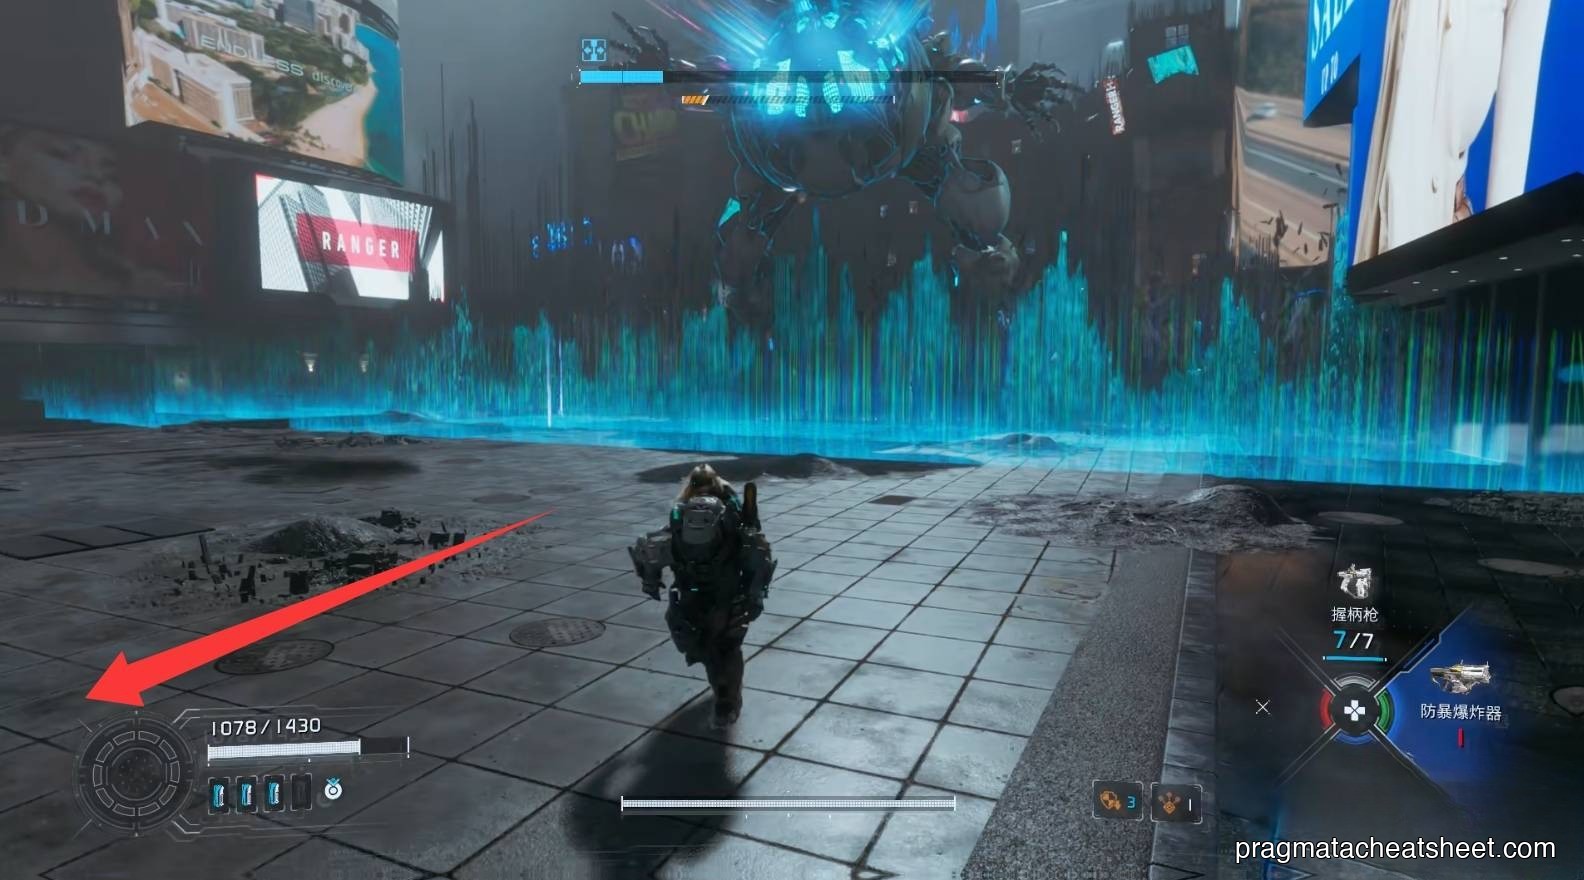
Belly-up pose with a glowing underside = ground laser sweep. Dash the long way.
Phase 2 — rising pillars
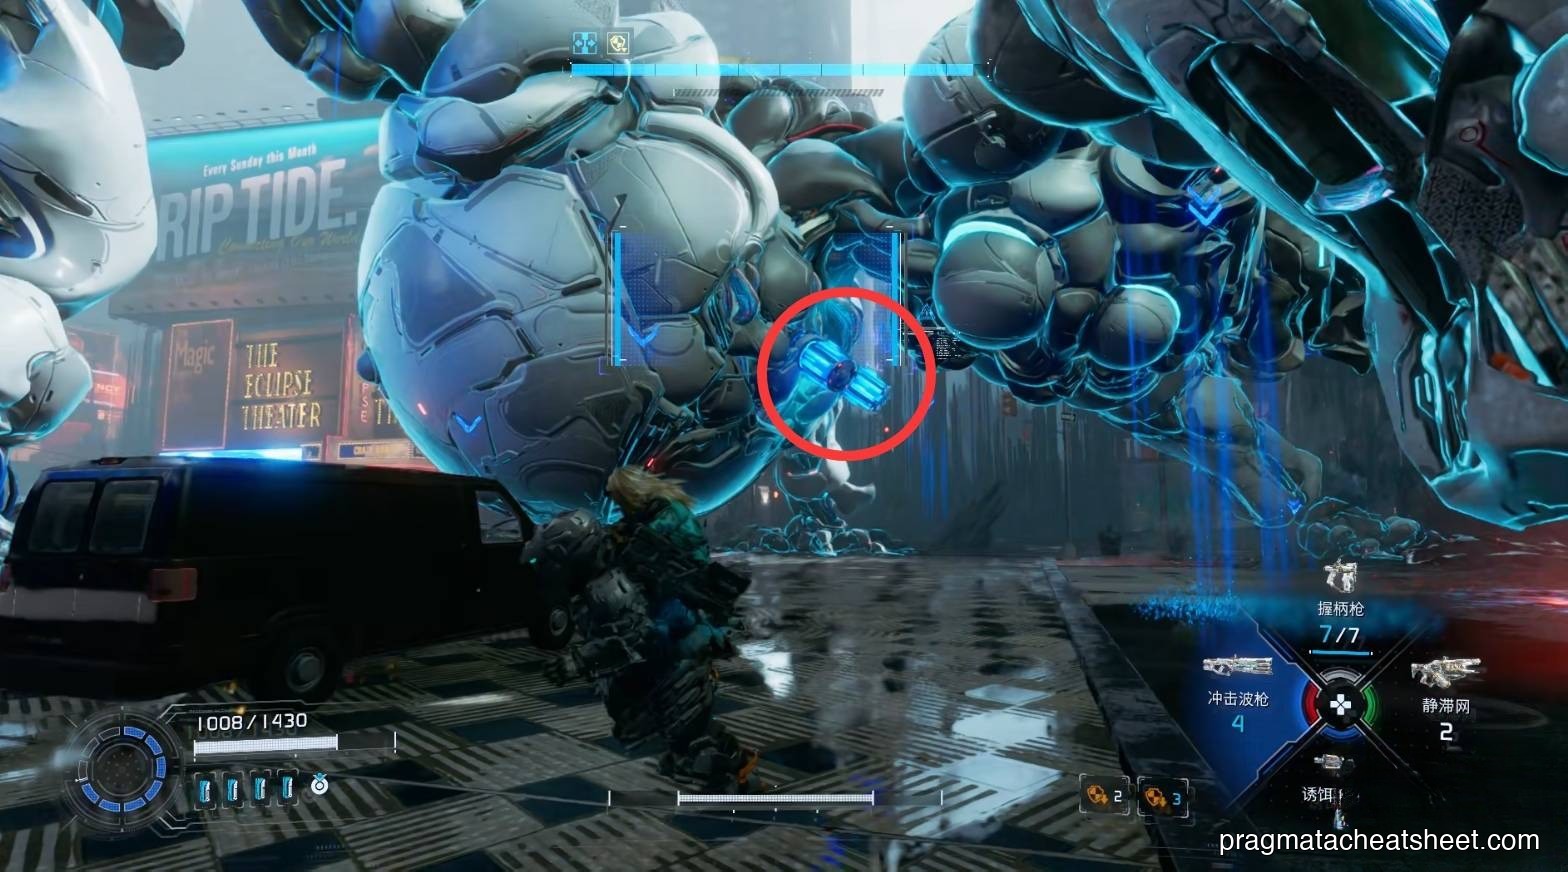
At low HP, pillars rise around the arena. Wall-rail up for weapon resupply.
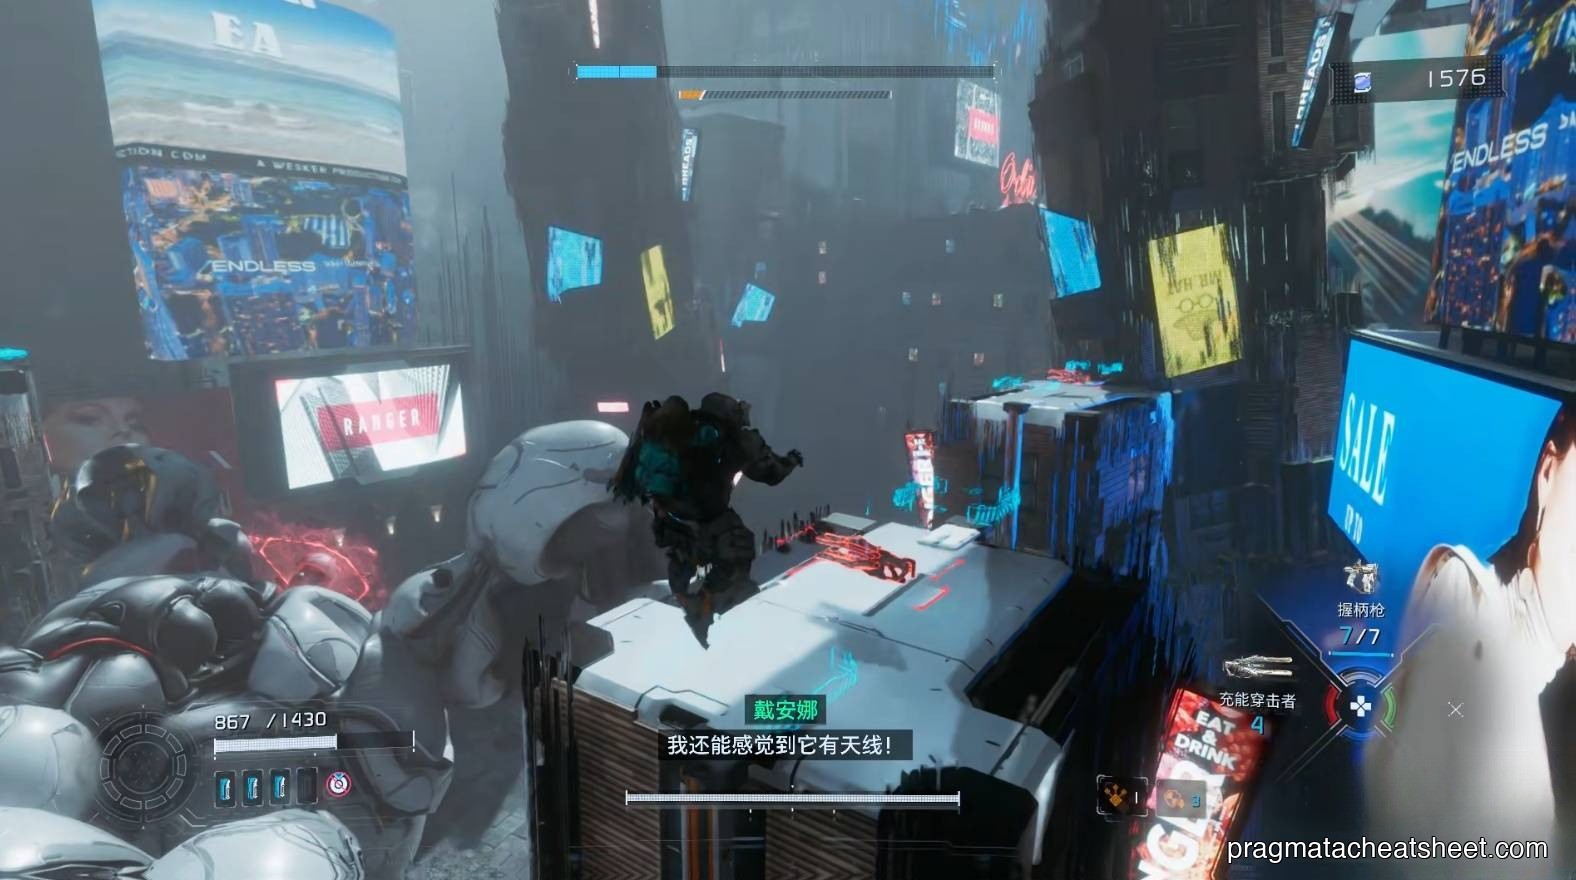
From high ground, shoot its back shield — the new weak point.
Scattered red lasers hit the arena floor — rail up to the high ground to avoid them entirely.

At zero HP, the boss grabs you — mash the final hack to escape.
Rewards
- Tier 2 License Key · next Shelter access tier
- Unlocks Object Scan at the Shelter (see
00-shelter.mdx)
Tips
- Clear the four red shields with the Shockwave Blaster — it's point-blank efficient
- Save Overdrive for the belly-laser phase; it can stun-reset an entire sweep
- In phase 2, never fight on ground level — the pillars are free
Next
→ Continue to Sector 3 · Terra Dome