Central Port is the elevator out of the Cradle — if you let it be. Five subsectors climb up to the Space Elevator, culminating in the Final Boss. After the credits, a postgame unlocks called Unknown Signal, which hides the true ending, the Jackhammer weapon, and a Black Box Mod.
Route Overview
Central Port Entrance → Research Sector → Regolith Lab → Lunafilament Lab → Space Elevator → Final Boss. After clearing, reload the post-credits save for Unknown Signal.
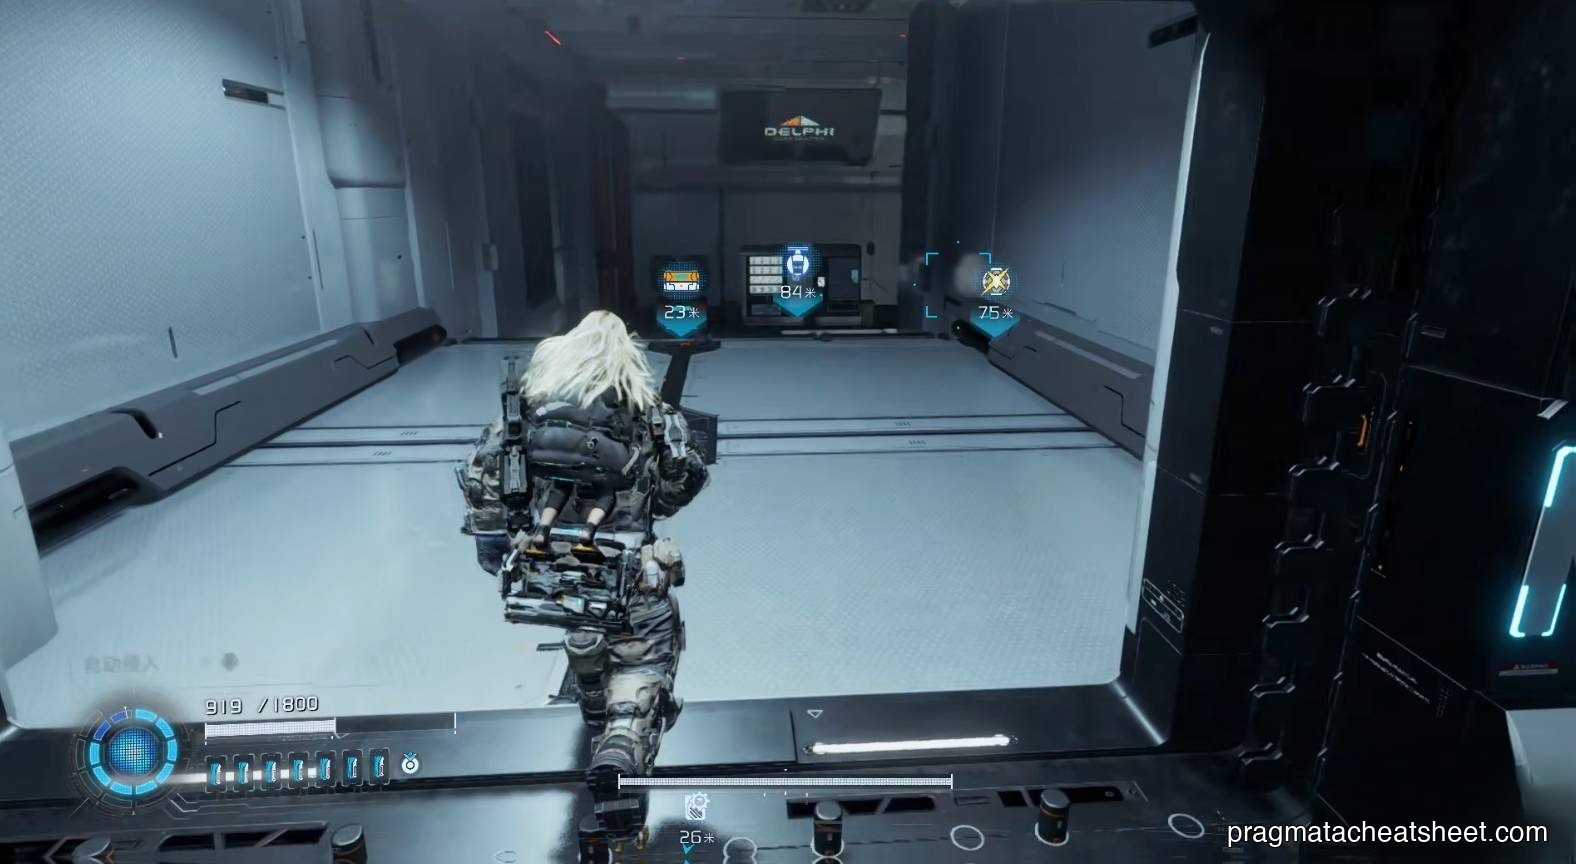
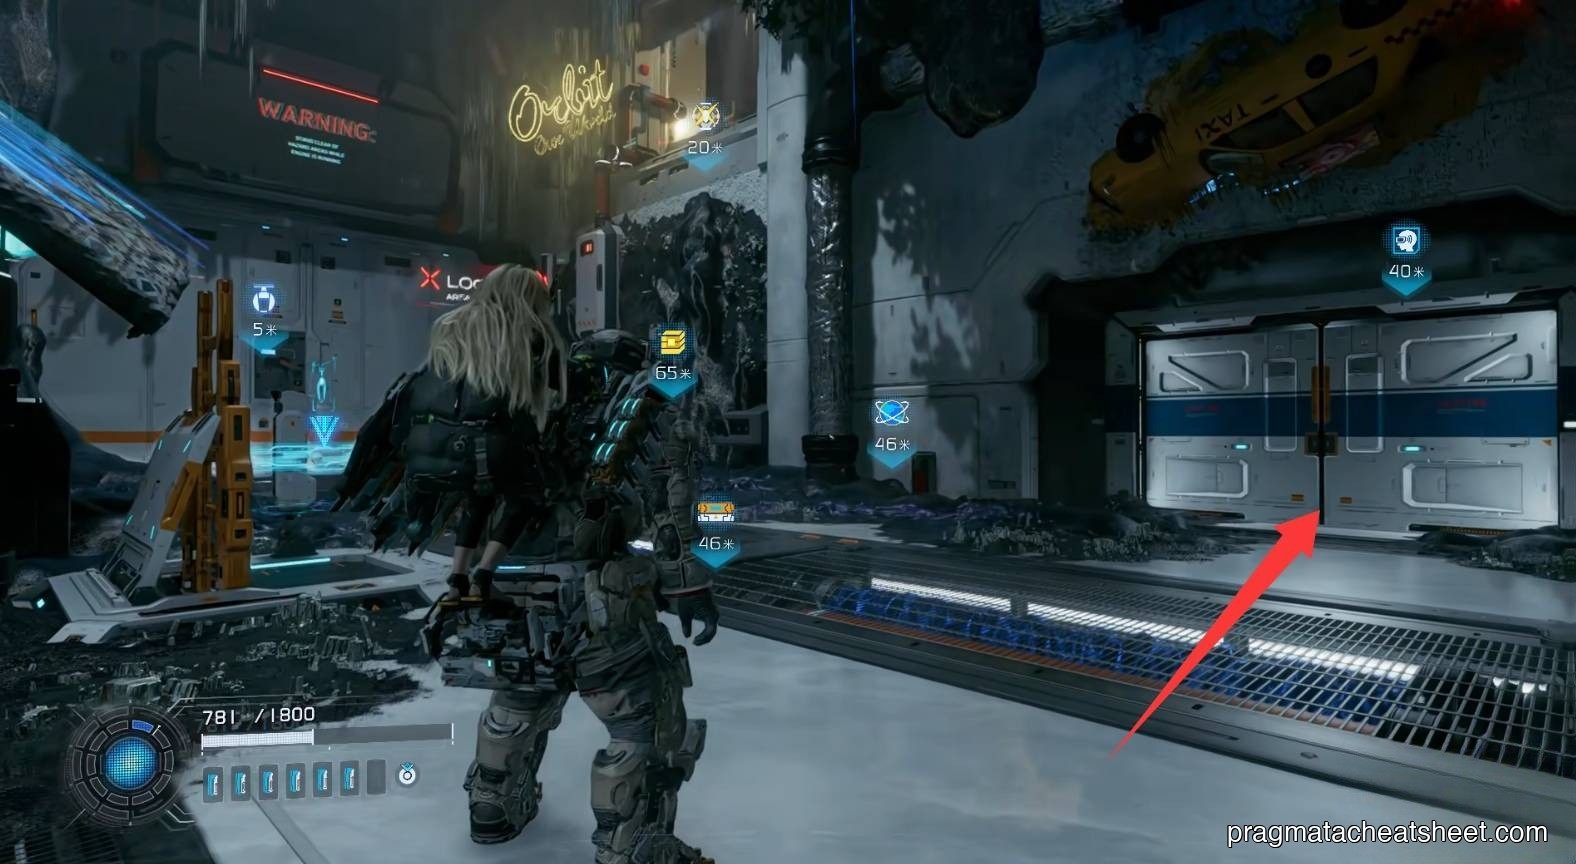
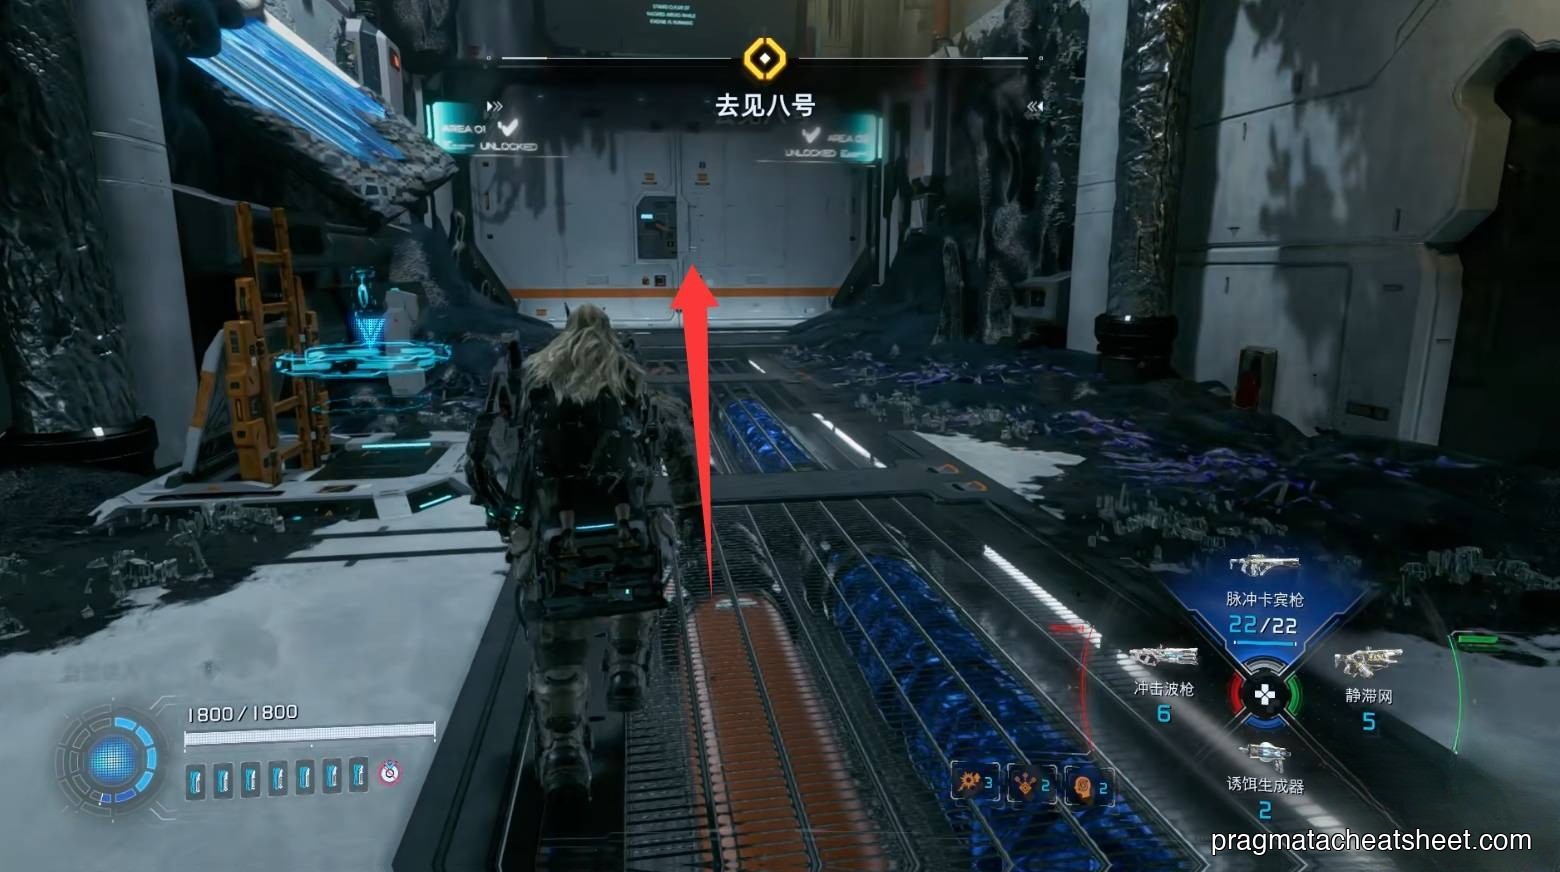
01 — Central Port Entrance
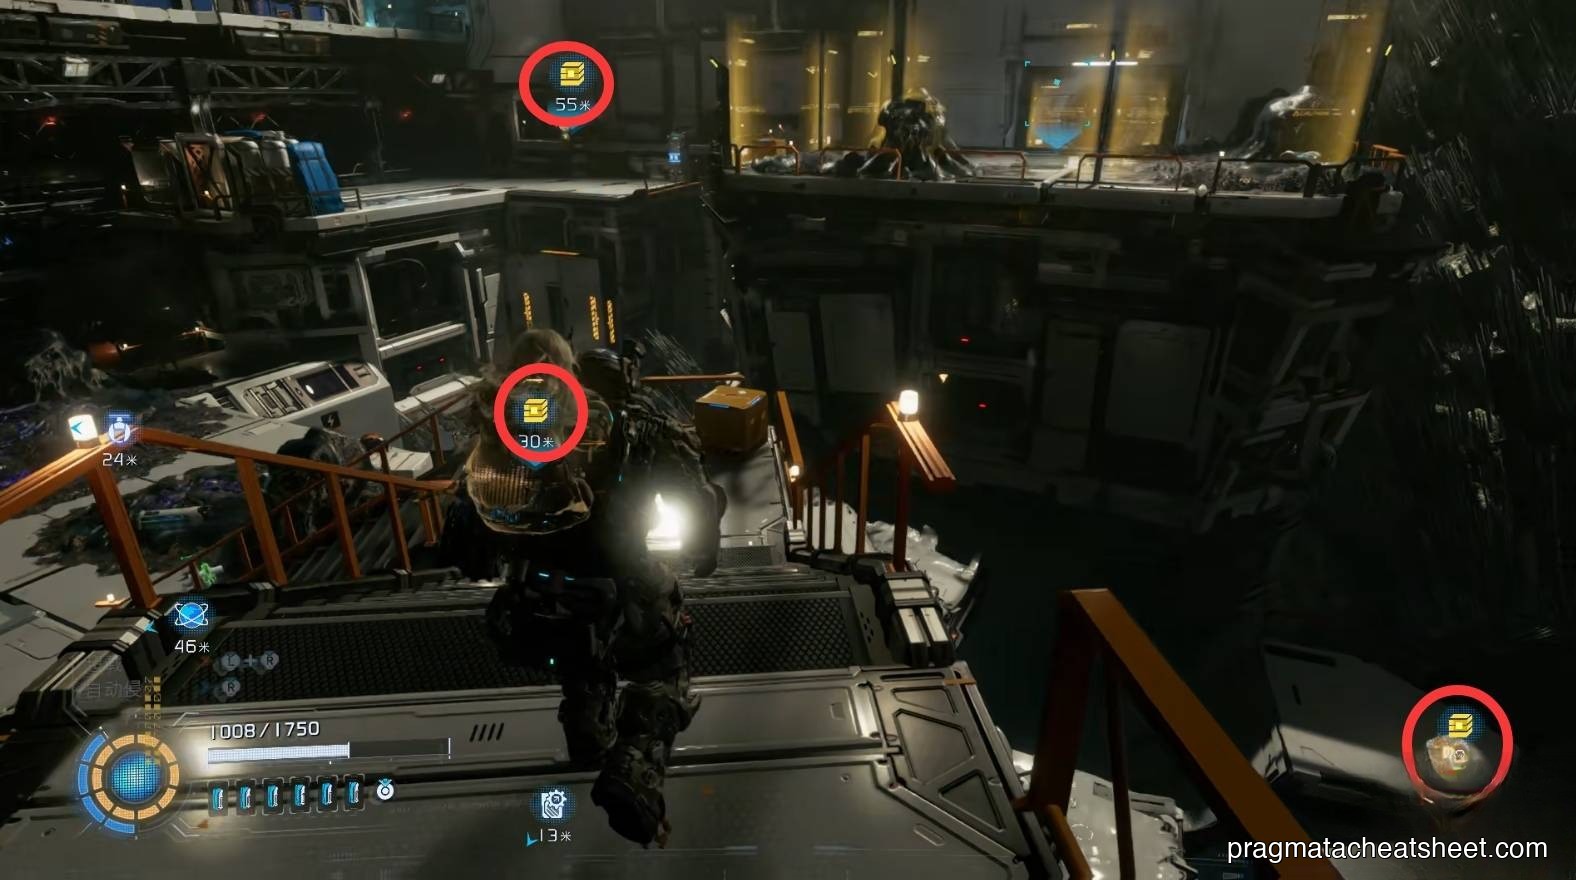
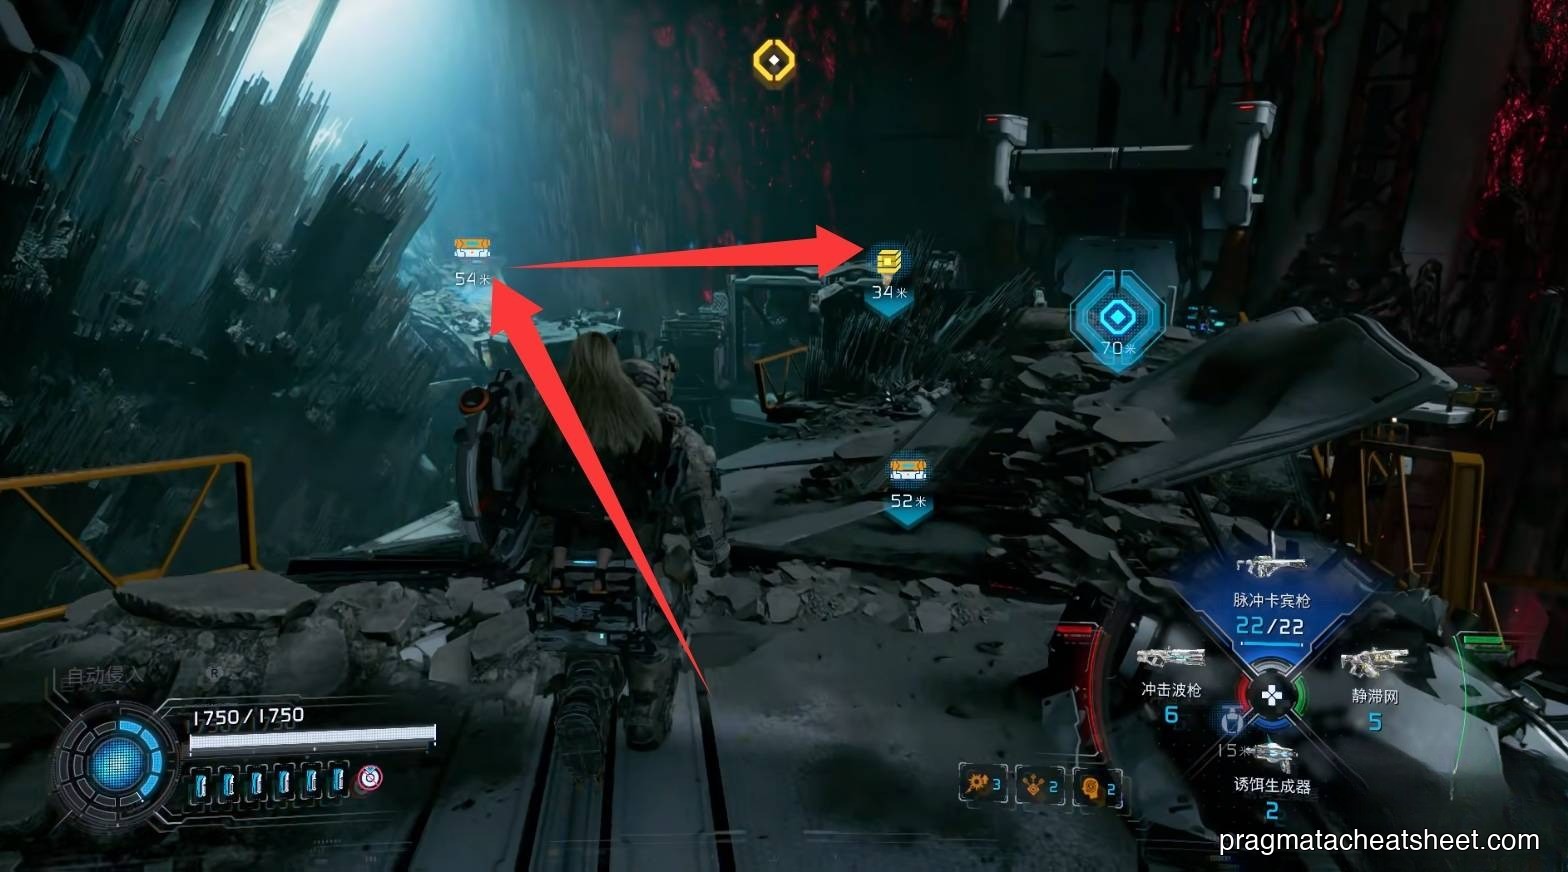
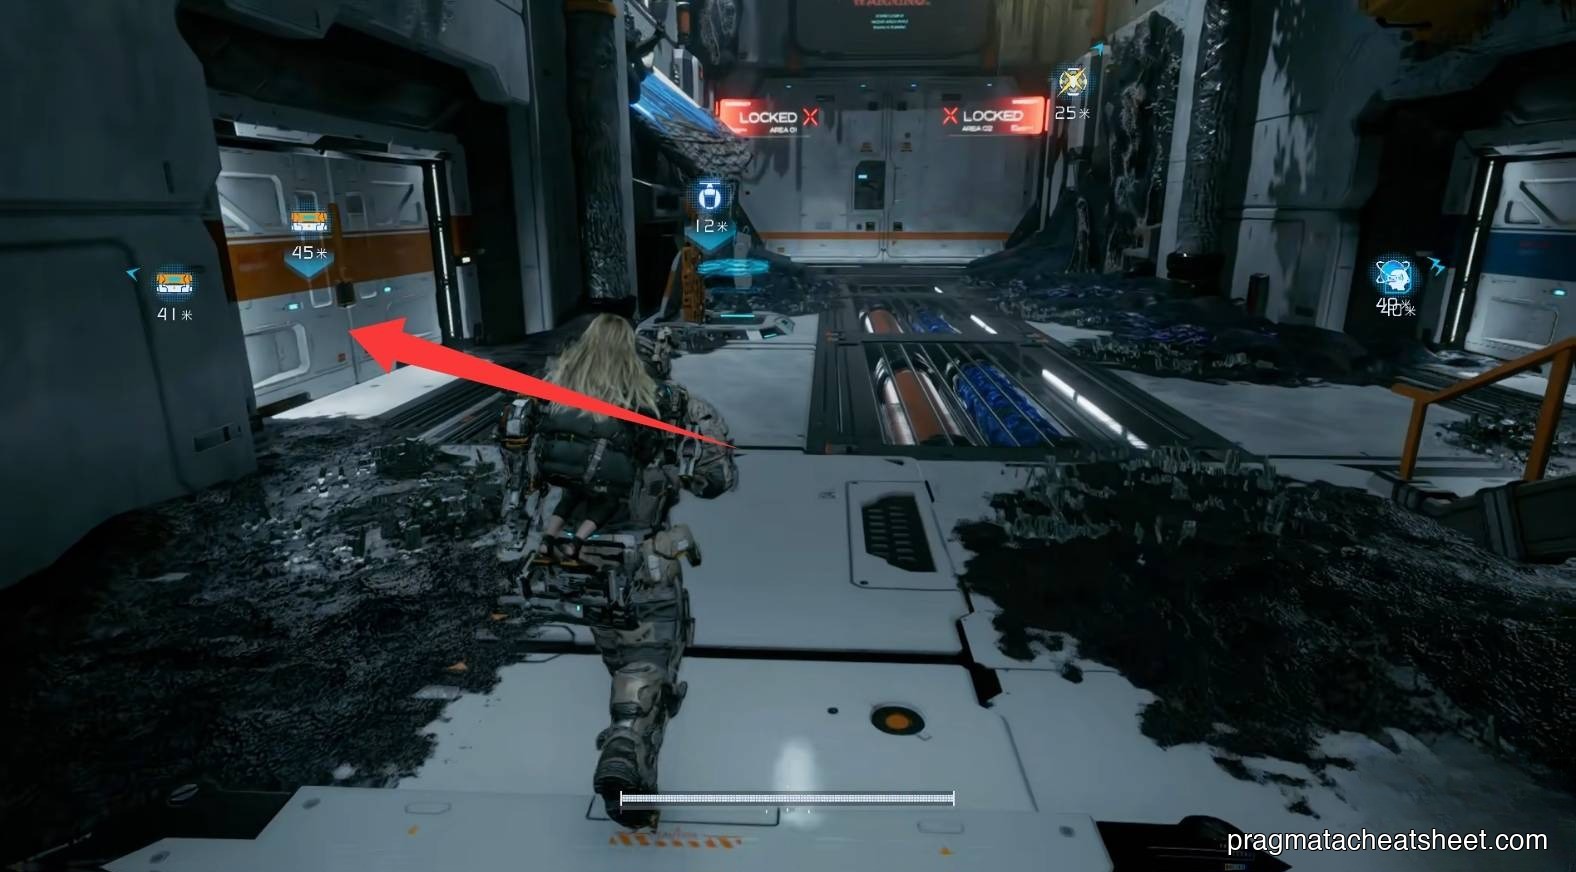
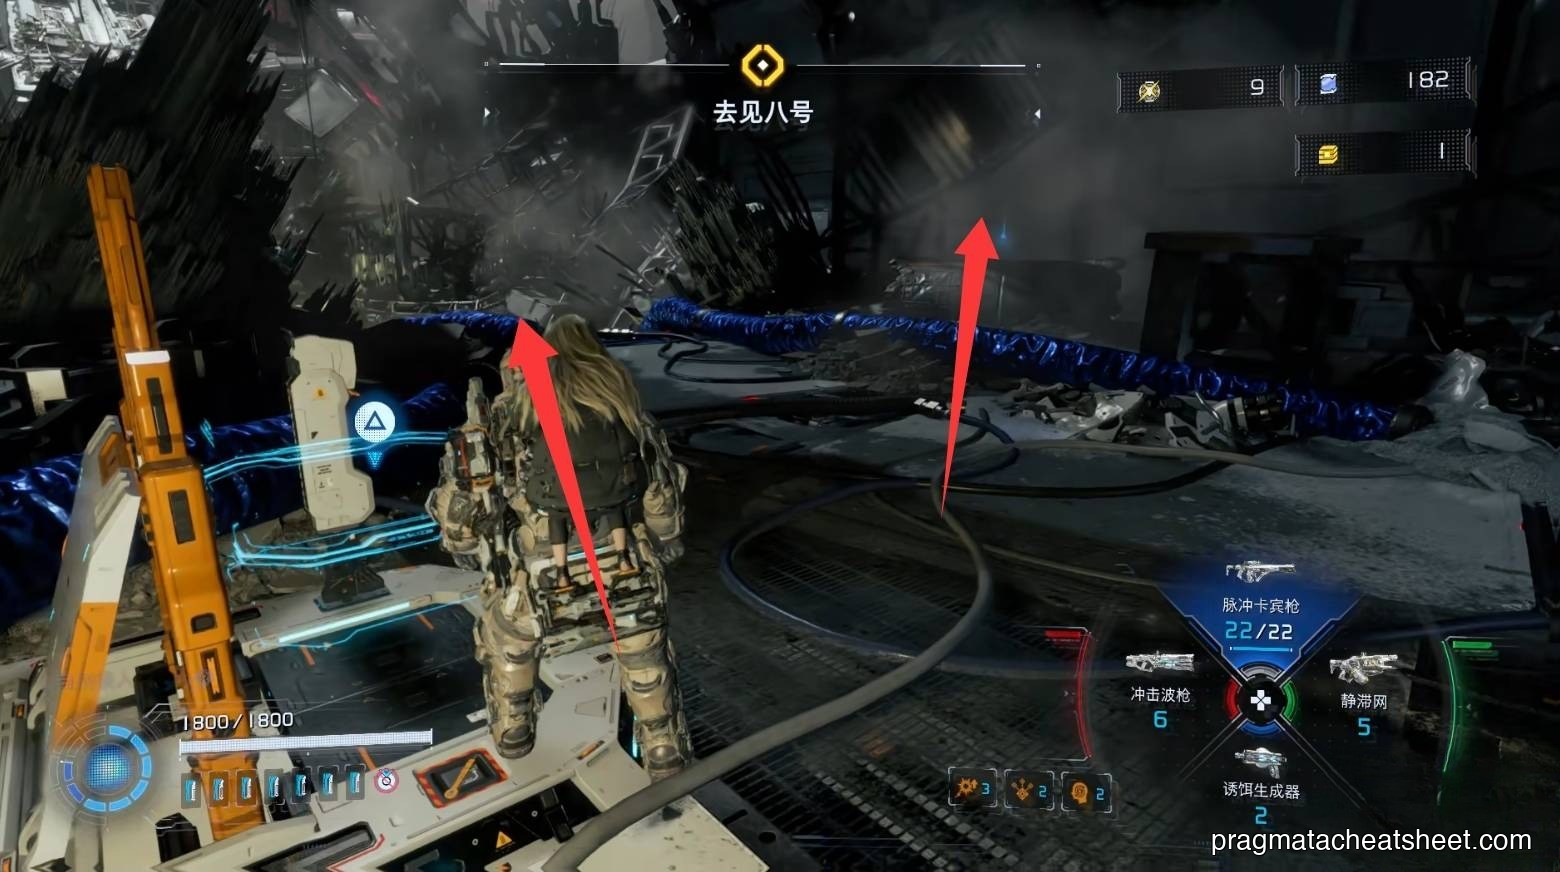
The cargo tram drops you at an Escape Hatch. Three Upgrade Components are nearby — mark them and sweep as you go.
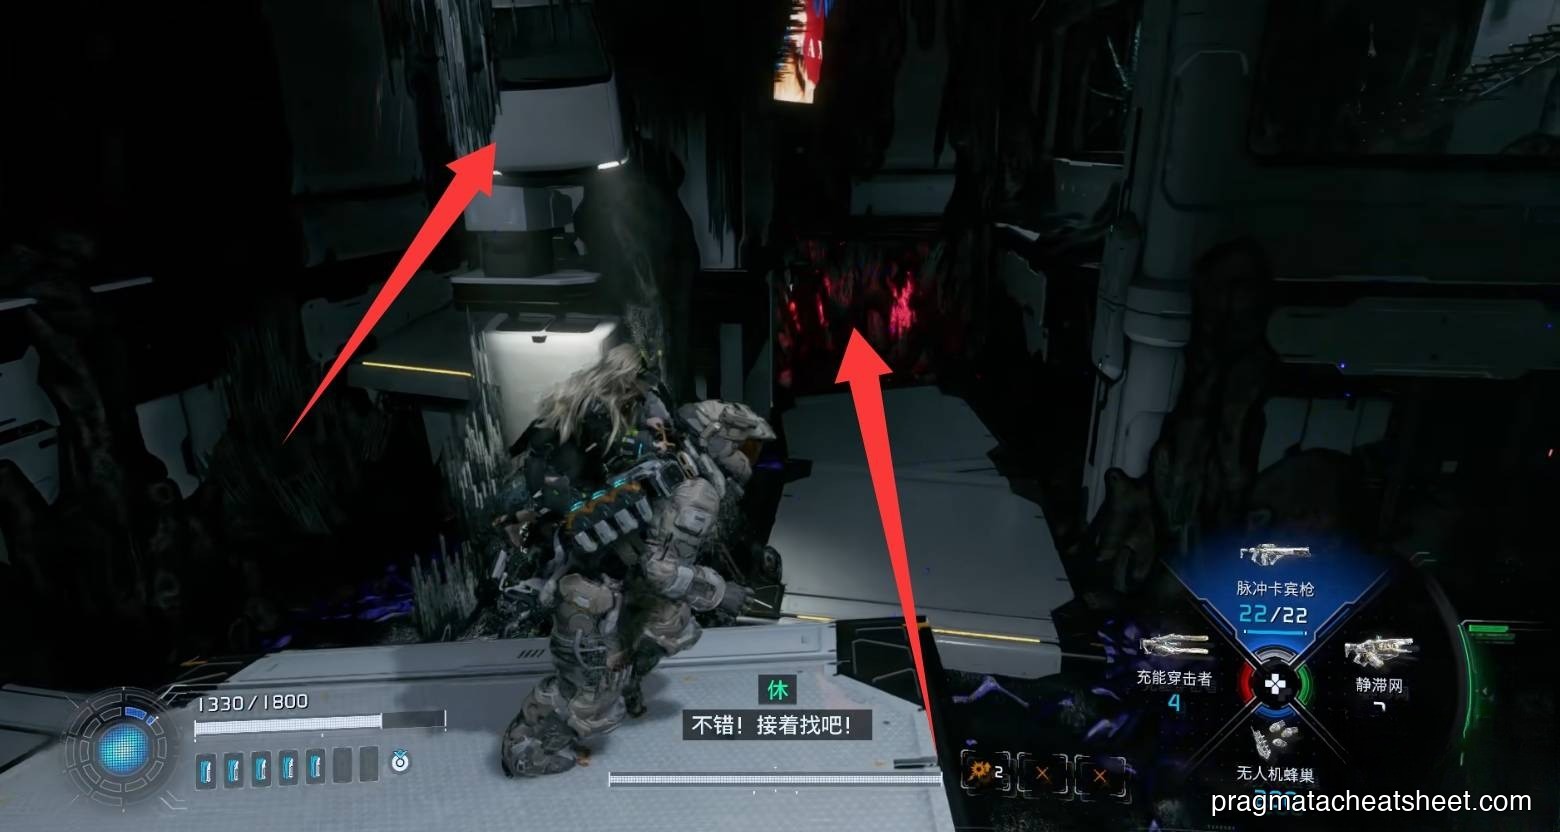
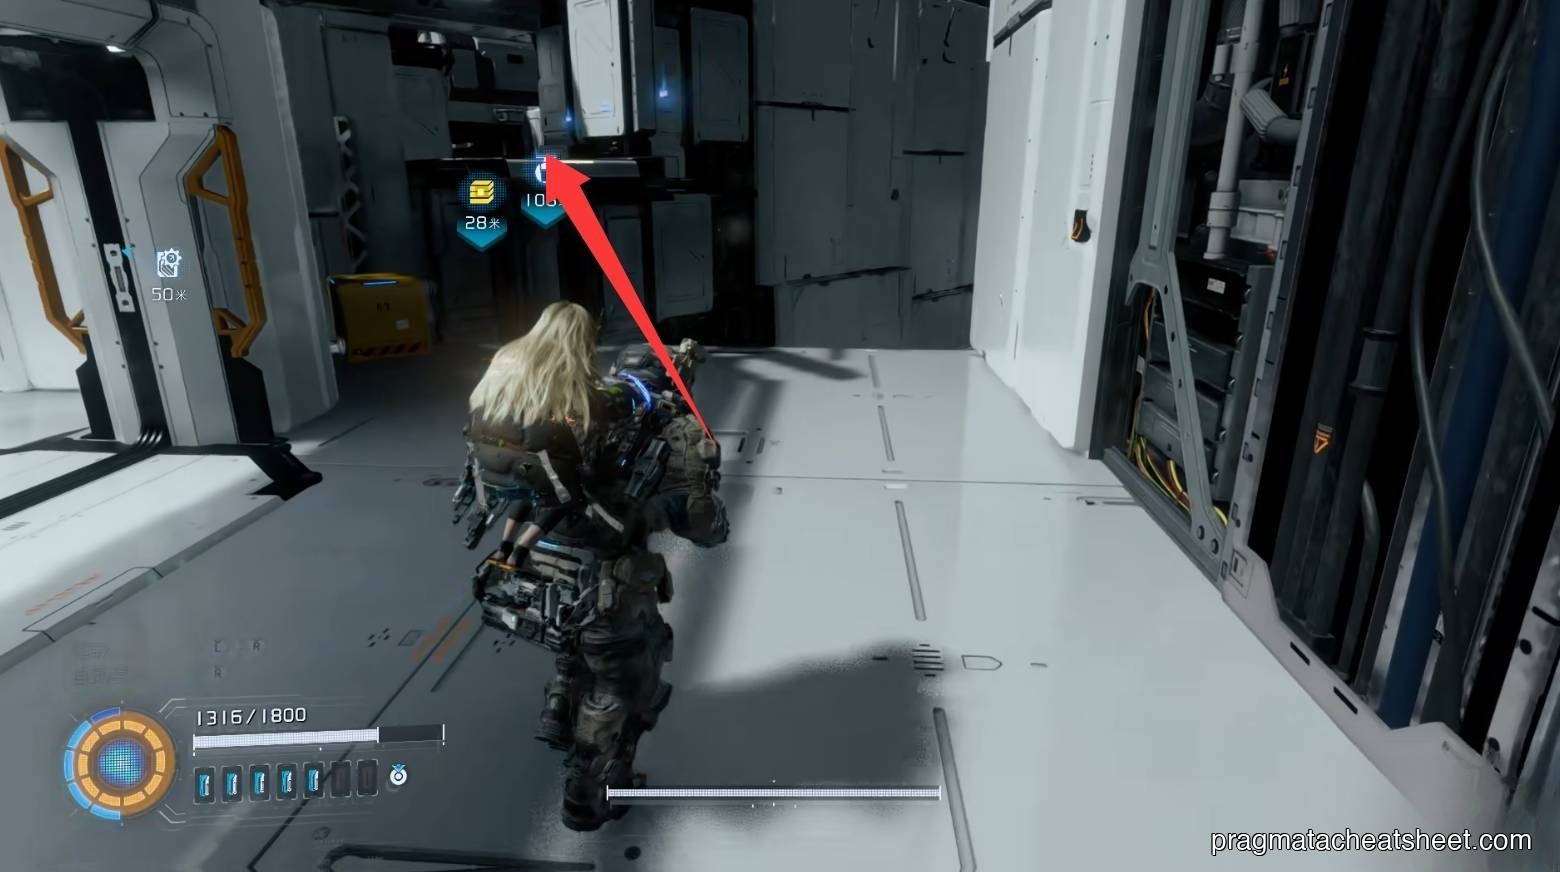
Midway down the staircase, look back and right — Mini Cabin on an upper shelf.
Finish the stairs, clear enemies, side door for a Mod.
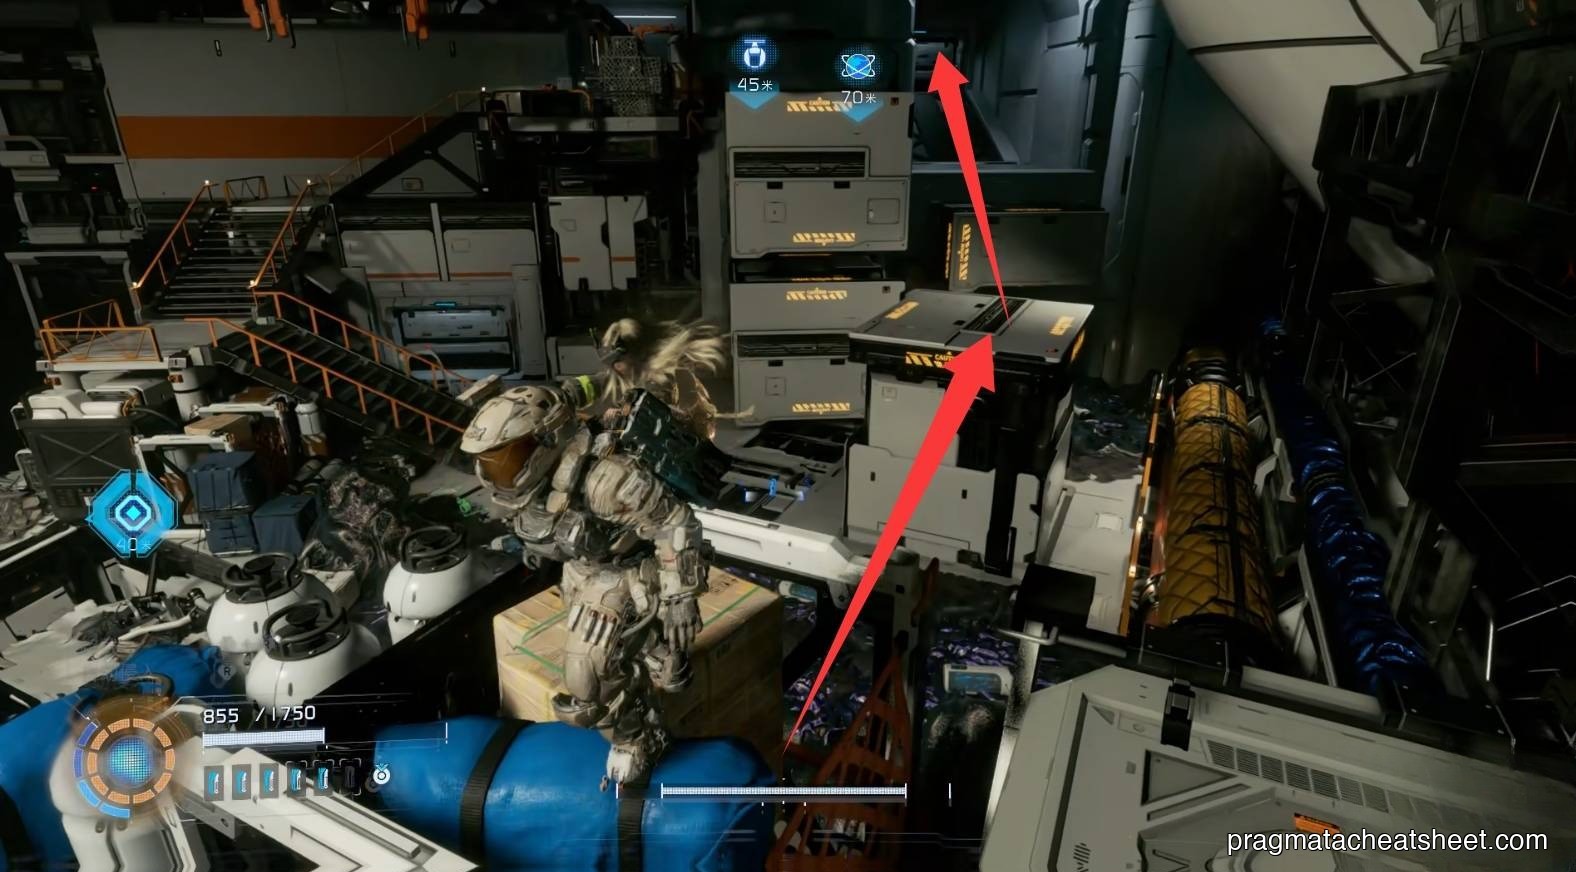
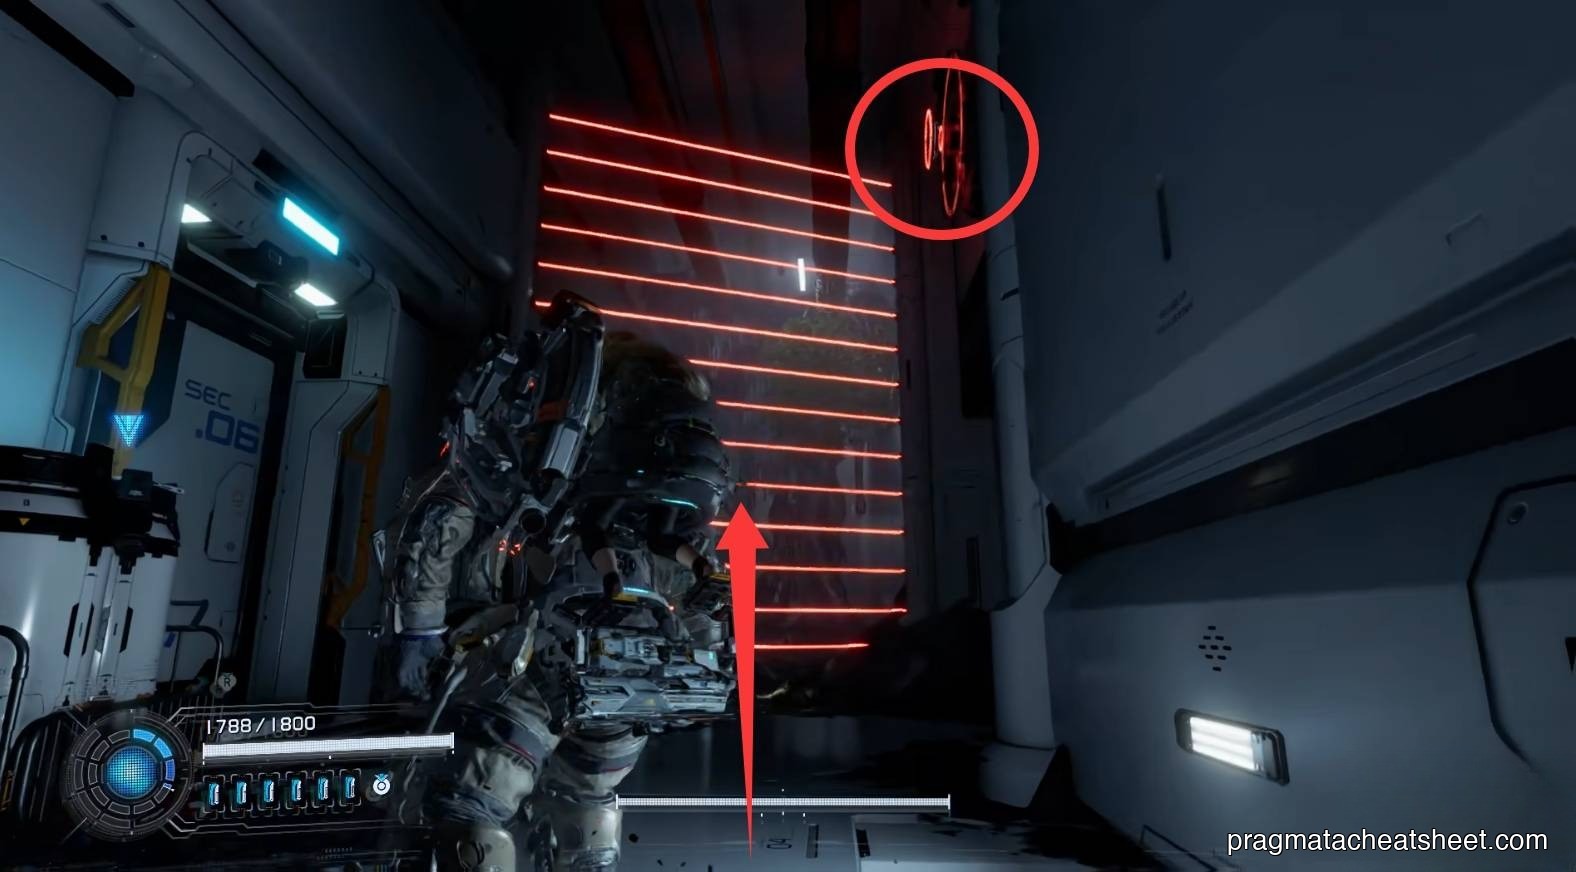
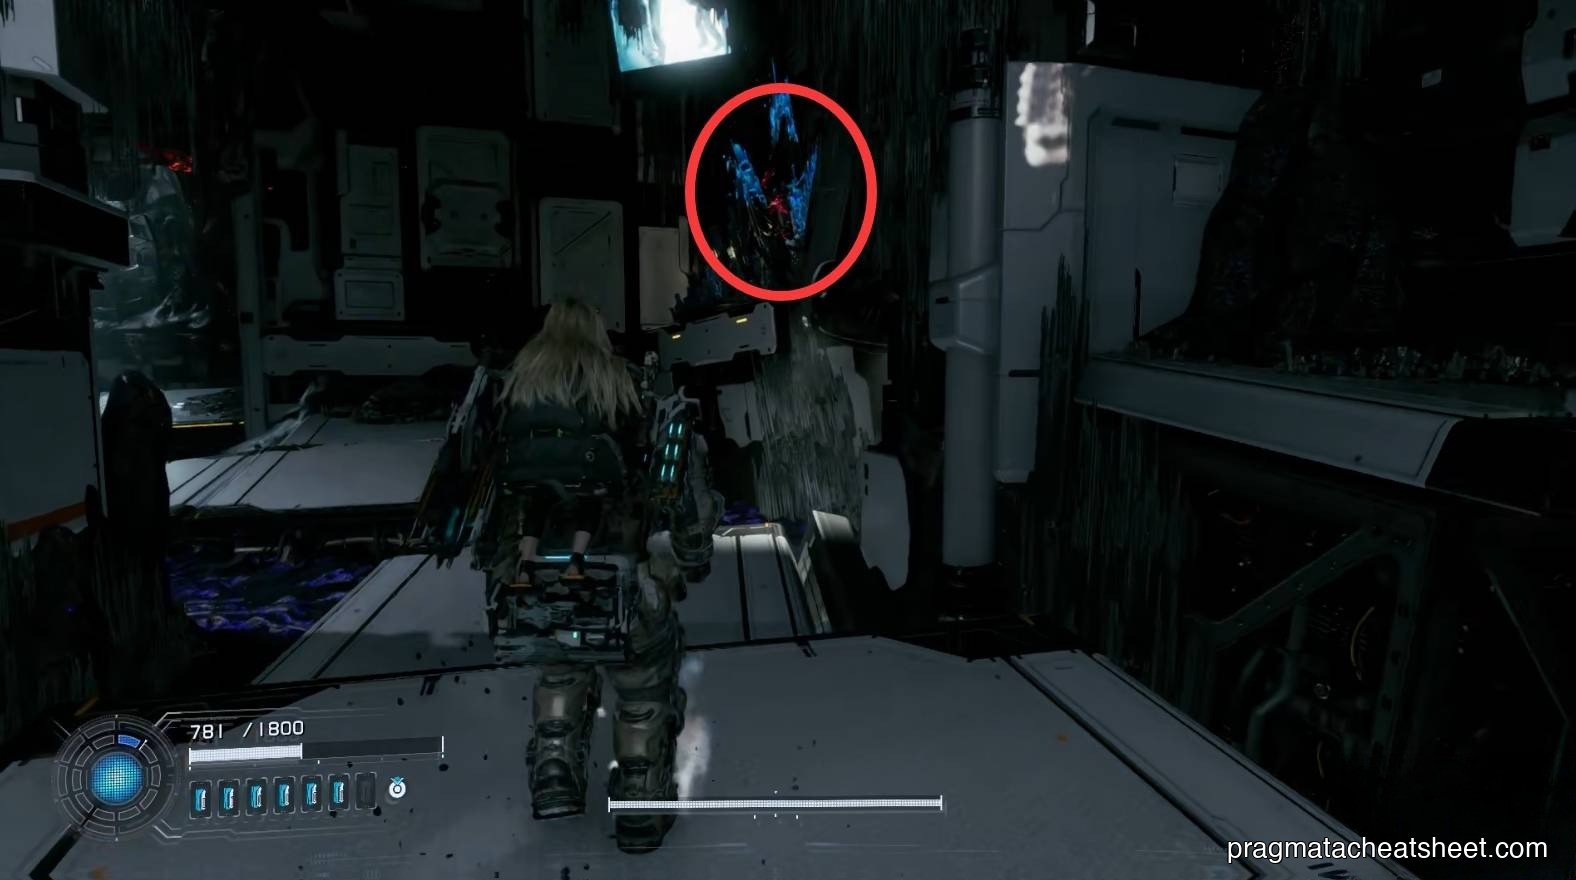
Hack a moving platform, ride up for the third Upgrade Component.
Turn around, stand high, jump-dash across for a REM chip.
Yellow zone combat ahead.
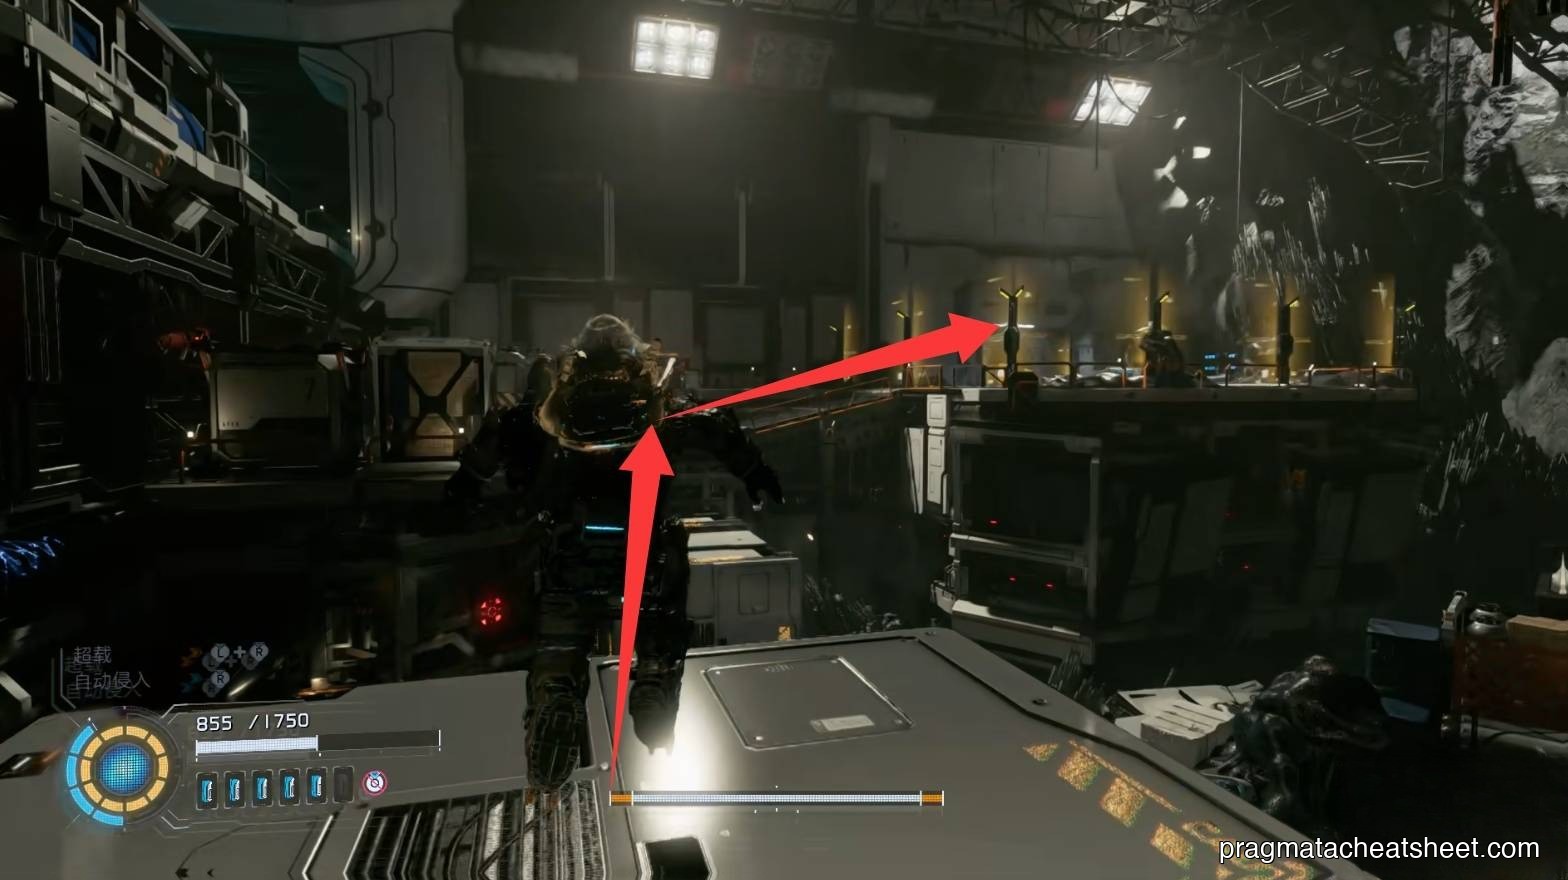
Through the door, down the stairs (roadside Upgrade Component), then diagonal elevator down.
Items in this area
- Mod × 1
- REM chip × 1
- Mini Cabin × 1
- Upgrade Components × 4
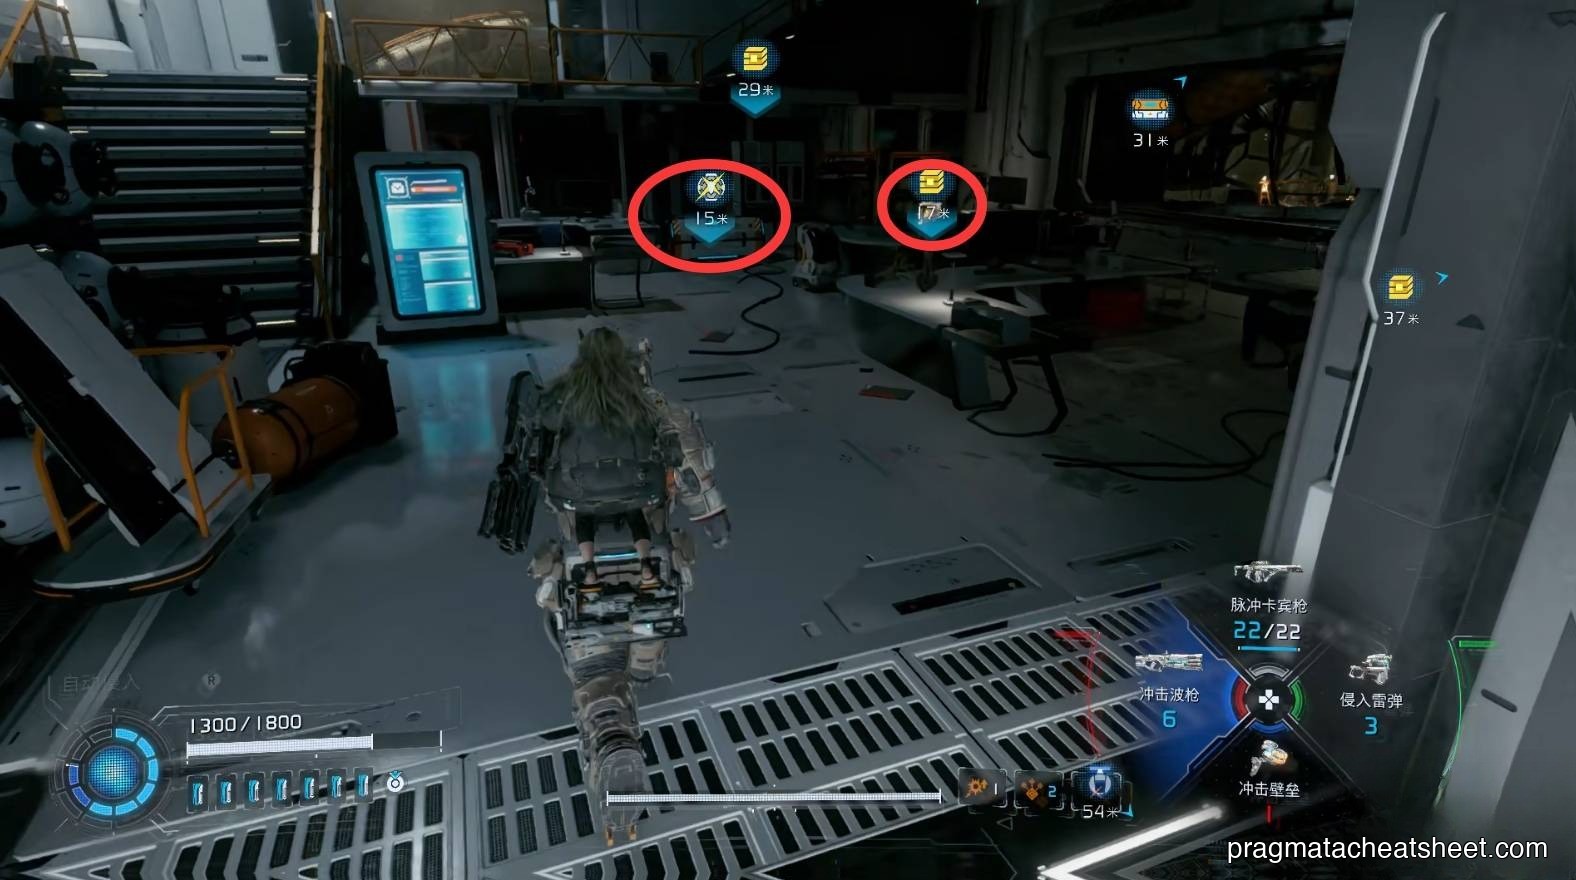
02 — Research Sector
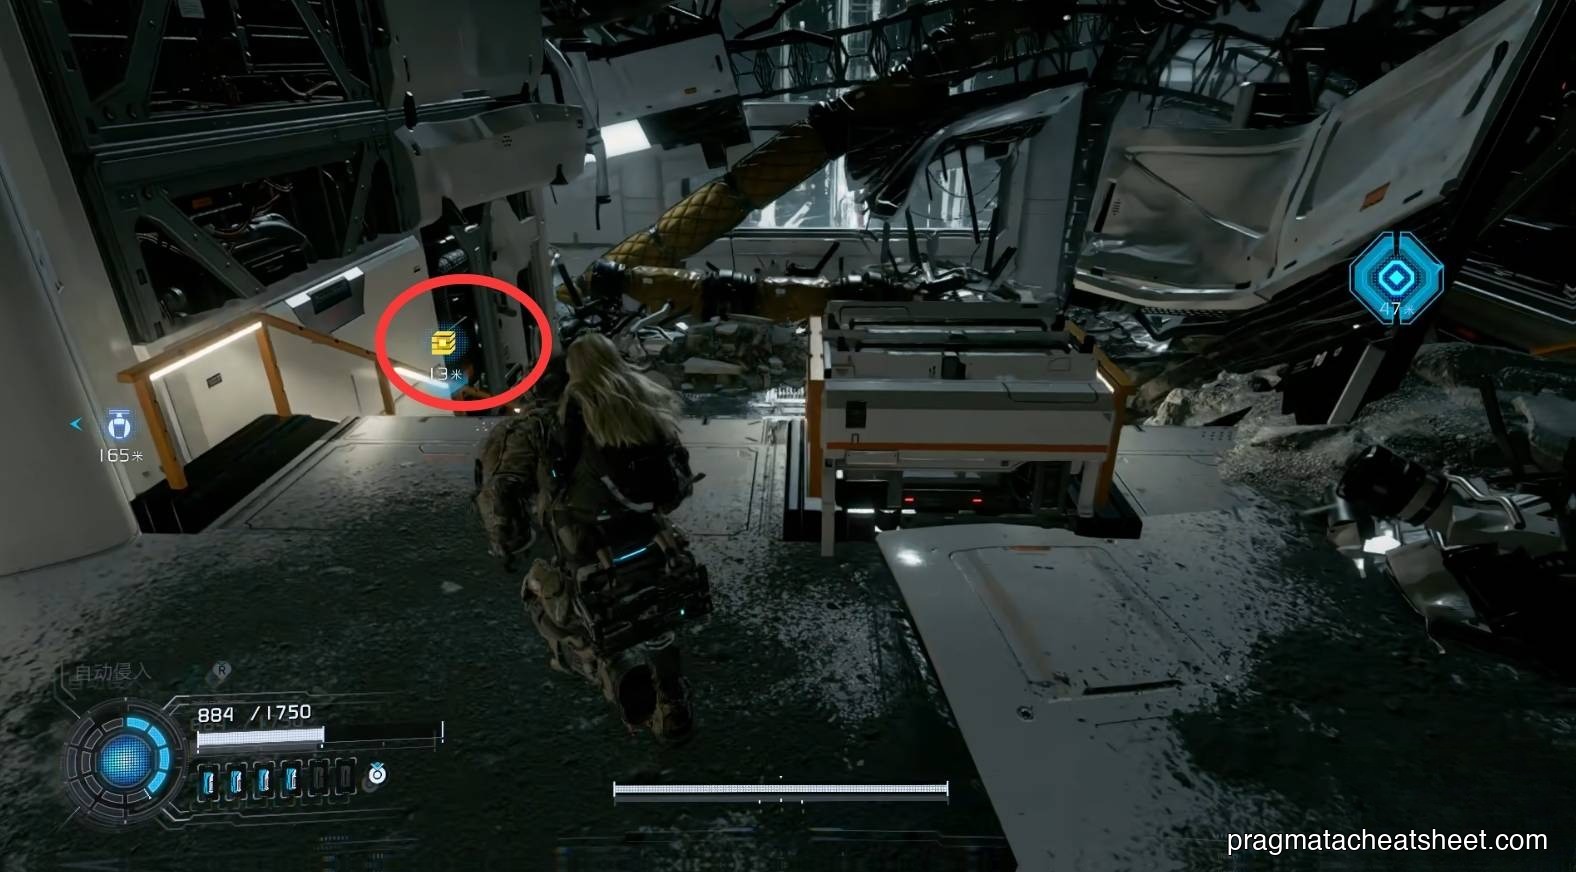
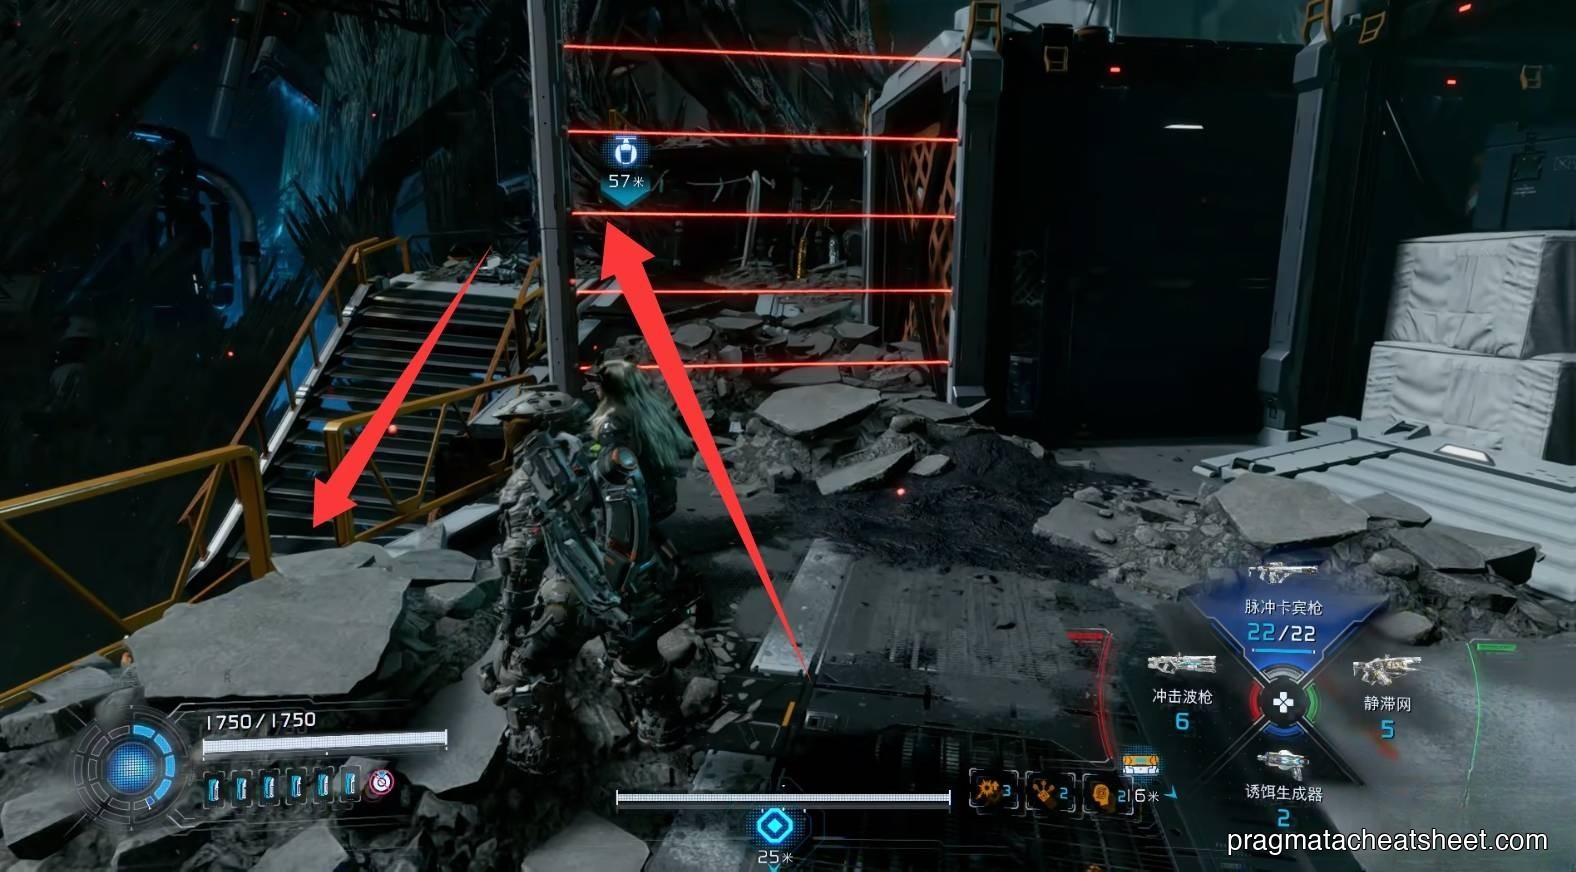
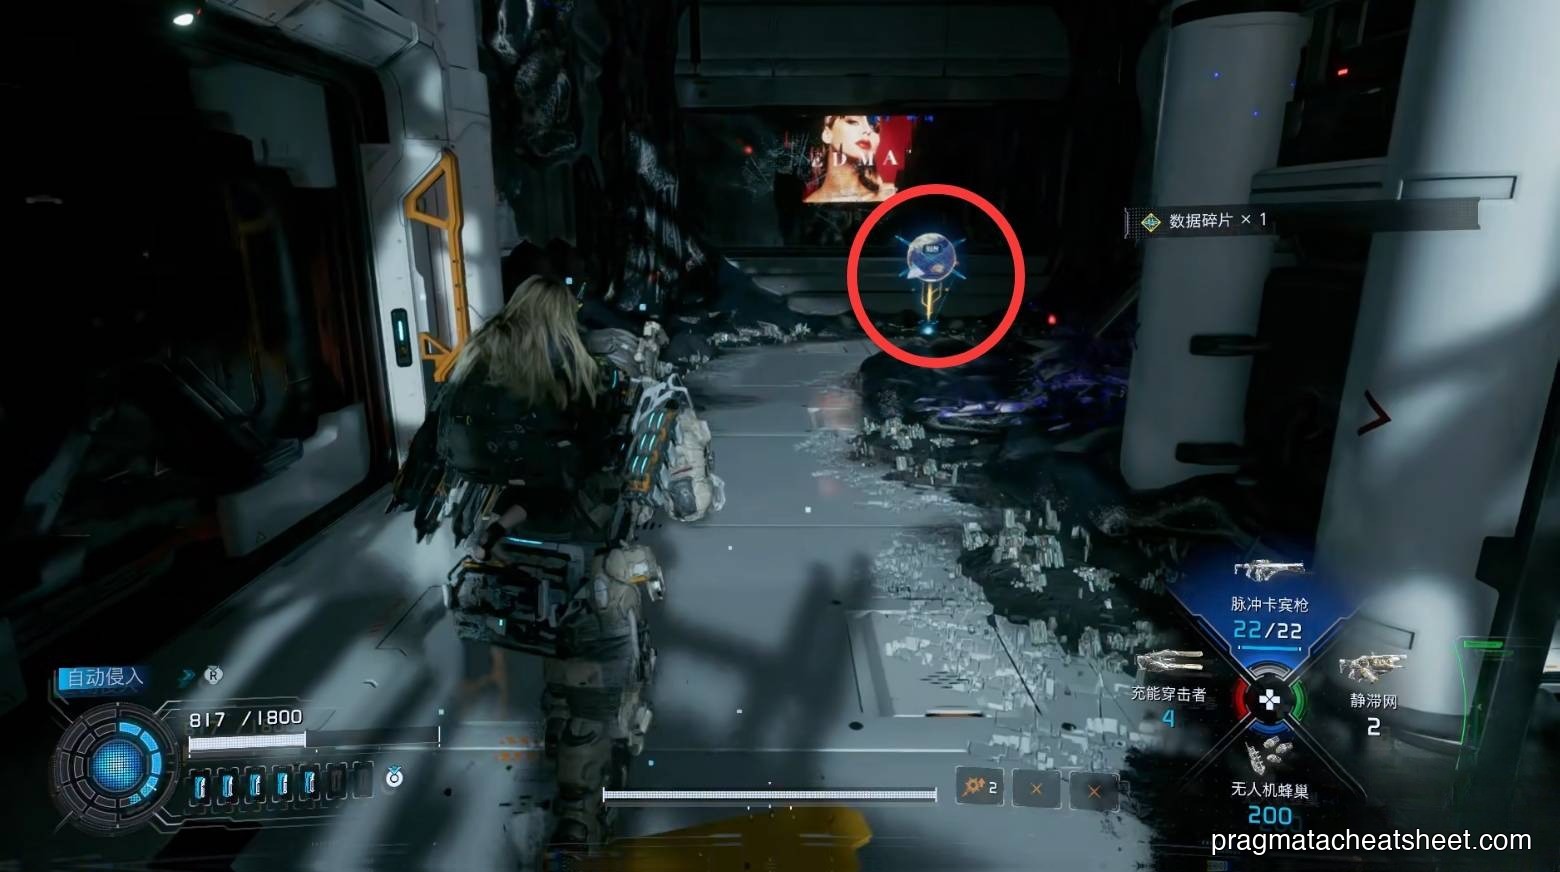
Bottom of the diagonal elevator, pick up an Upgrade Component, enter for Training Data + Red Gate Key and unlock the Escape Hatch.
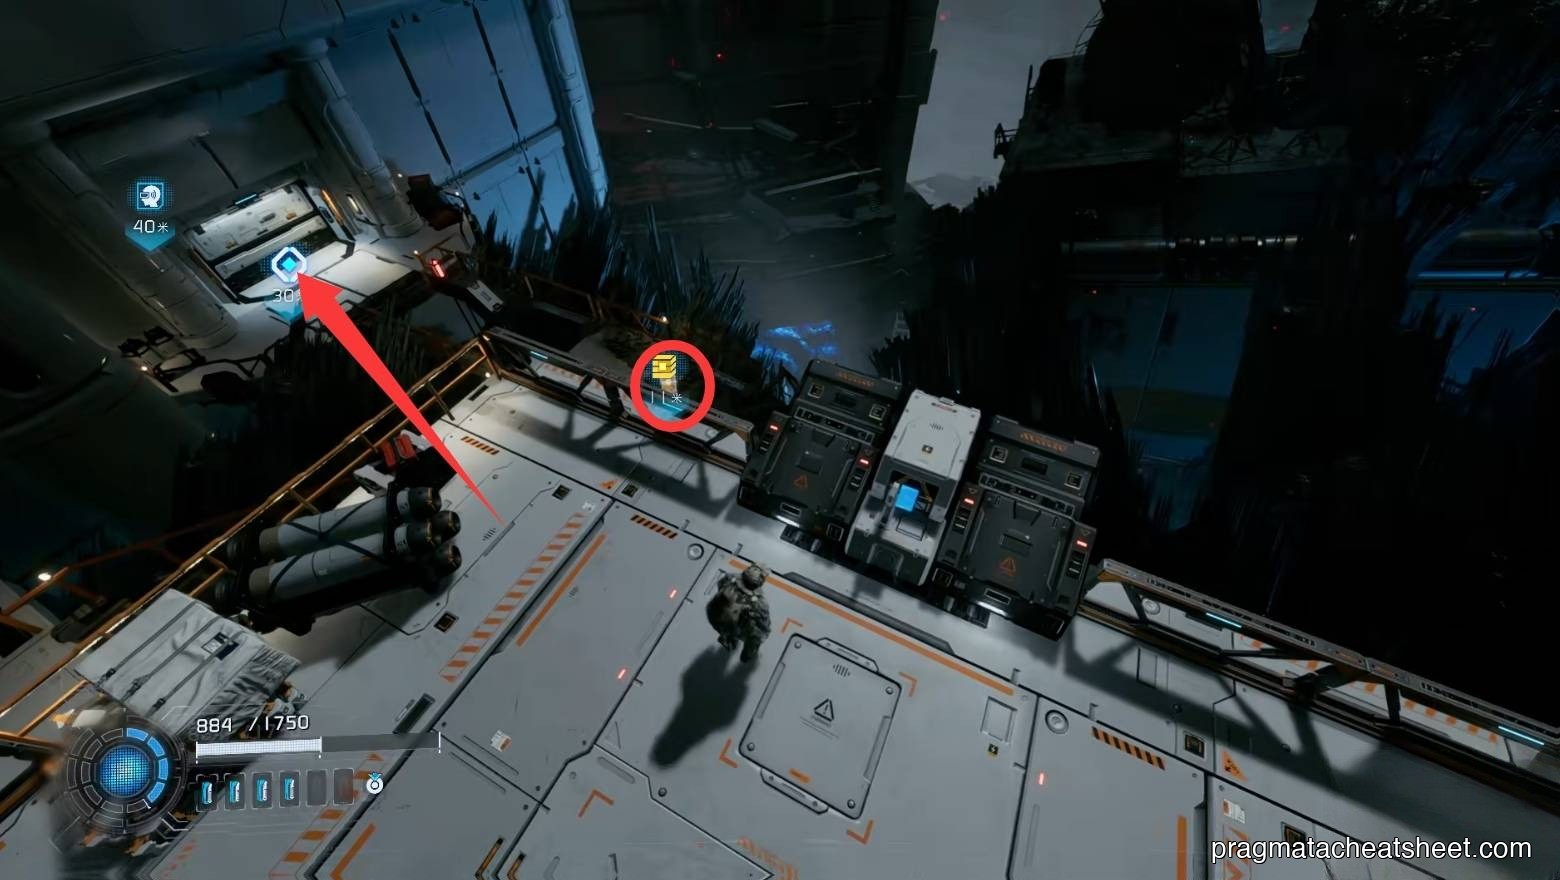
Open, path blocked ahead. Left for a Safe Box, middle for an Upgrade Component.
Laser-gated drop → another Safe Box. Return, push in to activate the next Escape Hatch.
Items in this area
- Safe Box × 2
- Training Data × 1
- Red Gate Key
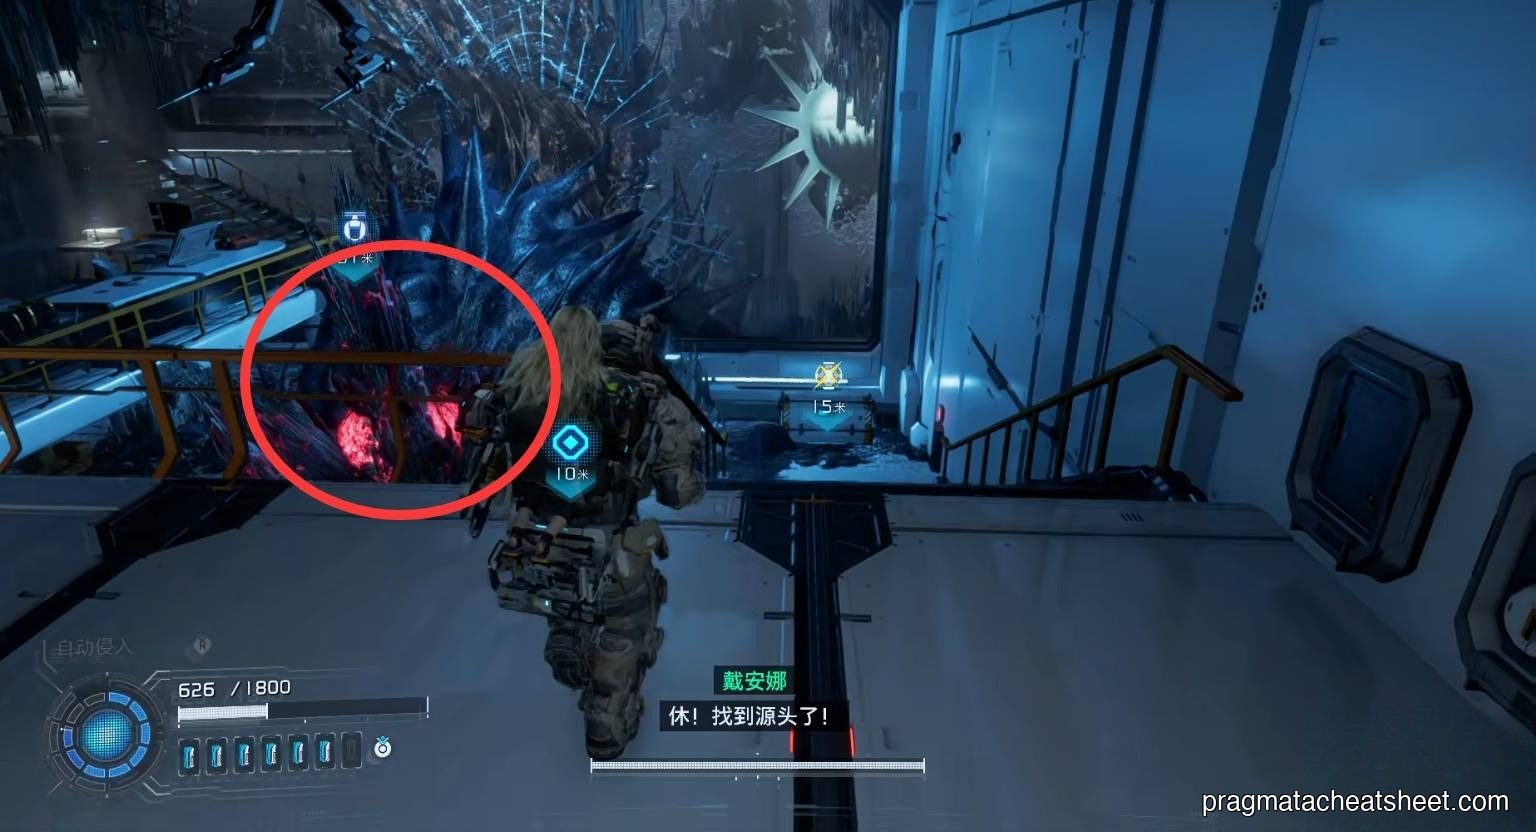
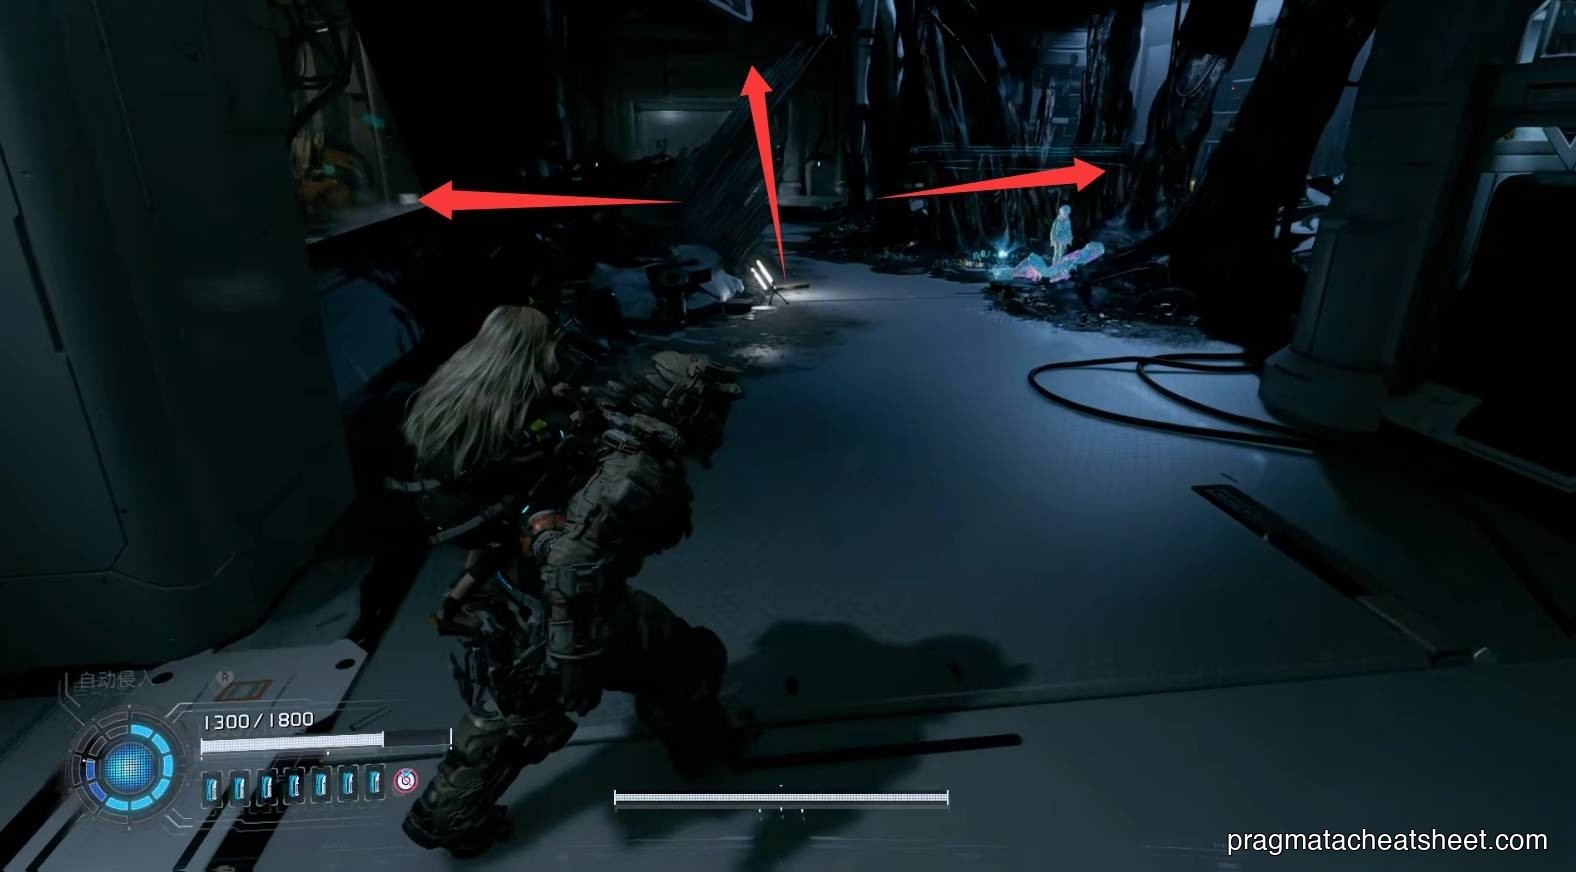
03 — Regolith Lab
Path blocked again — left Hatch first. Stairs left first, then right.
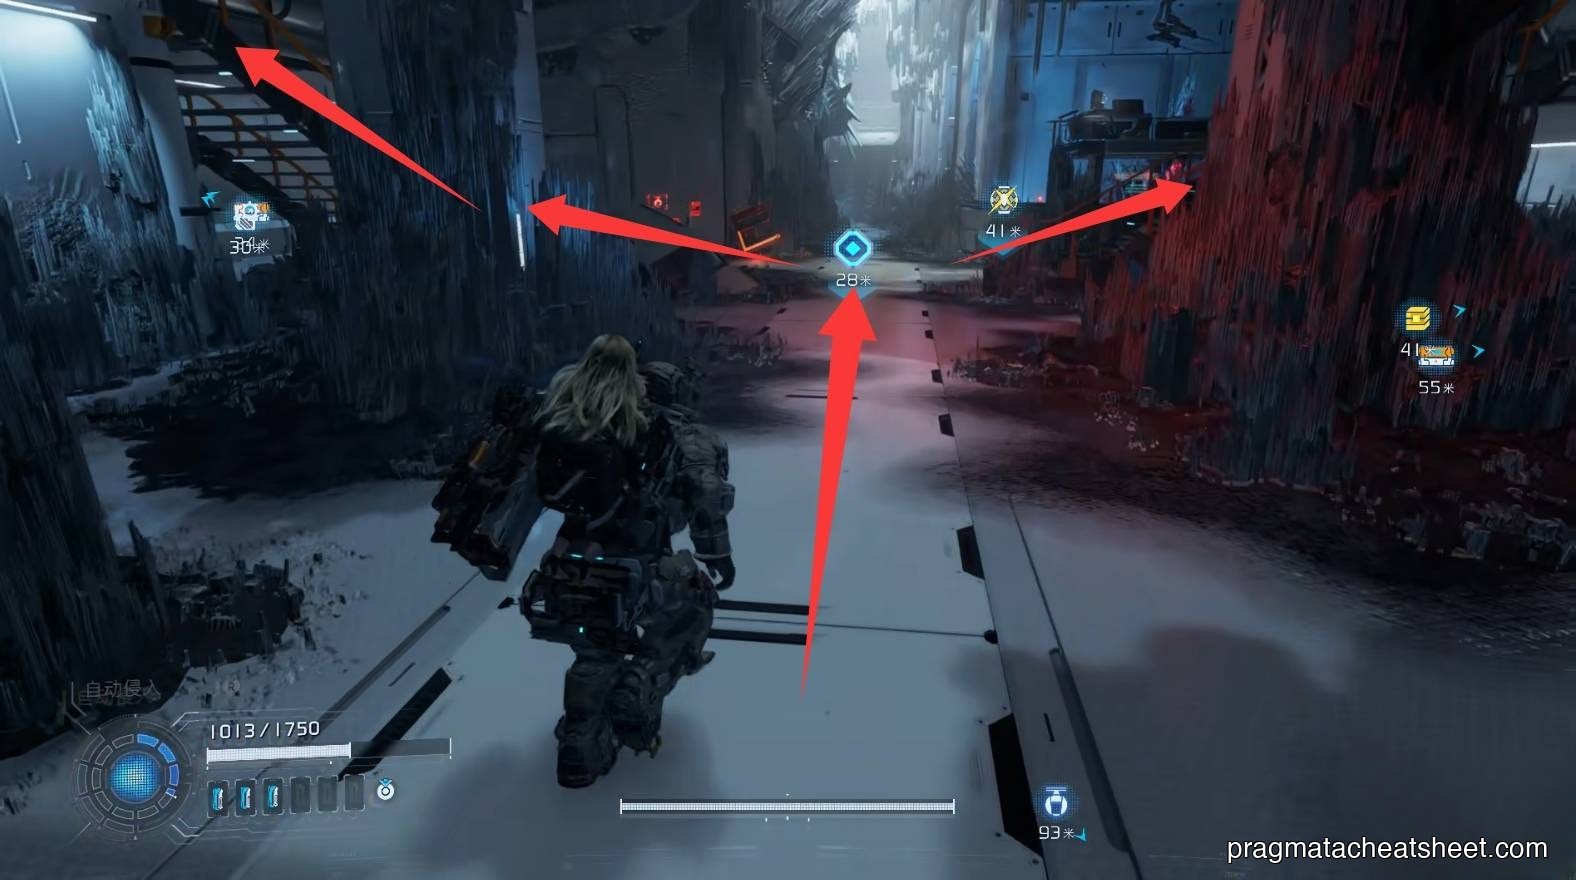
Clear left-room enemies, hack through laser → Safe Box.
From there, look high: Mini Cabin.

Red node up high disables a second laser → Mod.
Right side Red Zone
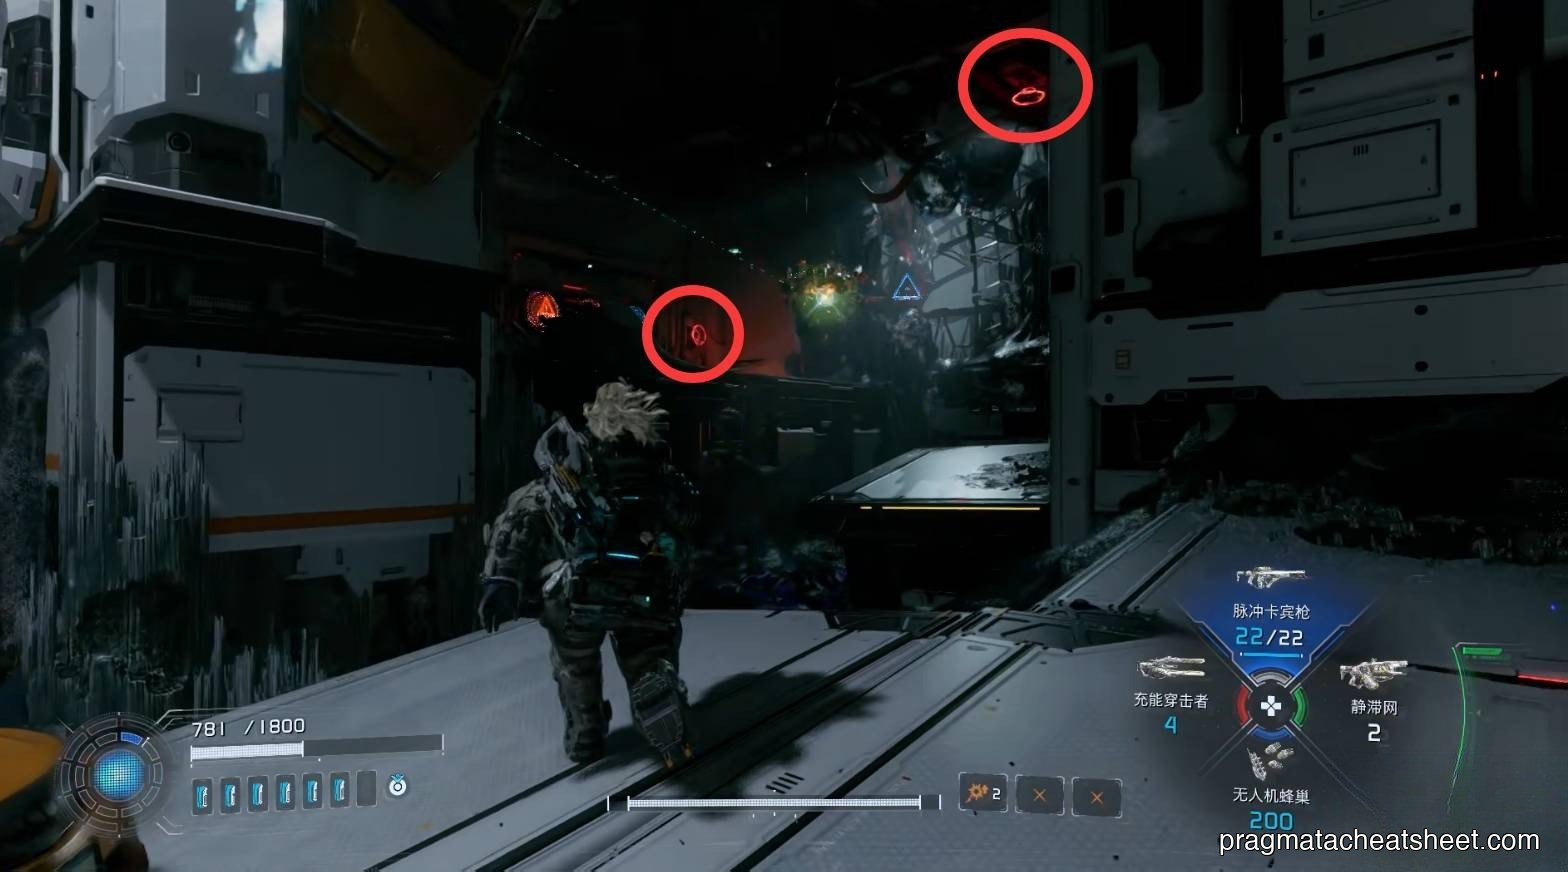
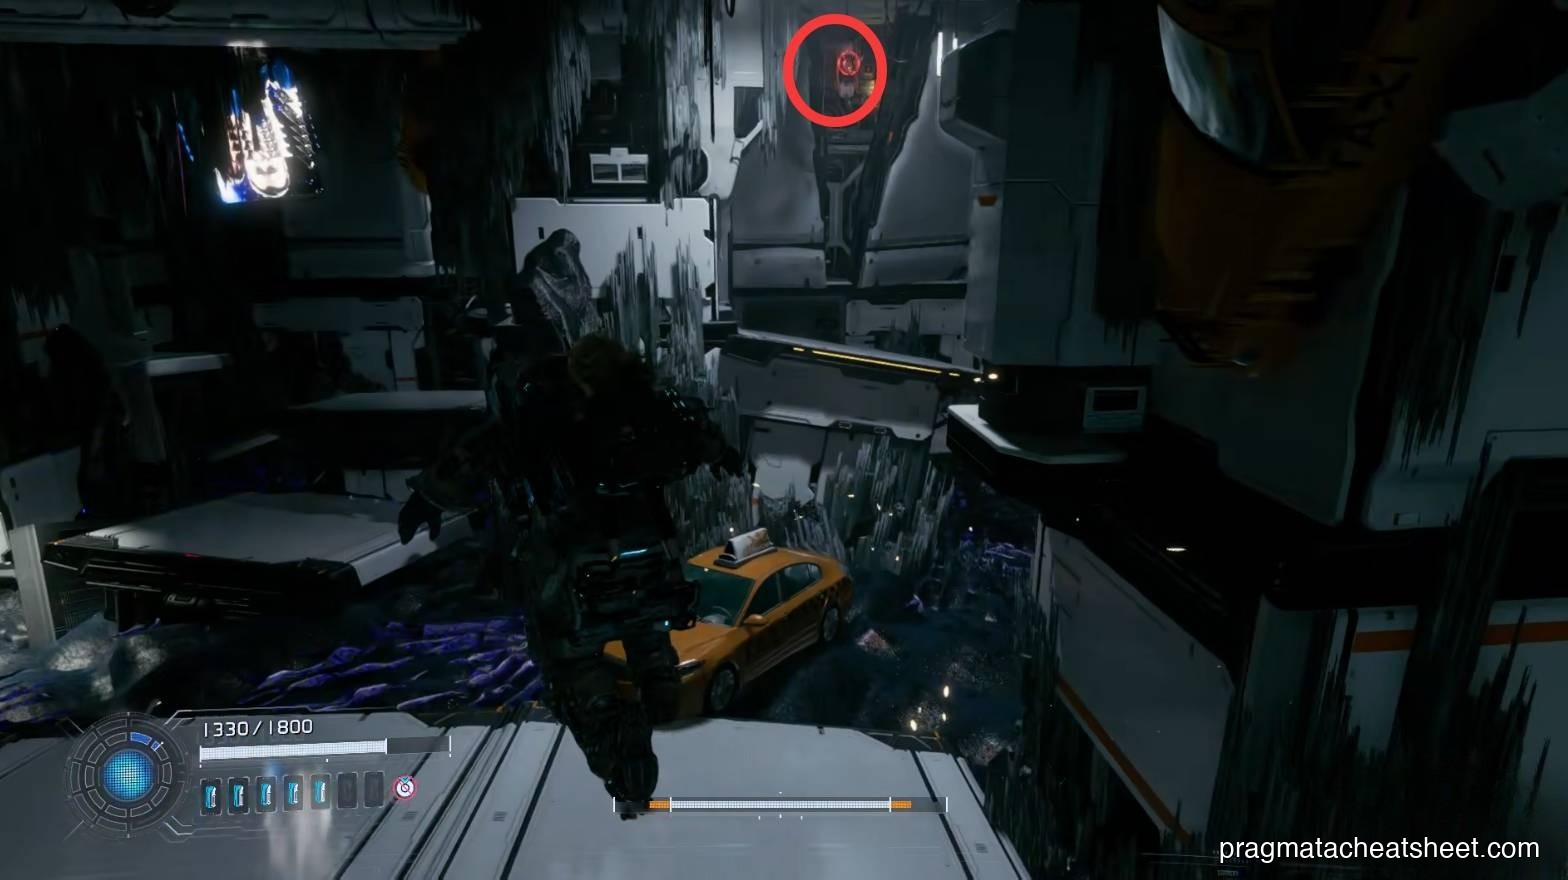
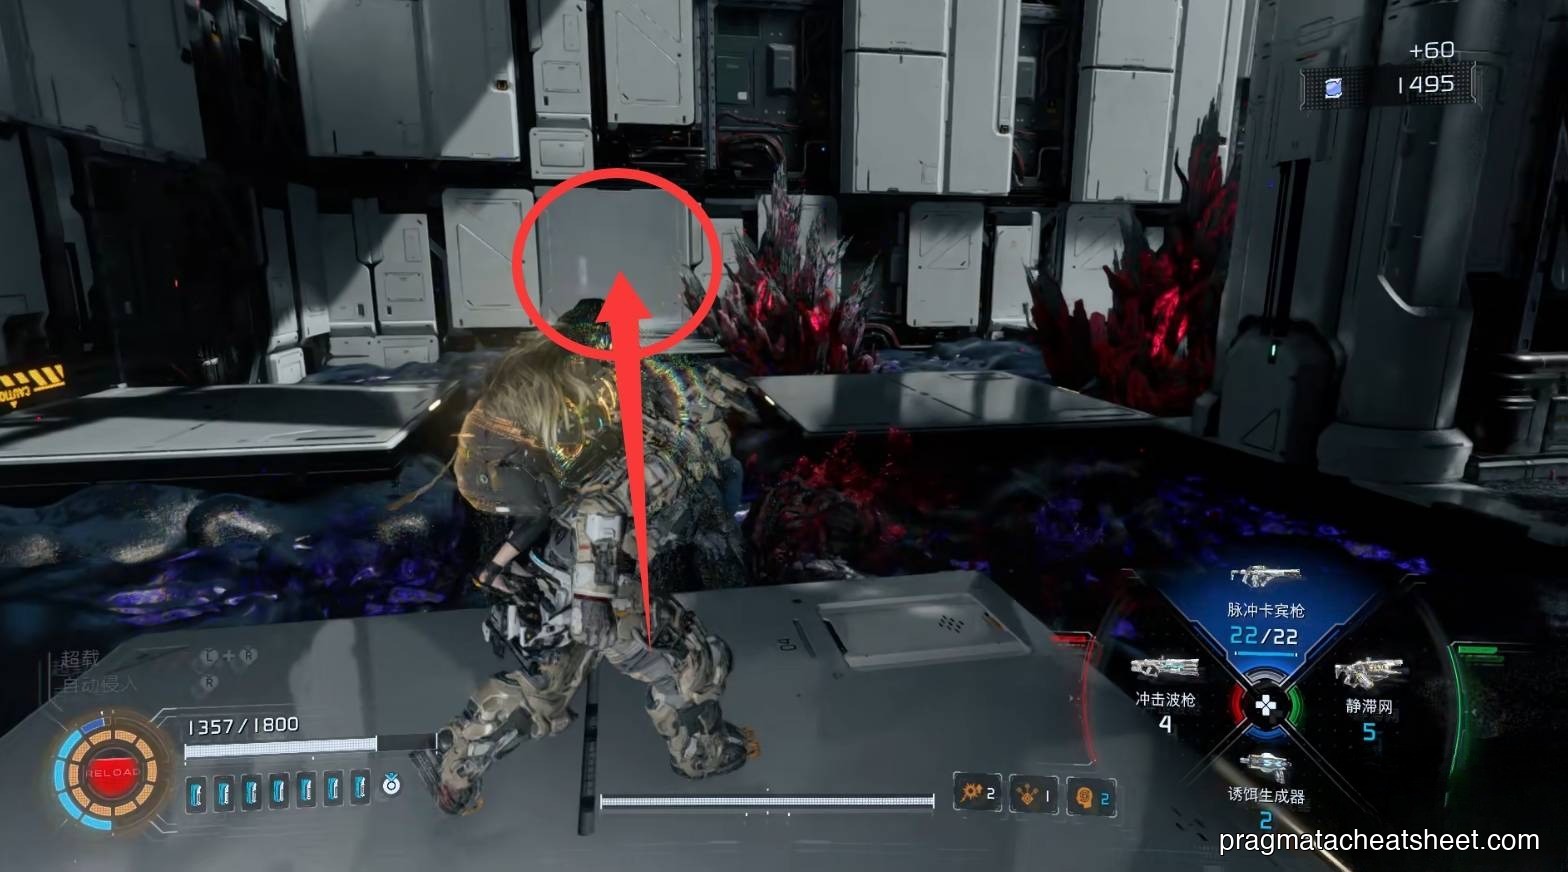
Back at the Hatch, take right stairs through lasers → Upgrade Component. Red Zone ahead → two Pure Lunum.
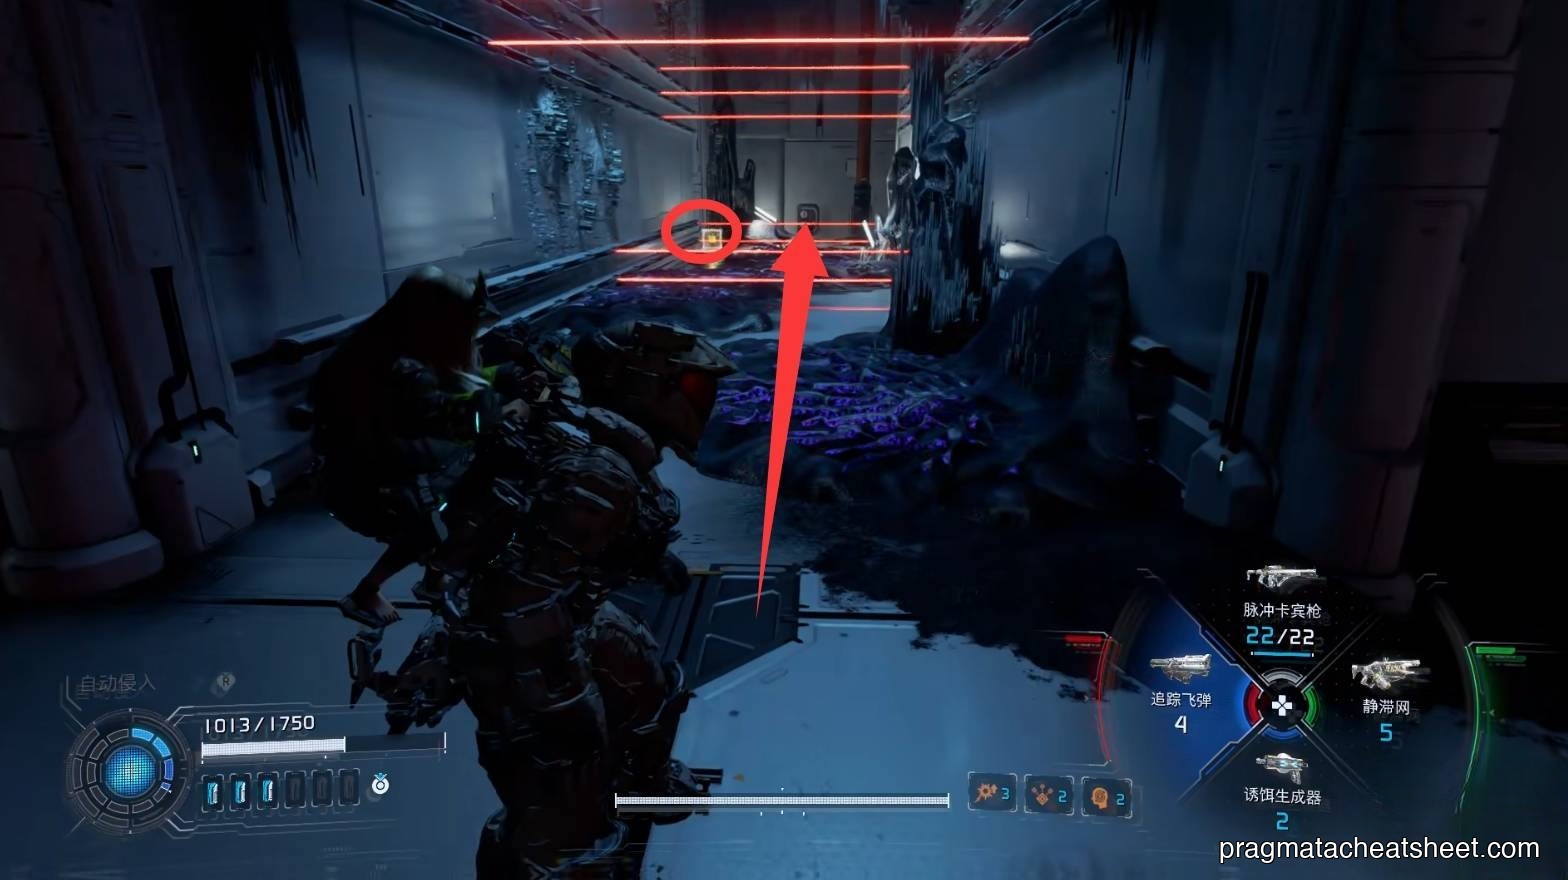
Forward, drop into a hidden wall → Upgrade Component + REM chip. Right: Cleanse a red barrier, disable a laser.
Laser off, Cleanse another barrier, enter for Mod. Back up for the upper room.
Upper: Safe Box and Eight's cutscene.
Post-fight: Pure Lunum. Cleanse the adjacent red barrier → shortcut opens back to the Hatch.
Continue via the Hatch-side route.
Items in this area
- Safe Box × 2
- Pure Lunum × 3
- Mod × 2
- REM chip × 1
- Mini Cabin × 1
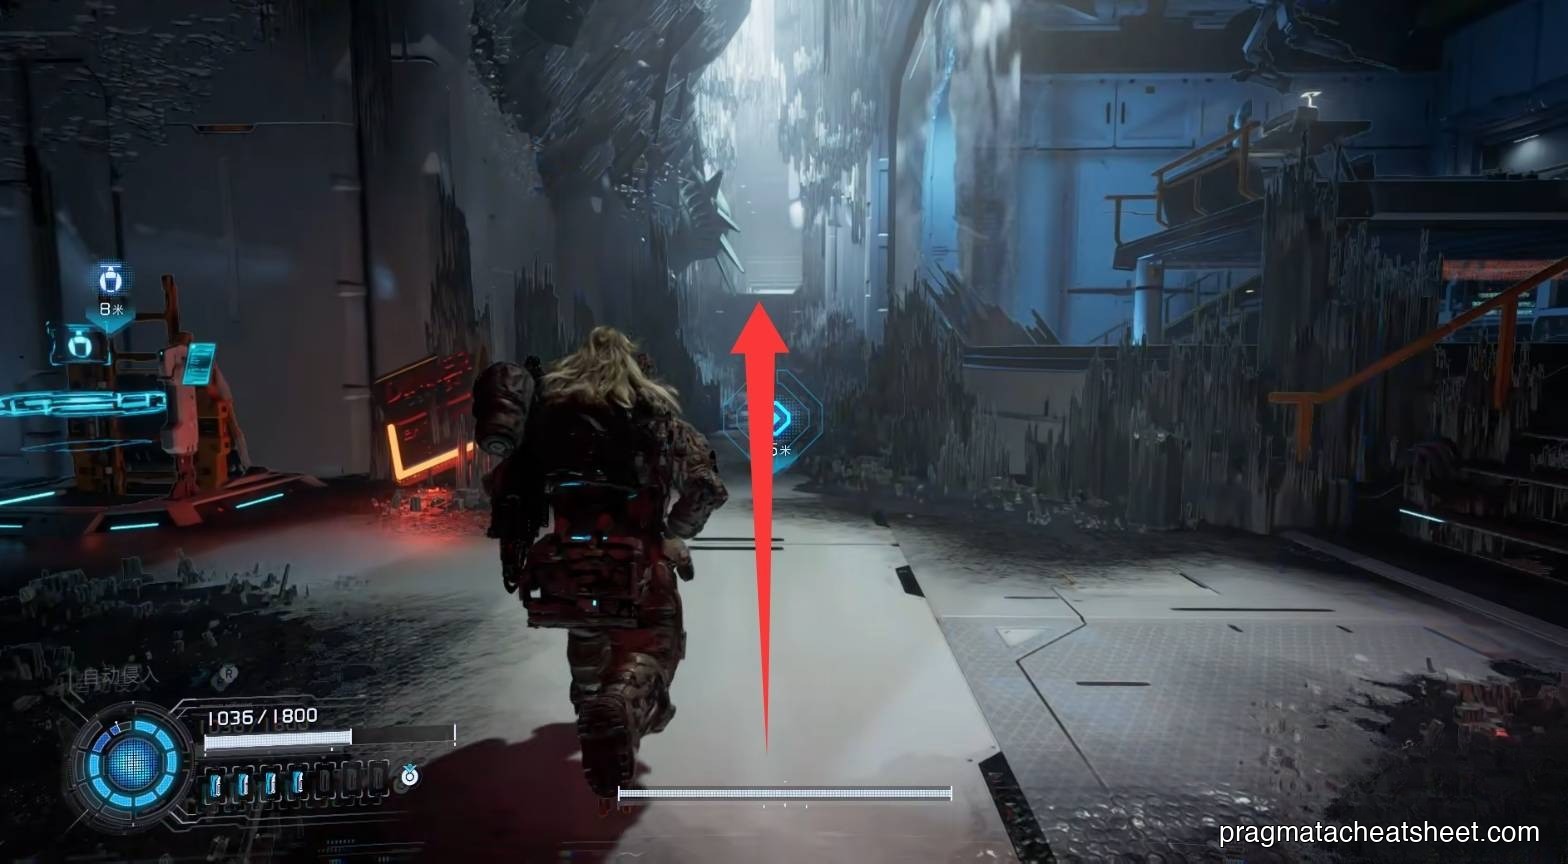
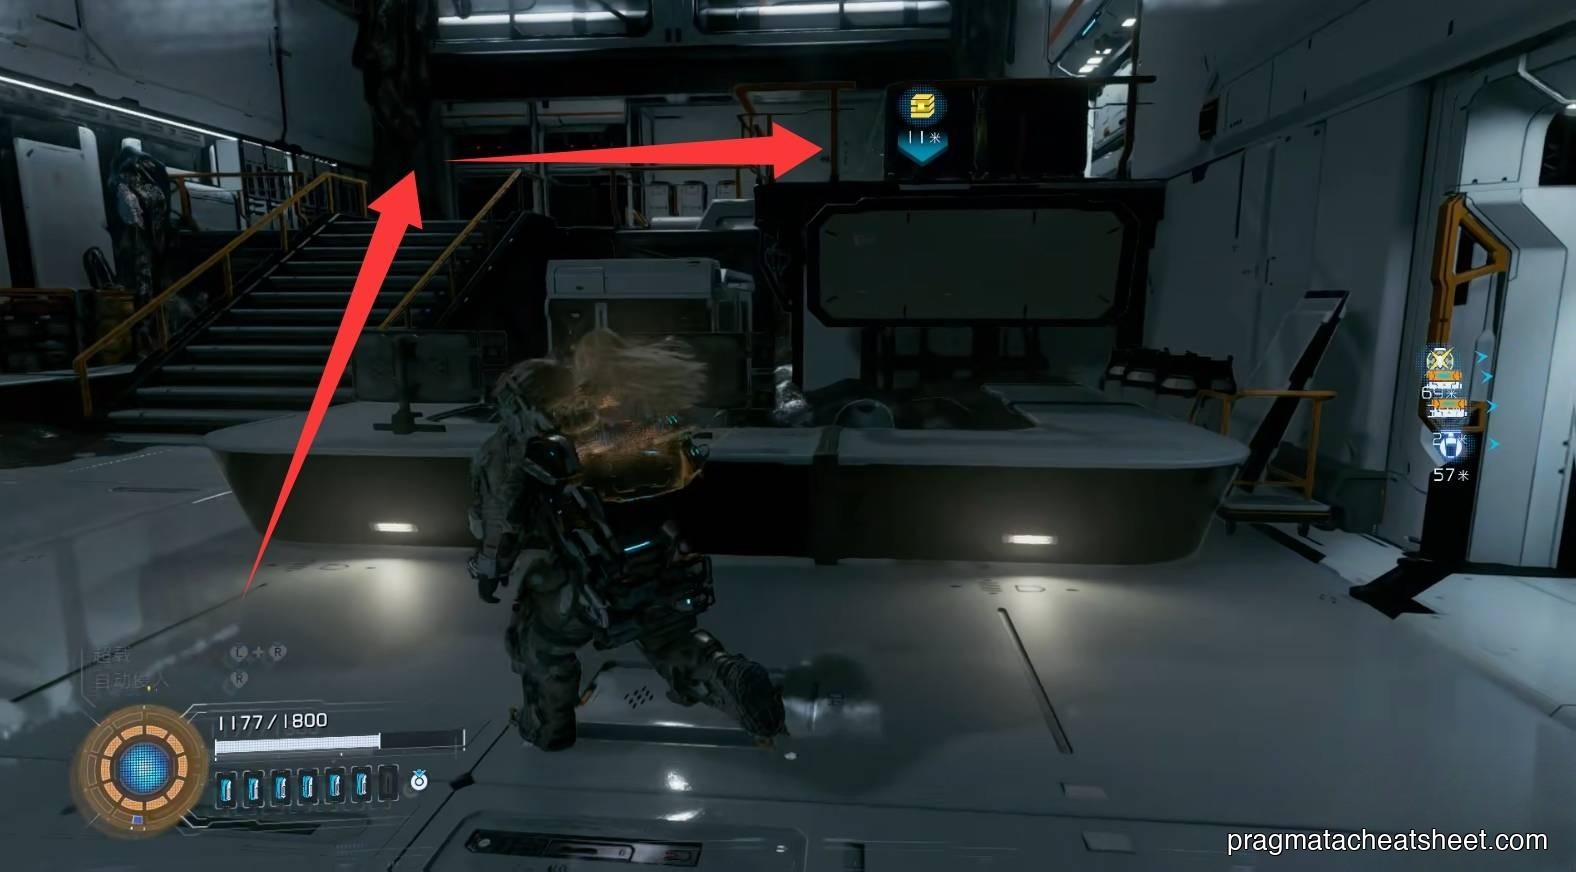
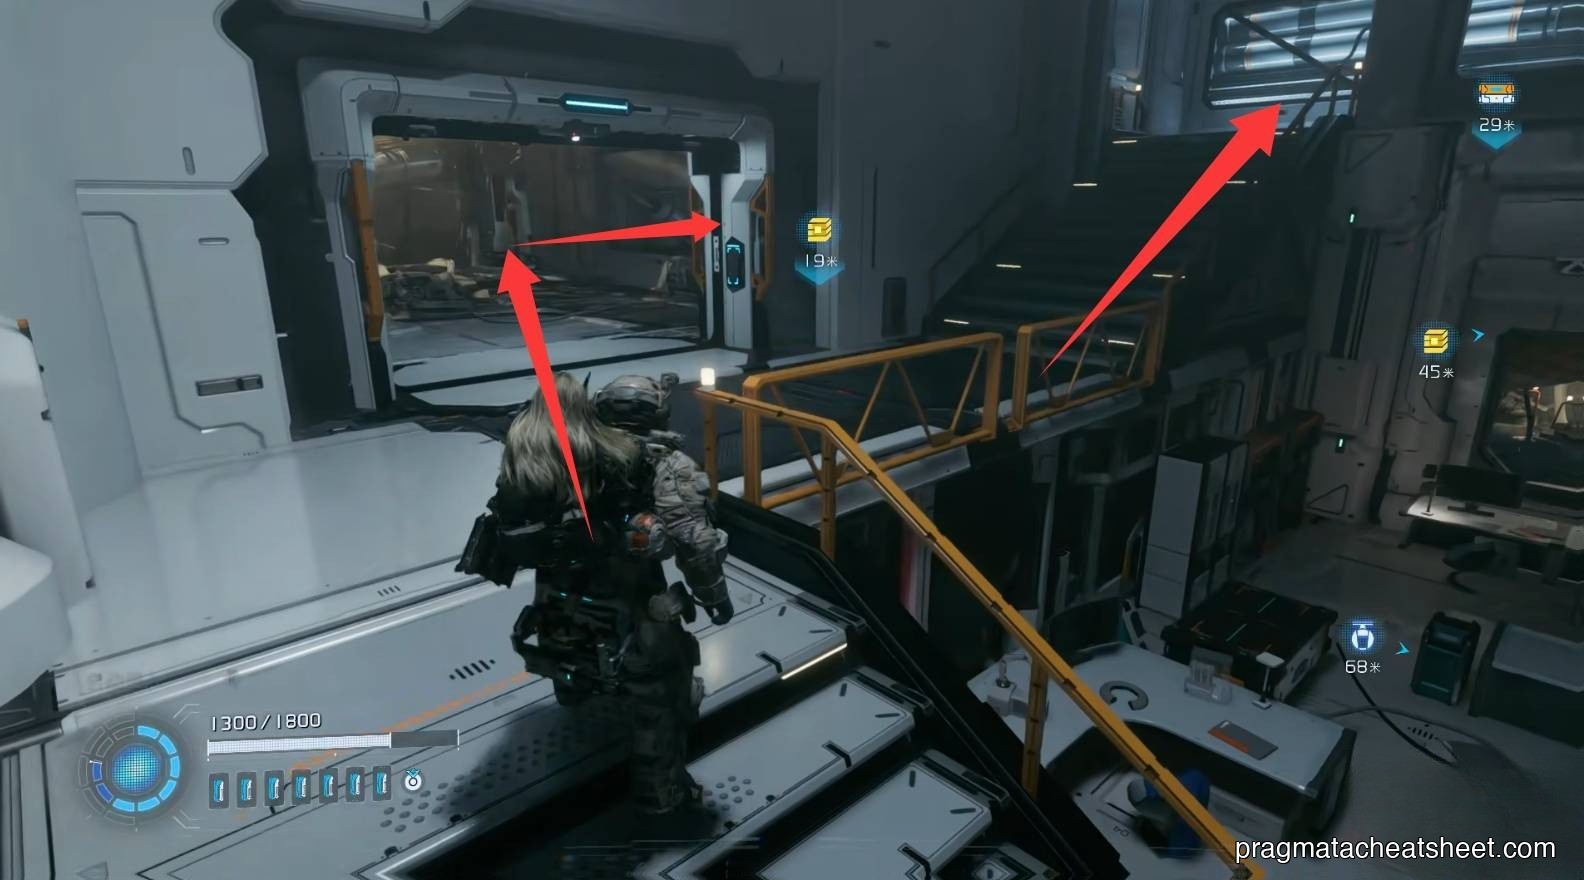
04 — Lunafilament Lab
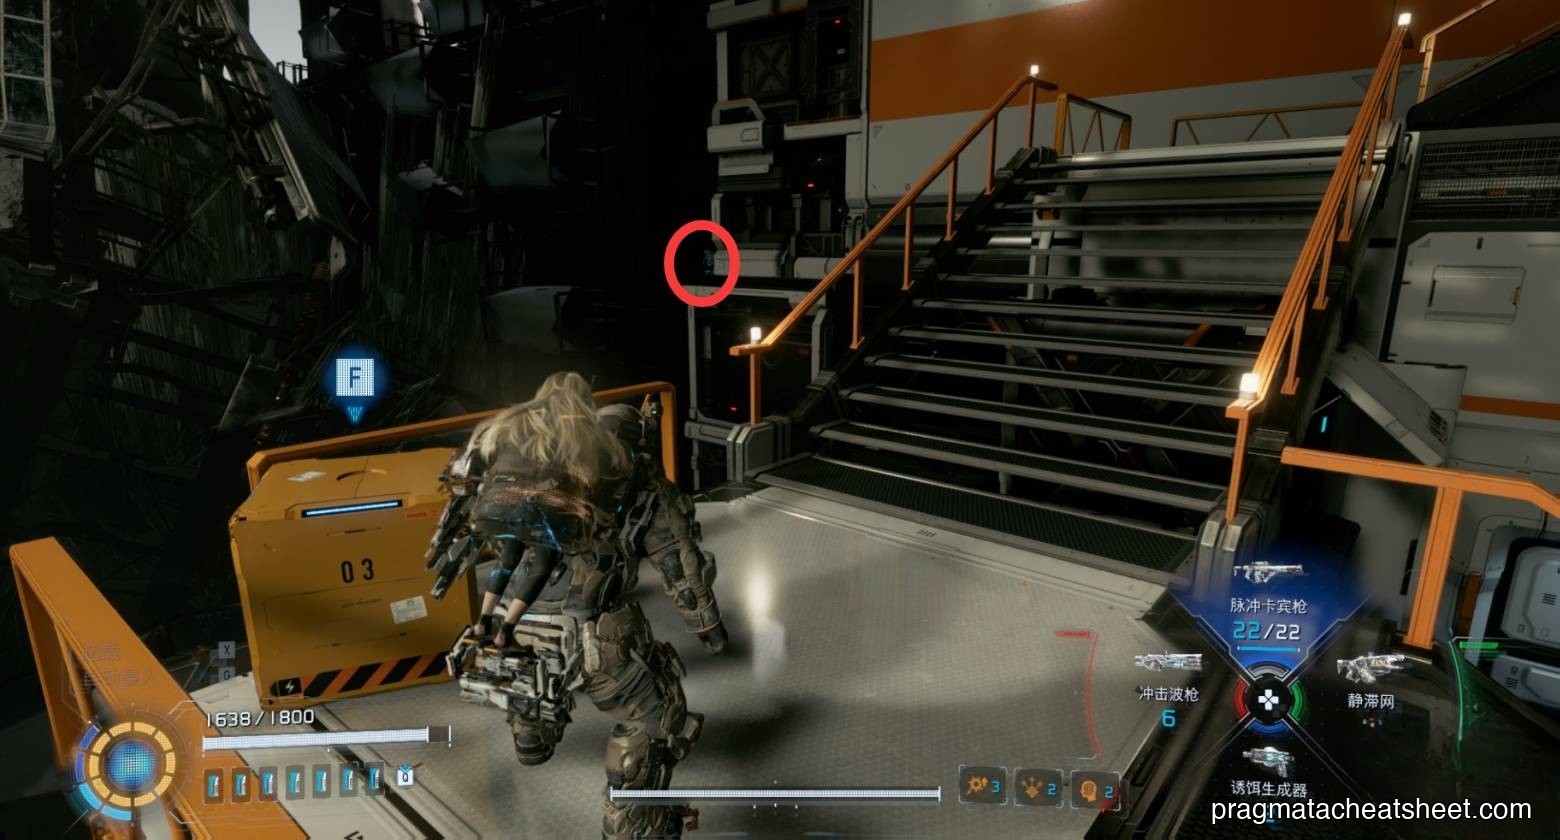
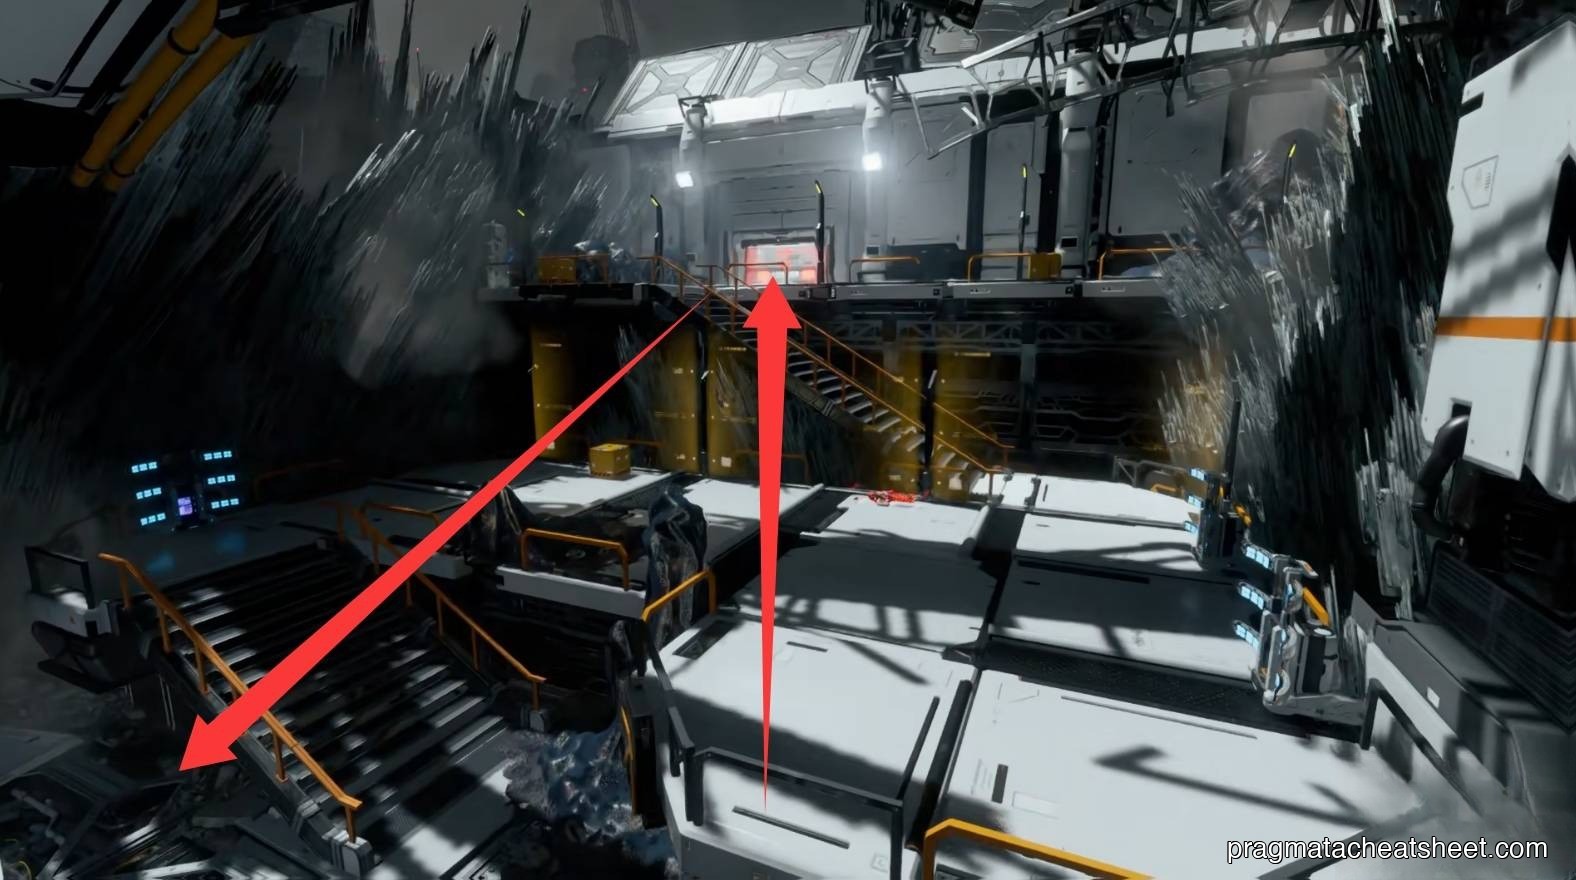
Through the glass corridor, down the stairs → Escape Hatch.
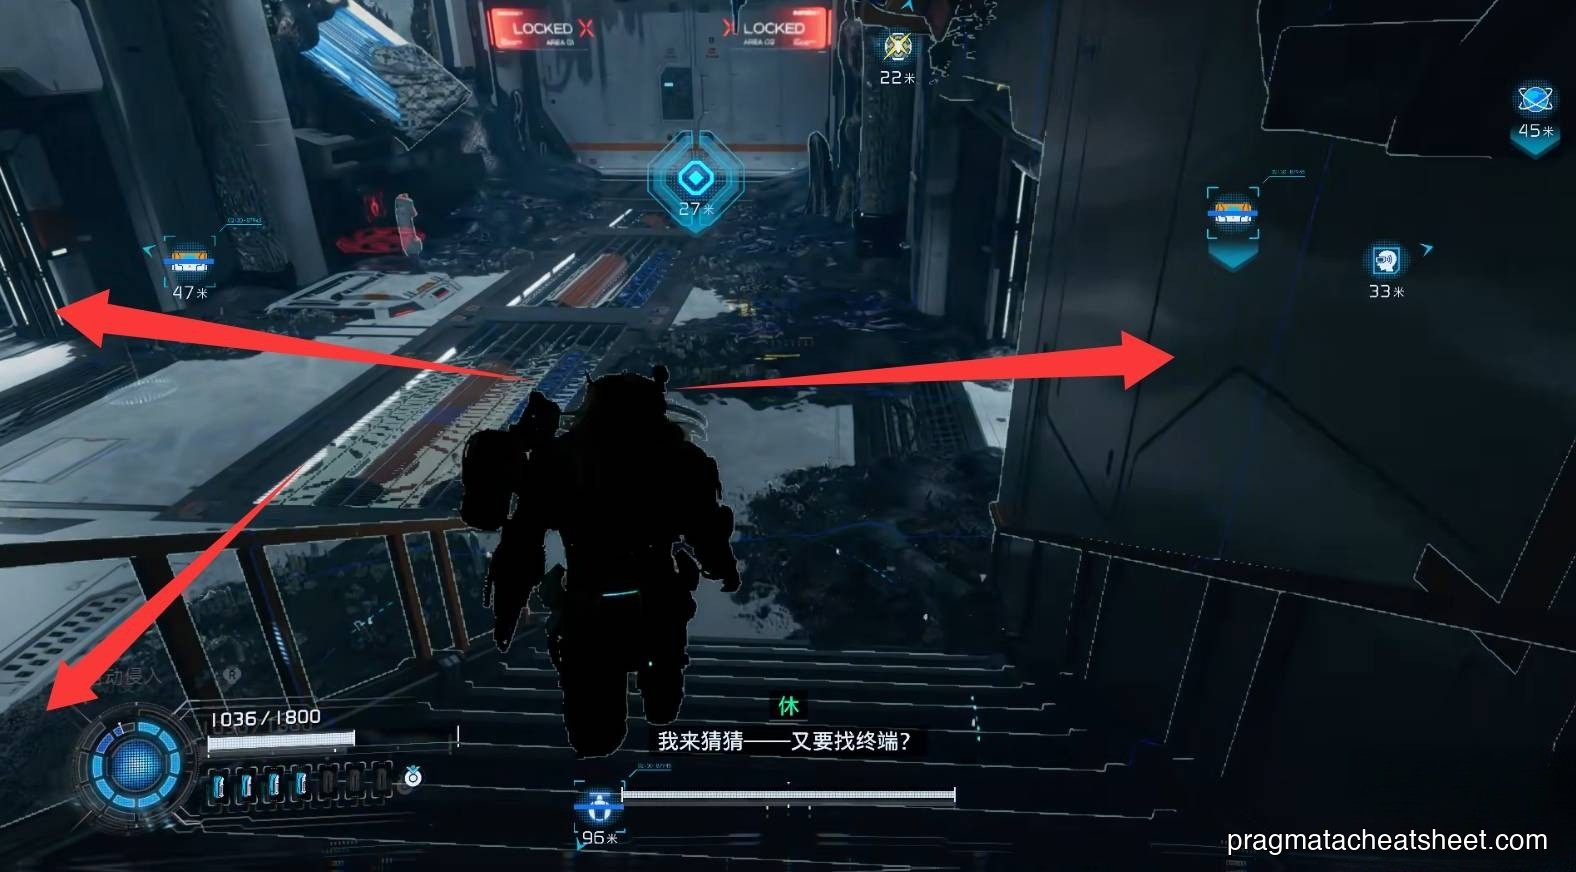
Two-lock main door
Main door has two locks — break one on each side.
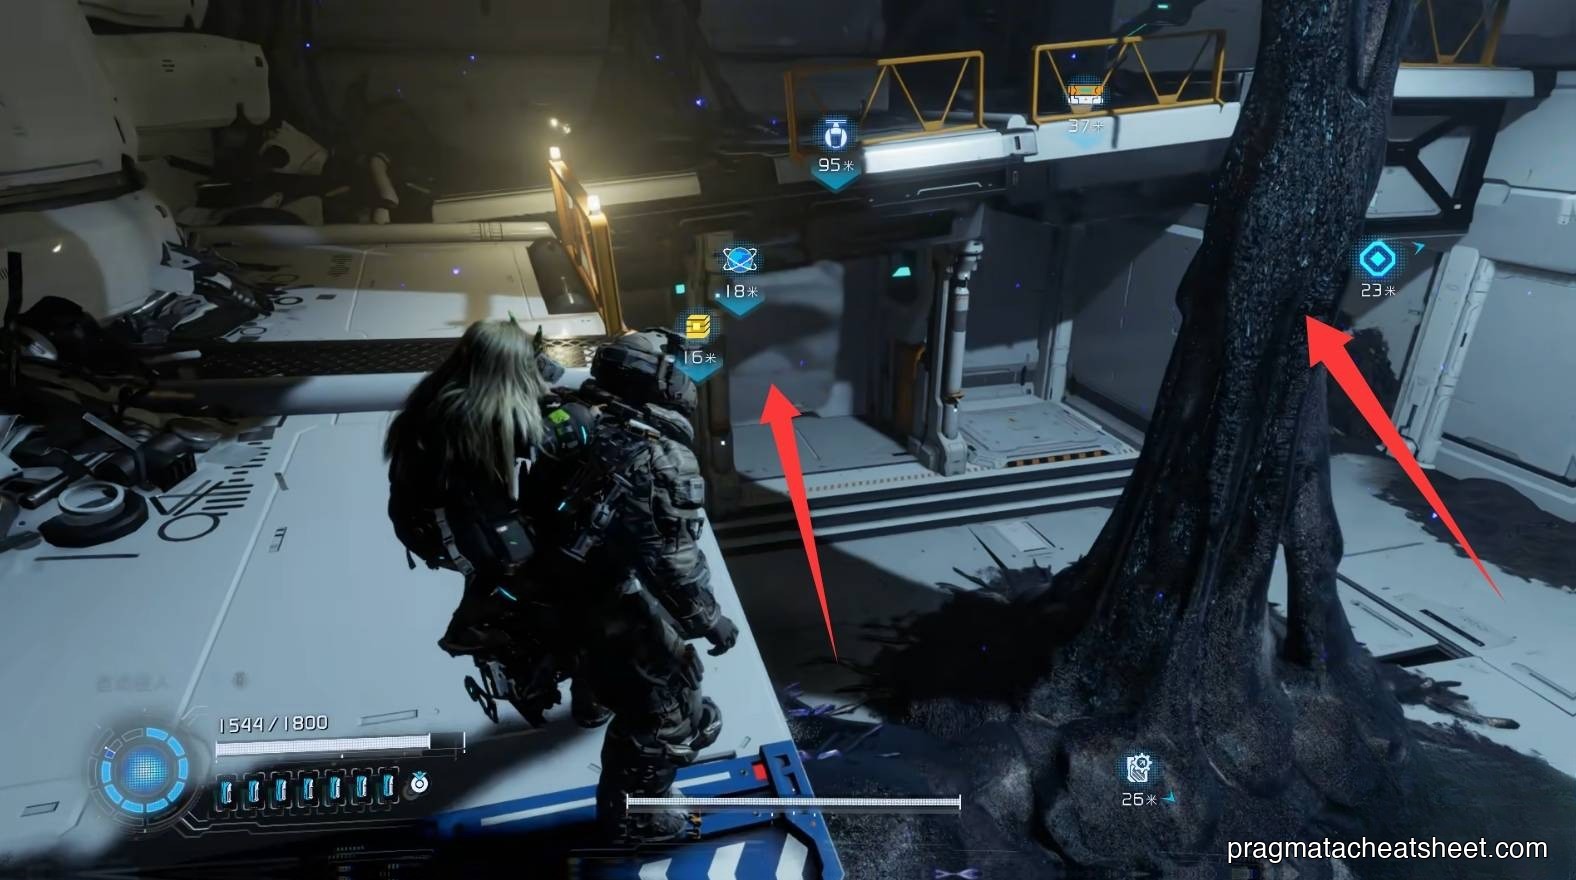
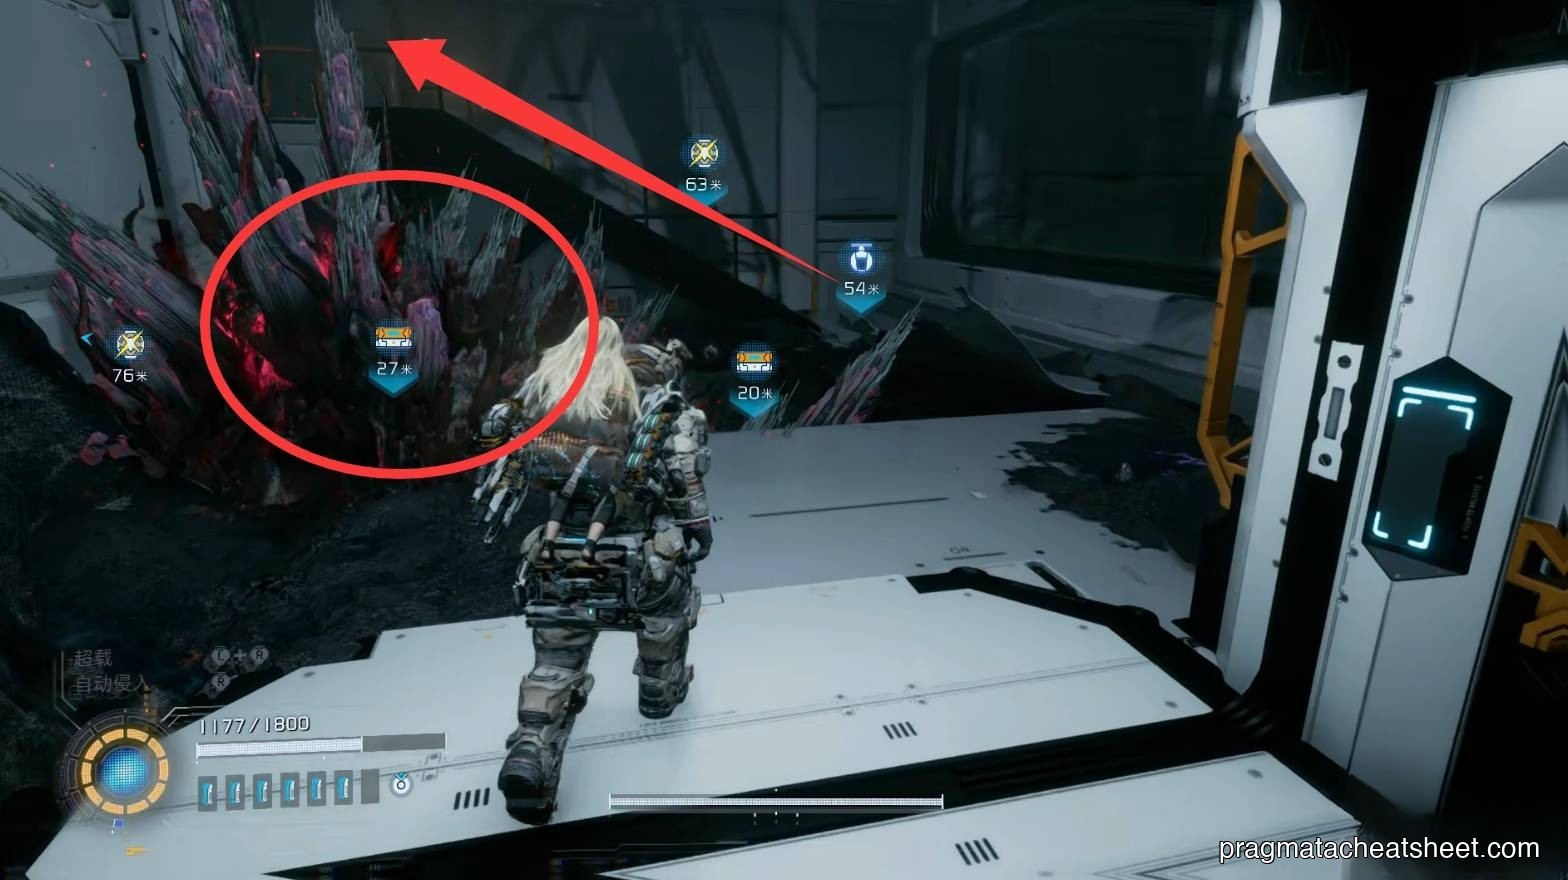
Behind the stair area, Red Zone → Pure Lunum + Storage Expander.
Left route — one lock
Hack a Lim recycler to clear enemies.
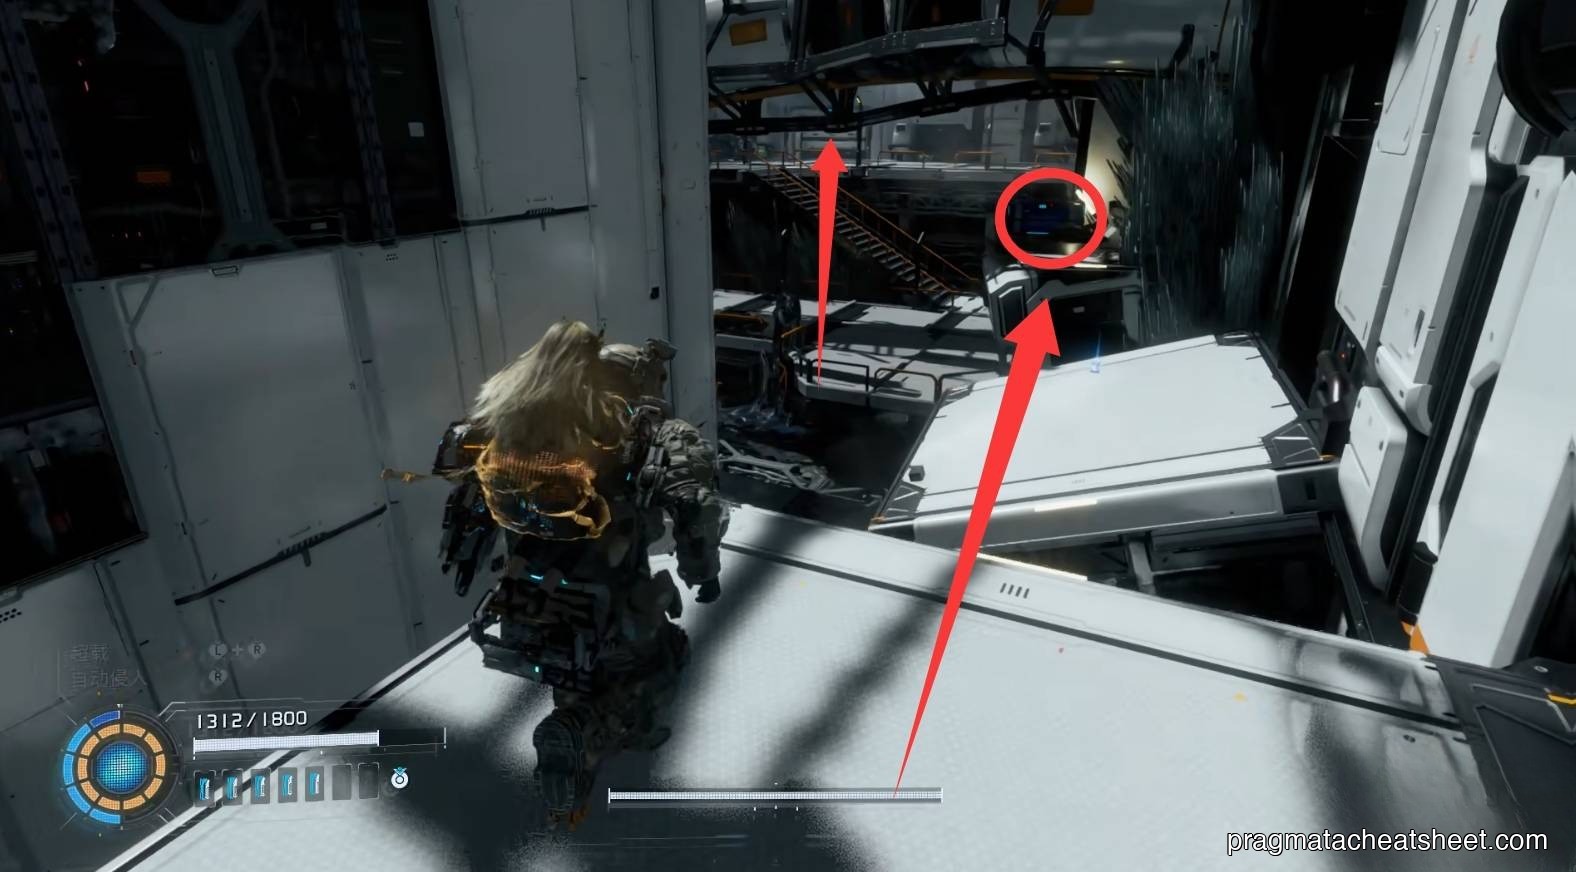
Cutscene, upstairs, pick up an Upgrade Component.
Cleanse the red barrier, drop through a floor hatch → two Safe Boxes. Back up and continue.
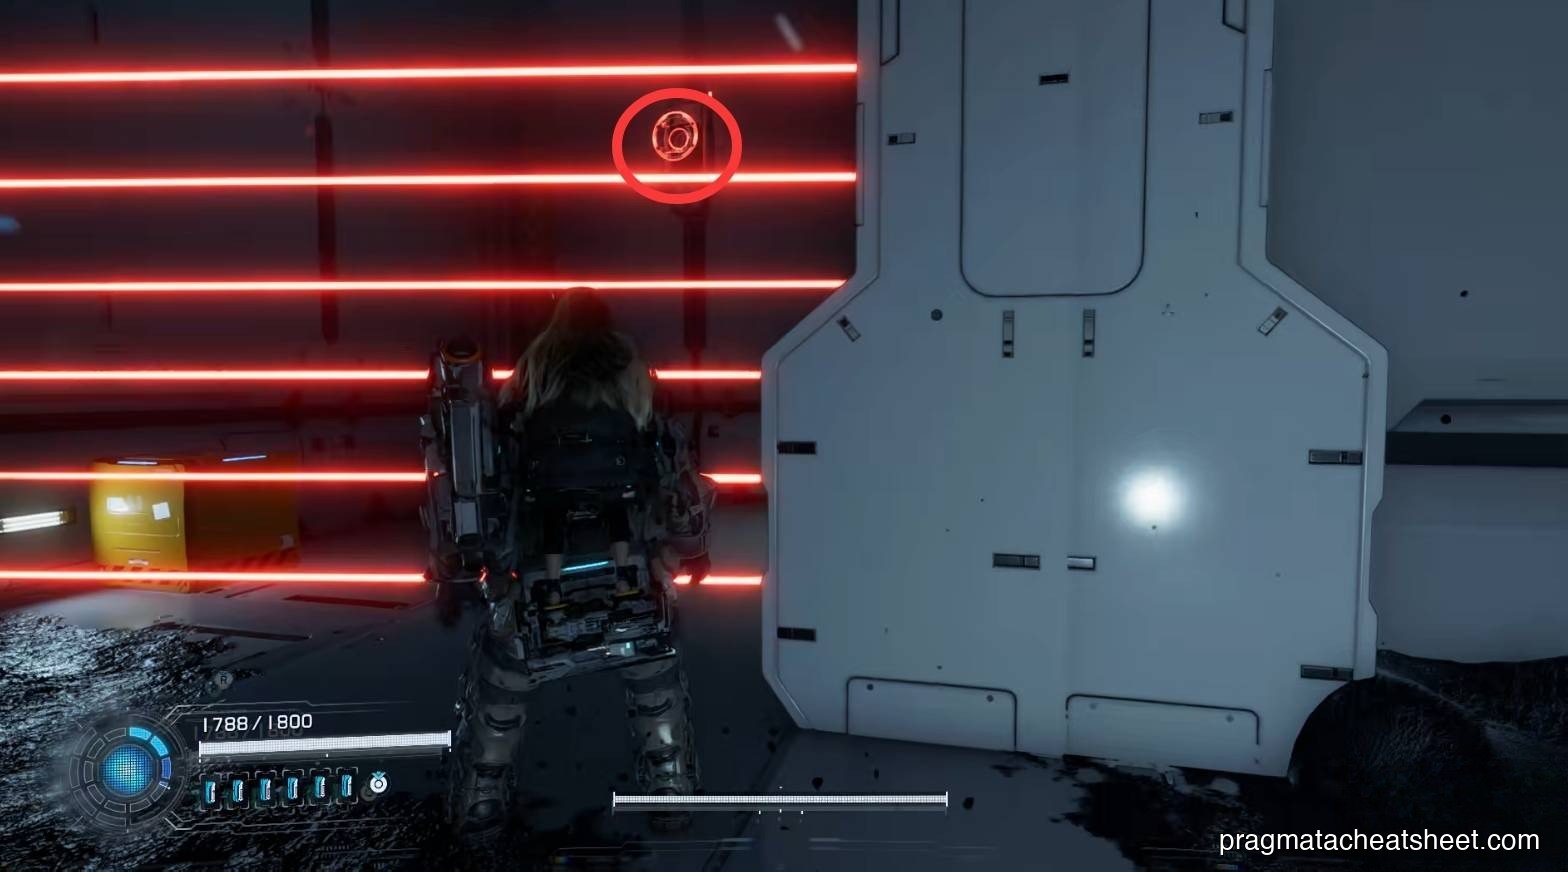
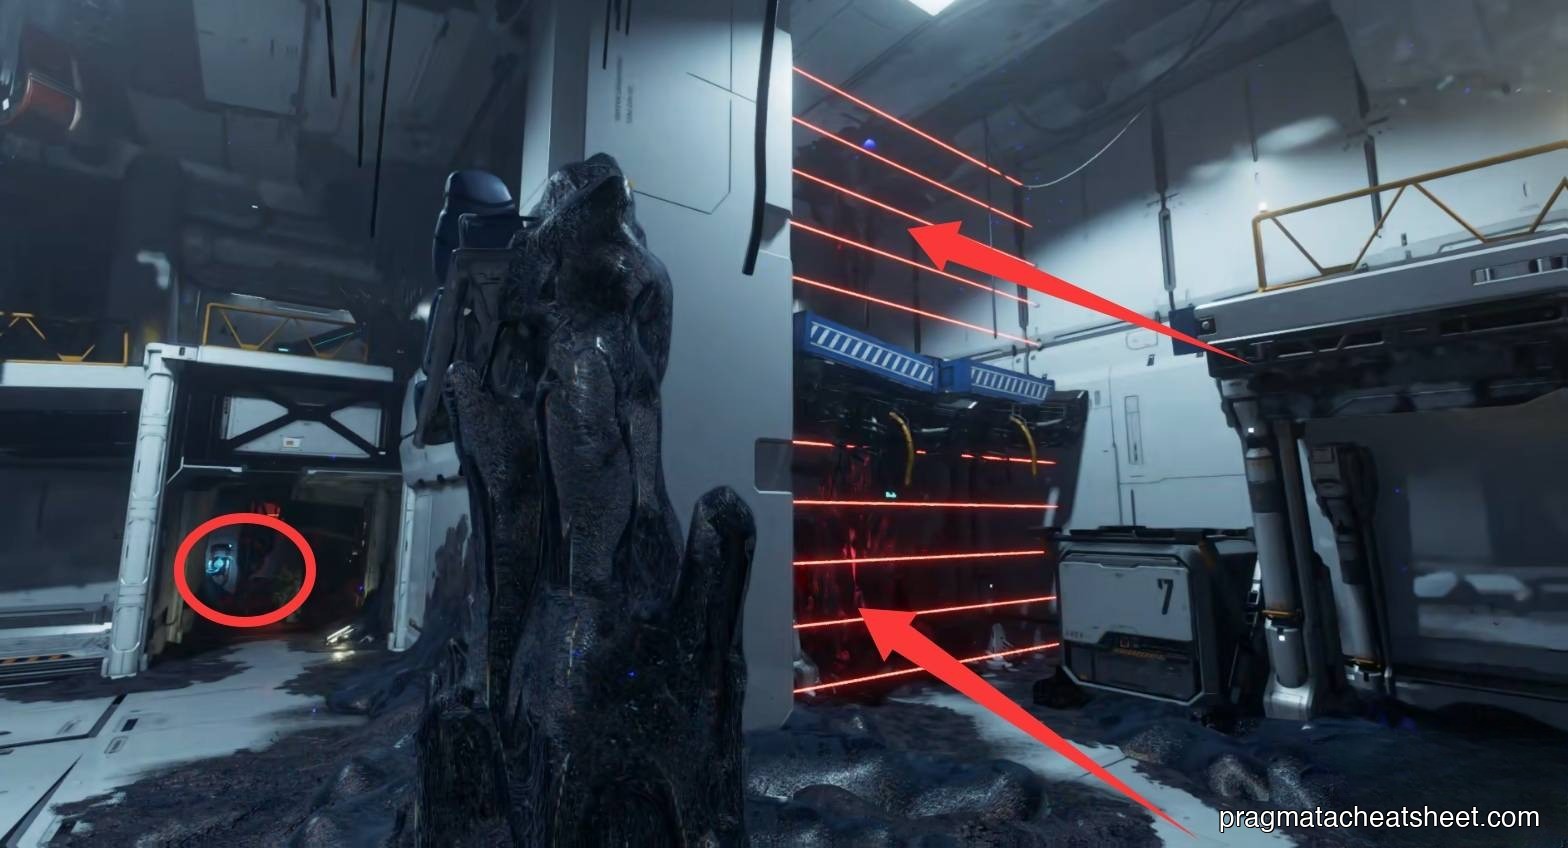
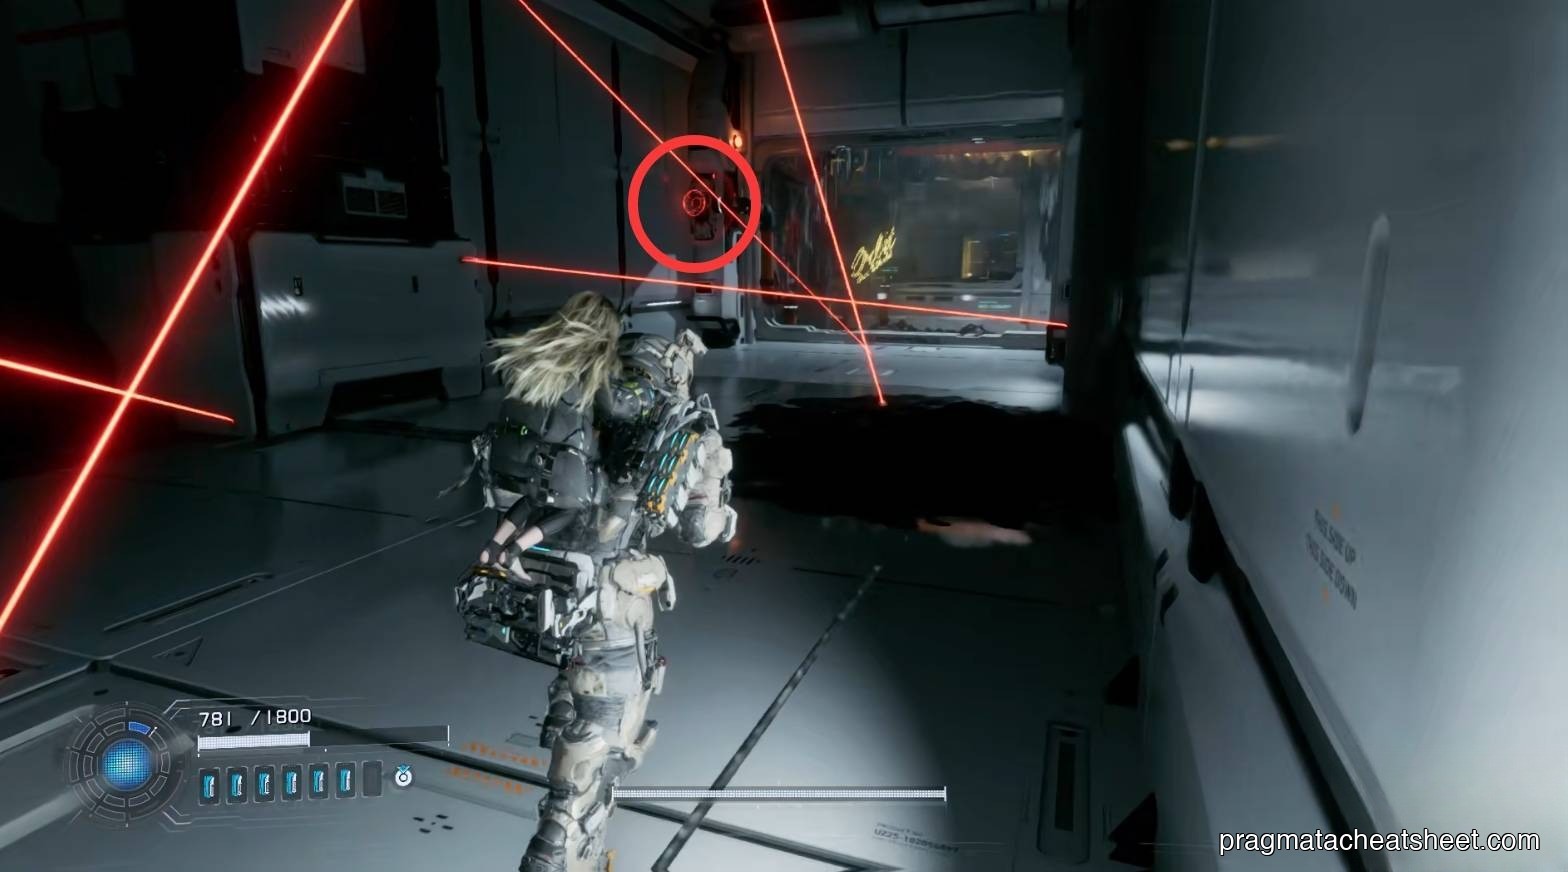
Past another laser, hack the red node → first lock cleared.
Right route — five red nodes for one lock
Back at the Hatch, the opposite door has five locks that all map to five red nodes.
Entry room: clear obstacles, hack one.
Next to the five-lock door, on the ceiling.
Other side wall.
Cleanse → Safe Box. Upper-left high corner has the fifth red node.
All five done → door opens → REM chip.
Upstairs, clear enemies → Pure Lunum. Hack the next red node = second lock.
Small door side: Training Data. Drop down for a shortcut back to the Hatch.
Guard fight & upper rooms
Both locks open → Guard fight.
Post-Guard room: Pure Lunum + Upgrade Component.
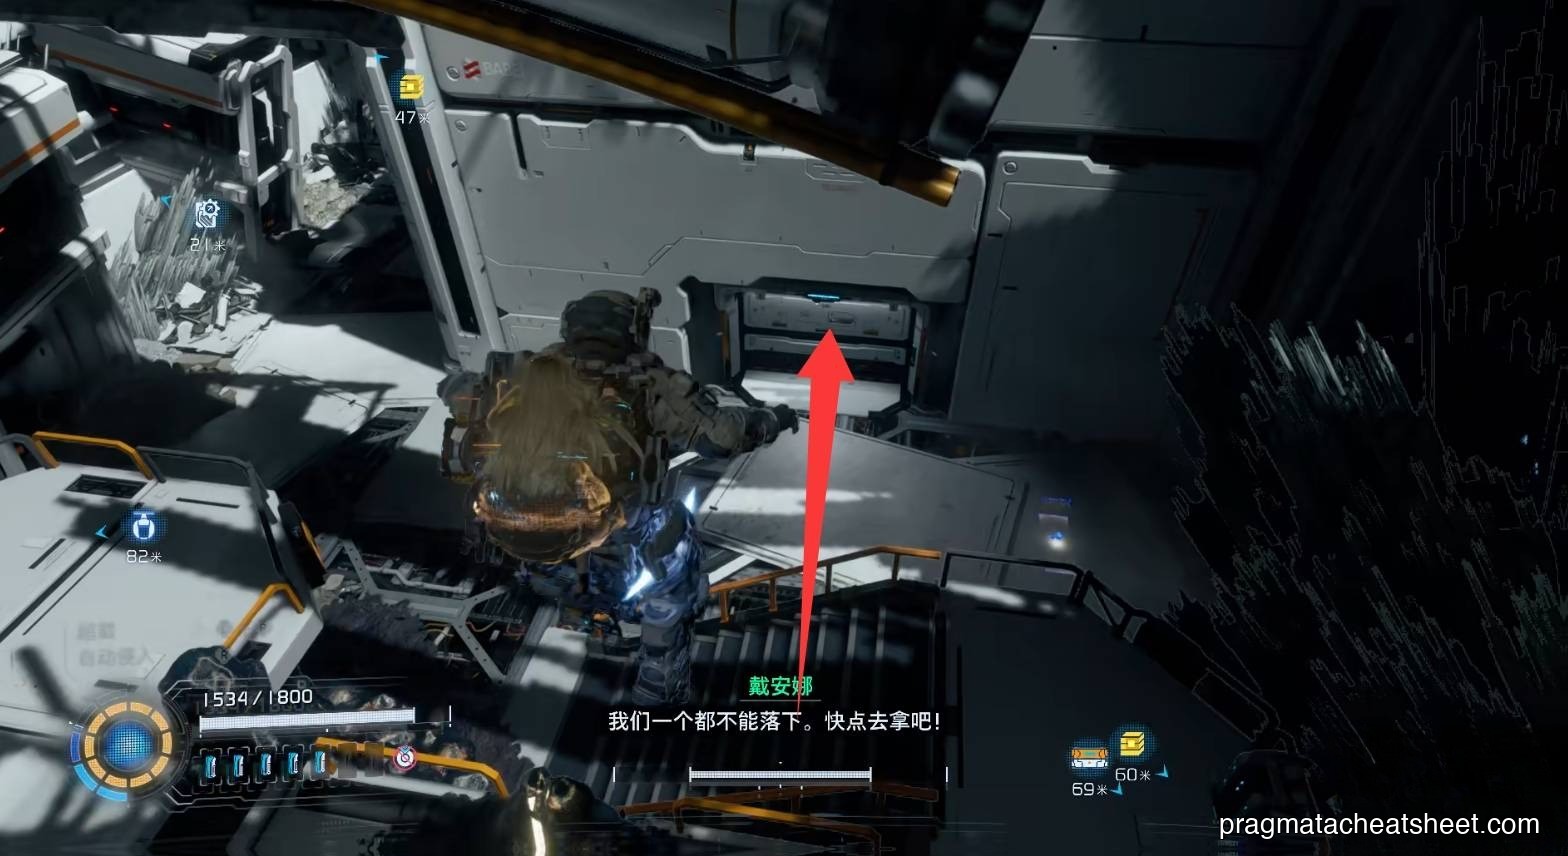
Upper stair: Doctor cutscene to the left → interior Upgrade Component. Back and up, Doctor and Eight cutscene.
Both sides after the scene → Safe Box + Upgrade Component.
Items in this area
- Safe Box × 4
- Pure Lunum × 3
- Storage Expander × 1
- REM chip × 1
- Training Data × 1
05 — Space Elevator
Hatch leads down — save it, sweep the right side first: Safe Box. Stairs down: Upgrade Component.
At the bottom of the stairs, peek to the side for a Mini Cabin.

Drop, Cleanse multiple red barriers. A corner hidden wall has Upgrade Component + two Safe Boxes — hack the red node from inside to exit.
Keep climbing.

Upstairs clear first, then lower door.
Hack light waves, clear enemies, jump across for Upgrade Component + Mod.
Drop back, take the other stair up.
Upstairs: Upgrade Component + Safe Box.
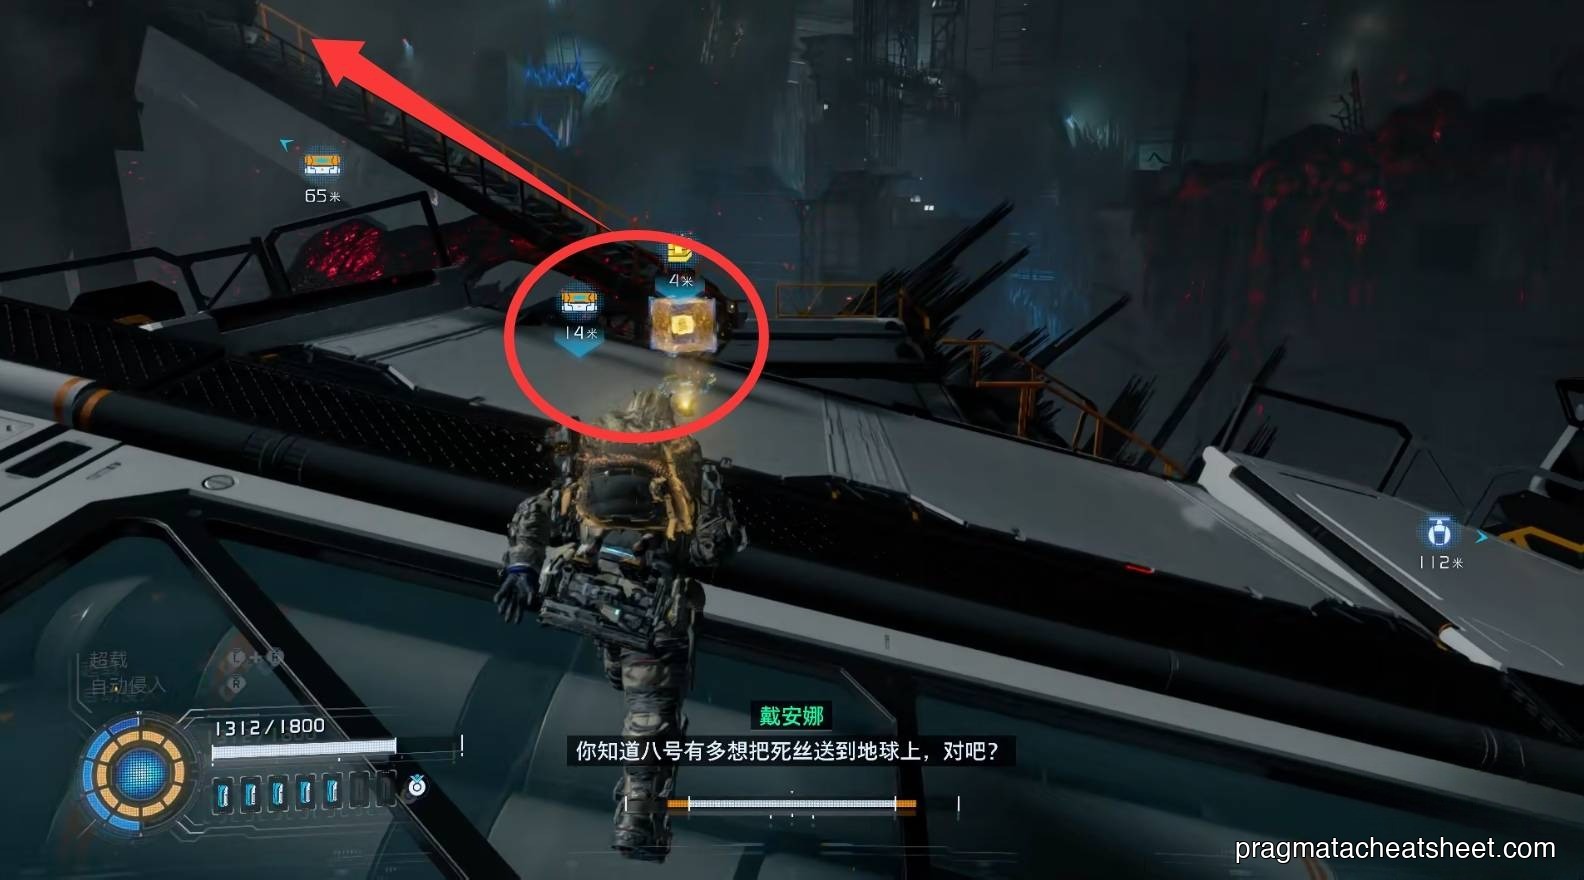
Continue up → another Safe Box and the final Escape Hatch before the boss.

Items in this area
- Safe Box × 5
- Mod × 1
- Mini Cabin × 1
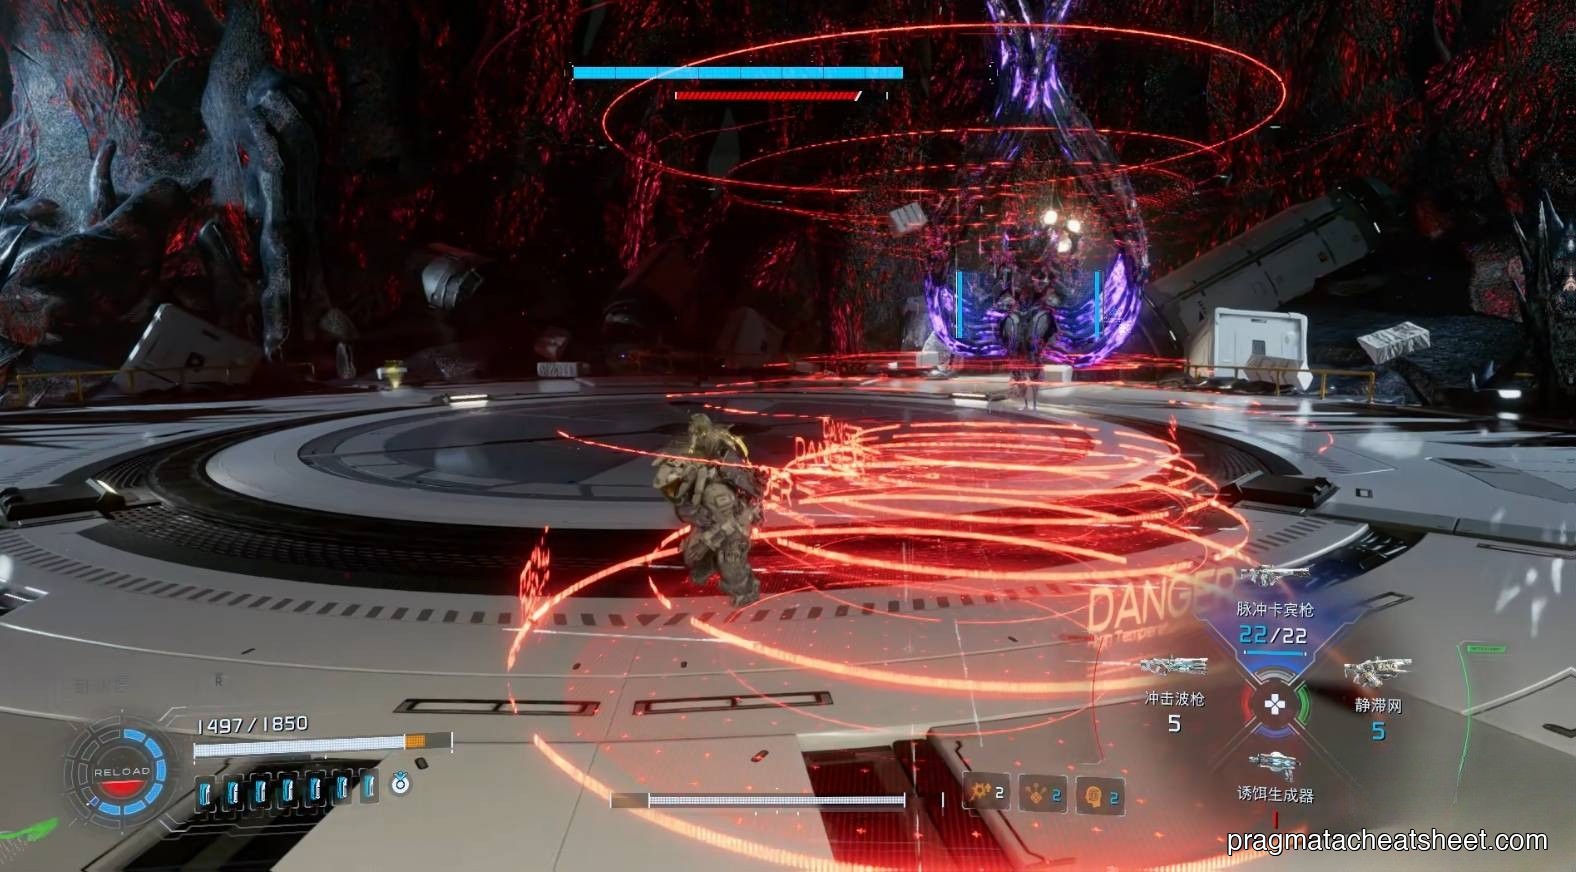
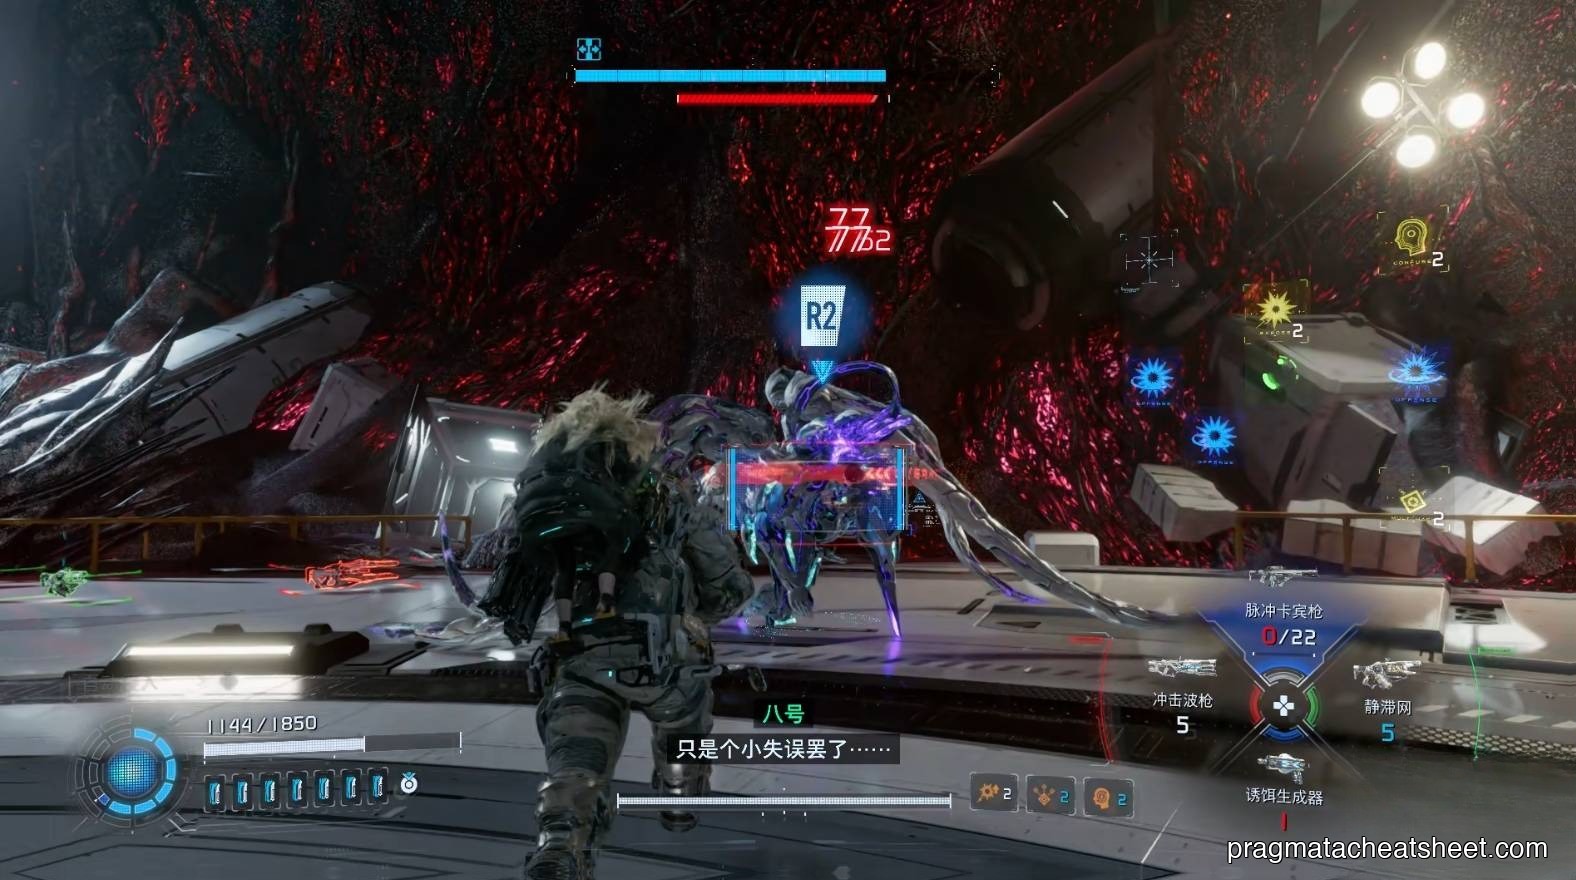
BOSS · Final Boss
Top up Overdrive first.
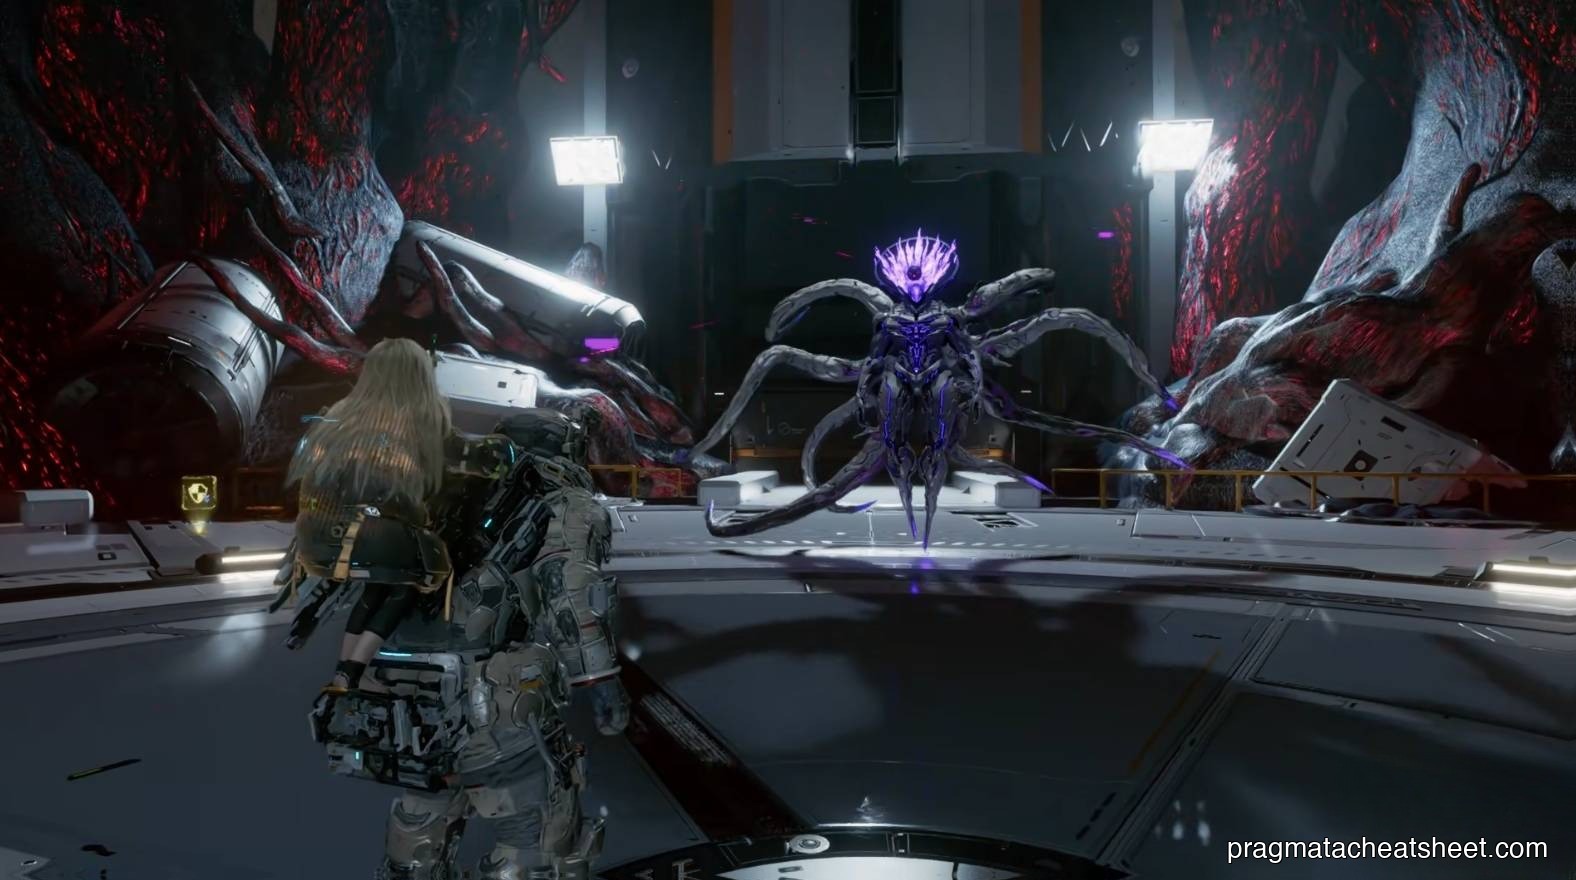
Patterns
Red circular AoE telegraph → dash out of the radius.
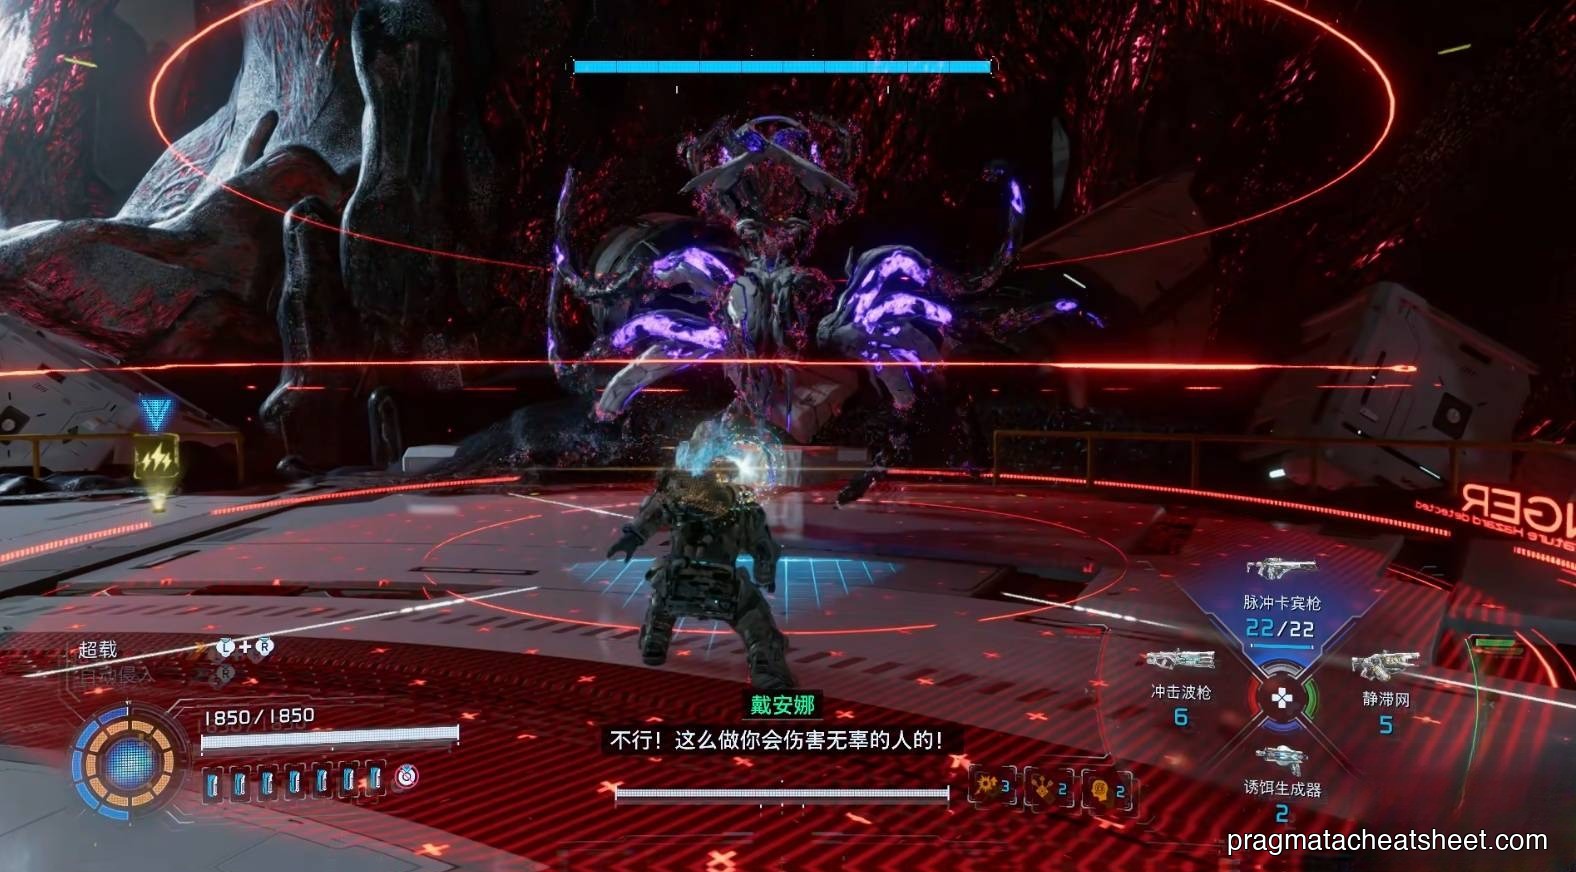
Line attack → side-dodge.
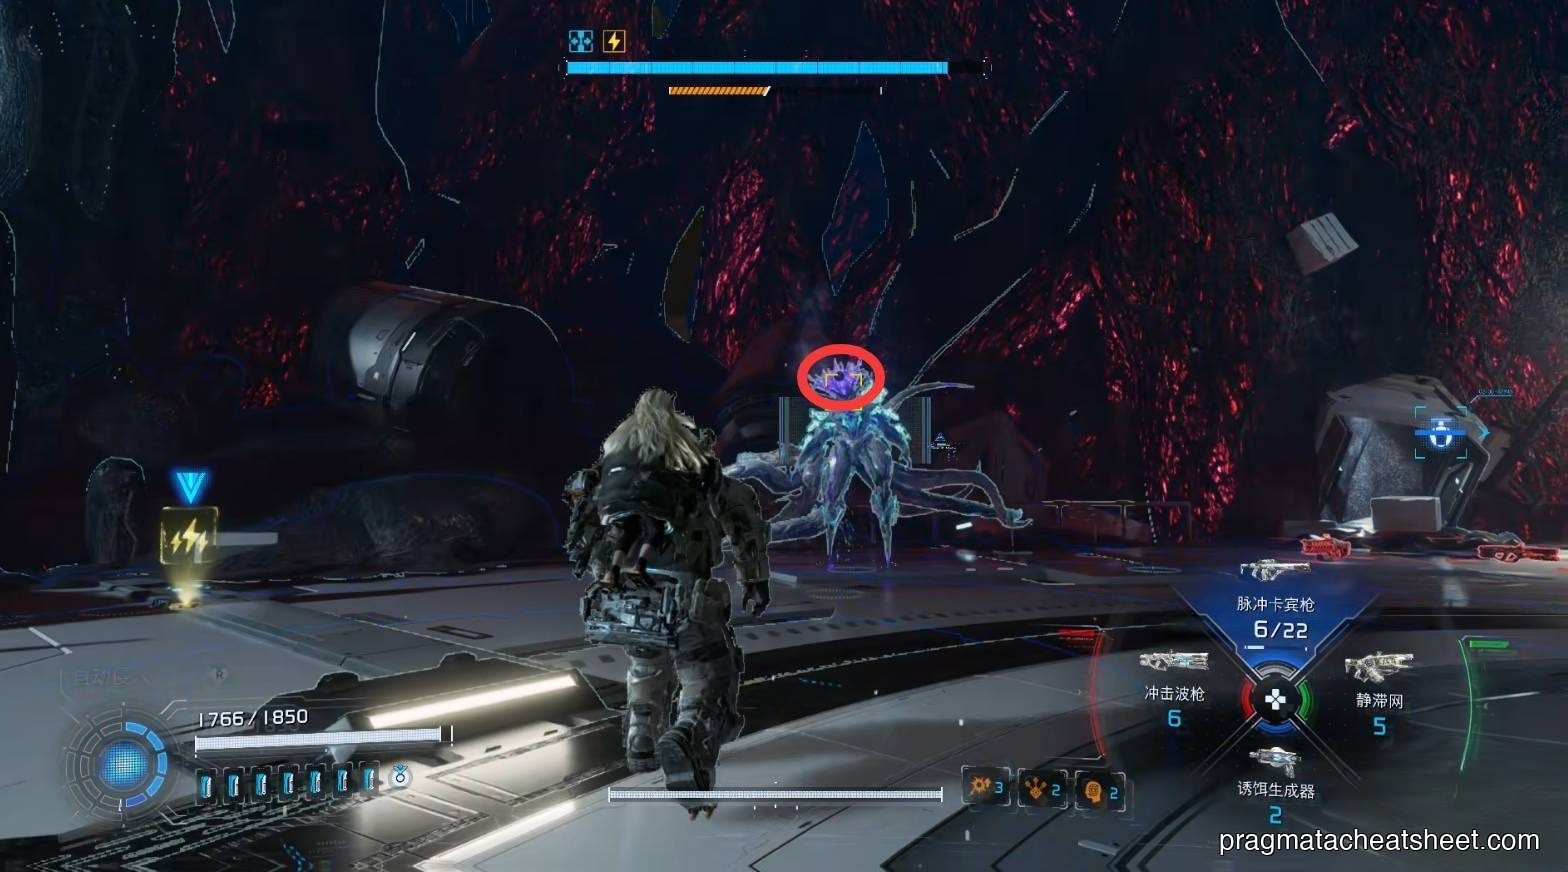
Stasis Net pins it for Cleanse, hack, and shot chains.

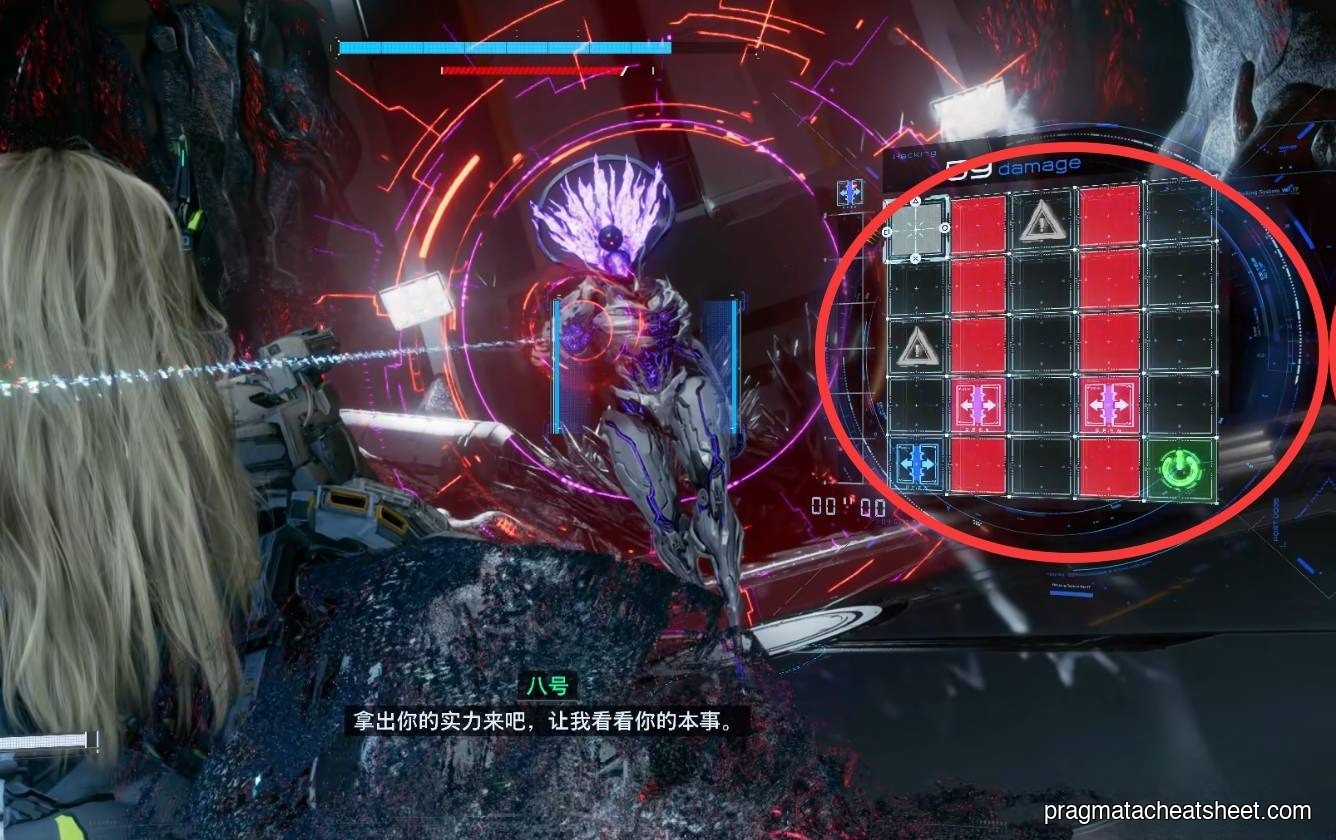
Hack → weak point is the head.
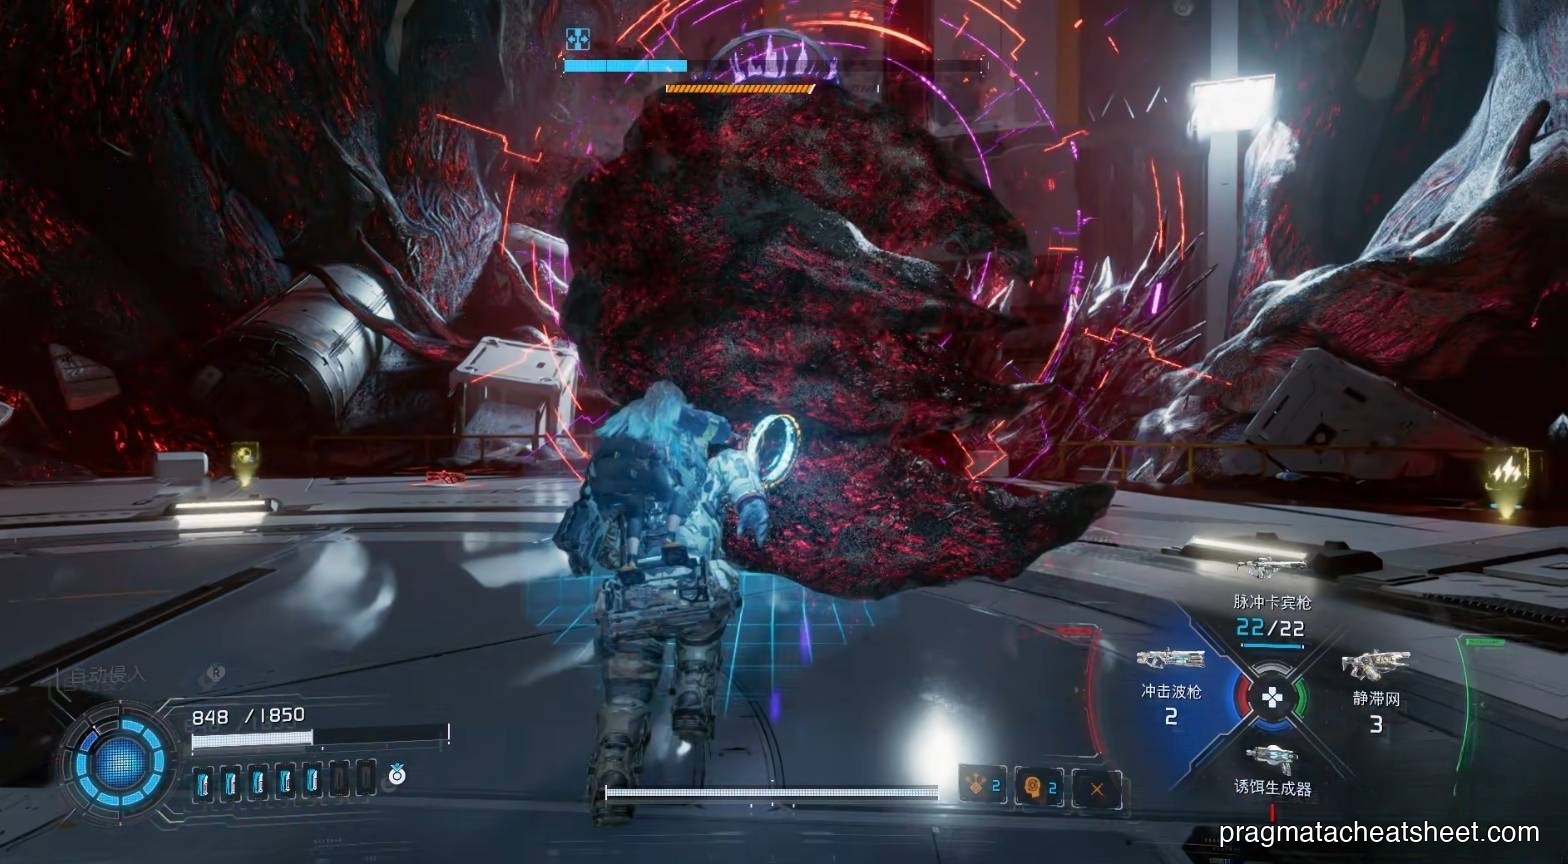
Grid with red zones
The hack grid itself changes. Red zones appear and vanish on the grid — wait for gaps, then route through them without touching red.
Stagger → execute.
Dead-filament defense
When it wraps itself in dead filament, Cleanse breaks the shell.
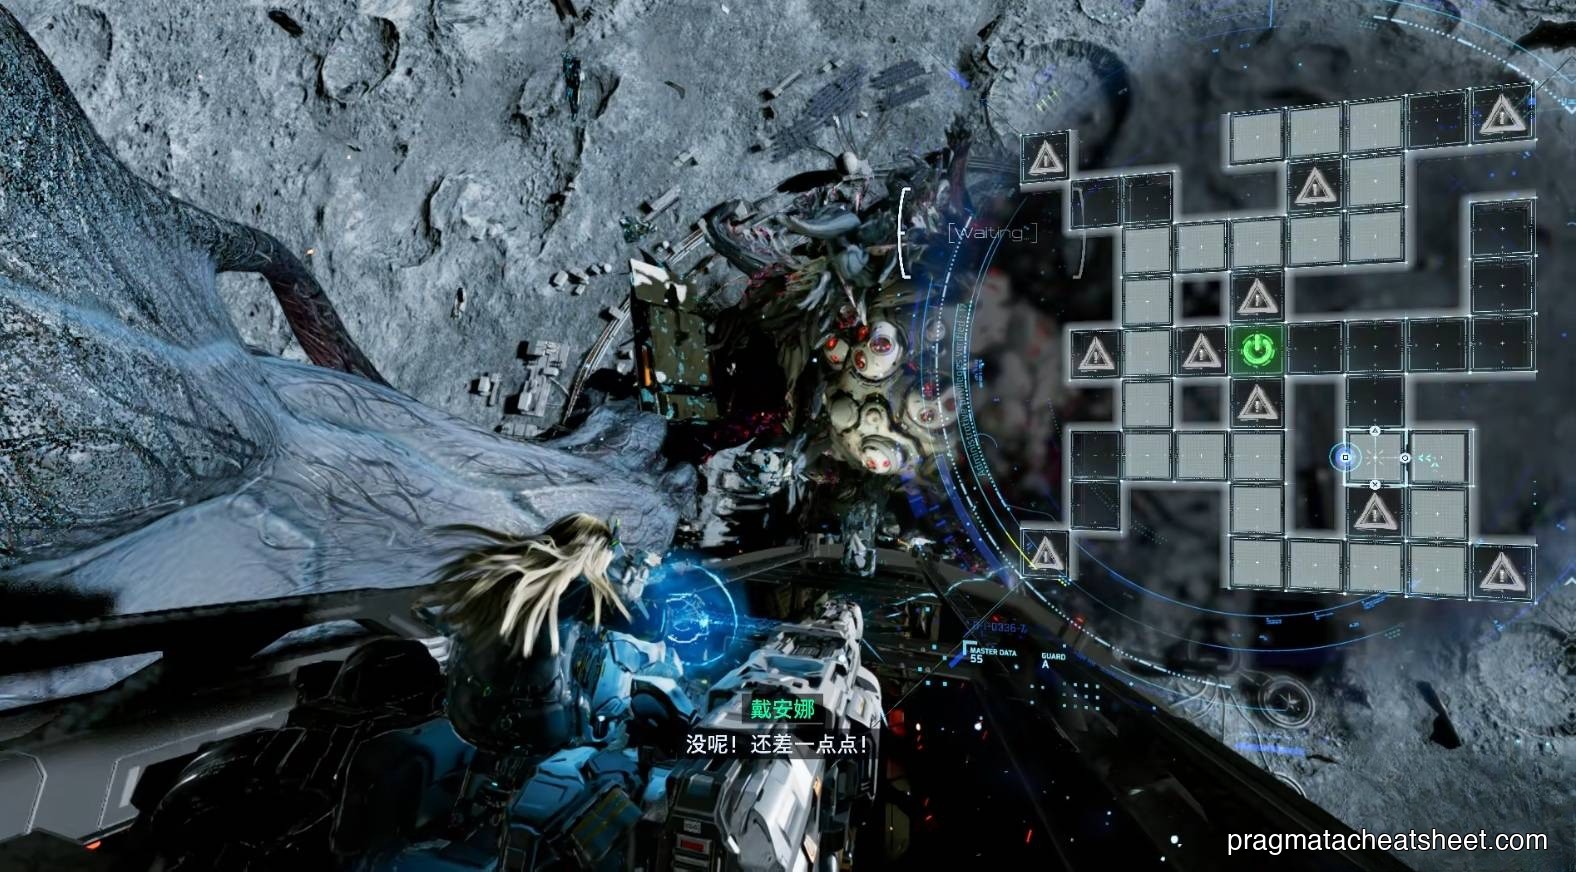
Chase phase
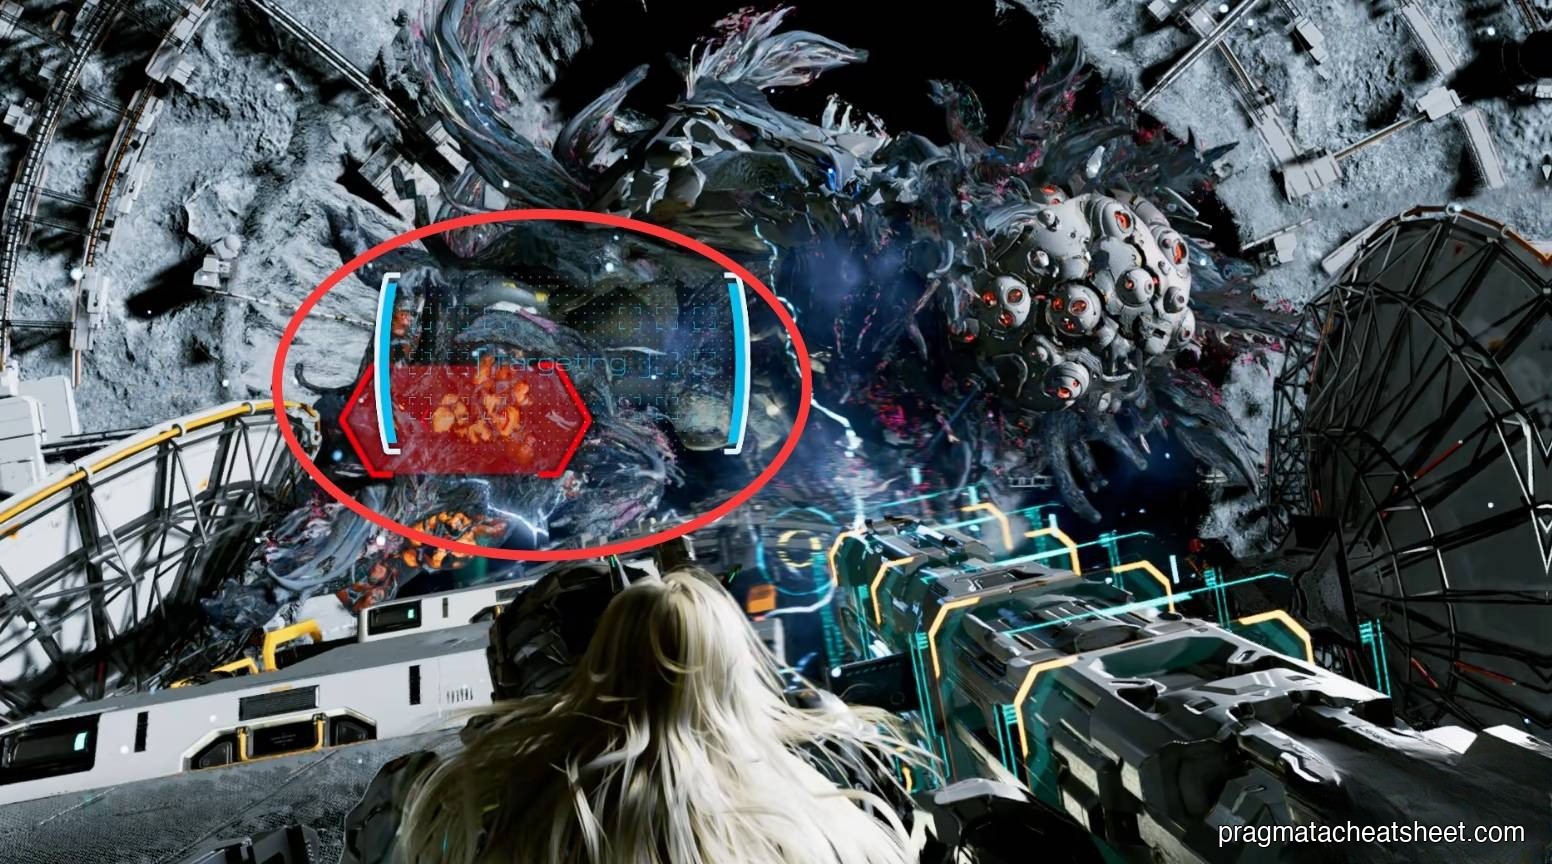
Final sequence: a creature chases you. Use grid-hacks to slow it.
Aim-down-sights onto the red marker — prompt appears, shoot.
Tips
- Cleanse mid-rotation, not on reaction — the cooldown is long
- Stasis Net before every hack attempt, especially during the grid-red-zone phase
- Use Overdrive during the chase phase to buy extra shot windows
Postgame · Unknown Signal & Hidden Ending
Credits roll. A final scene shows Diana at a beach.
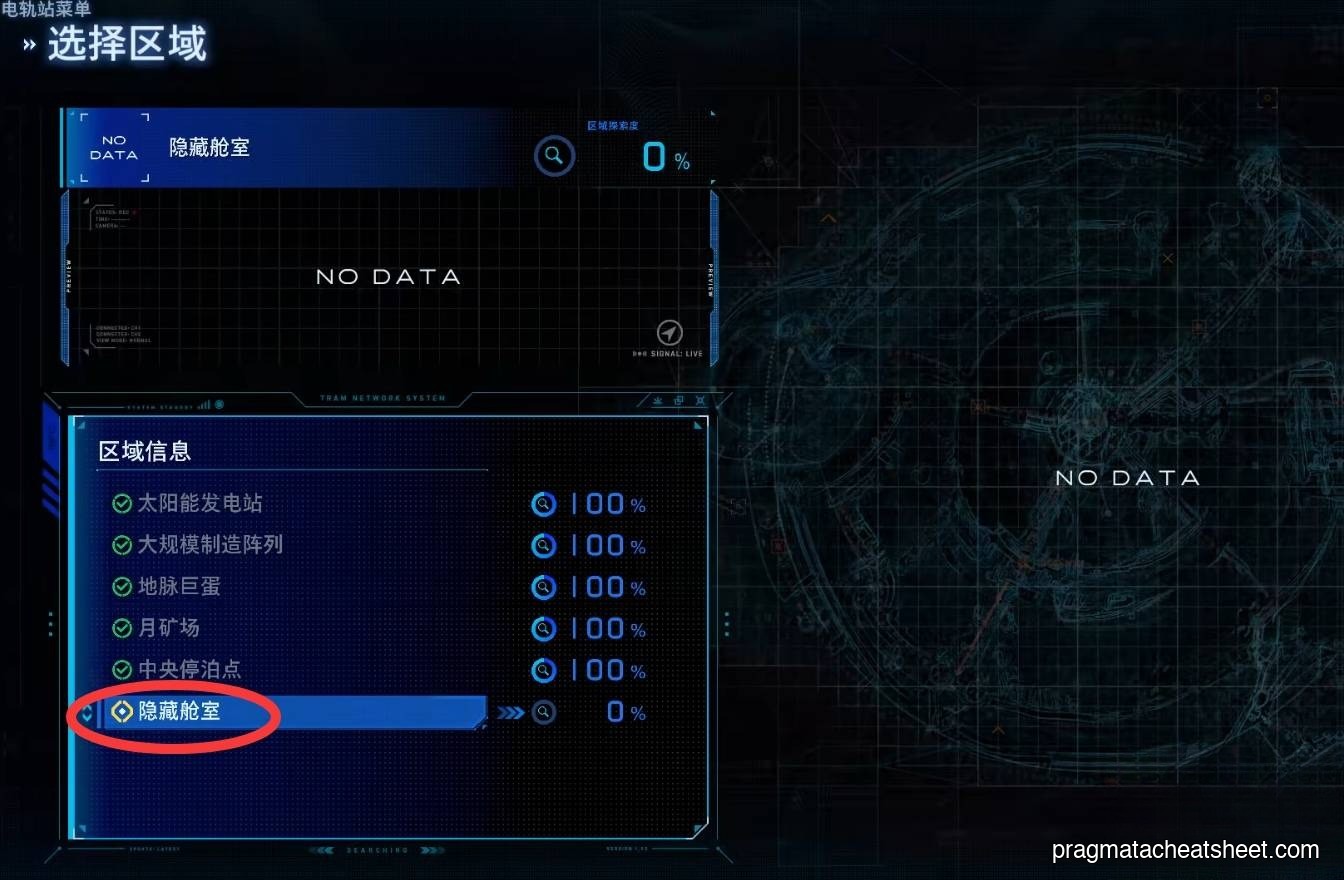
Reload the cleared save to enter Unknown Signal mode. Warp to a hidden chamber to meet the Big Cabin. Complete every simulator mission inside to open a back room for:
- Jackhammer weapon
- New outfit
- Black Box Mod
Equip the Black Box Mod and defeat the Final Boss again for a new ending cutscene — Cabin welcomes Hugh back, revealing Hugh survived.
Next
→ Back to Shelter for final cleanup and platinum work.