The Shelter is your home base on the Moon. It's where the prologue teaches you how to shoot, how Diana hacks, and where the whole game loops back to — between Sectors you'll return here to spend Cabin Coins, hand REM chips to Diana, and unlock new upgrades. This page covers the opening tutorial, the Cabin Stamp Club mini-game, and the mid-game "return to Shelter" beats (after Sector 2 and after unlocking Cleanse).
Route Overview
Three visits matter most: the prologue (learn the basics and warp to Sector 1), the post-Sector 1 stop (Cabin Stamp Club unlocks, grab your first Red Gate Key), and the post-Sector 2 stop (Object Scan unlocks — time to backtrack through Sector 2 for everything you previously skipped).
01 — Prologue: Meeting Diana

The prologue is pure tutorial. Practice the boost jump, follow your squadmate up to the next level, and trigger the opening cutscene. After the cinematic, Diana attaches to your back — this is the hacking system the entire game is built around.
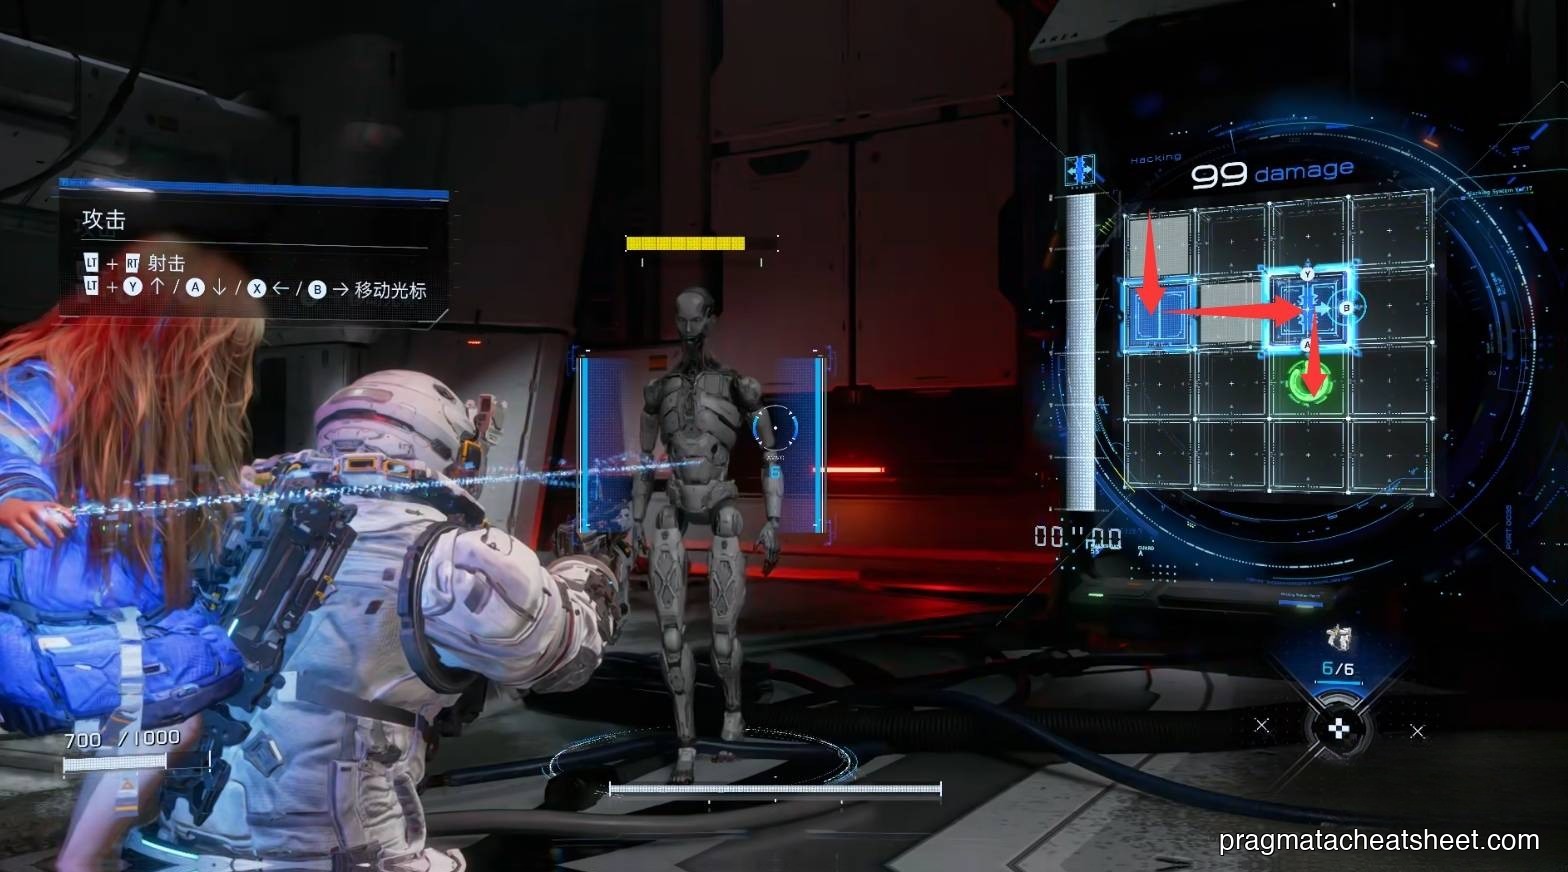
Your default weapon auto-refills its ammo. Shots alone won't break enemy armor; you need Diana's hack to open them up.

When you aim down sights, a grid appears over the enemy. Move the cursor from the entry node to a green execution node to complete the hack. A hacked enemy briefly enters a stunned state with dropped defense — that's your window to shoot.
Along the path, connect as many blue nodes as possible before reaching the green one. Blue nodes extend the hack duration and amplify damage.
Mechanics introduced here
- Basic Hack · connect entry → green node to stun an enemy
- Boost Jump · double-jump / air-dash to cross gaps
- Repair Canister (health pack) · behind the first locked red panel
- Evasion · dodge through enemy shots, then hack
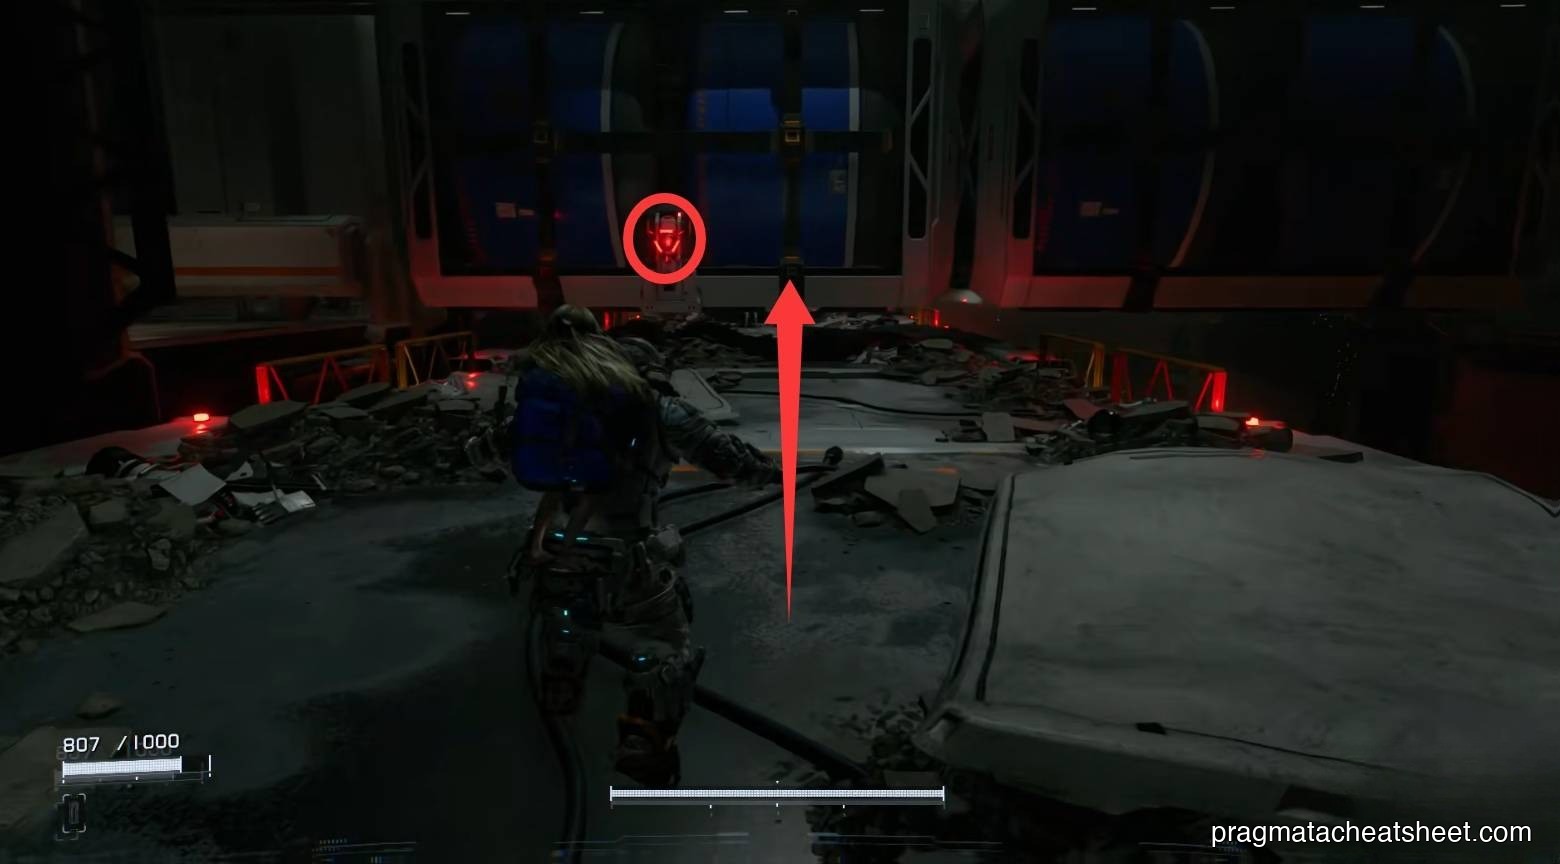
Hack the red panel by the door to open it, grab the first Repair Canister, then practice dodging through the next combat encounter. Hack the second red panel to slide the train blocking the hallway.
02 — First Trip to the Shelter
The tram drops you at the Shelter. This is your permanent upgrade hub — every time you come back, check in with Diana first. She has situational dialogue after nearly every major beat, and talking to her is how REM chips get "gifted."
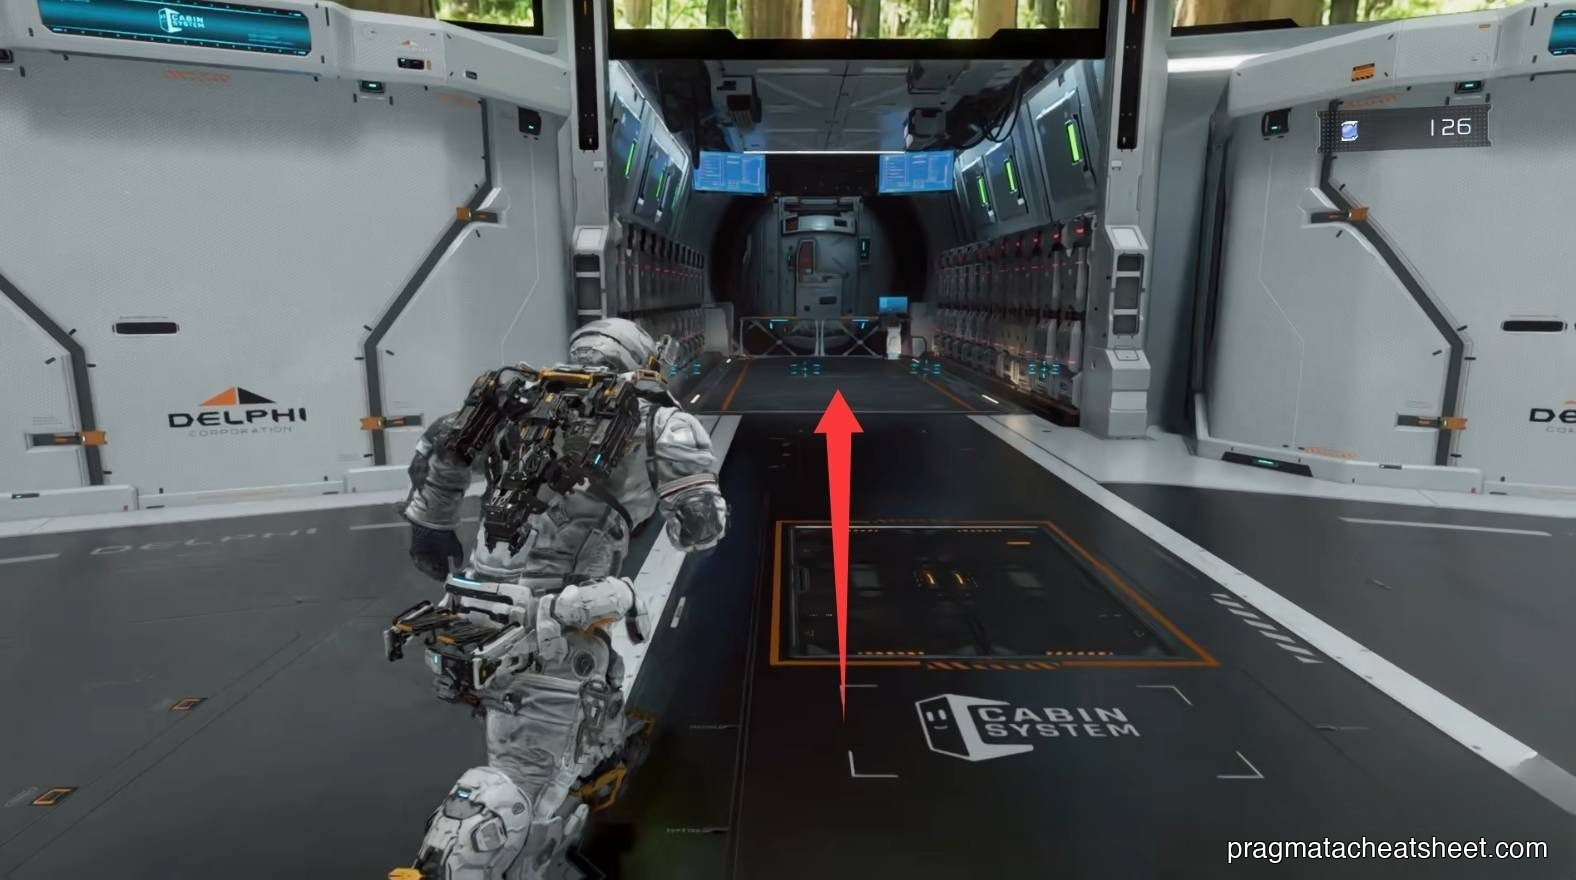
Open the Tram Terminal menu and warp to Solar Power Plant to begin Sector 1.
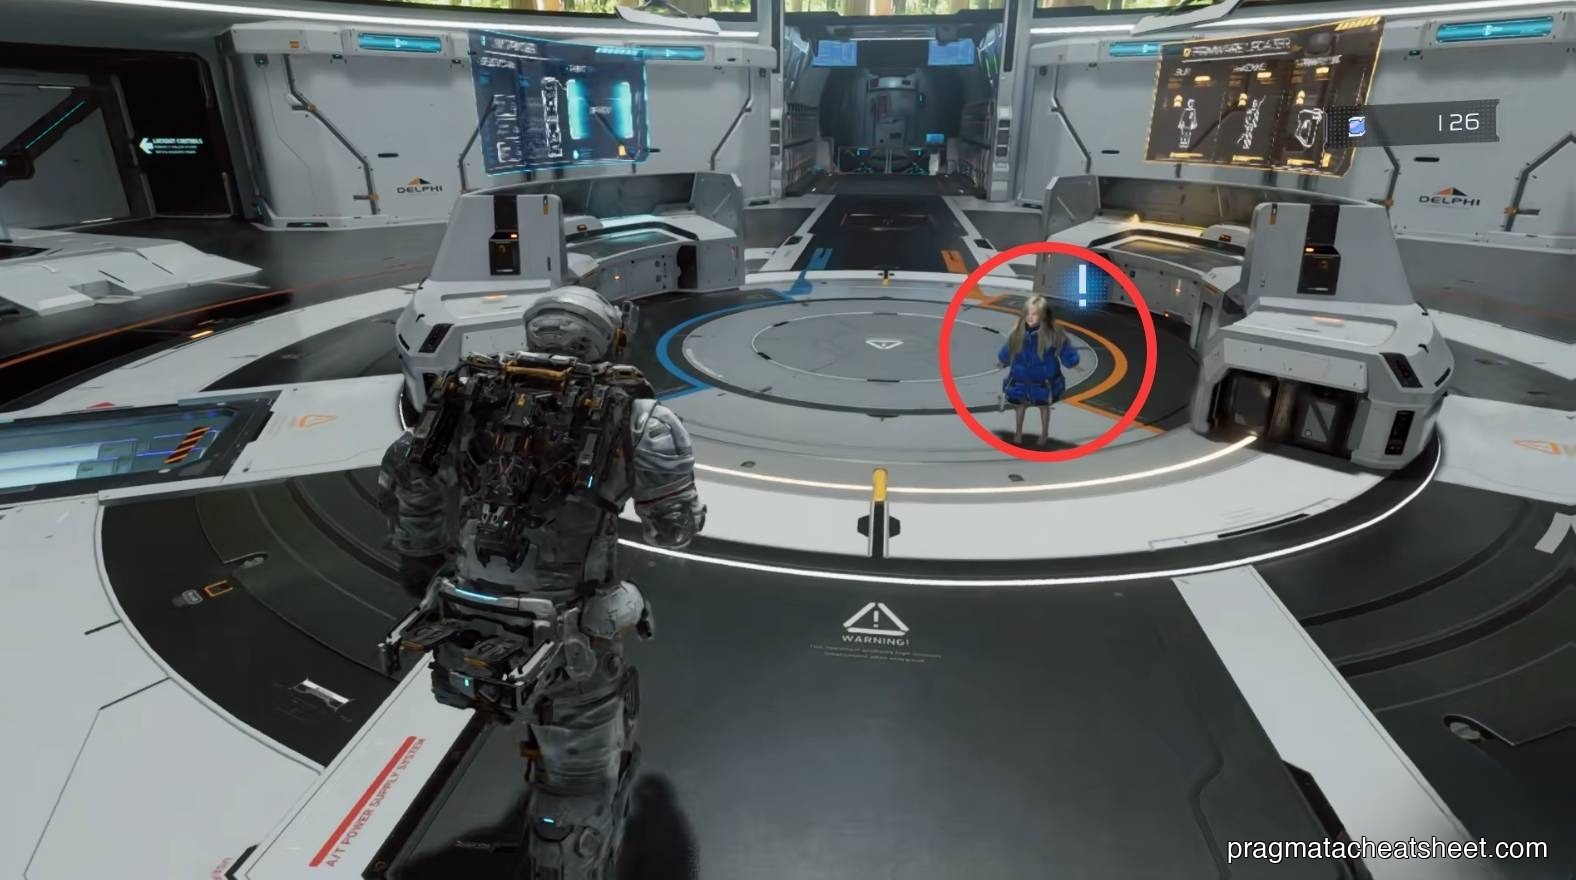
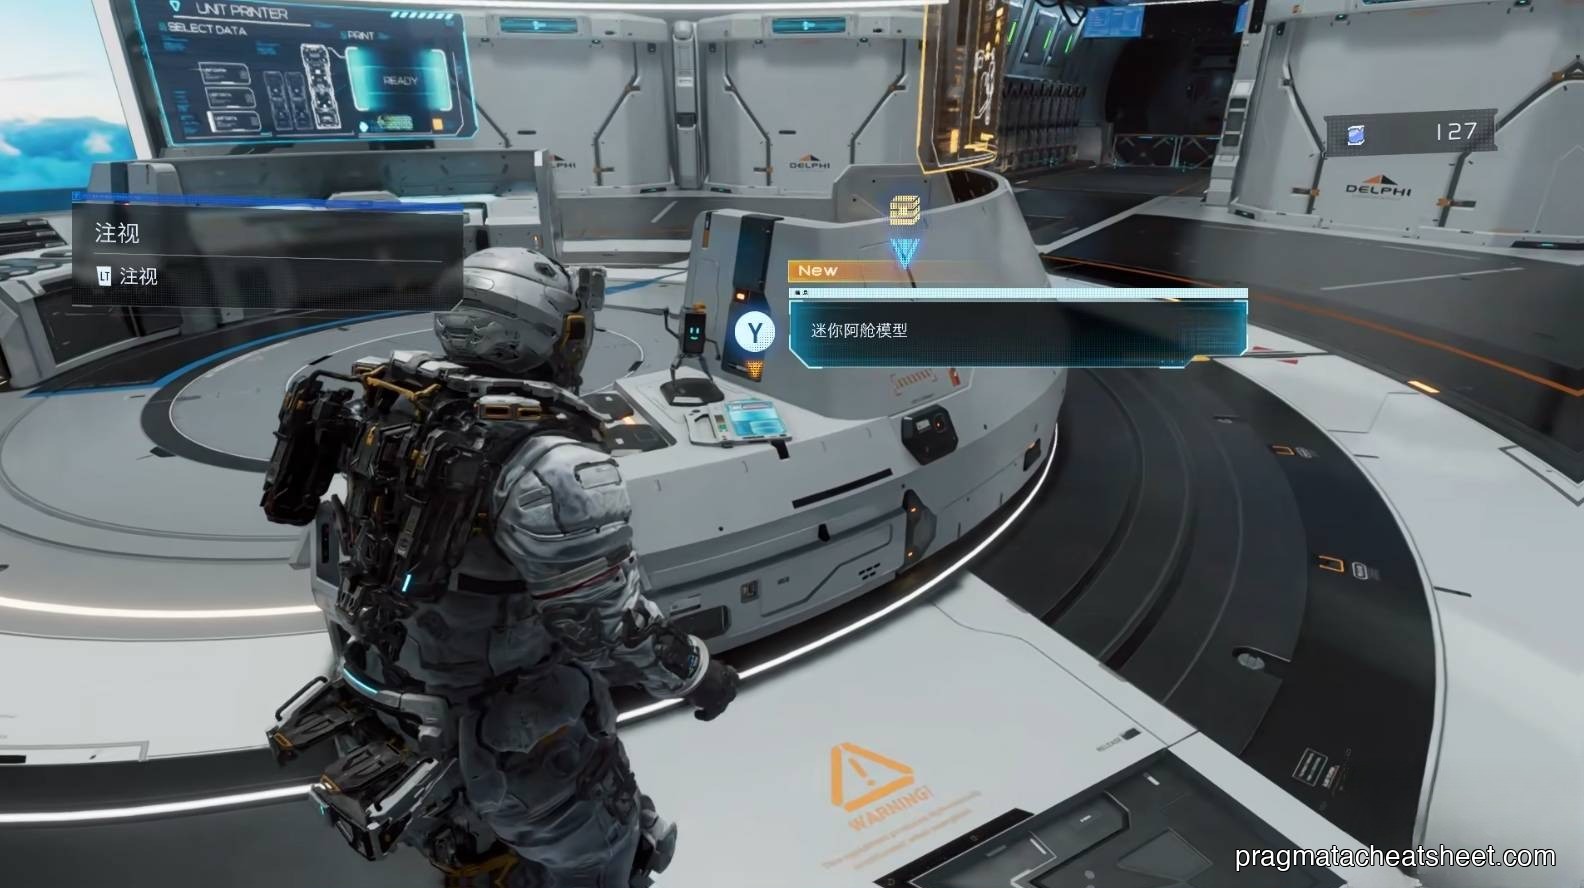
Tip: look at the display pedestal
A Field Document on the pedestal introduces the Mini Cabin collectibles. Each one you shoot during exploration will appear on this shelf — a running tally of how many you've found.
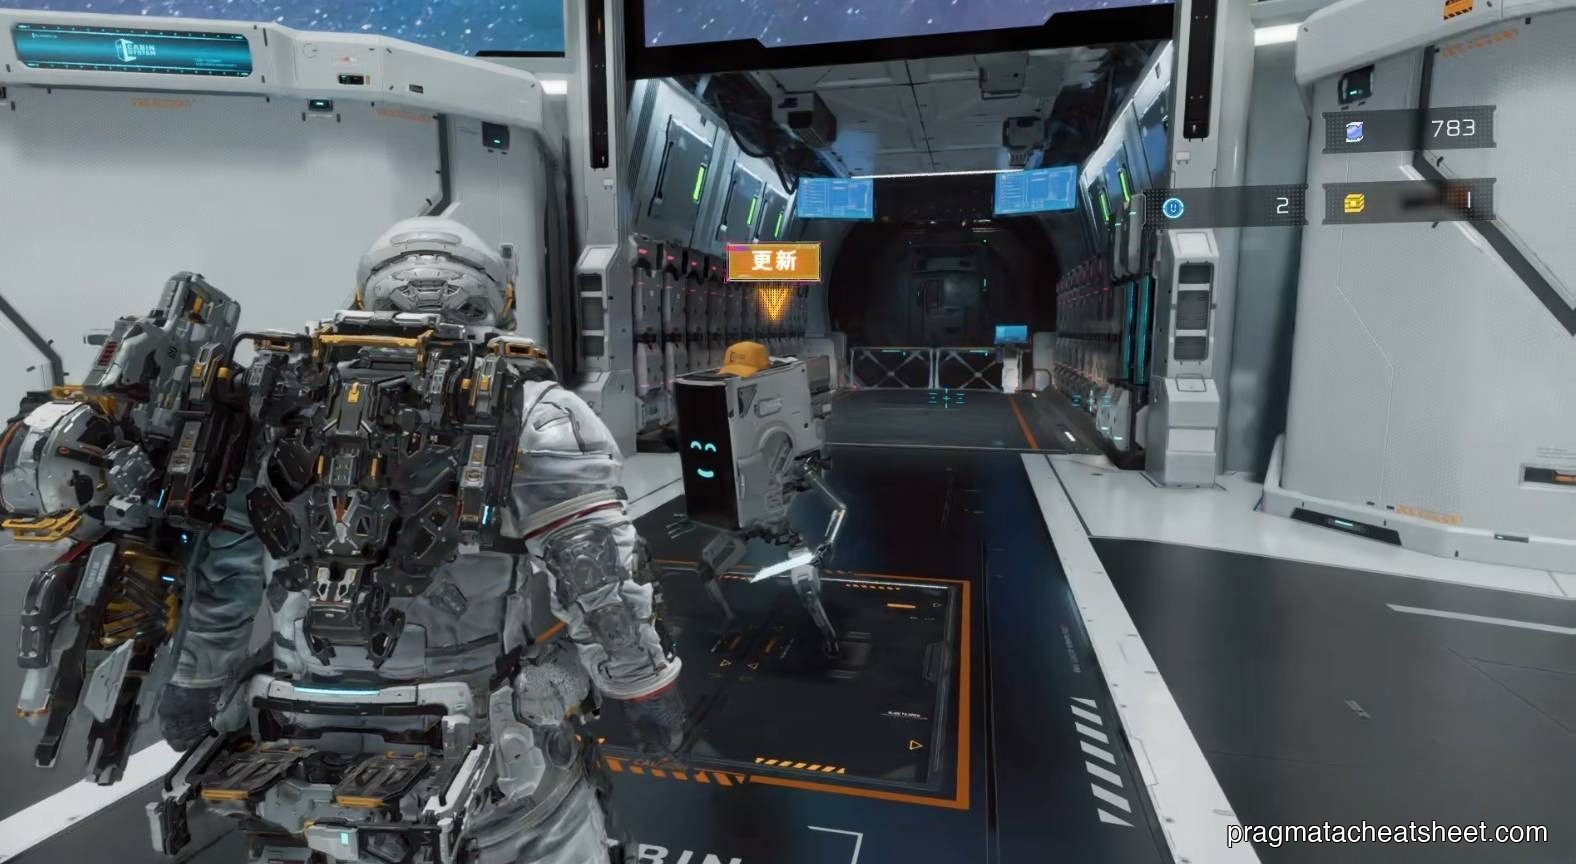
03 — After Sector 1: Cabin Stamp Club
Once you warp back from Solar Power Plant — ideally after clearing the Sector Guard — talk to Cabin to unlock the Cabin Stamp Club. It's a bingo board where Cabin Coins (earned from cleanse sweeps and training) buy rewards.
Completing one line gives a bonus; three lines, or a full clear, give even better ones. Red-locked tiles on the board require a Red Gate Key used inside a Sector's Red Zone.
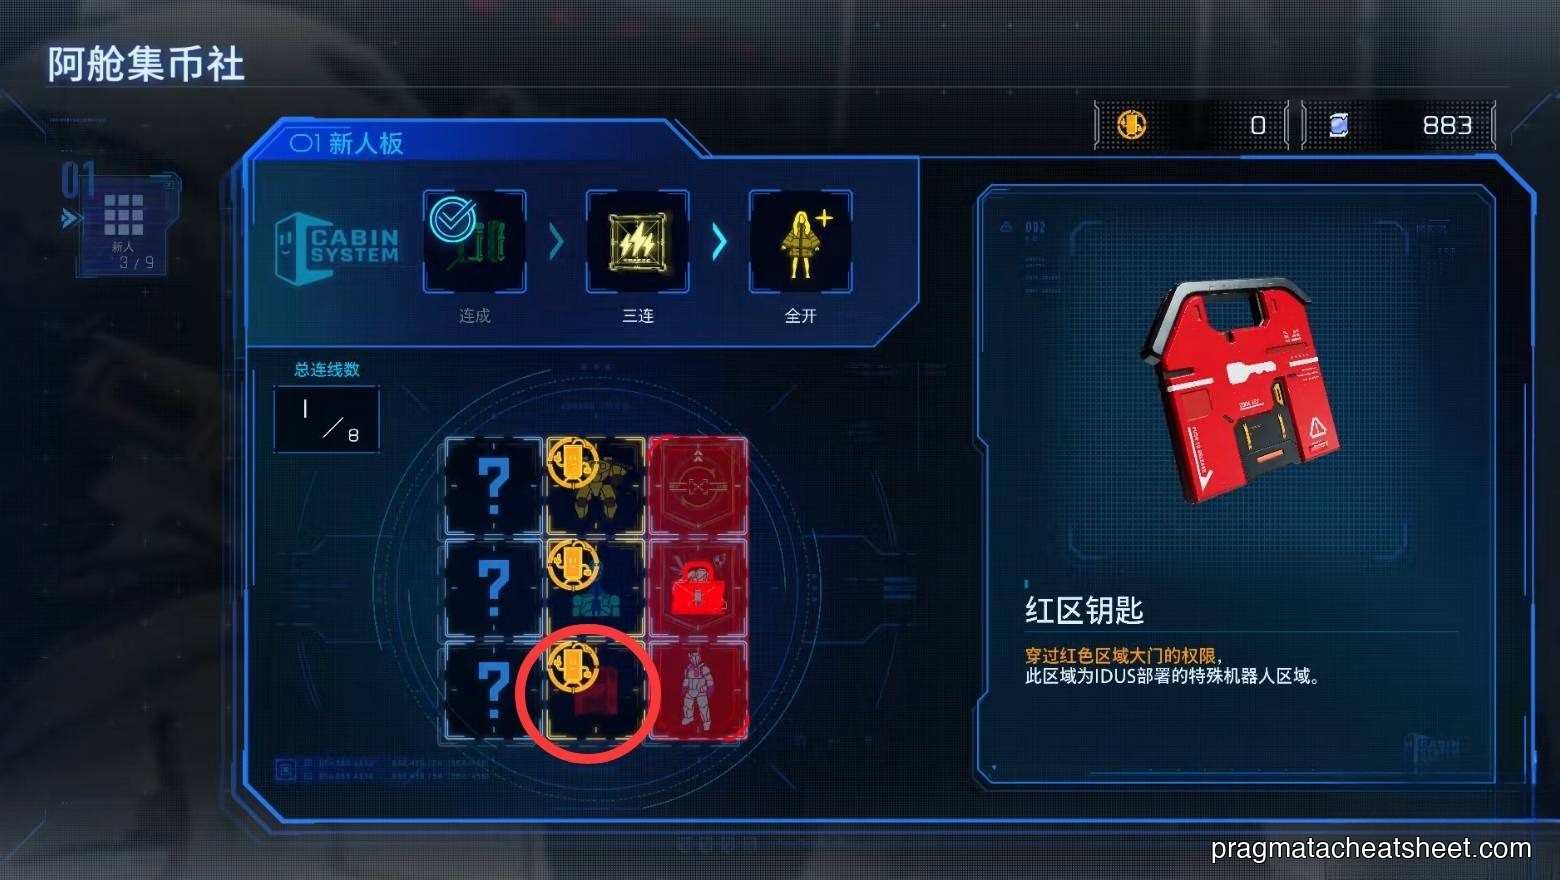
Priority first redemptions
- Red Gate Keys · essential for Sector 2's first Pure Lunum
- Complete one line → Storage Expander (extra Repair Canisters)
- REM chips always go to Diana as gifts — she'll bring out a new toy each visit
You'll usually have exactly three Cabin Coins on your first visit. Spend them on Red Gate Keys so you can clear Red Zones as you discover them.
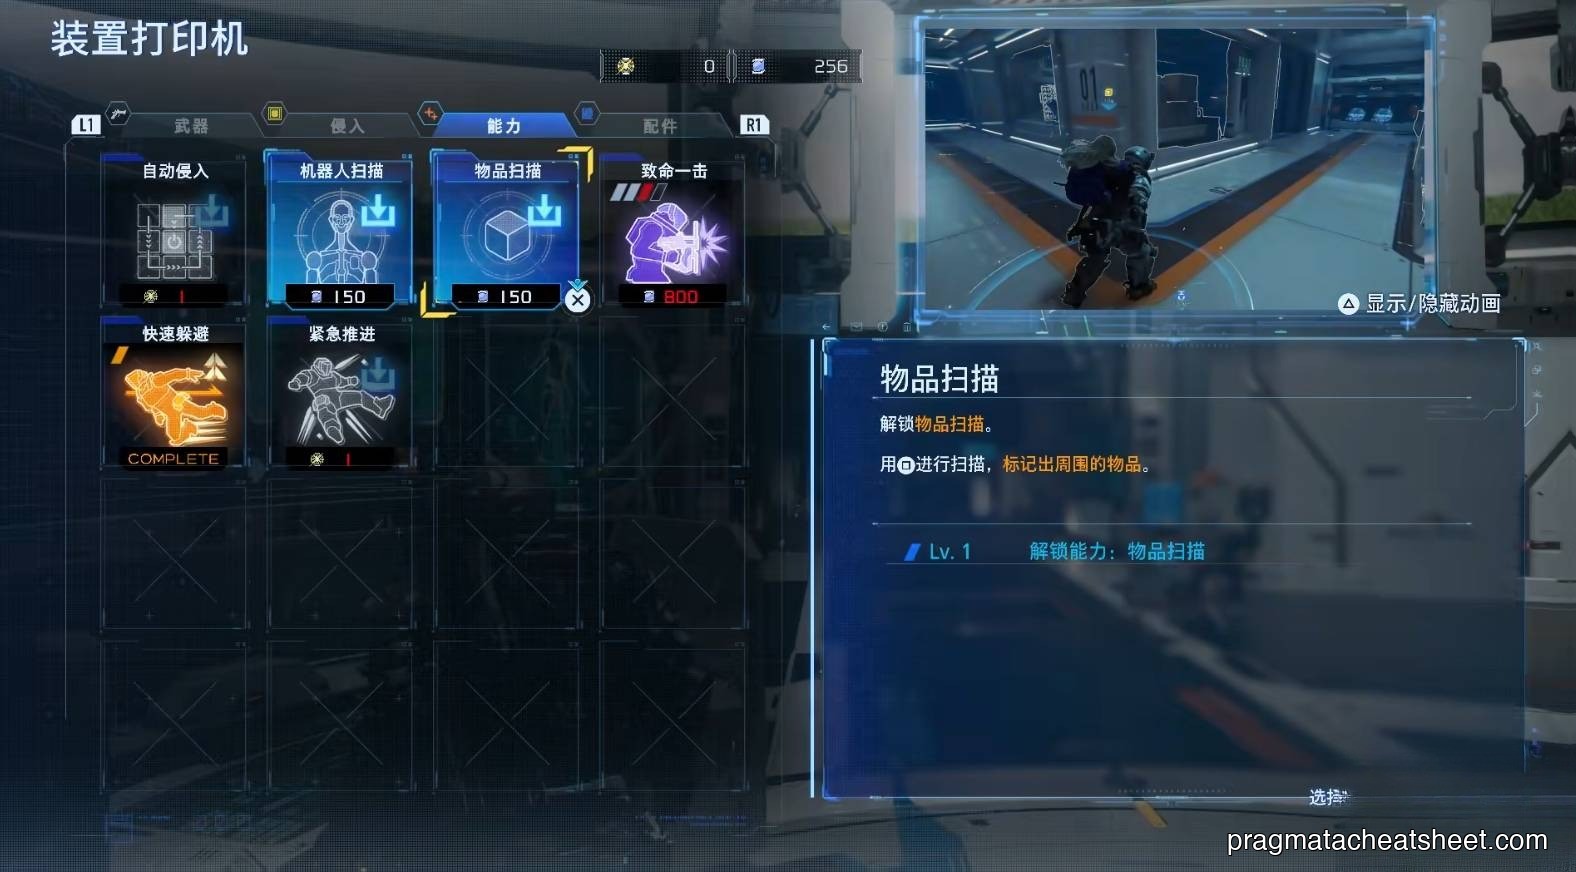
04 — After Sector 2: Object Scan & Backtracking
Clearing Analysis: Creator at the end of Sector 2 unlocks Object Scan at the Shelter. From now on, nearby collectibles (everything except Mini Cabins) ping on your HUD.
Also new: Cabin opens Training Missions and a second stamp board. Grind training for Cabin Coins, Upgrade Components, and Pure Lunum.

Priority redemptions this time:
- Red Gate Key (new board) — needed for Sector 2's unlocked Red Zone
- One-line reward: Exposure Node modifier
- Three-line reward: Drone Hive weapon — absurdly strong for crowd control
Sector 2 sweep (use Lim Eraser + Object Scan)
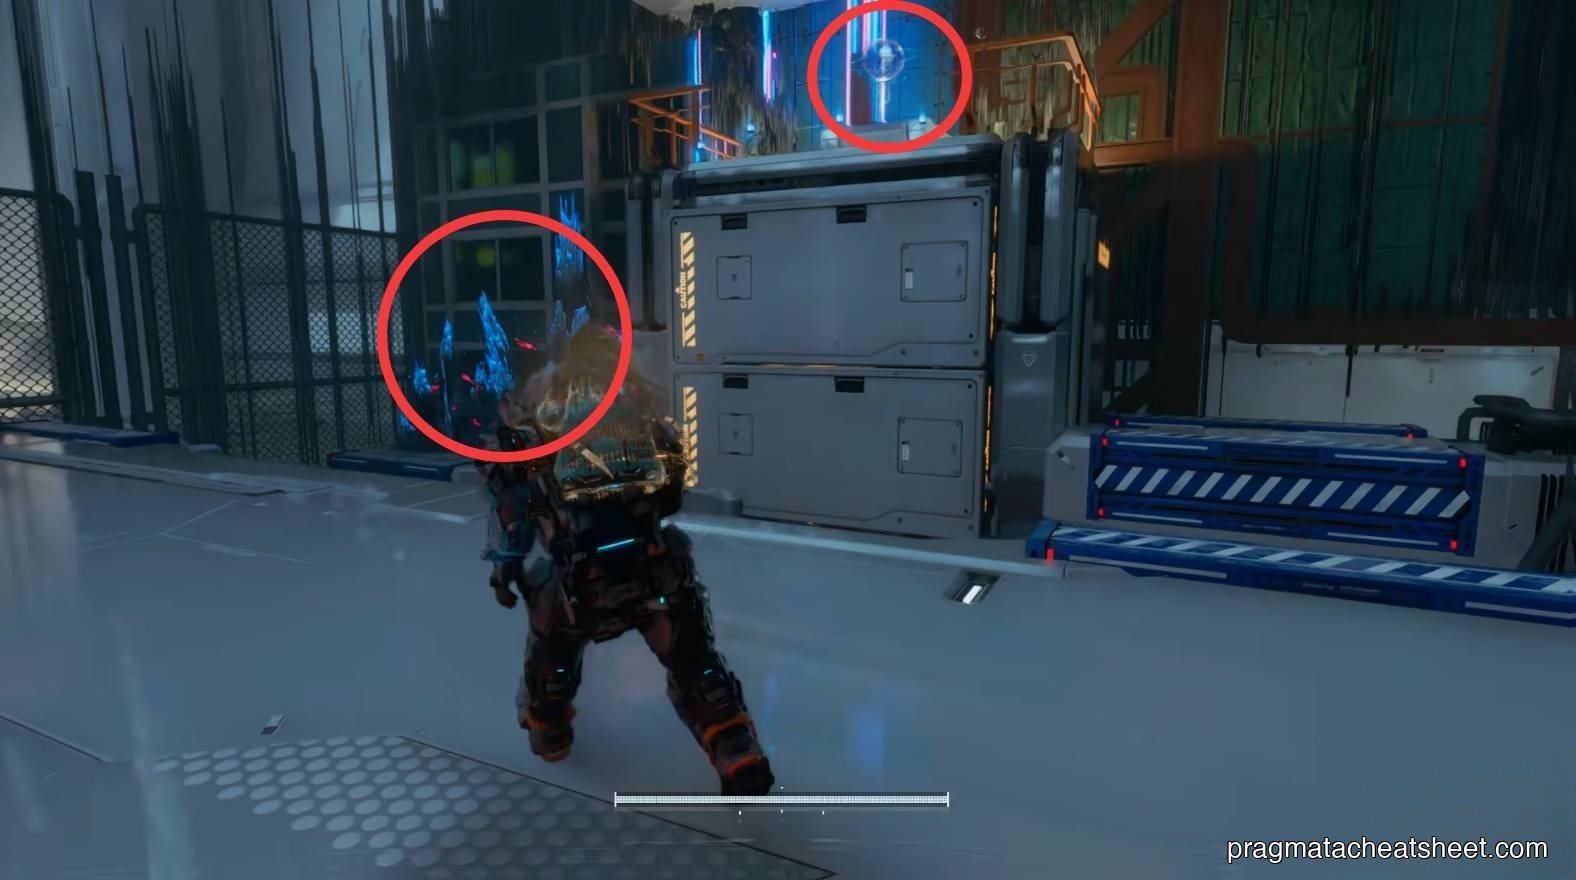
Now that you have the Lim Eraser (from the end of Solar Power Plant → actually from Sector 2's Lim Recycling Facility — see 01-solar-power-plant.mdx and 02-mass-production-array.mdx), walk back through Sector 2 and clear every blue barrier you passed earlier.

Key pickups to sweep:
- Storage Expander · hidden room in a side hallway behind a Lim barrier
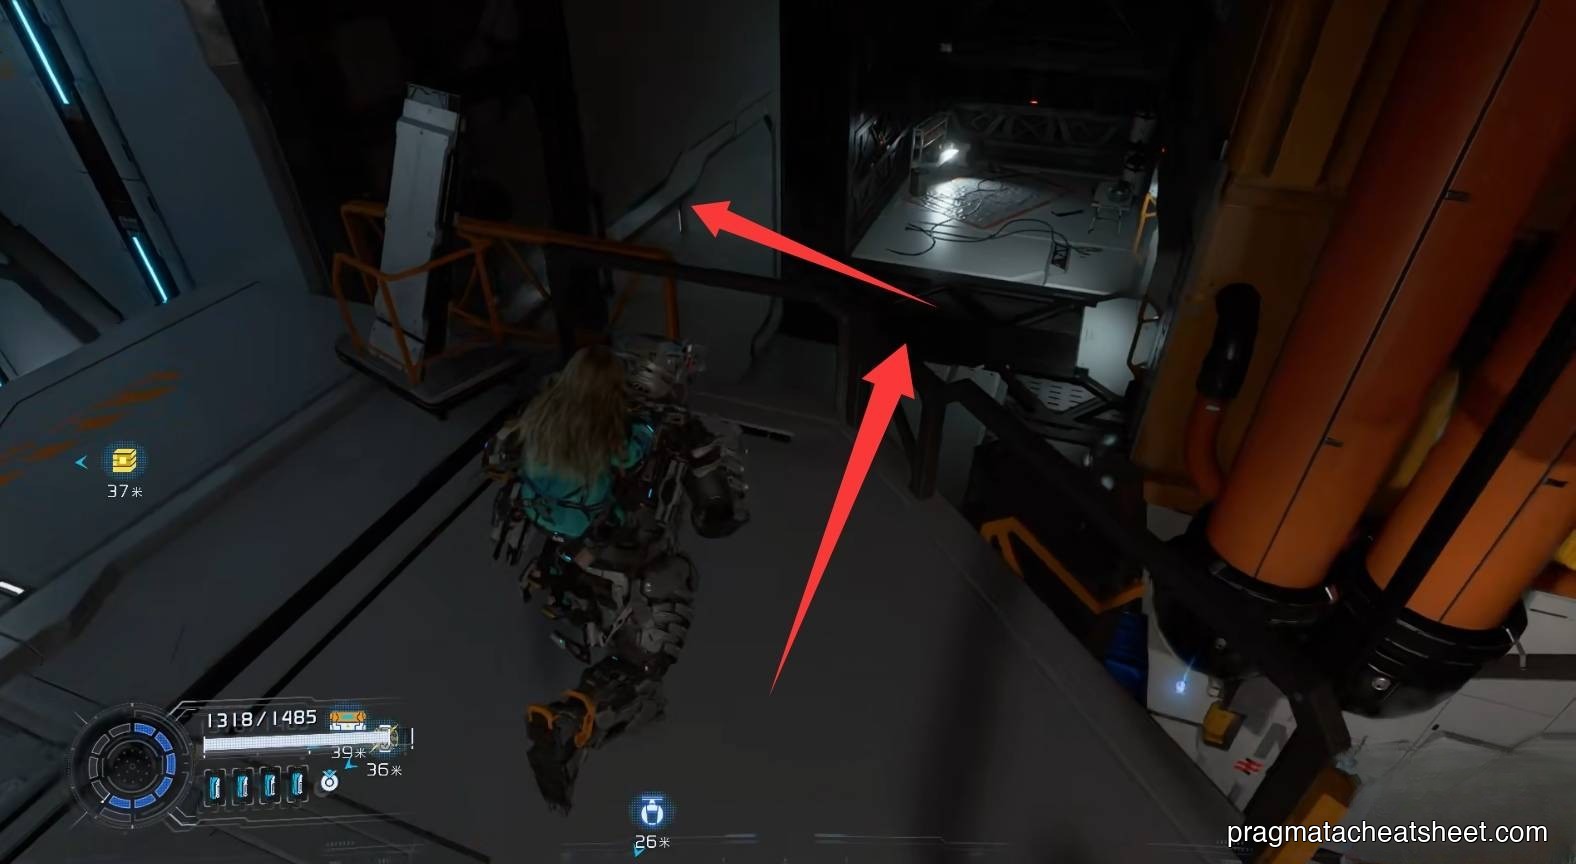
- Upgrade Component · ride the elevator up, drop left, clear the barrier, find the hanging crate
- Safe Box + Pure Lunum · cleared lower alley area
- Upgrade Components × 2 + Safe Boxes × 2 · scattered along the main street, cleared by Eraser
Some red barriers remain — those need Cleanse (Sector 5 reward). Ignore them for now, come back after the Experimental Pragmatics Lab.
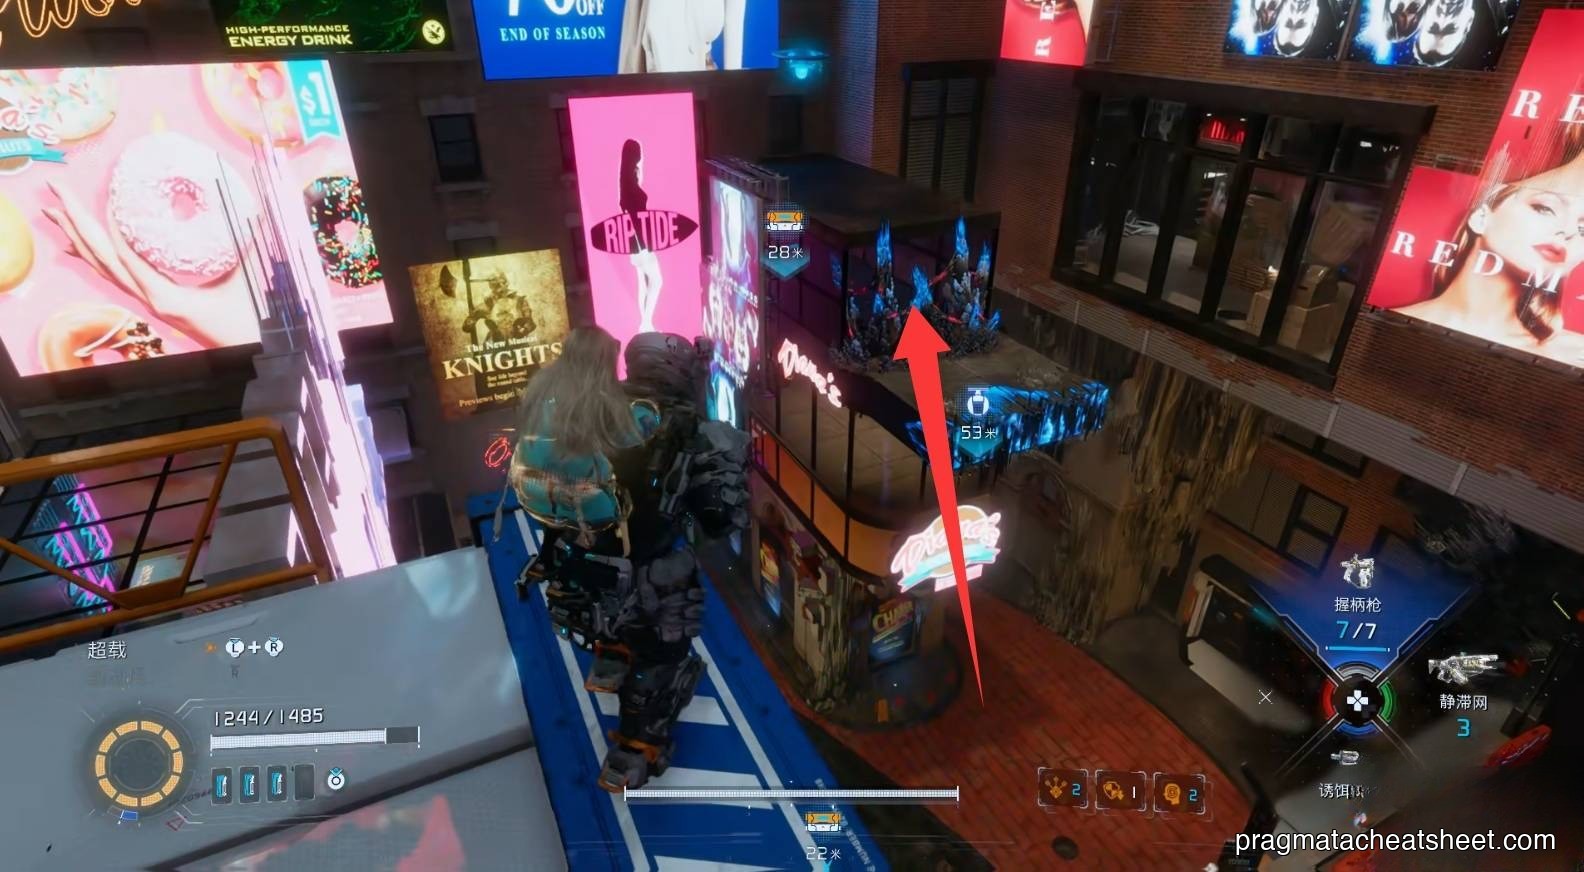
The highest-reward pickup on this pass: from the red bus, double-dash to a high ledge, clear the barrier, re-hack the rising platform below, and ride up to a hidden REM chip.
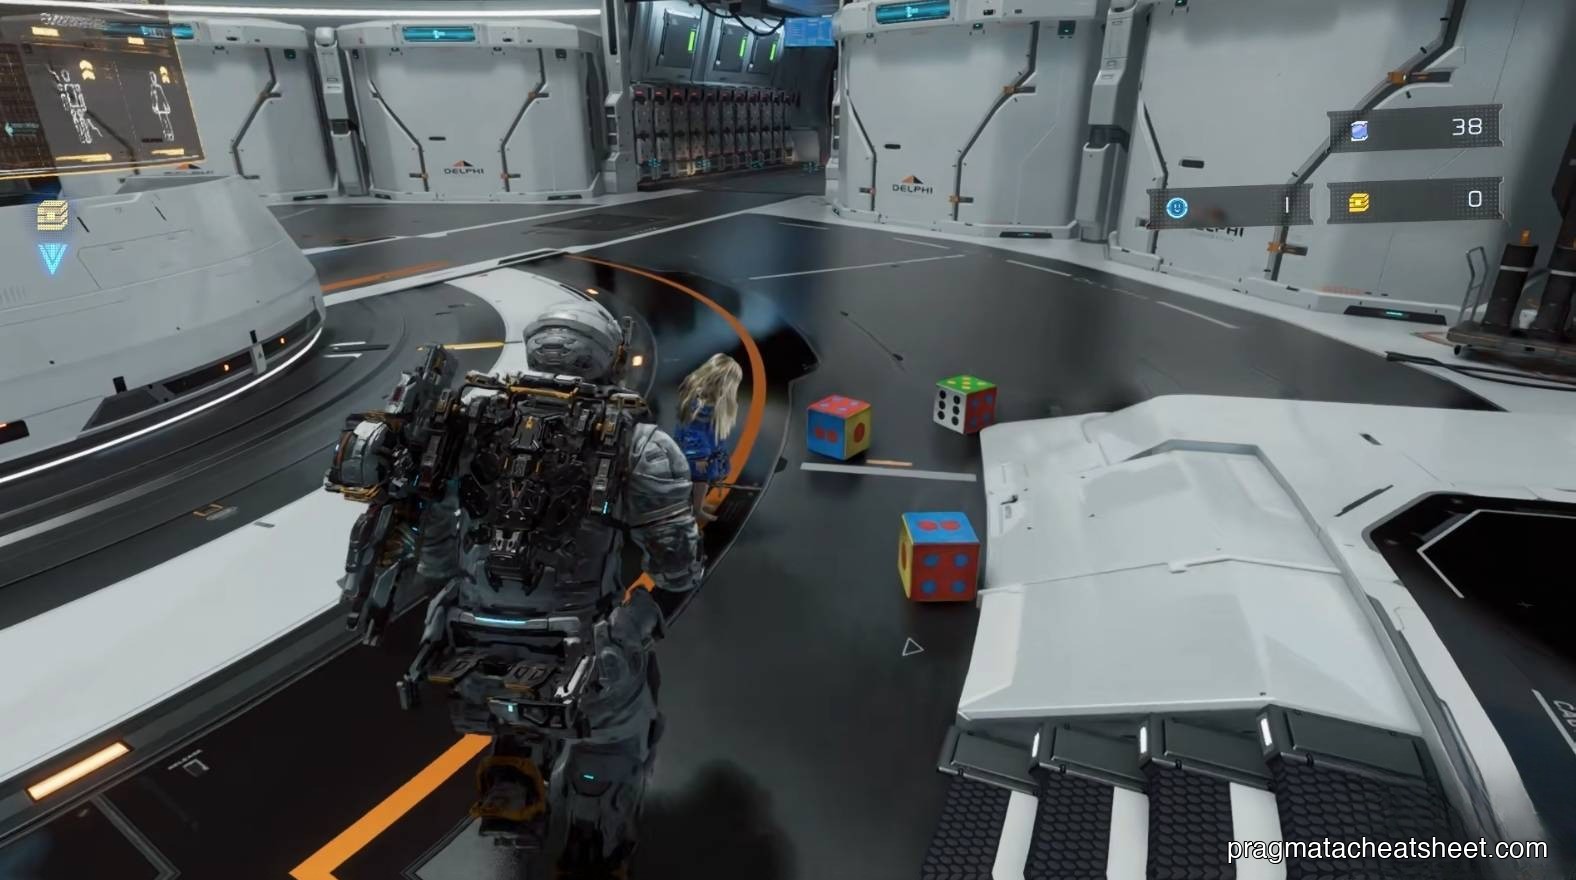
05 — Diana's Room: REM Chips & Playtime
Every REM chip you find becomes a gift. Hand one to Diana back at the Shelter — she'll play with it, and on your next visit a toy corresponding to that memory will appear on the floor near the upgrade terminal.

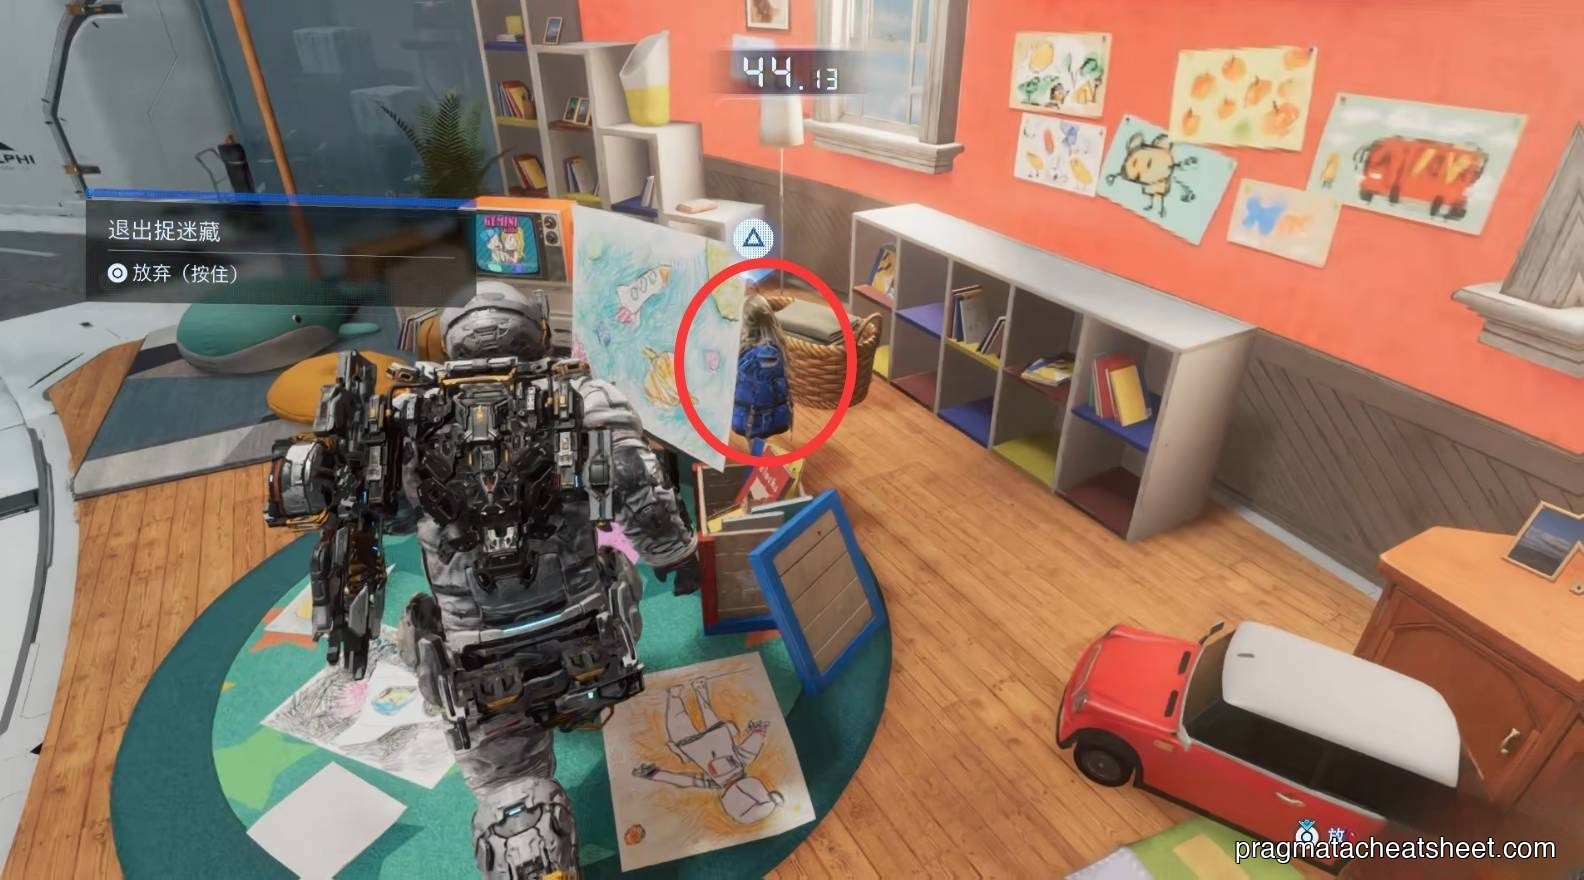
Collect a full REM set and a new interaction opens: Diana will play hide-and-seek around the Shelter's amenities.
Next
→ Start with Sector 1 · Solar Power Plant