A break in the pace. Sector 5 is entirely linear and entirely narrative — one corridor, holograms and documents fill in the truth about Diana and Eight, a short puzzle chain at the end. The payoff: Cleanse. Red barriers finally become traversable, and every "come back later" from Sectors 1–4 is now on the table.
Route Overview
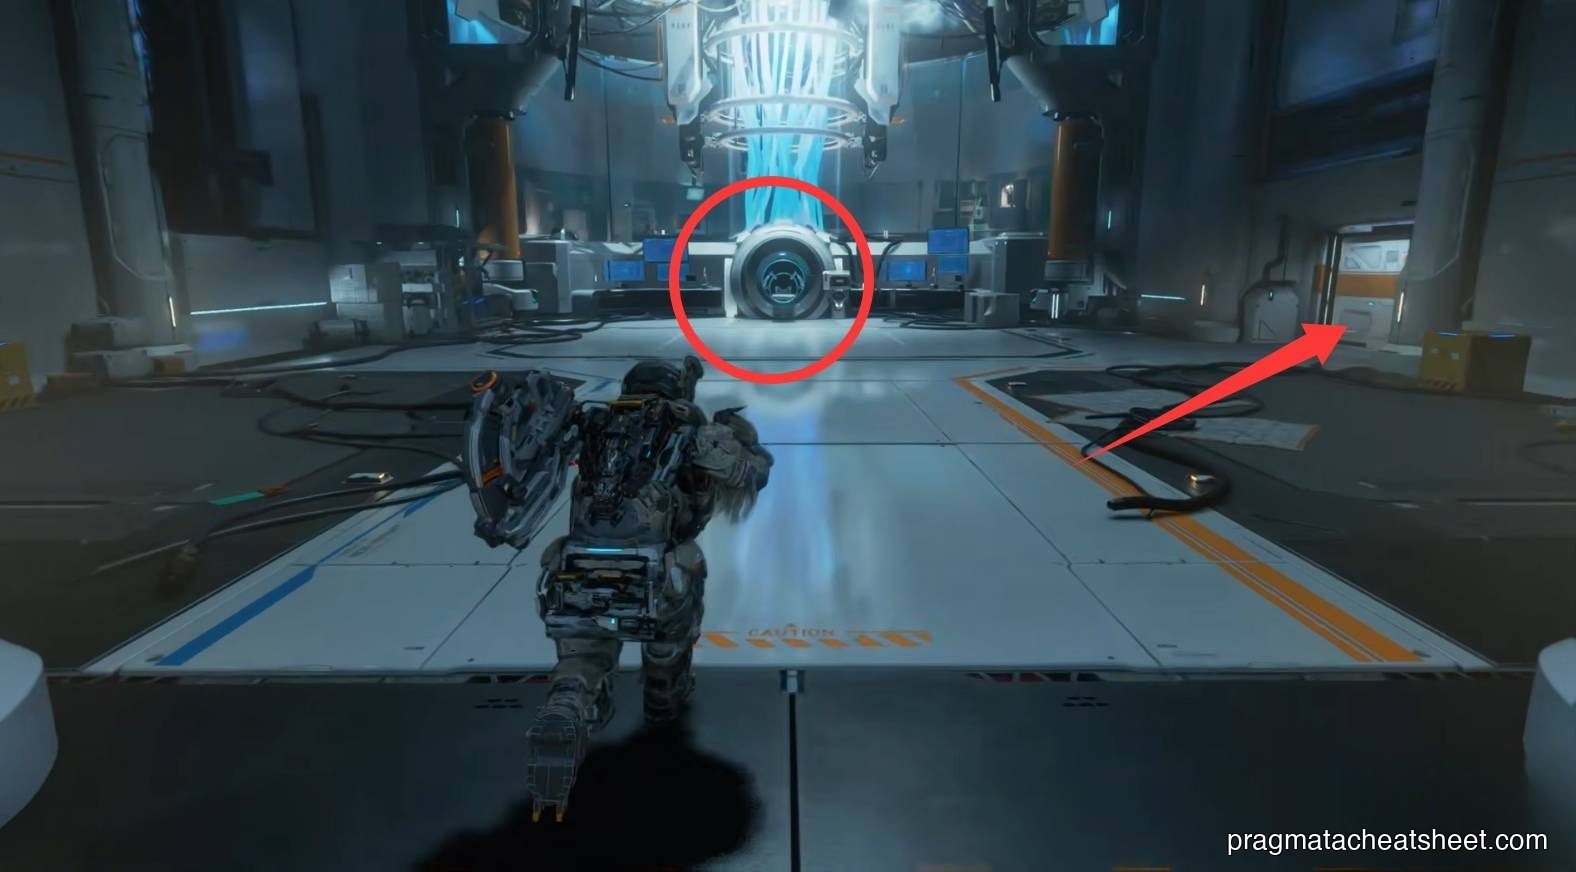
Warp from the Shelter (Cabin will guide you), walk the corridor while reading the lore, solve a three-part laser puzzle, retrieve the reactor, and trigger the cutscene. On the way out, stop at the Shelter for the new Stamp Club.
01 — Lab Corridor
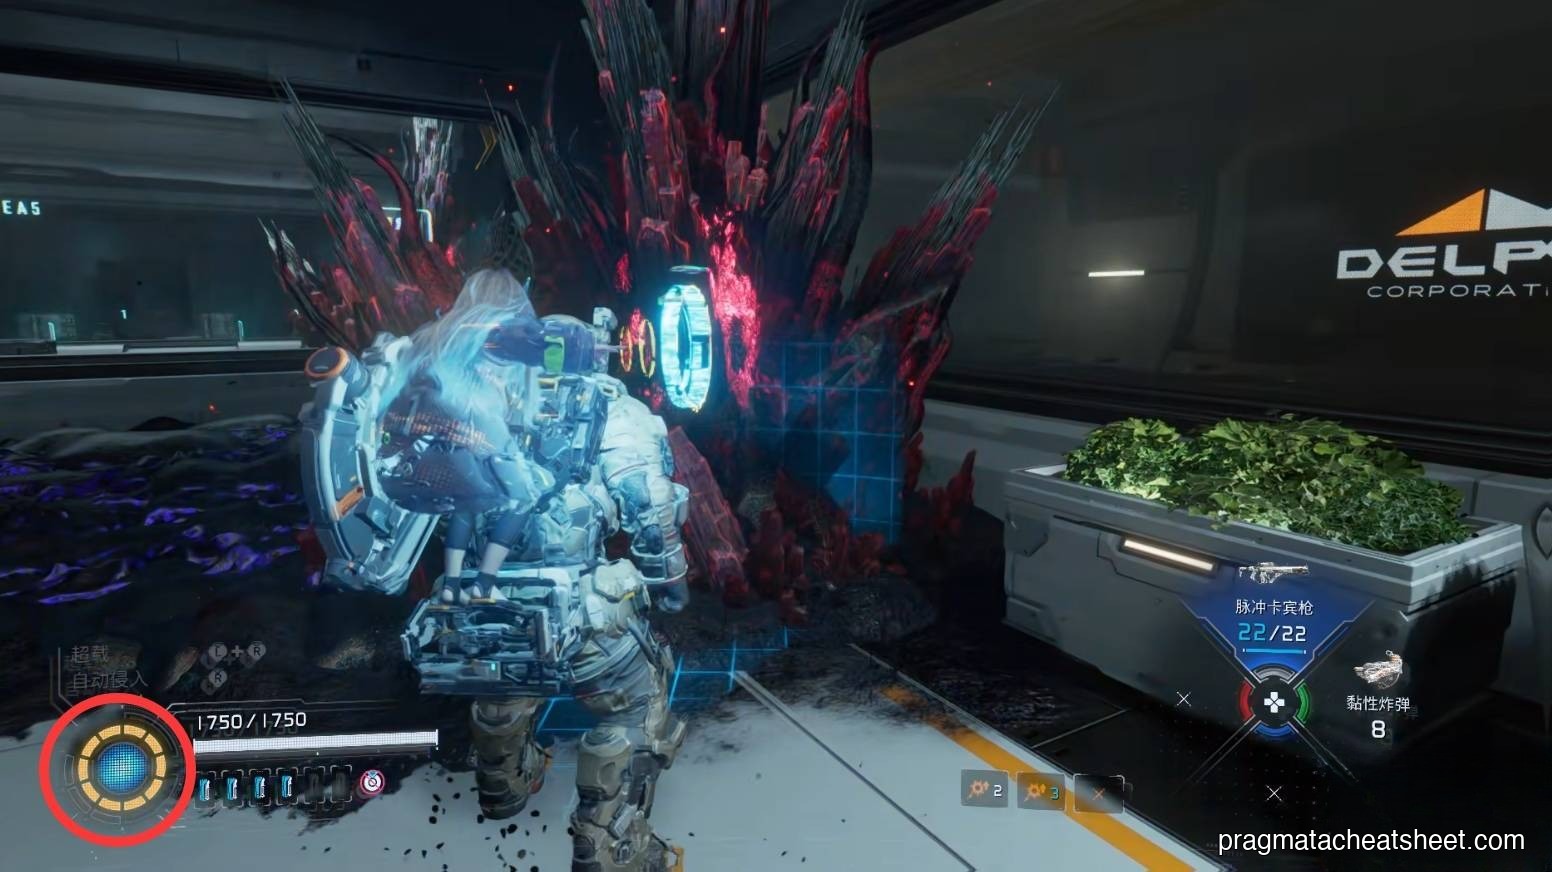
Story beat: Diana's wound is treated, but the dead filament isn't purified — you keep moving.
No collectibles. Walk forward, absorb the holograms and documents. The fiction here explains the relationship between Hugh, Diana, Eight, and the AI systems of the Cradle — worth slowing down for.
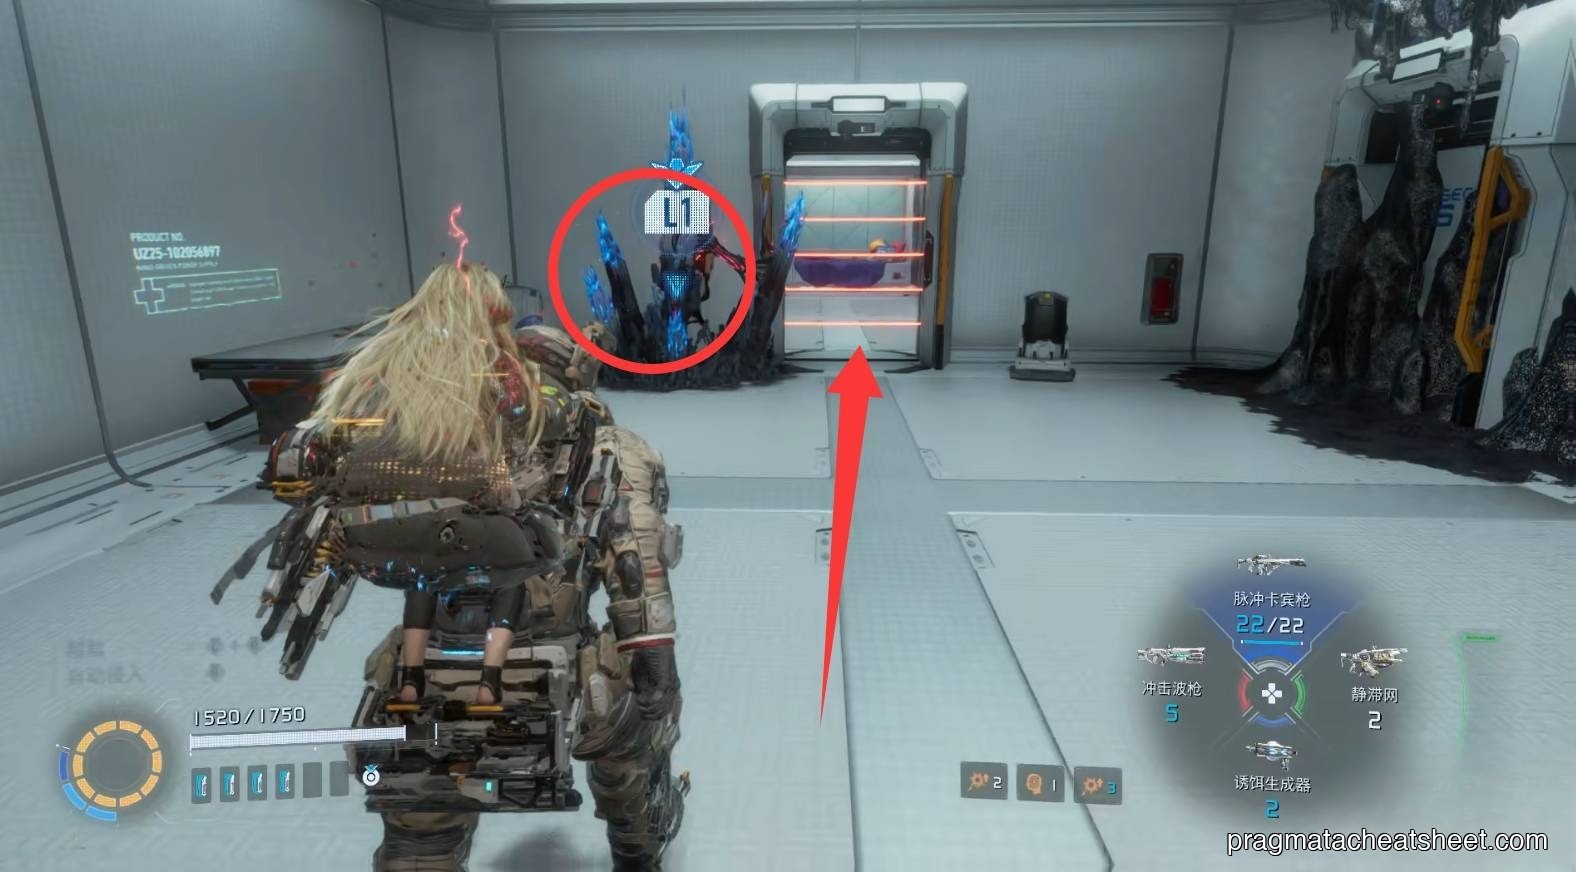
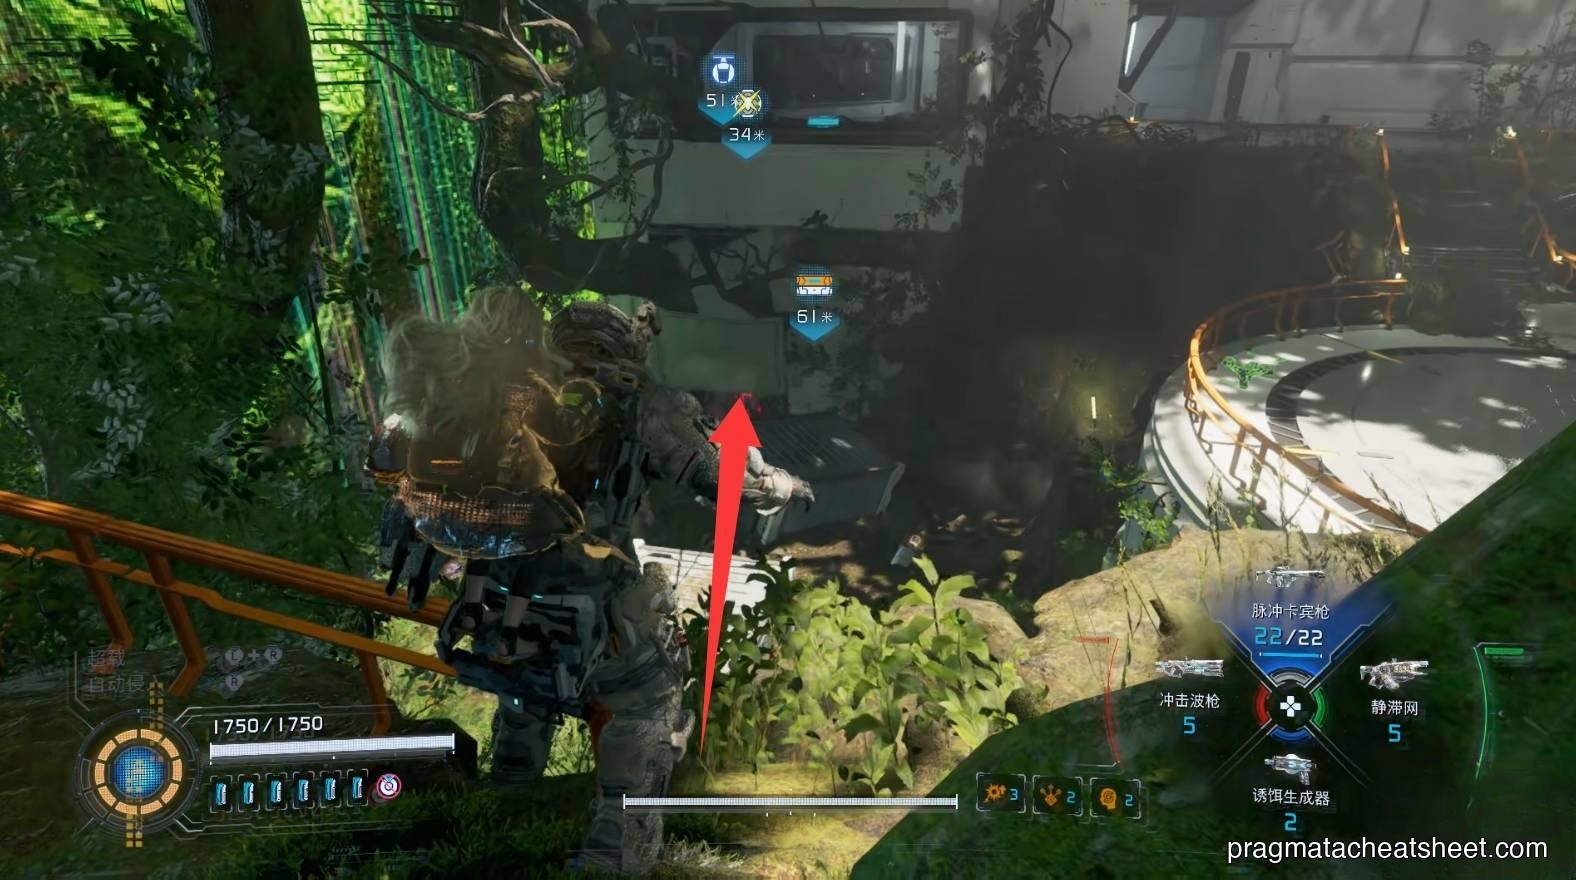
Room puzzle
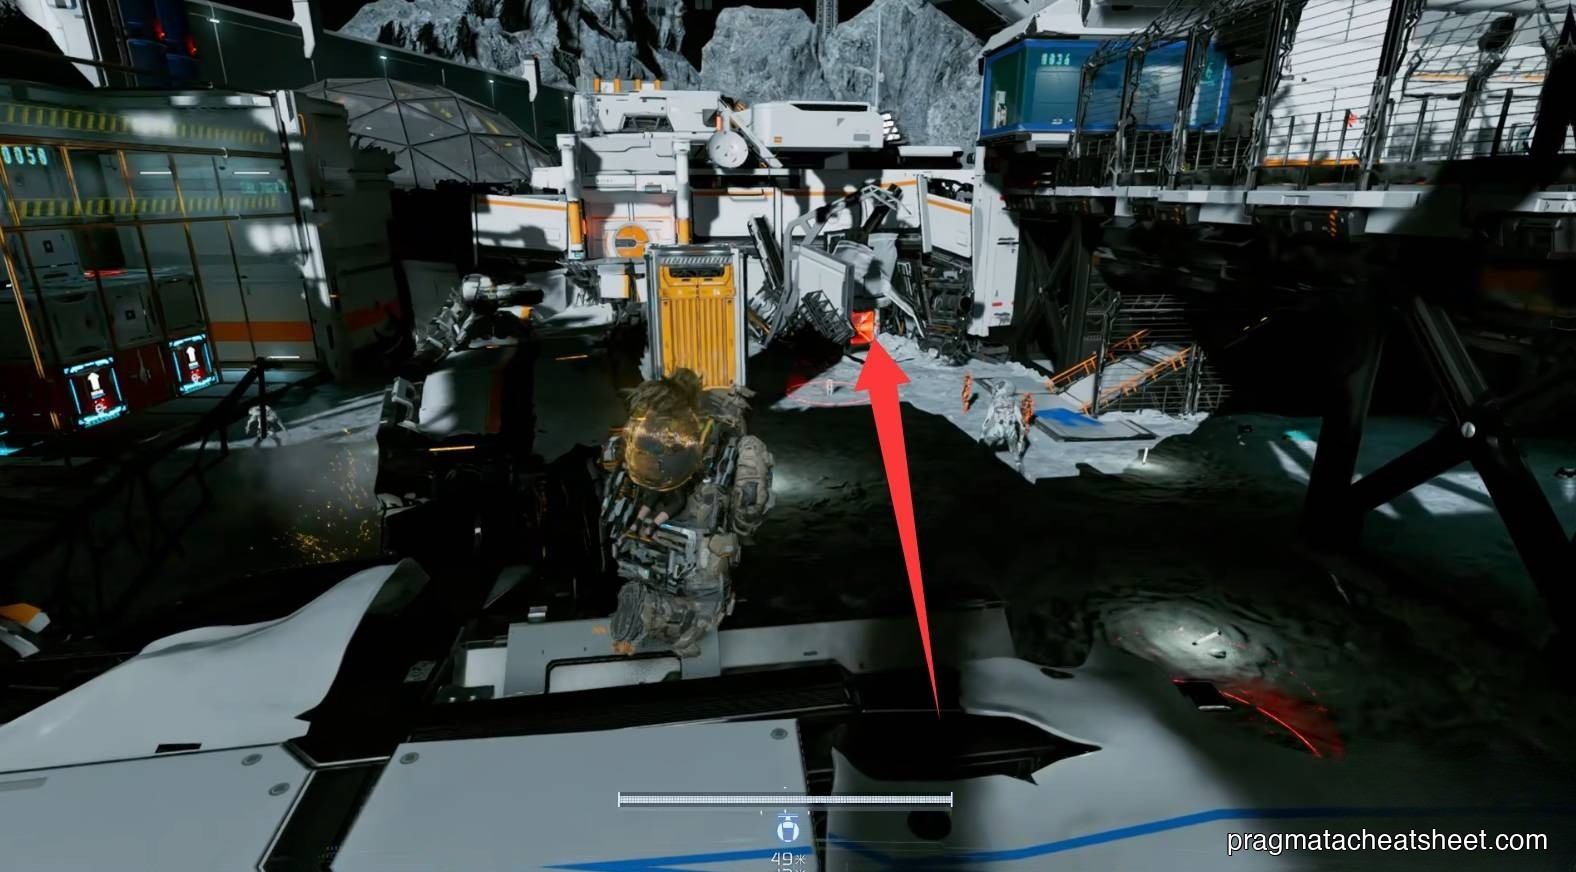
In Diana and Eight's old quarters, clear small obstacles to reach a hackable red node that disables the laser wall.
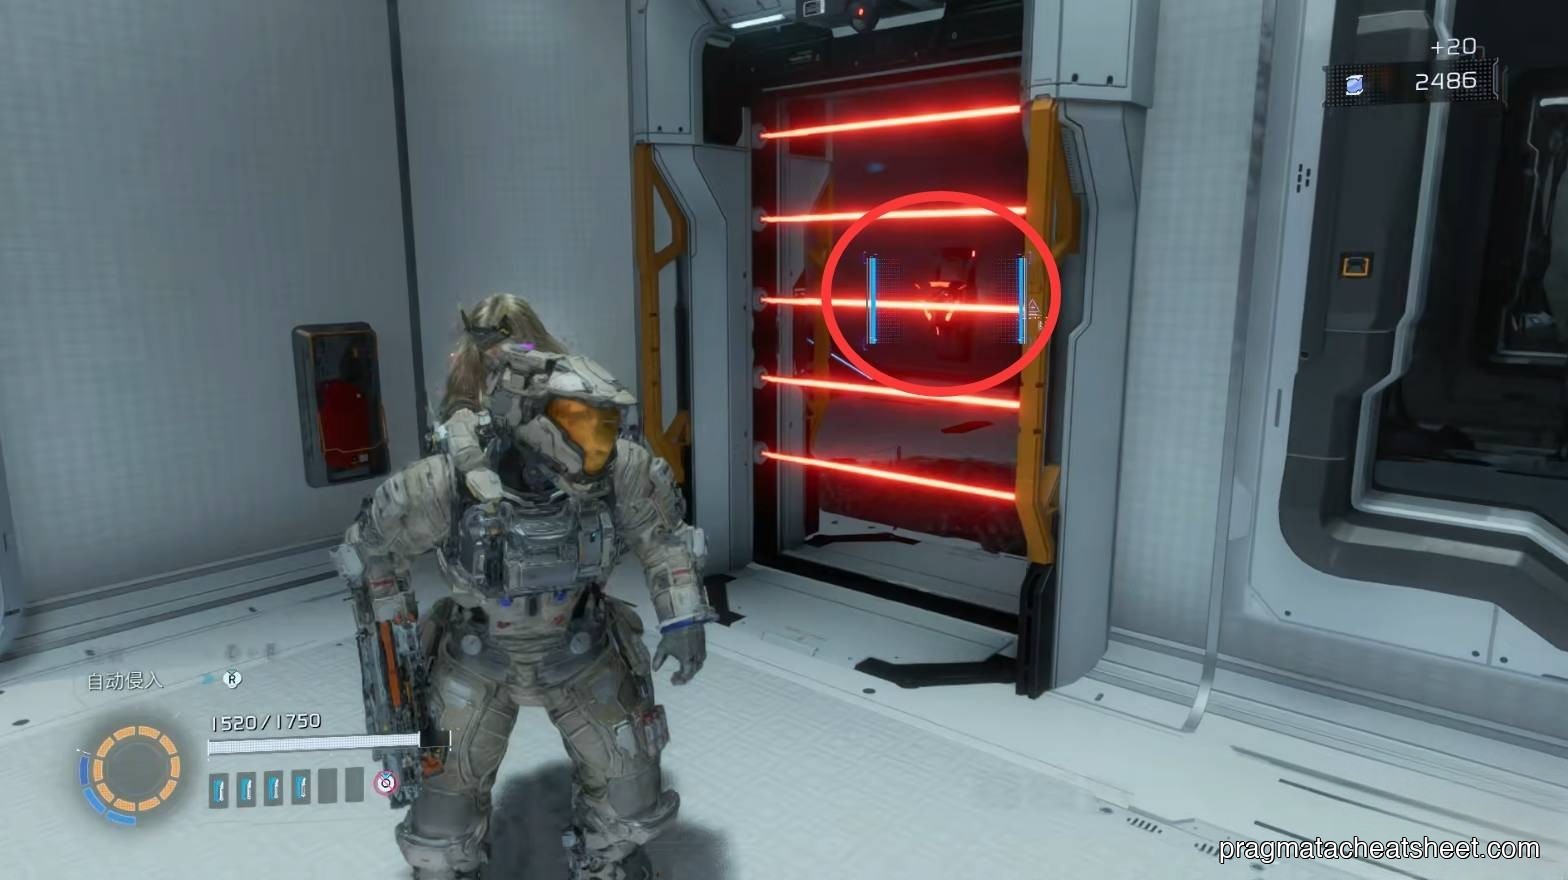
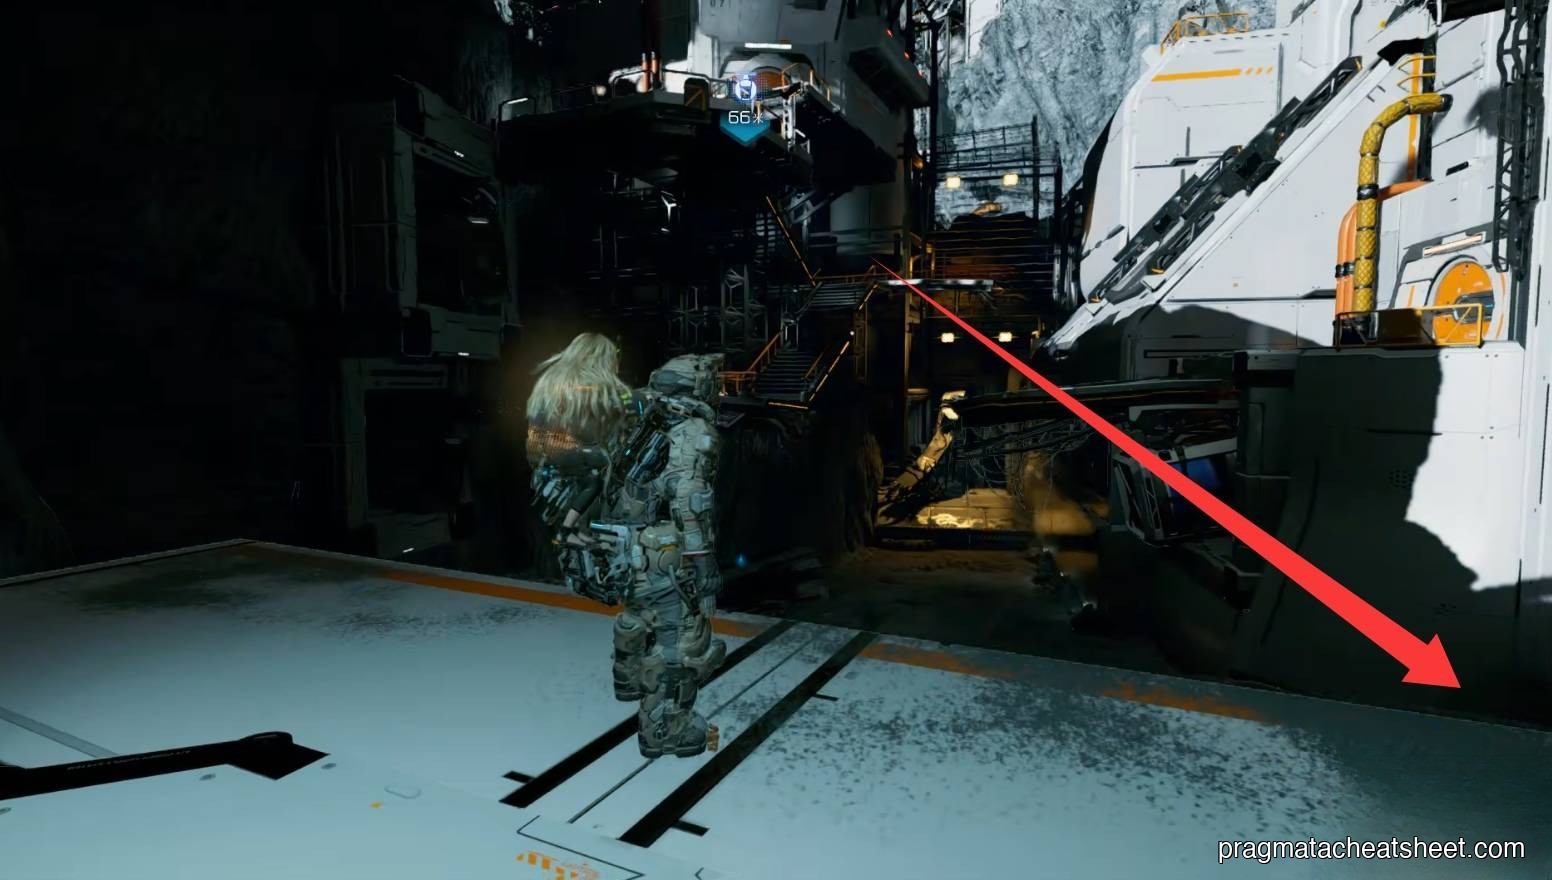
Next door: you hack through the laser, targeting the red node outside.
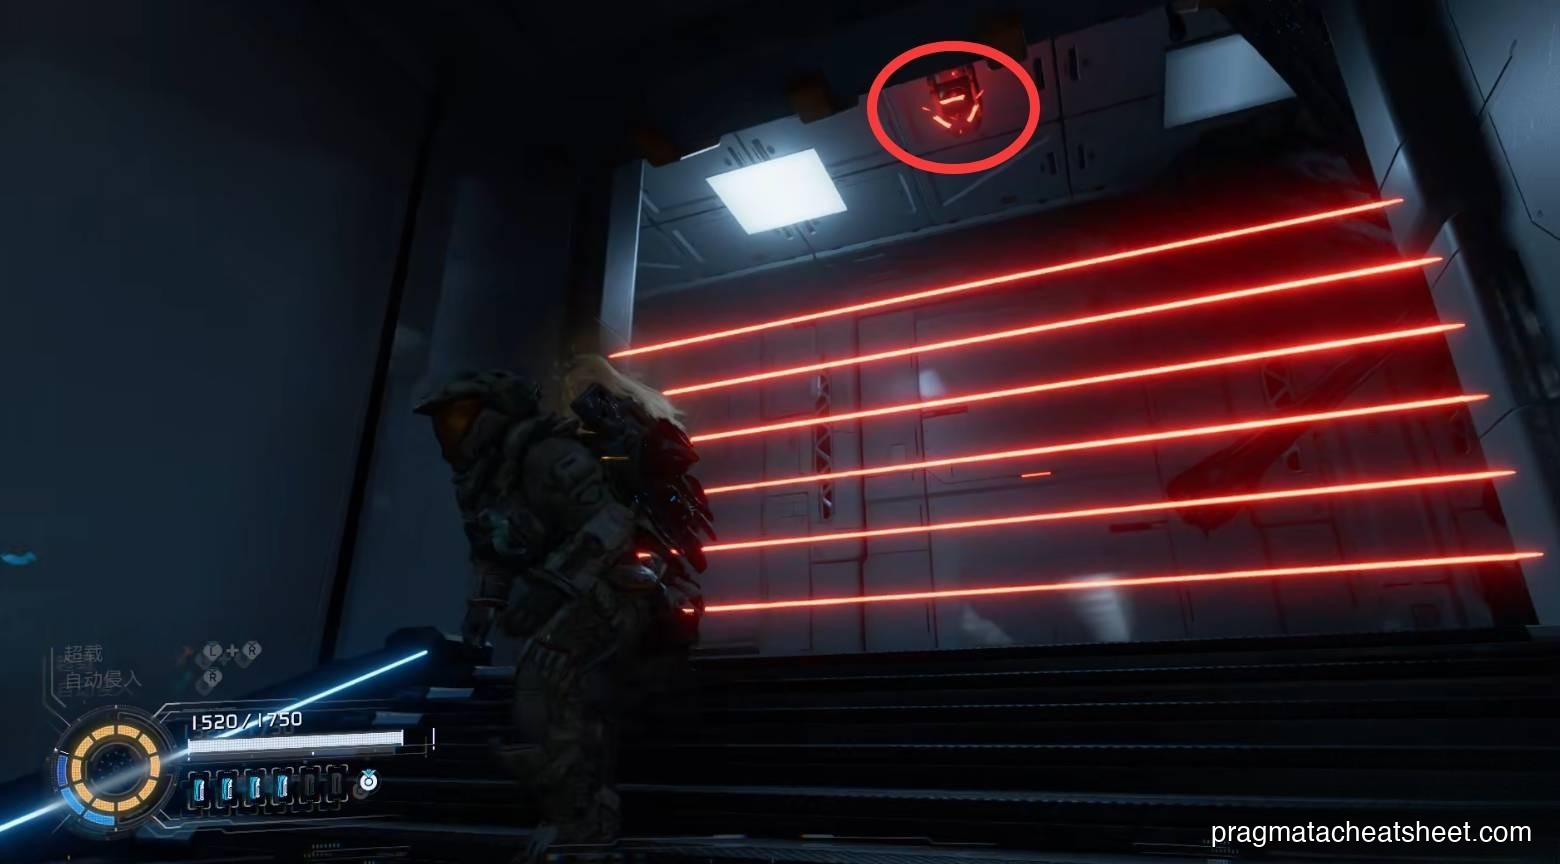
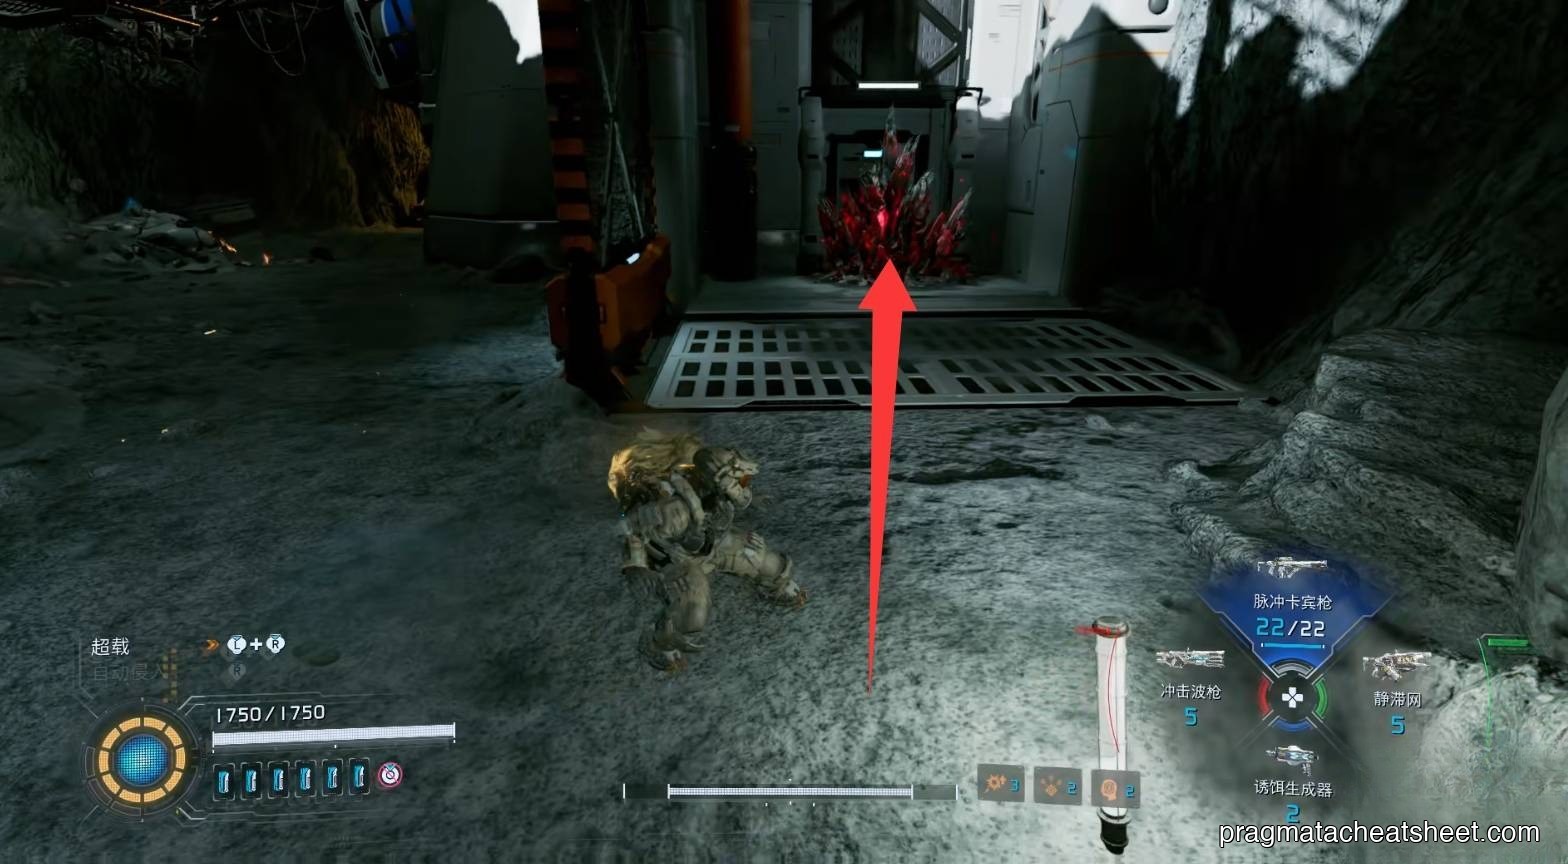
Third laser gate: hack point is up high.
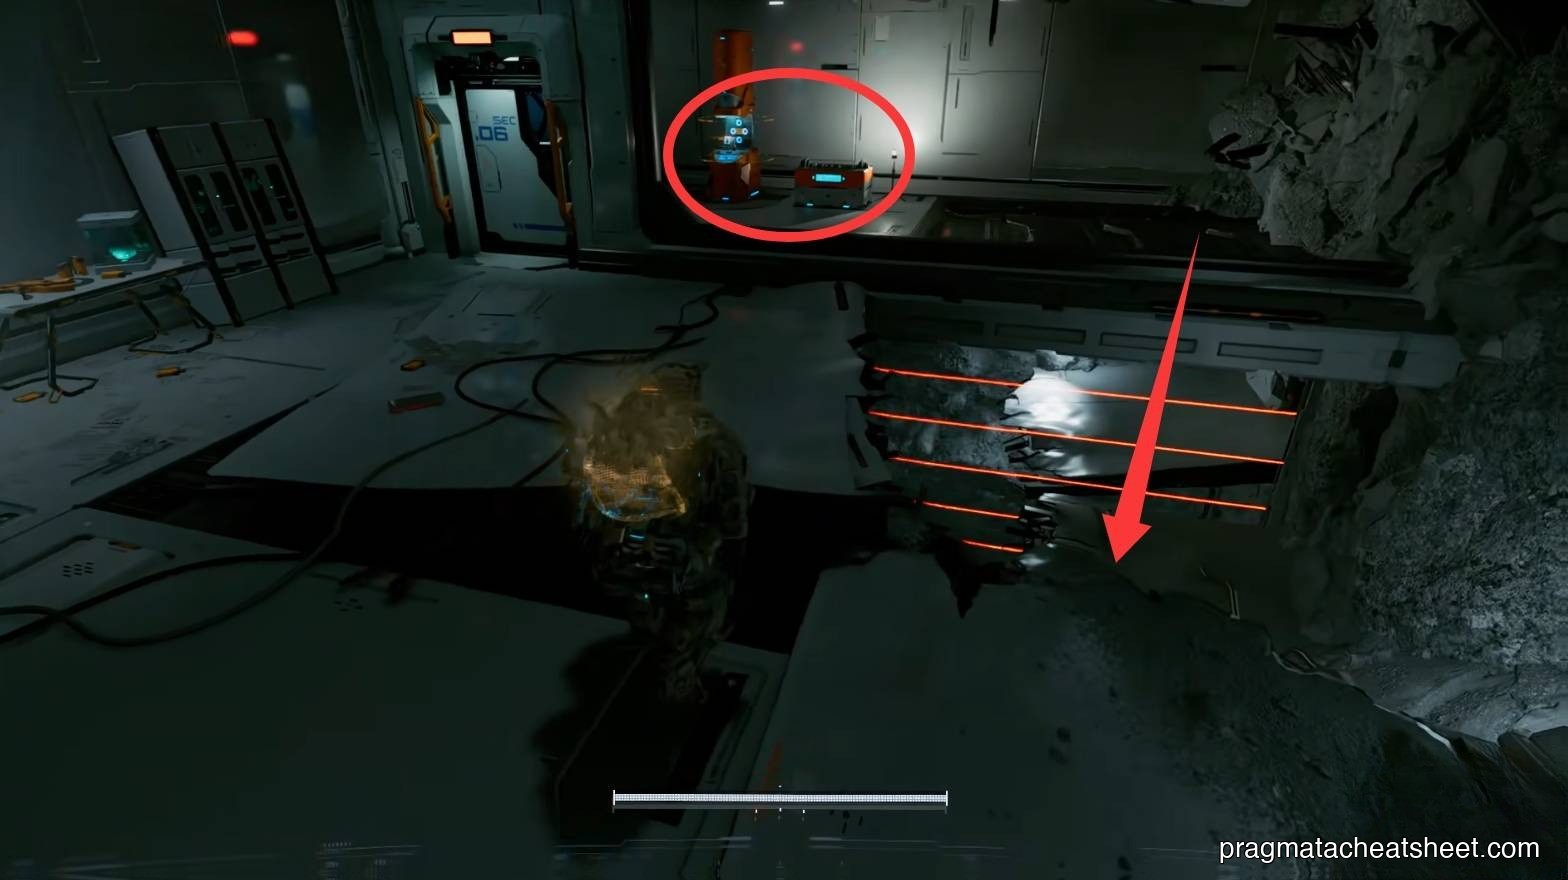
Reactor & Cleanse
Grab the reactor → Diana is healed → Overdrive Protocol upgrades, and you unlock Cleanse: the red barriers scattered across every prior Sector can now be destroyed. The Cleanse cooldown is tracked by the circular indicator in the bottom-left HUD — wait a beat between uses.
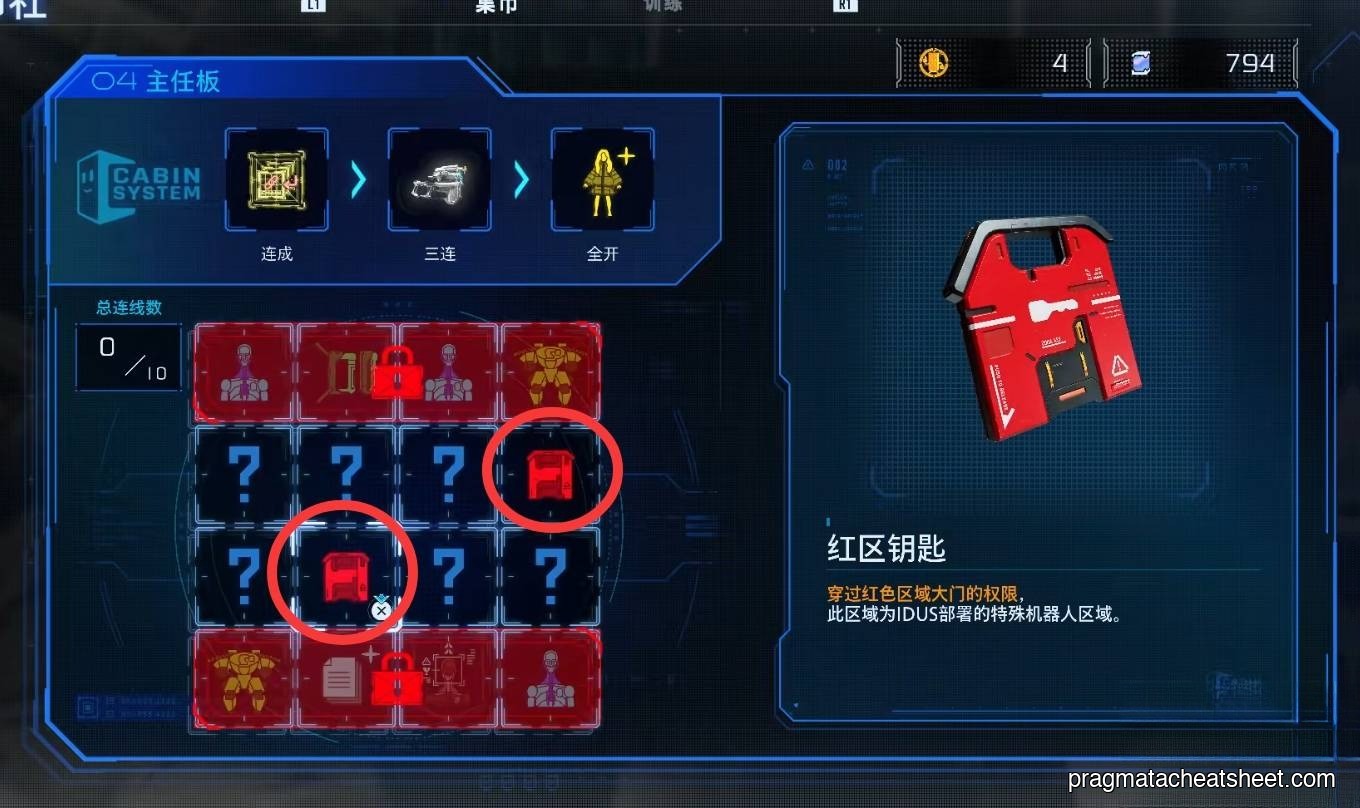
Back at the Shelter
A new Stamp Club board is live — redeem two more Red Gate Keys, and note the three-line reward: Hacking Mines weapon.
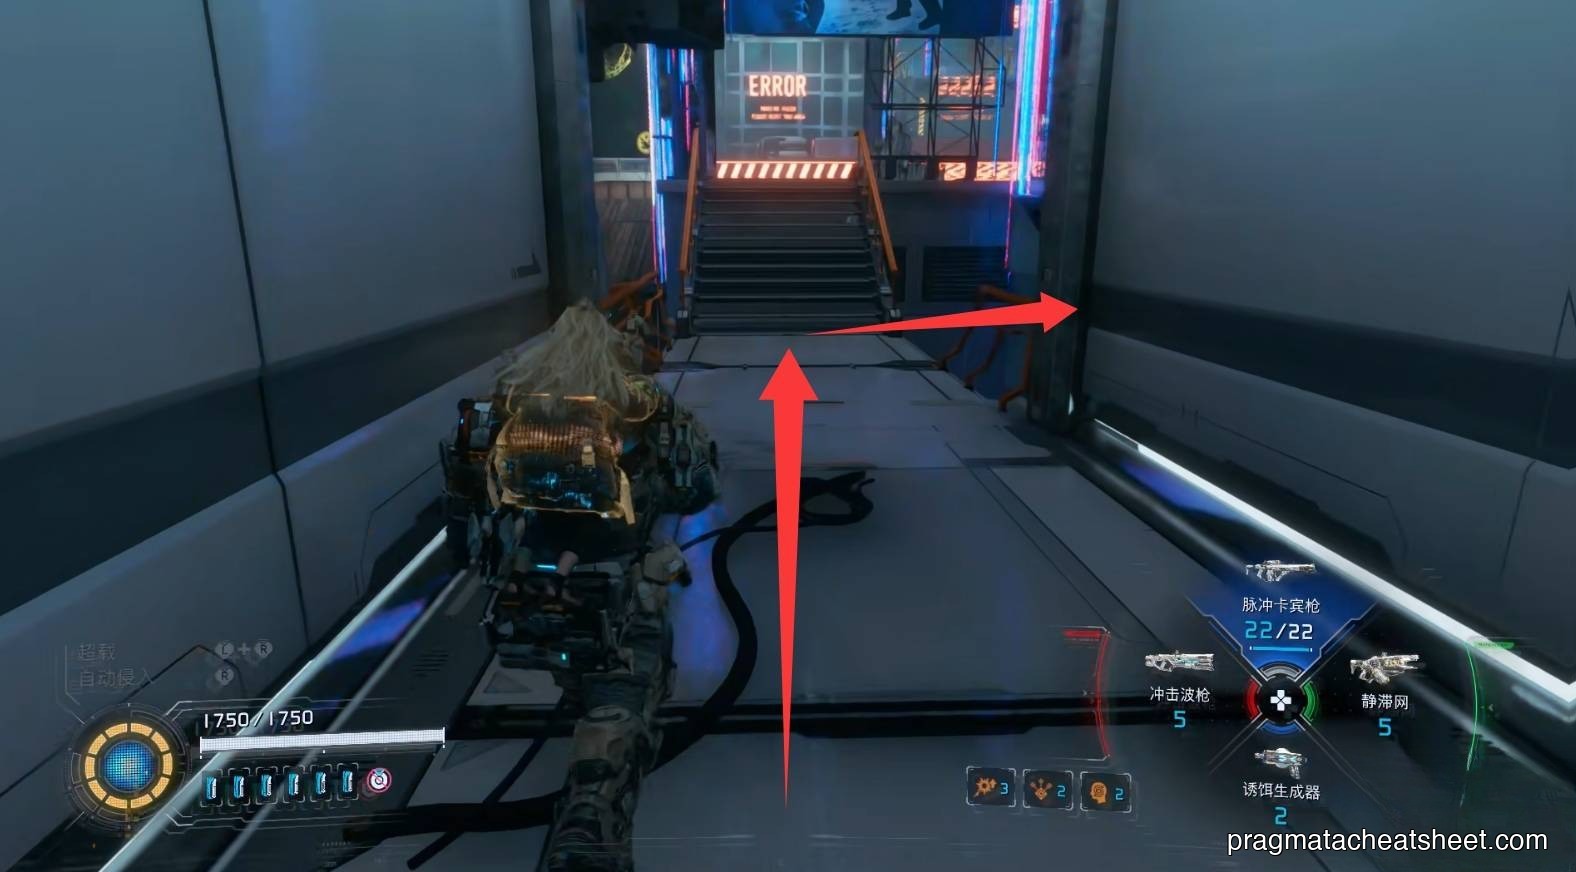
Backtrack list (before Sector 6)
With Cleanse, go back and sweep the red barriers you marked earlier:
Sector 2 (Mass Production Array)
- Two Safe Boxes to the right of the Business District hatch — jump down, Cleanse
- Scan near either Hatch for a Safe Box + rising platform to a Pure Lunum
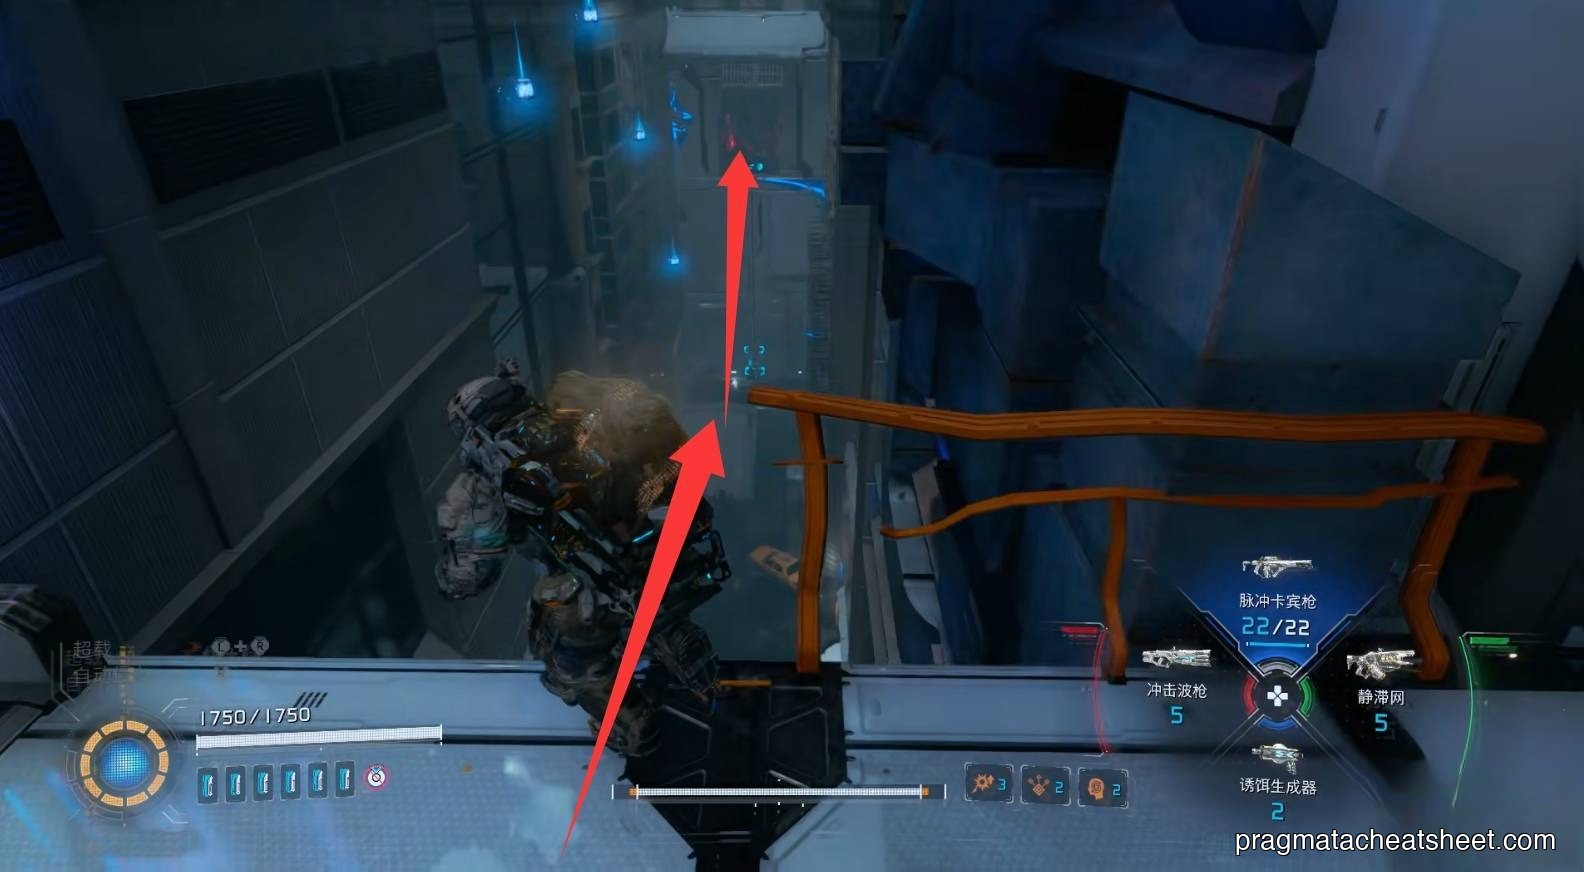
Sector 4 (Lunum Mines)
- First Digger sand pit right side, Cleanse → cave entry
- Through lasers for a Safe Box, disable from below, re-enter upper room for Safe Box + Storage Expander
Logistics office Safe Box
One more Safe Box near the second Mines Hatch (Logistics Office). Scan, Cleanse, done.

Main Excavation Red Zone
The final Red Zone — entrance is at Main Excavation Site, not Tower Access Point. Warp to Logistics Office, walk a few steps forward, Red Zone → Pure Lunum + Mod.
Next
→ Continue to Sector 6 · Central Port