The Mines crank the verticality and drop gravity at the same time. You'll leap farther, fall softer, and be stalked by a sandworm-style Luna Digger that erupts out of the dunes whenever you step on them. Five subsectors, crate-stacking puzzles, and the Homing Missiles and Jackhammer weapons.
Route Overview
Entrance → Crane Area → Warehouse → Main Excavation Site → Tower Access Point. Two Red Zones require keys; a sand-buried boss fight caps the Sector.
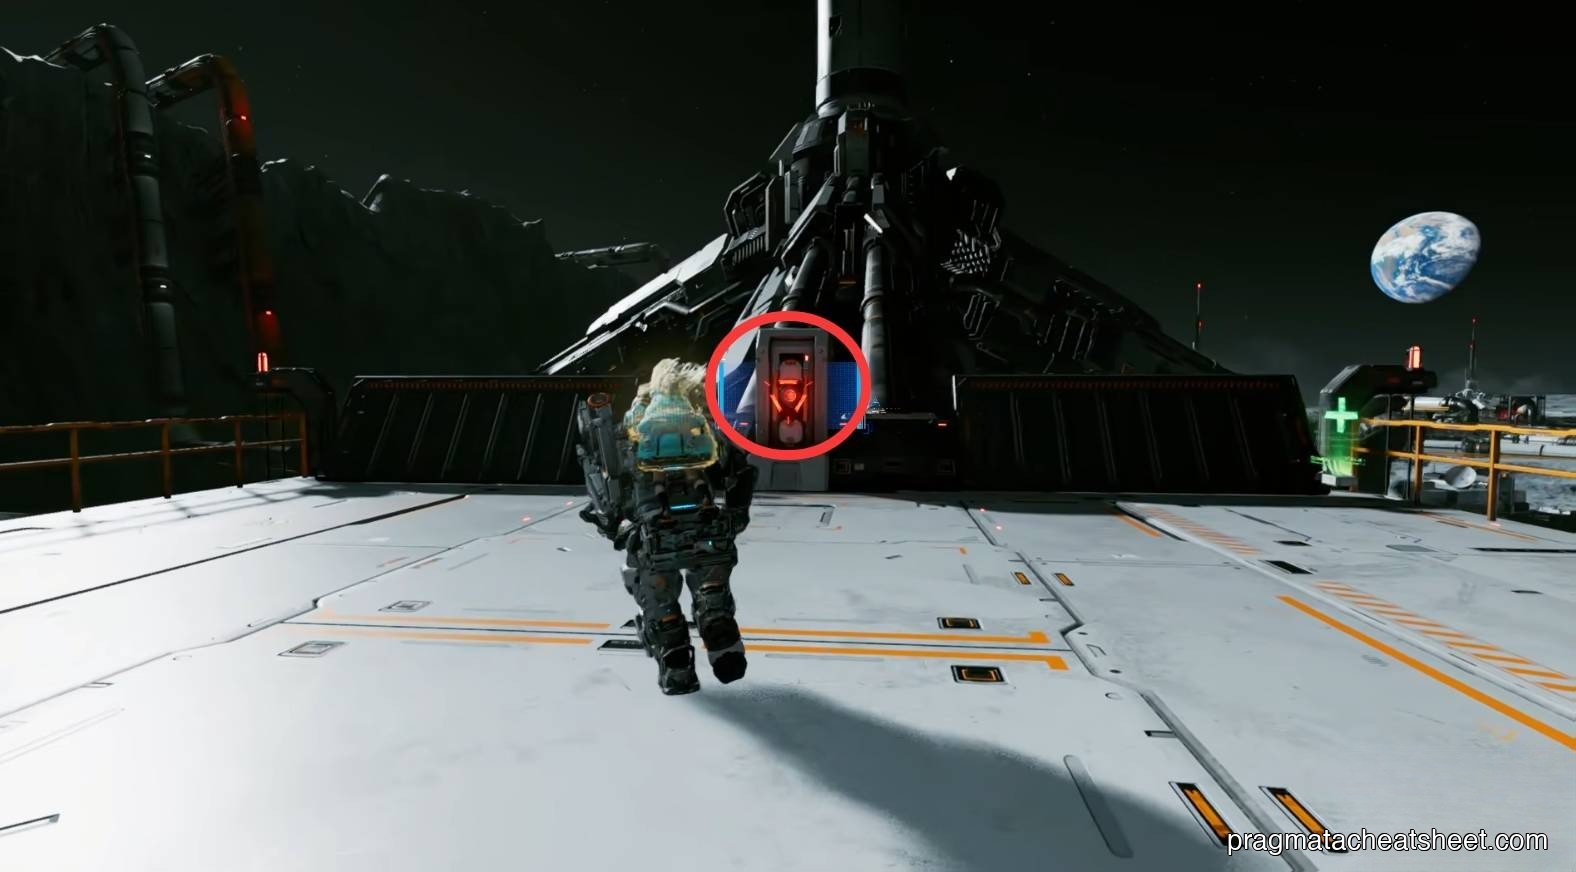
01 — Lunum Mines Entrance
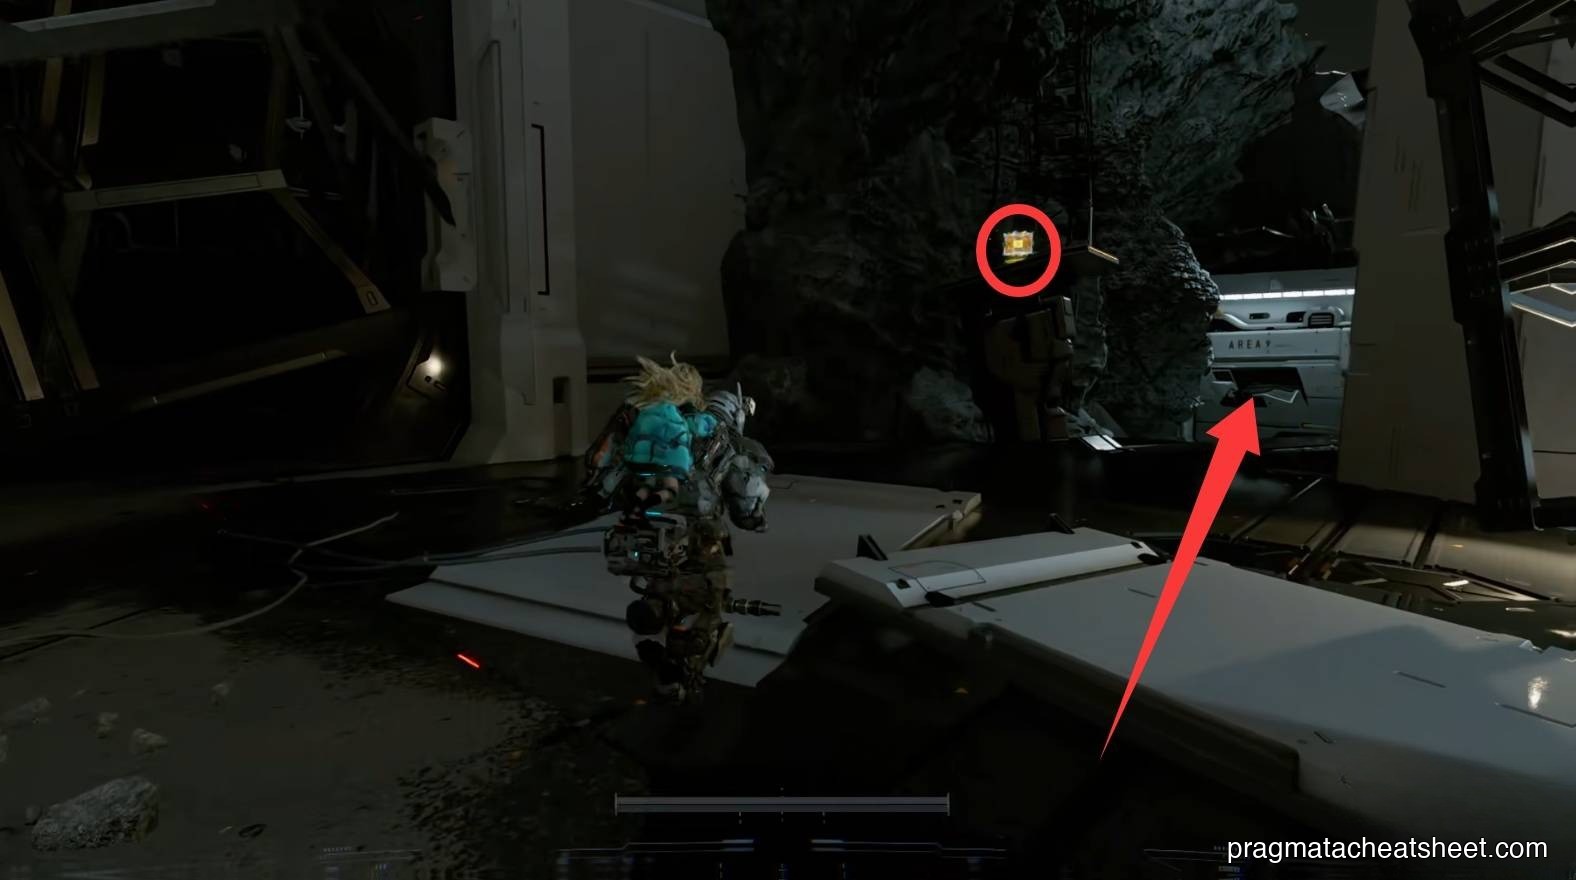
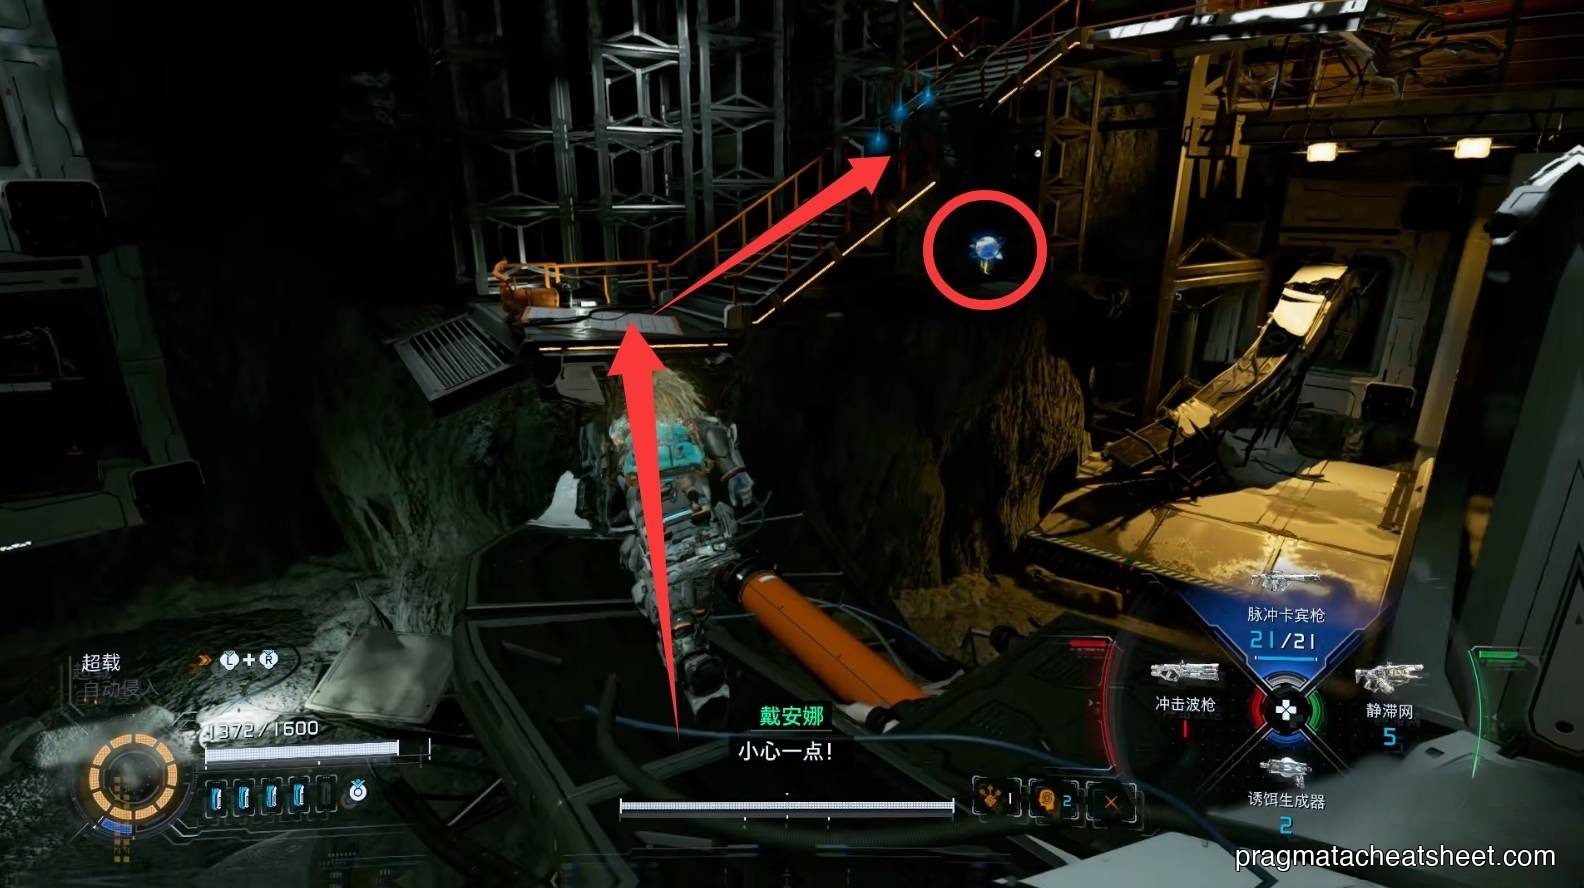
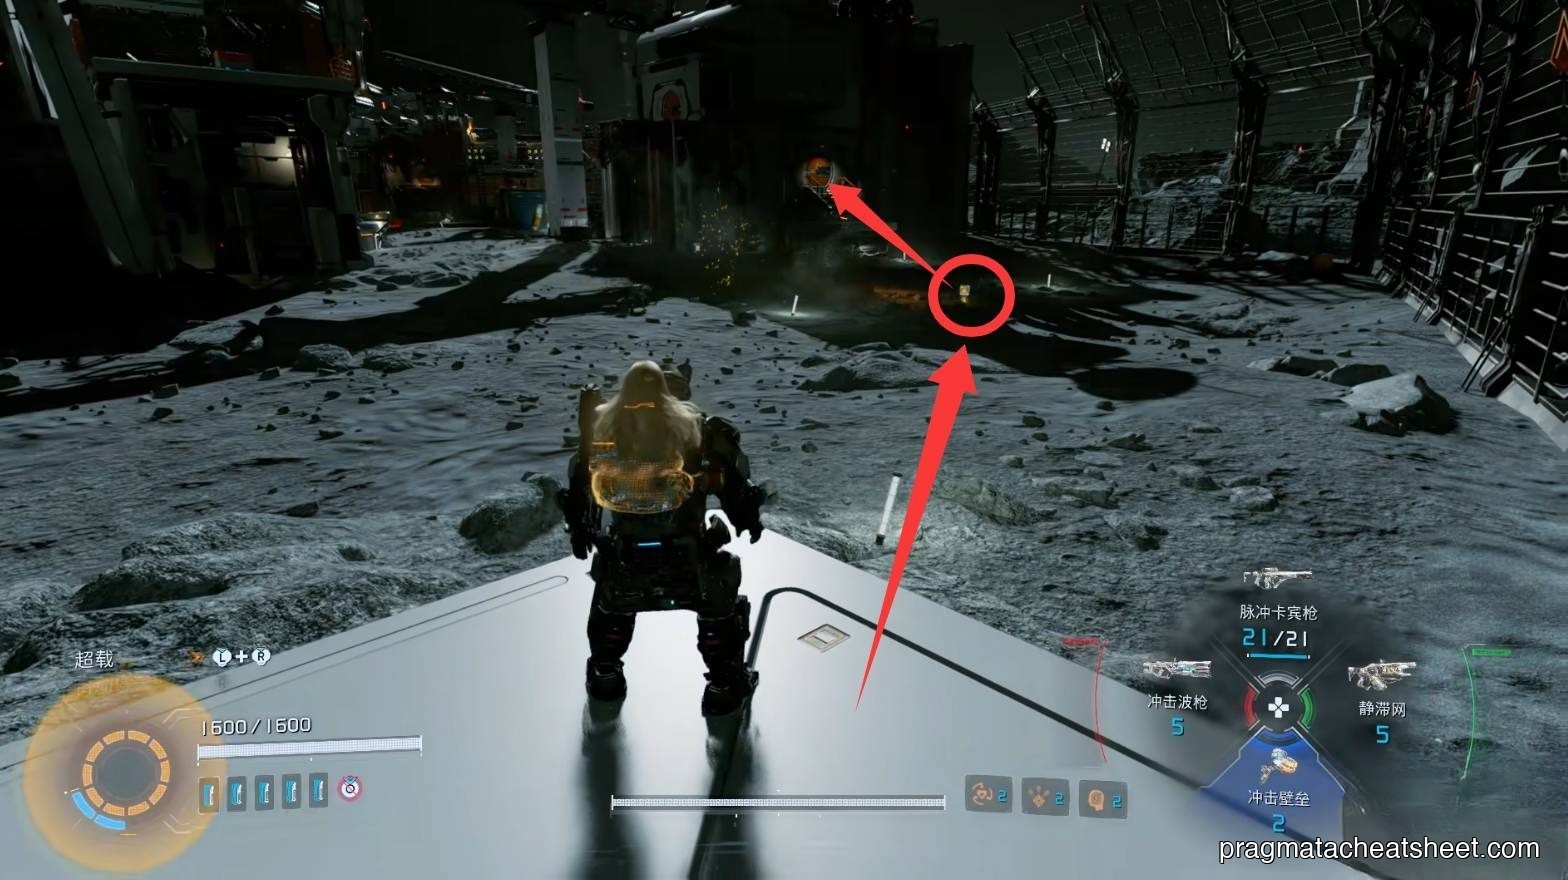
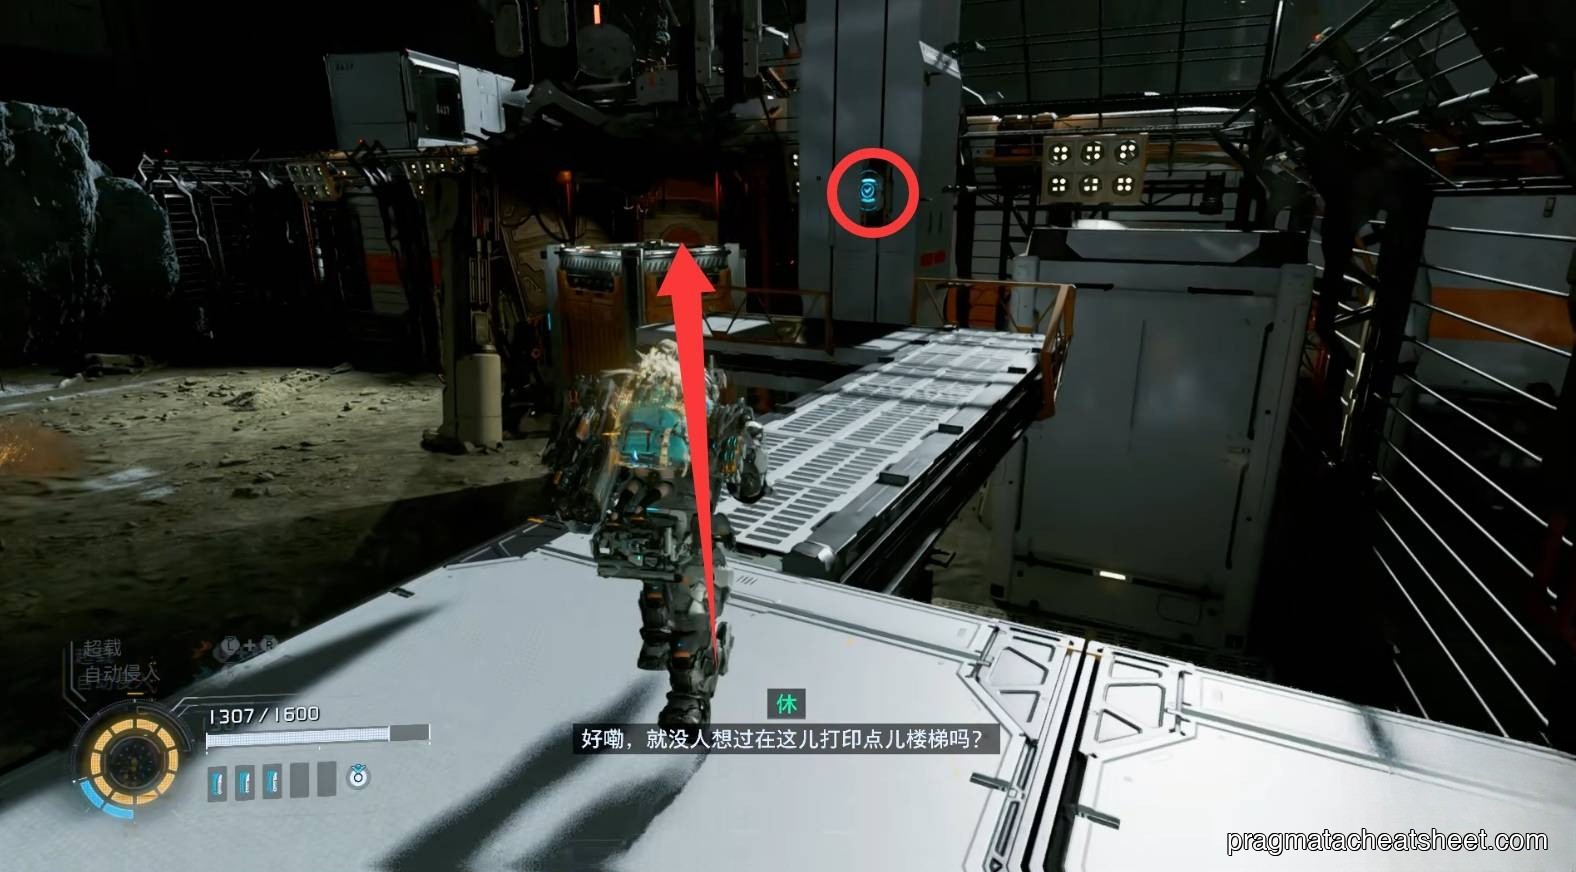
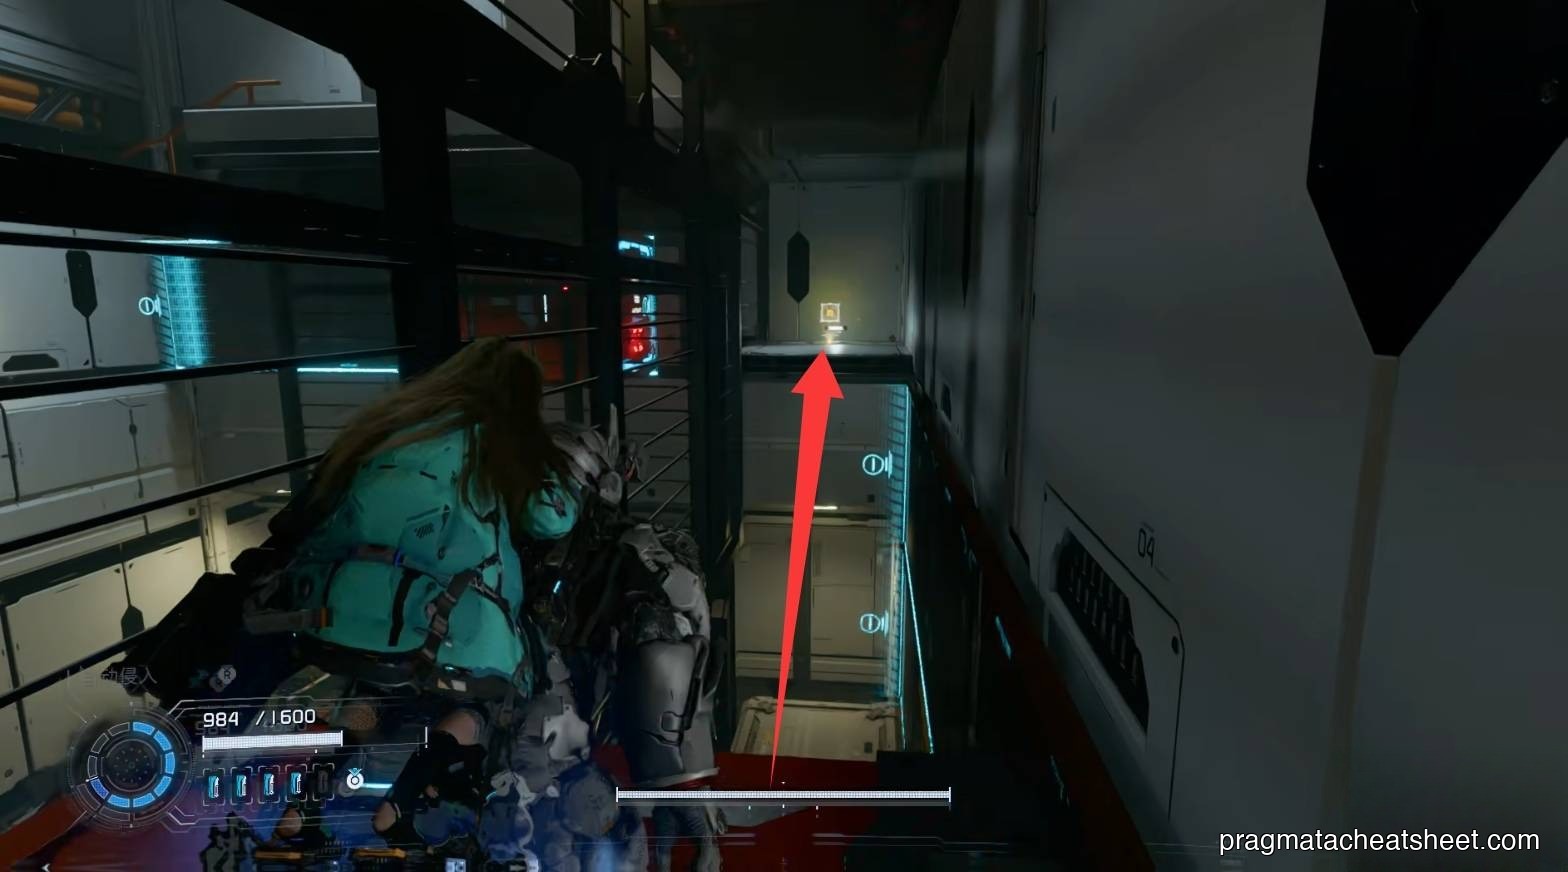
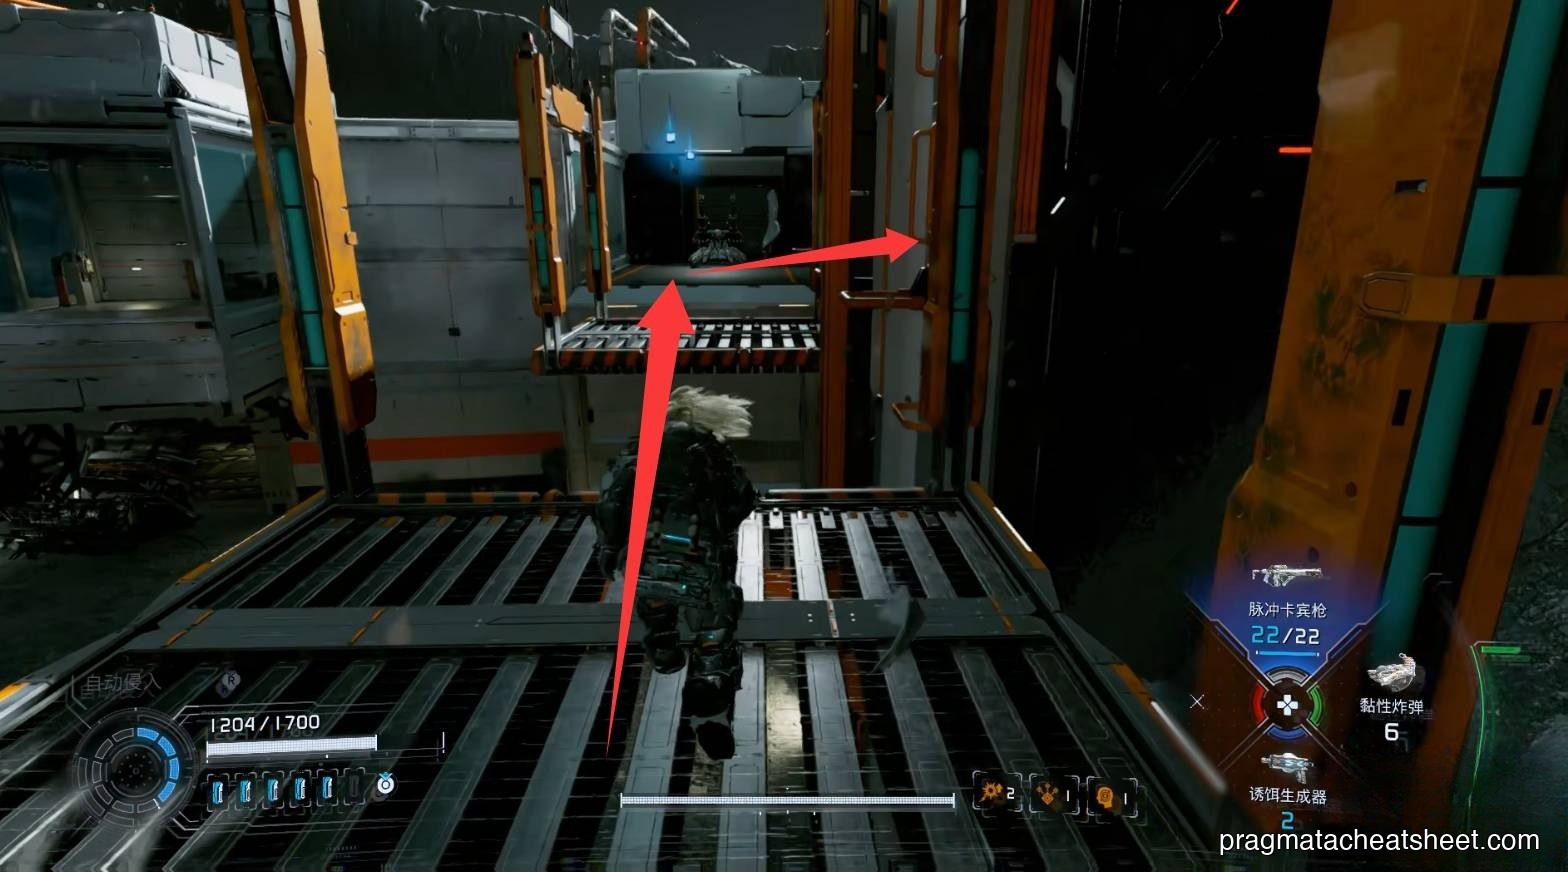
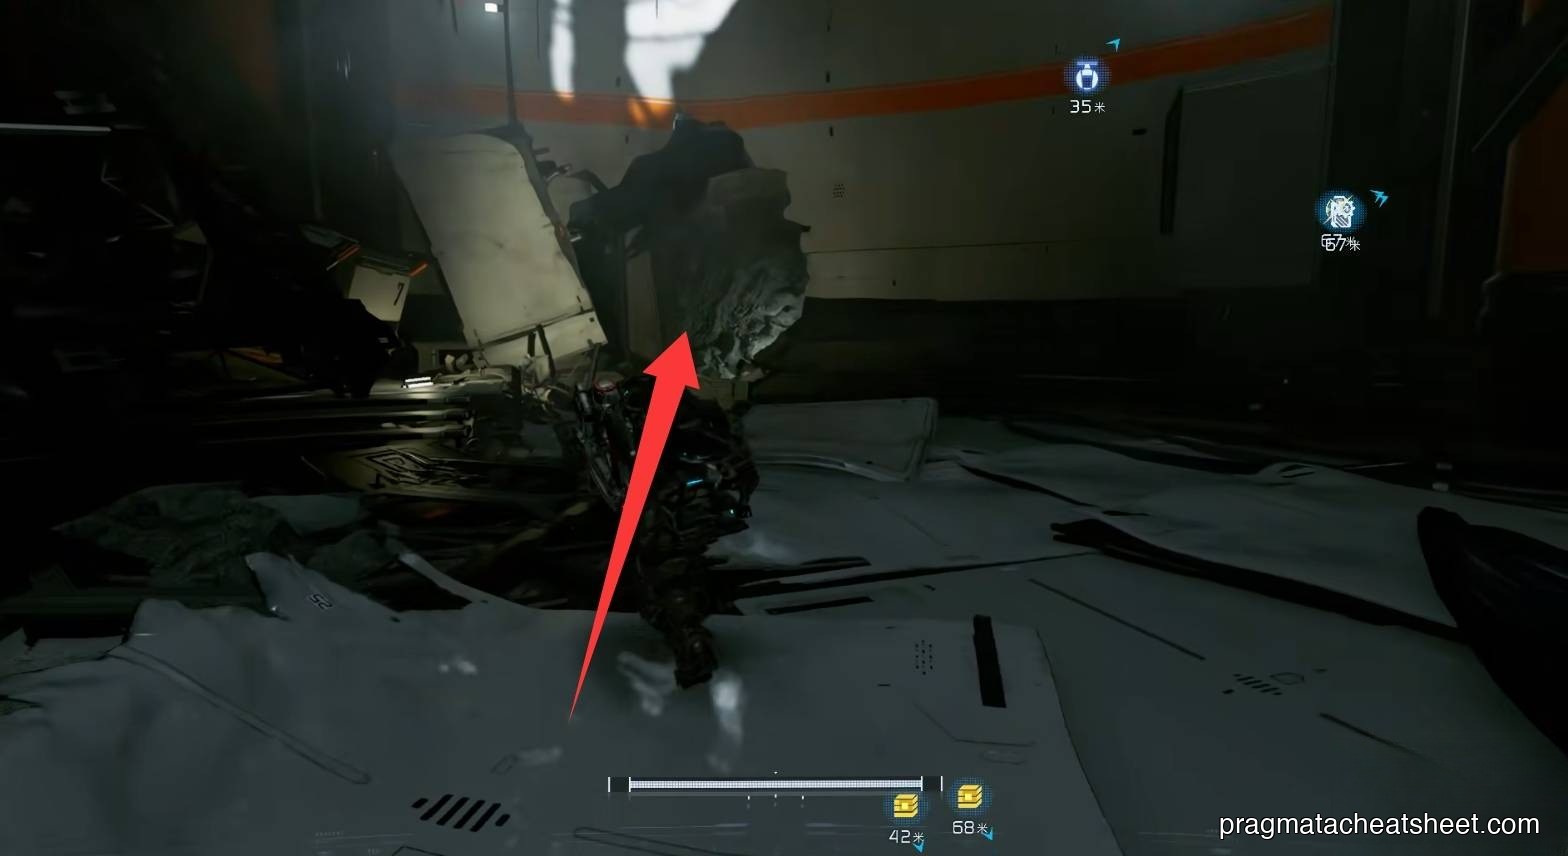
The low gravity lets you jump way further and higher than you're used to. Up high on arrival: Upgrade Component.
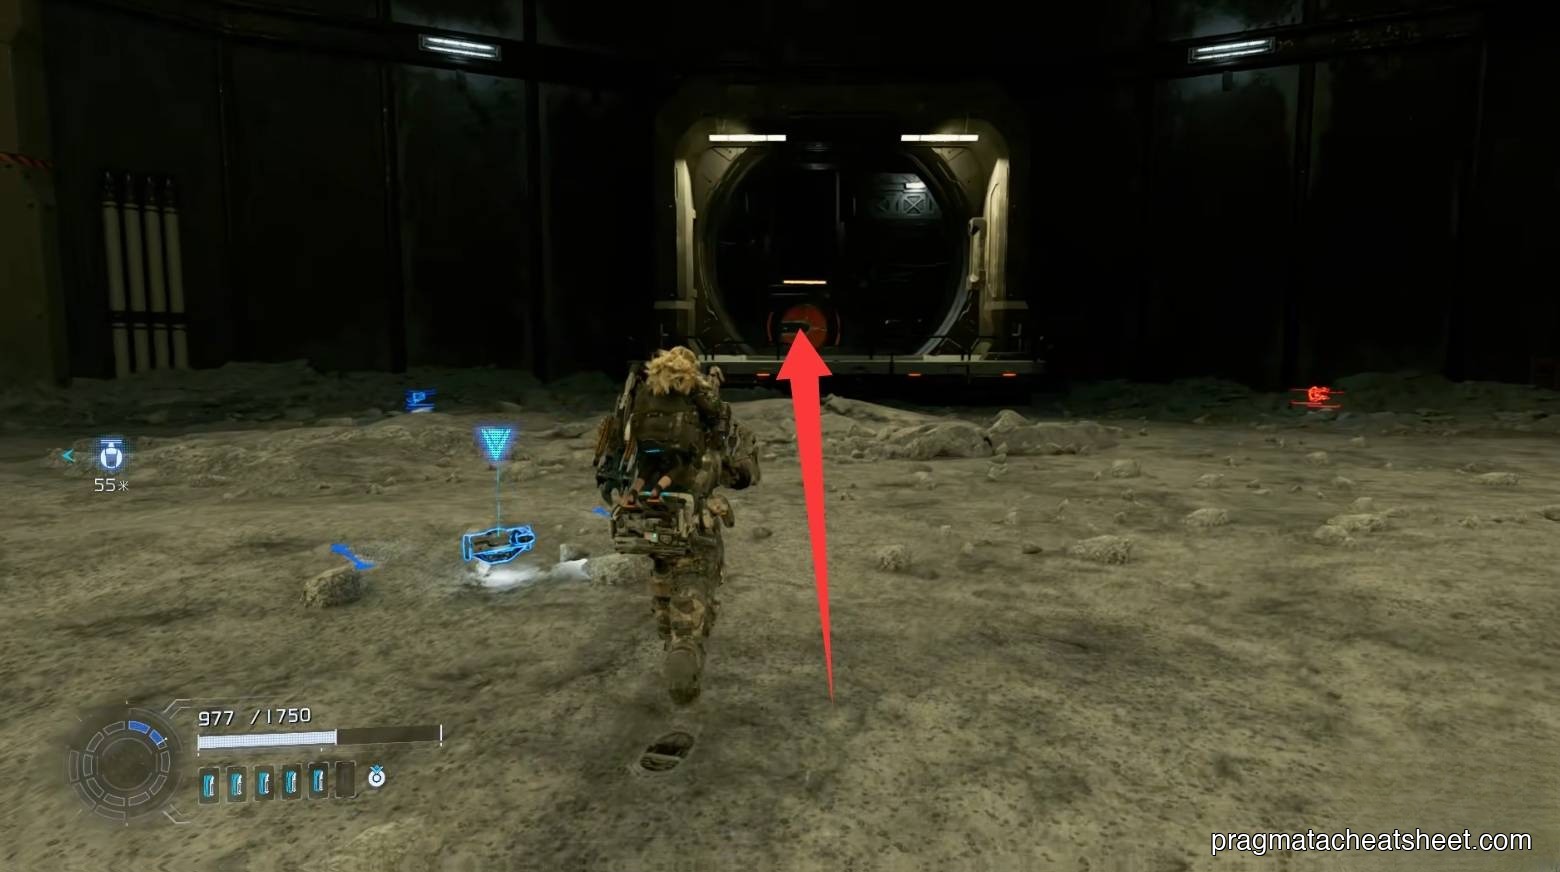
Through the room, ride the elevator down.
- Right cave · clear a barrier for a Mod
- Center path · jump up high, the red pillar beside the wall has an Upgrade Component
Continue forward for the Homing Missiles weapon.
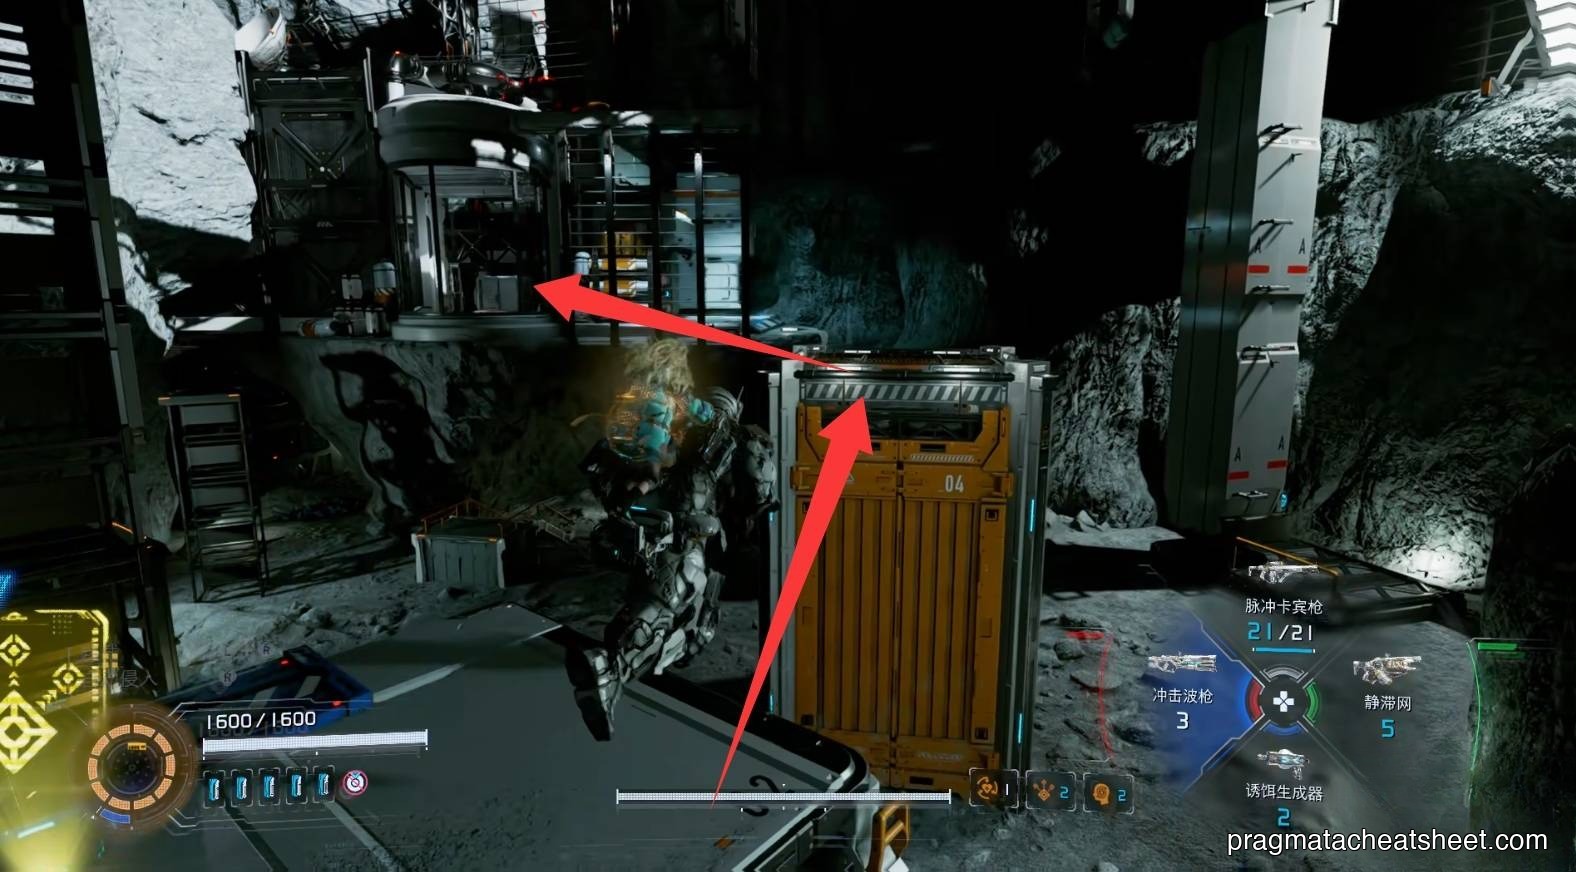
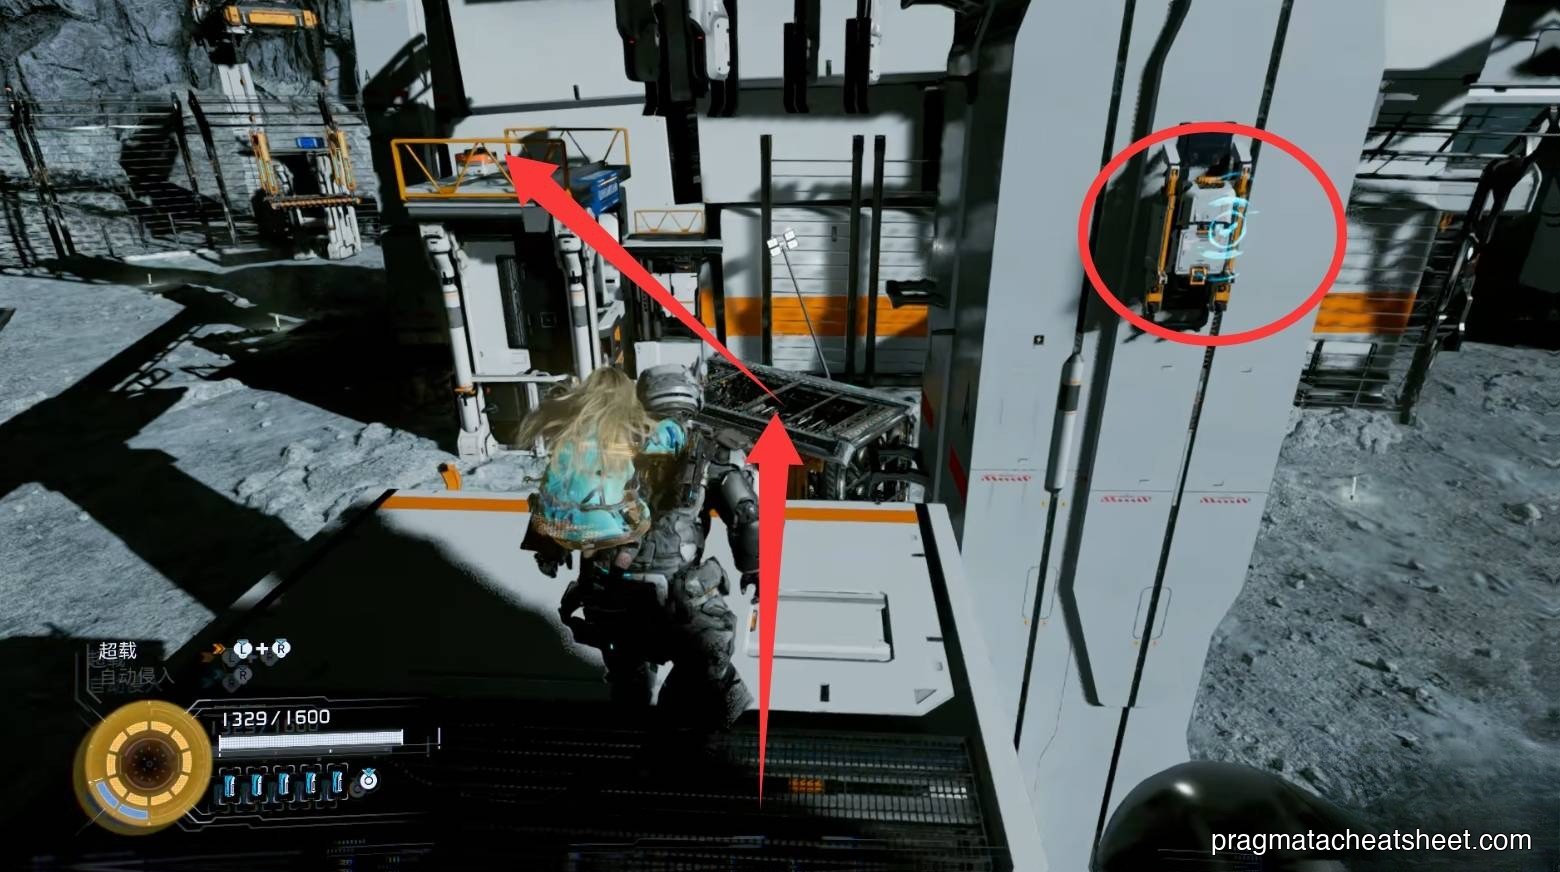
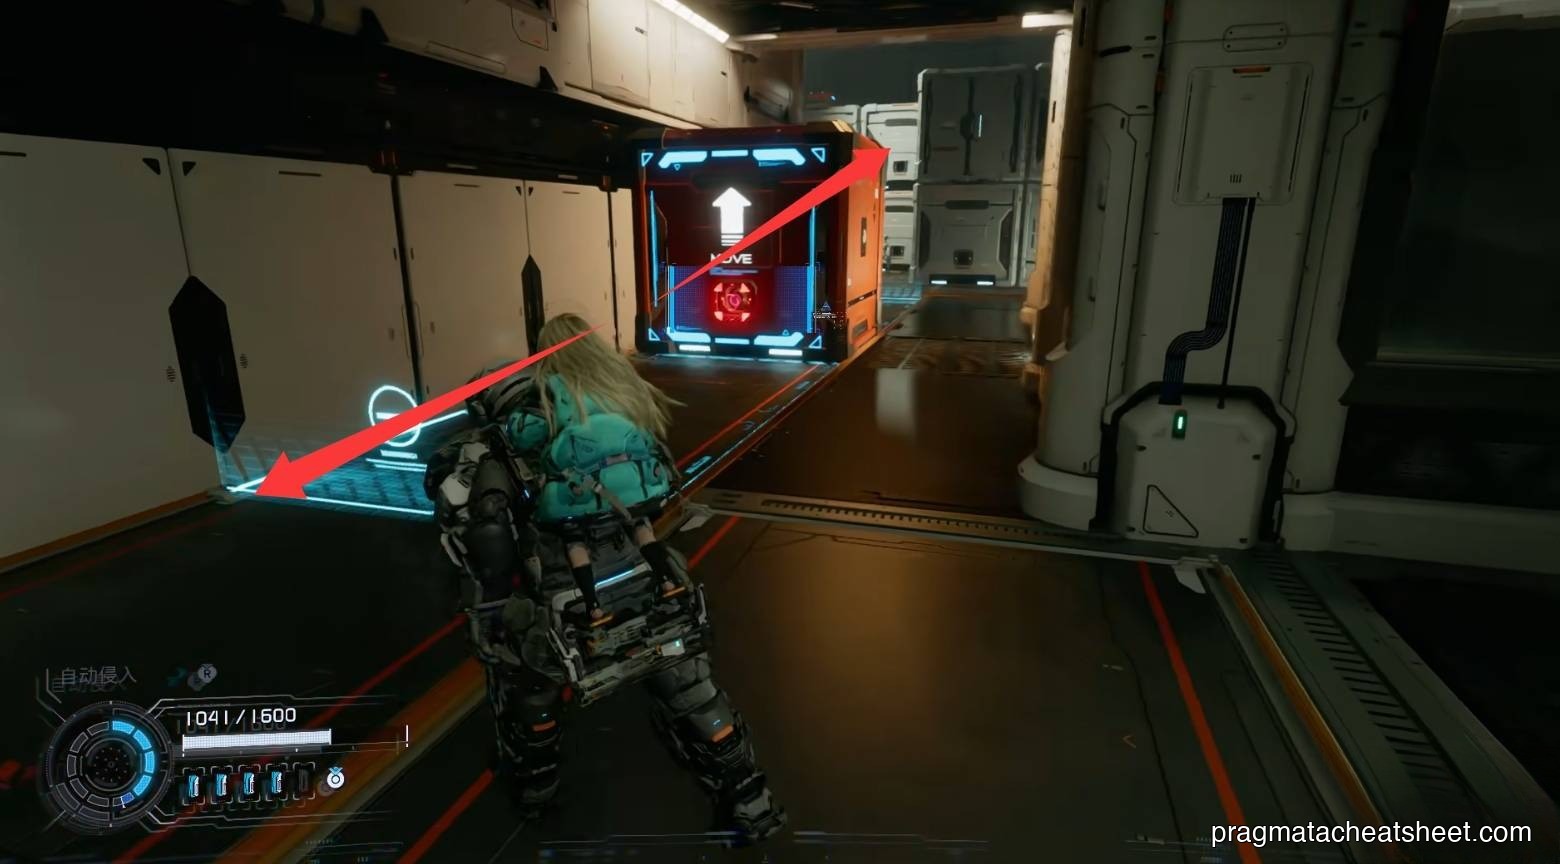
Crate drop puzzle
Hack a red node on the pillar to lower a crate. Clear the barrier to enter a cave for an Upgrade Component. Jump from the crate to a high Safe Box.
Use the crate to reach the far side.
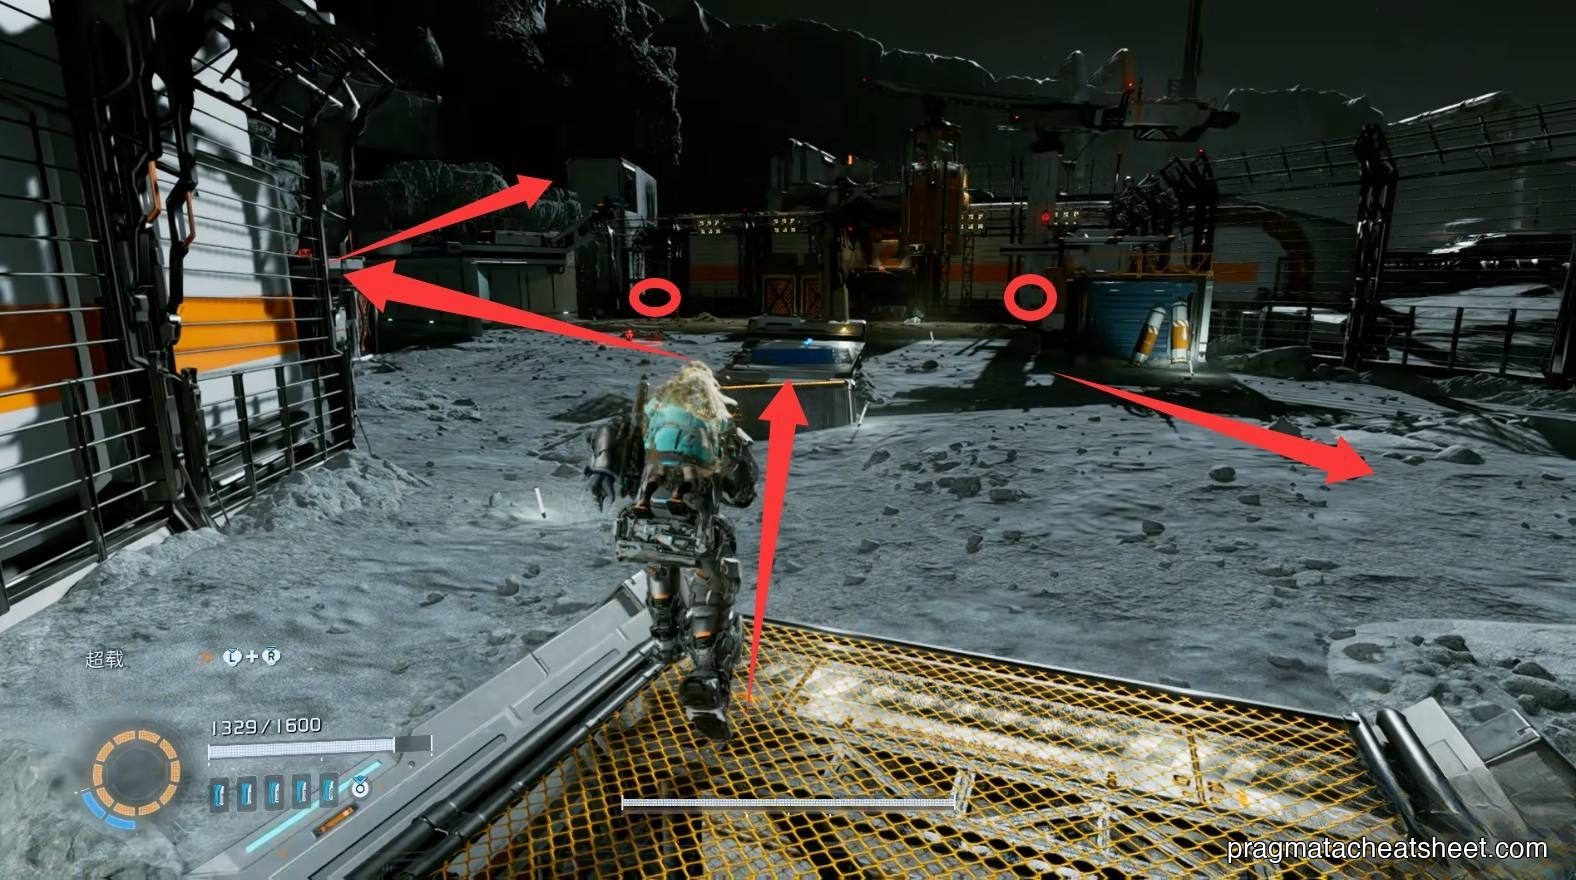
Luna Digger introduction
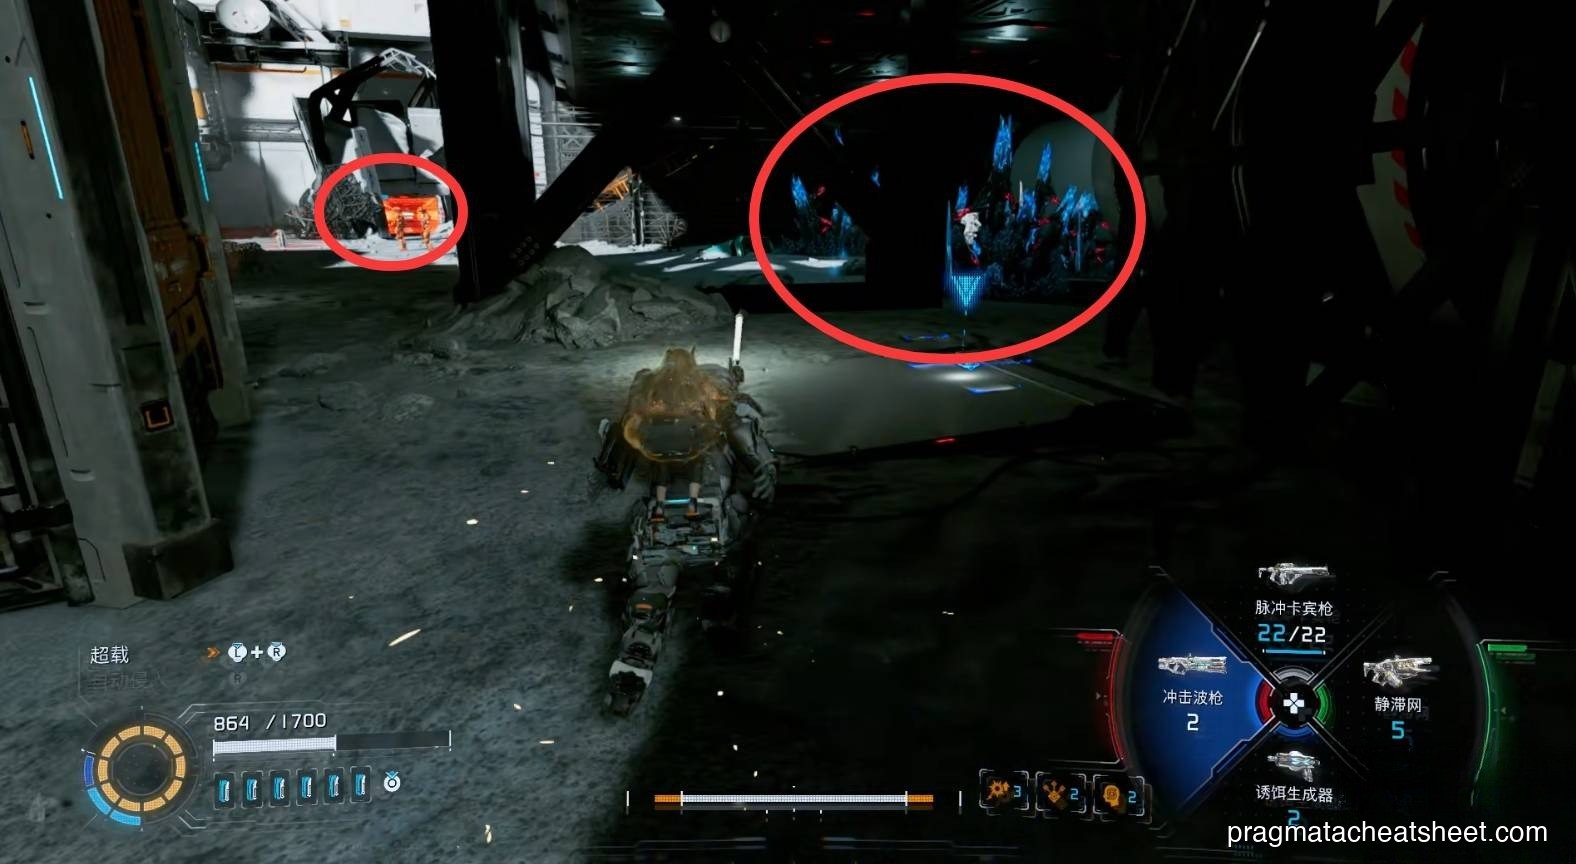
Luna Digger lives in the sand. Walking across it alerts the boss-class enemy; when it grabs you, hack quickly to escape. Drop for an Upgrade Component (the right-side red barrier is for later).
Enter the room ahead, clear enemies, look up behind you for another Upgrade Component.
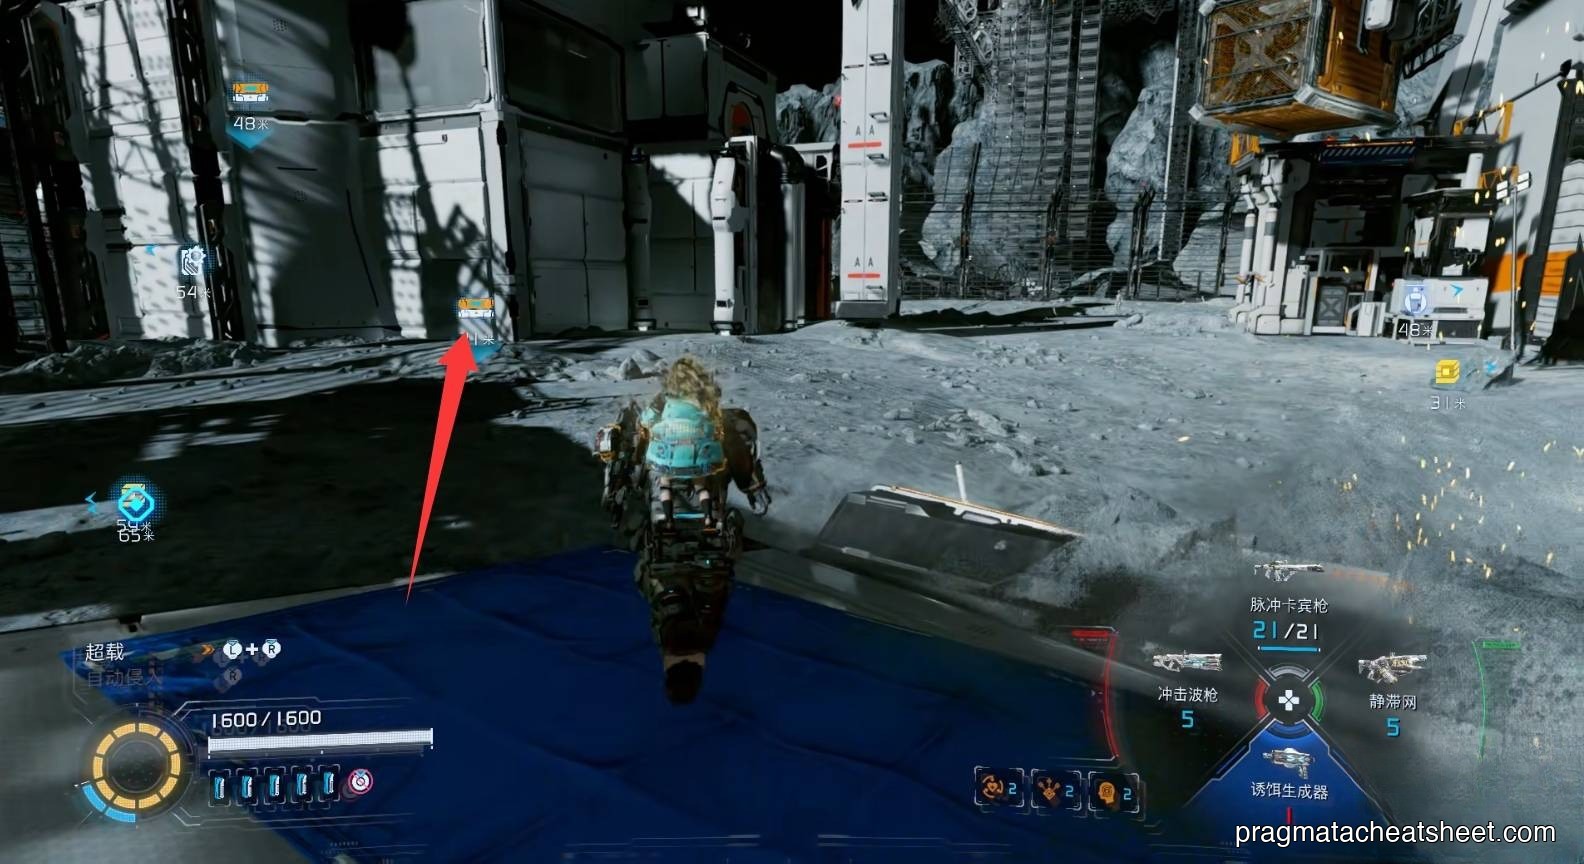
Exit onto the upper level of the earlier sand pit. Cross to the stairs for a REM chip, then up for the Escape Hatch.
Items in this area
- Homing Missiles · dropped weapon
- Safe Box × 1
- Mod × 1
- REM chip × 1
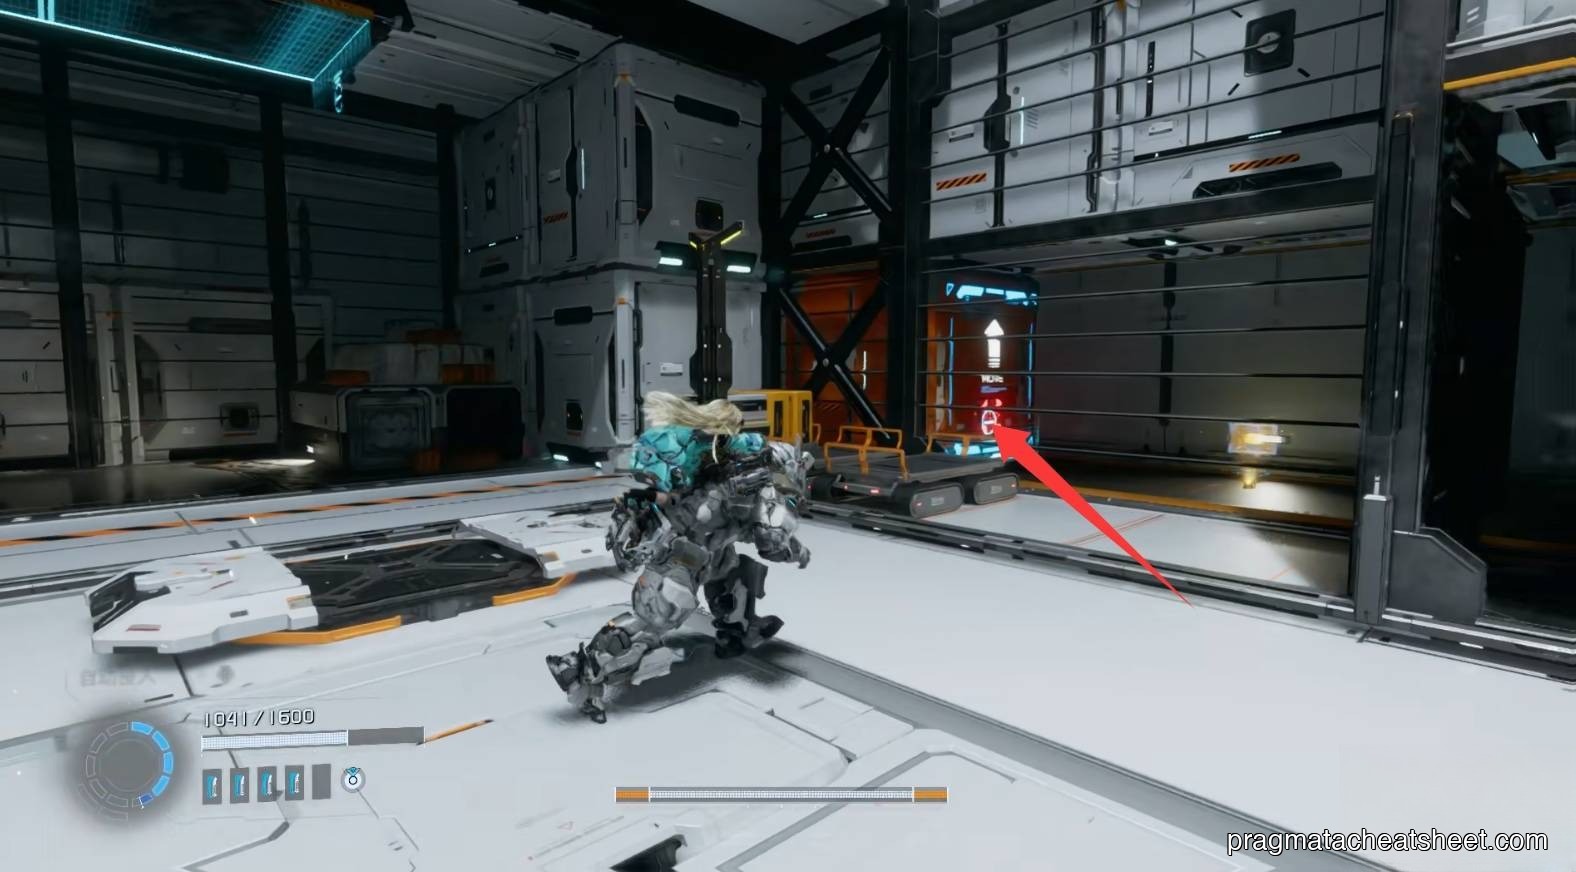
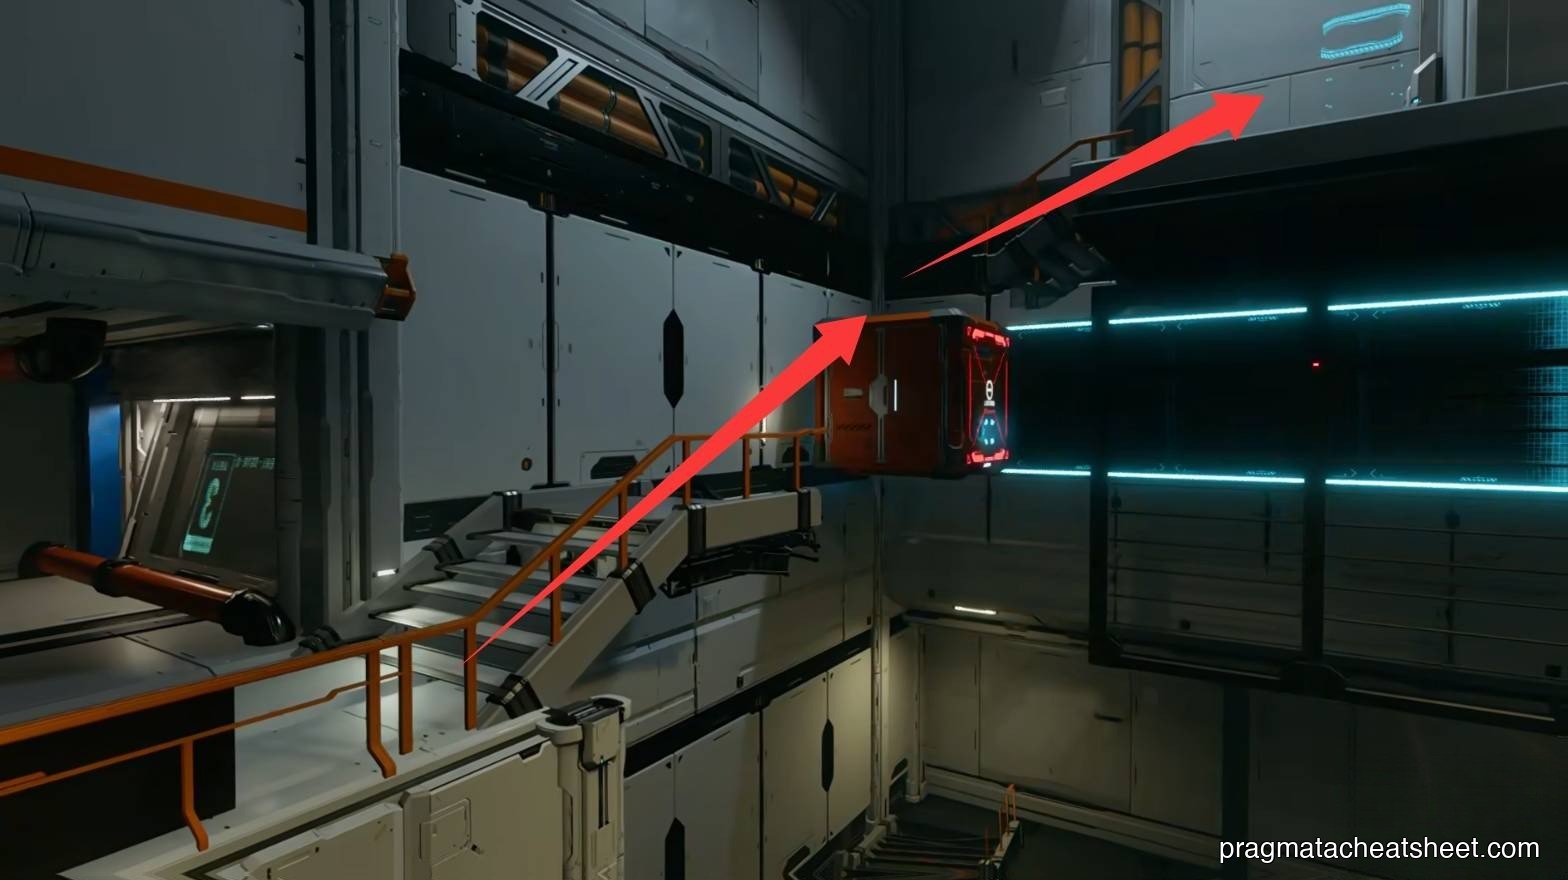
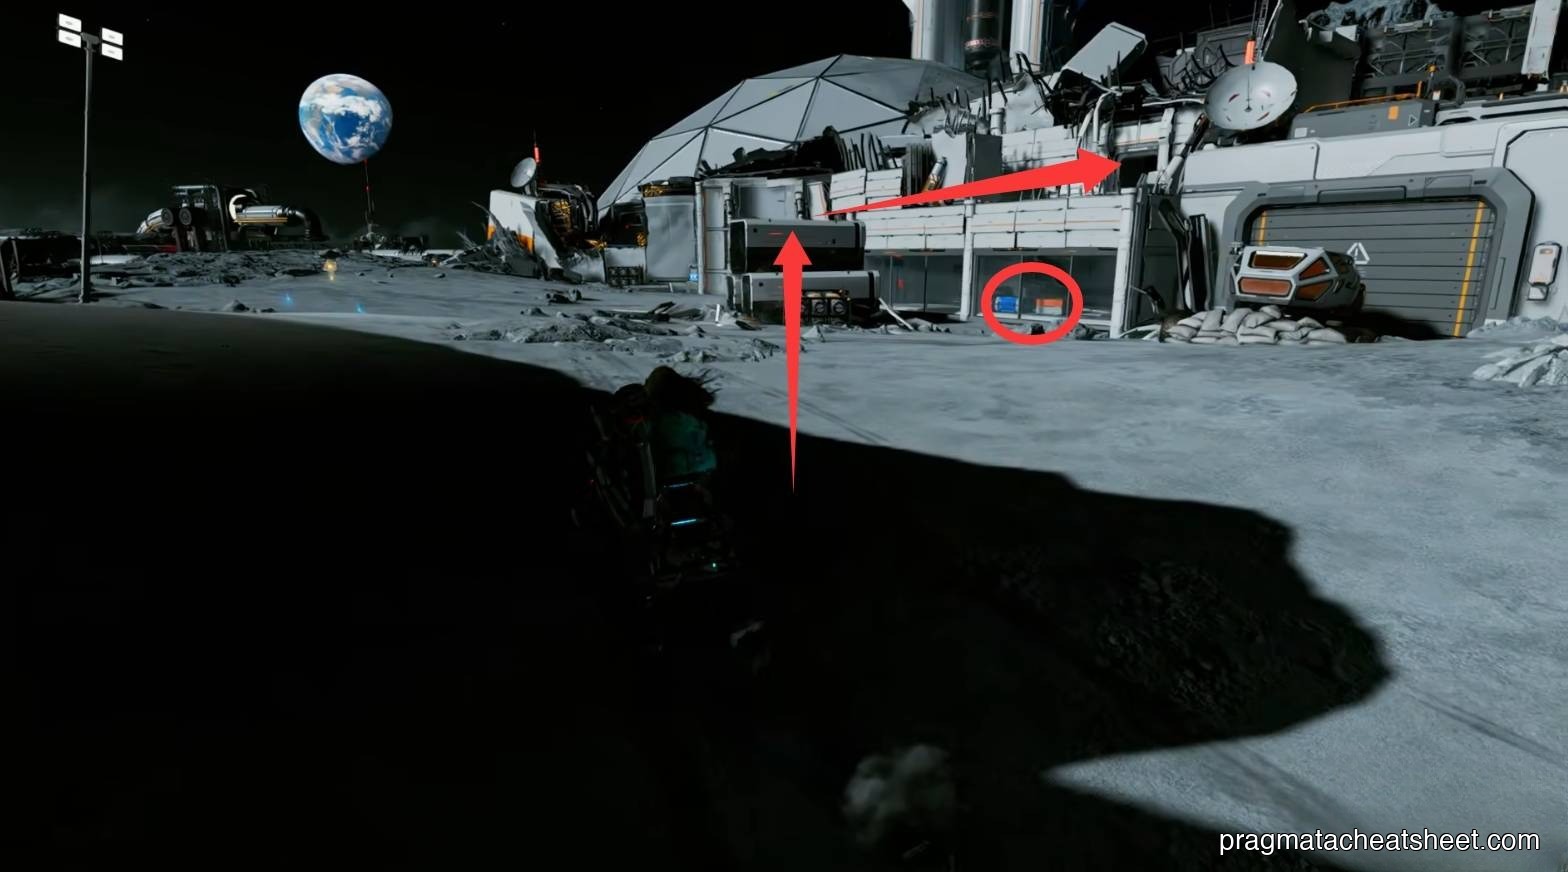
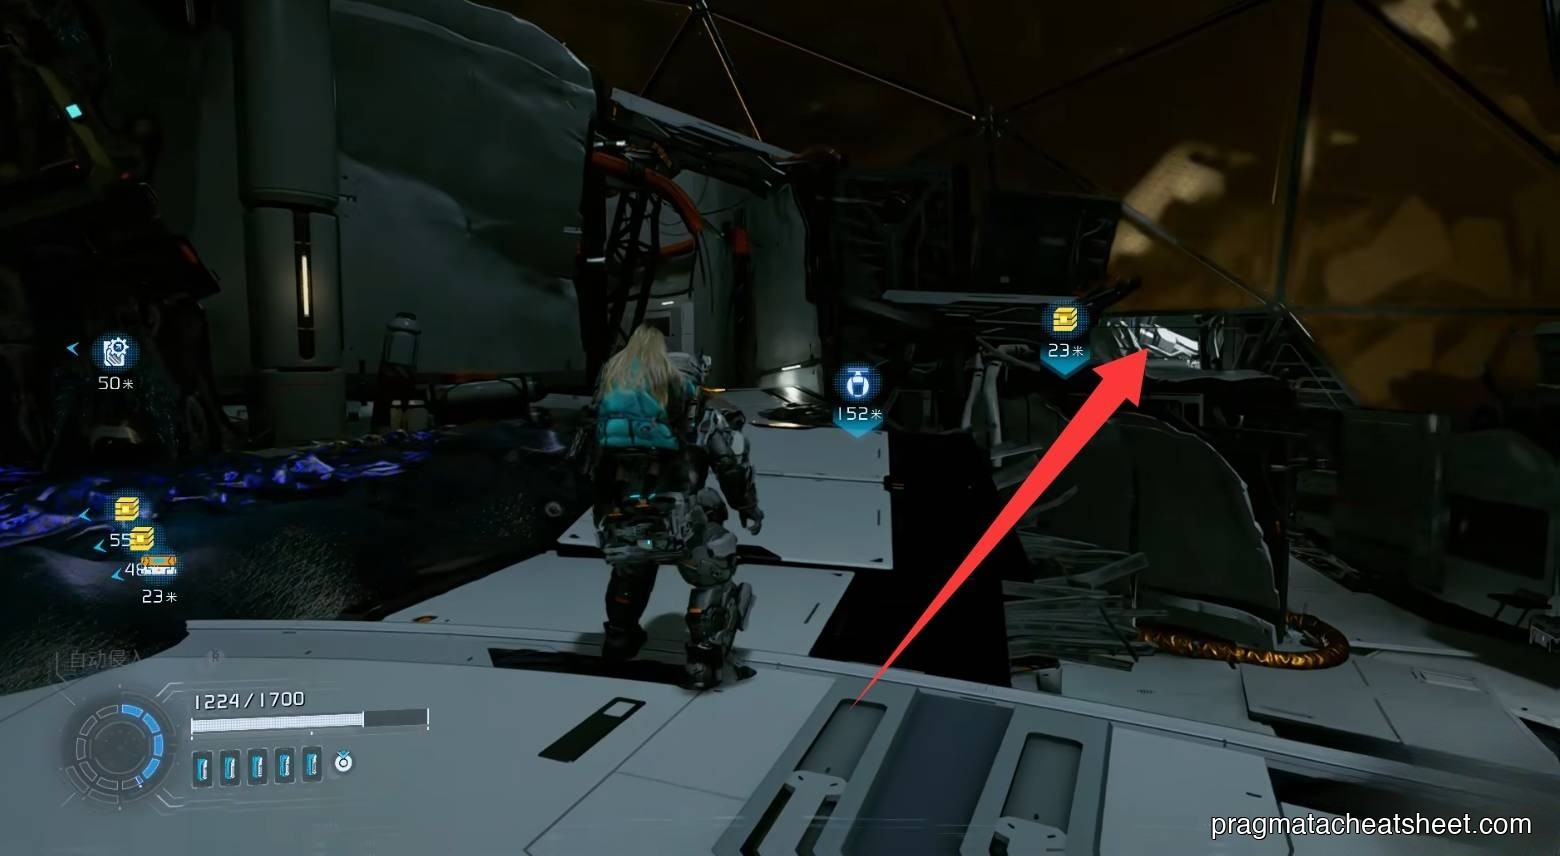
02 — Crane Area
The Impact Barrier weapon sits beside the Hatch.
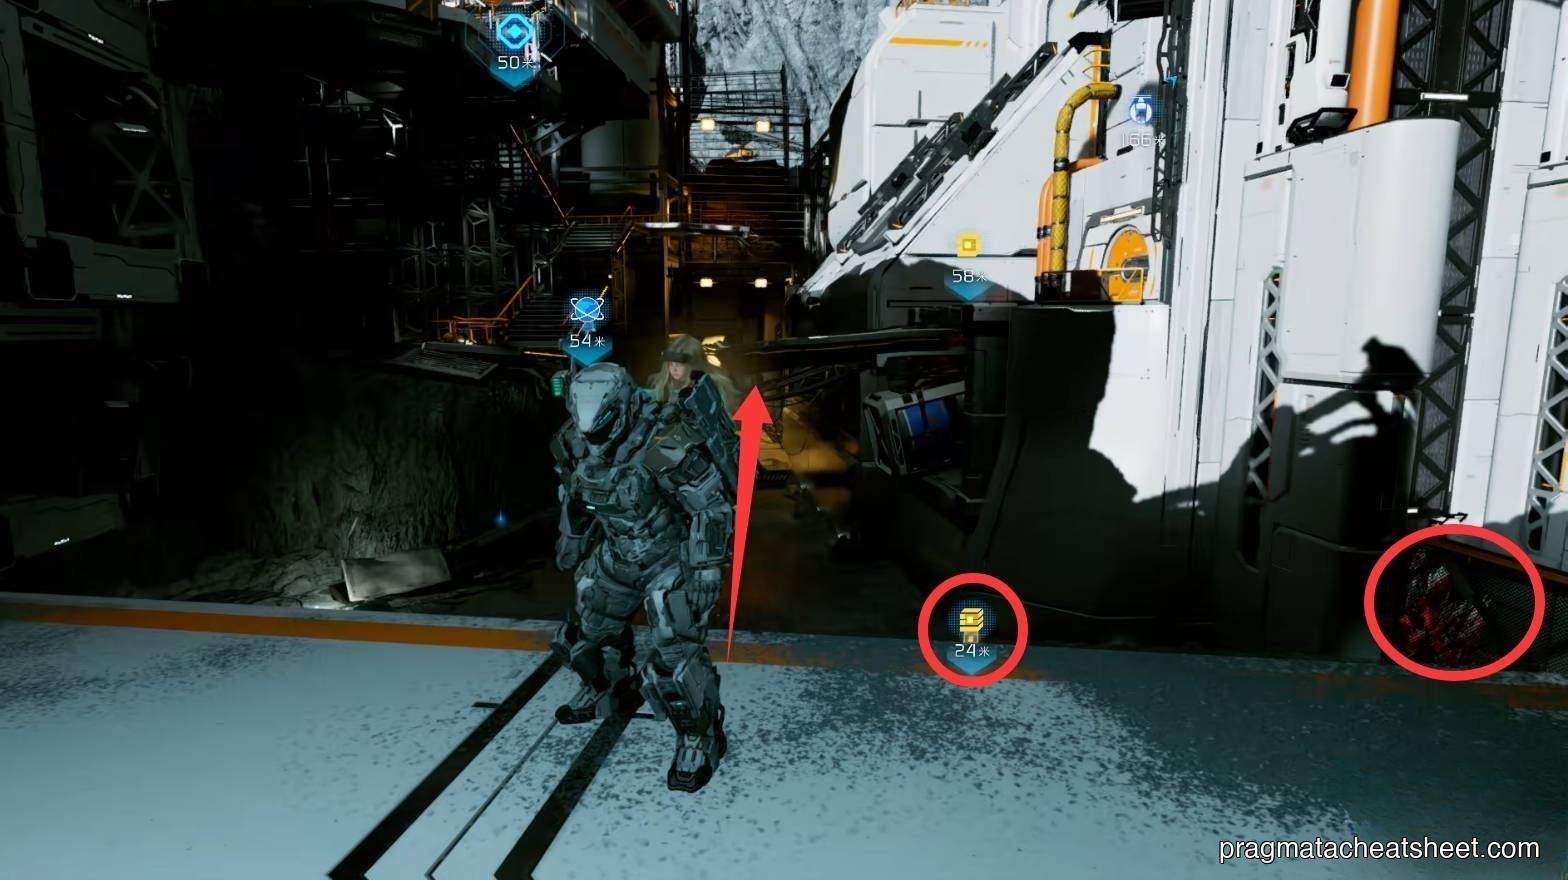
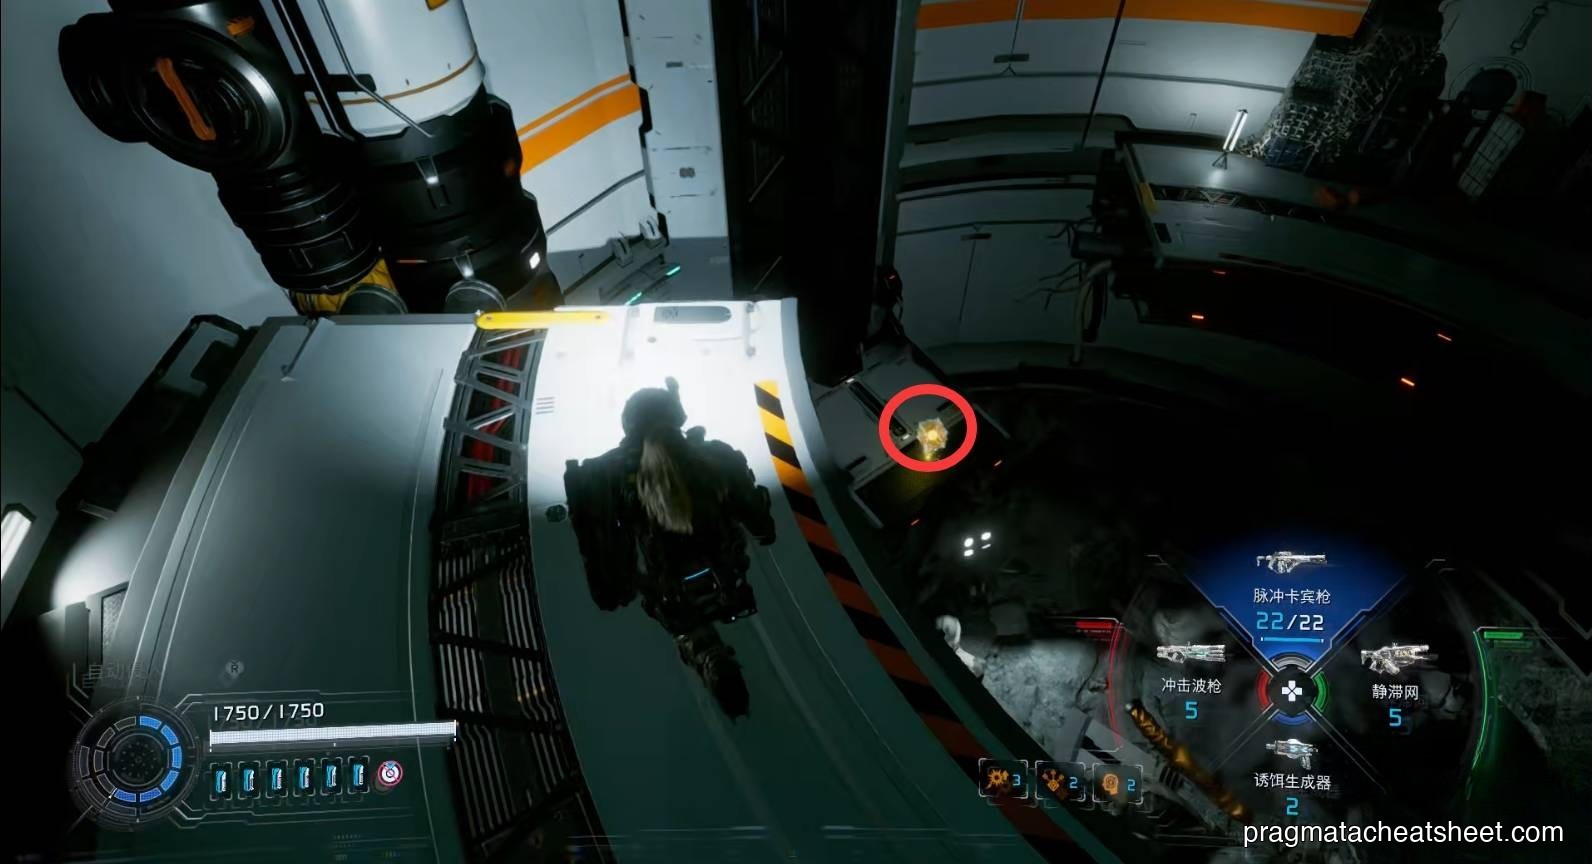
Exit right corner: Upgrade Component.
Watch the sand — Digger is still hunting. Right-side up: Mod. Front platform: Upgrade Component.
Sand mines
Mines in the sand can be hacked as the Digger approaches — temporarily traps it.

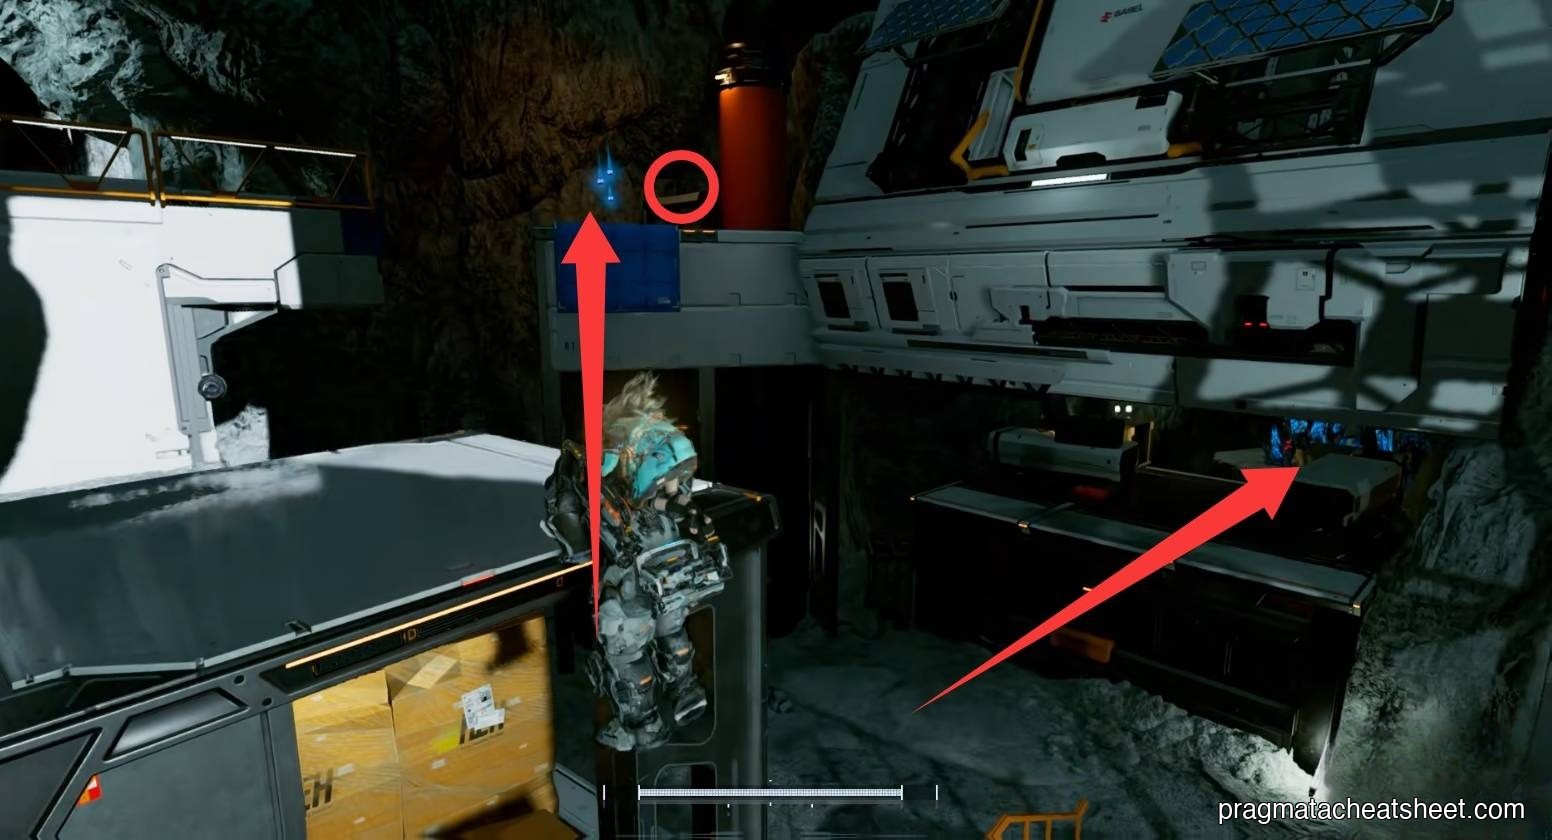
Cross for a sand-surface Upgrade Component, enter the building, upstairs Safe Box.
Mini Cabin and crate rooftop
Upstairs exit: Mini Cabin to the right.

Hack-lower a crate, cross for a Safe Box.
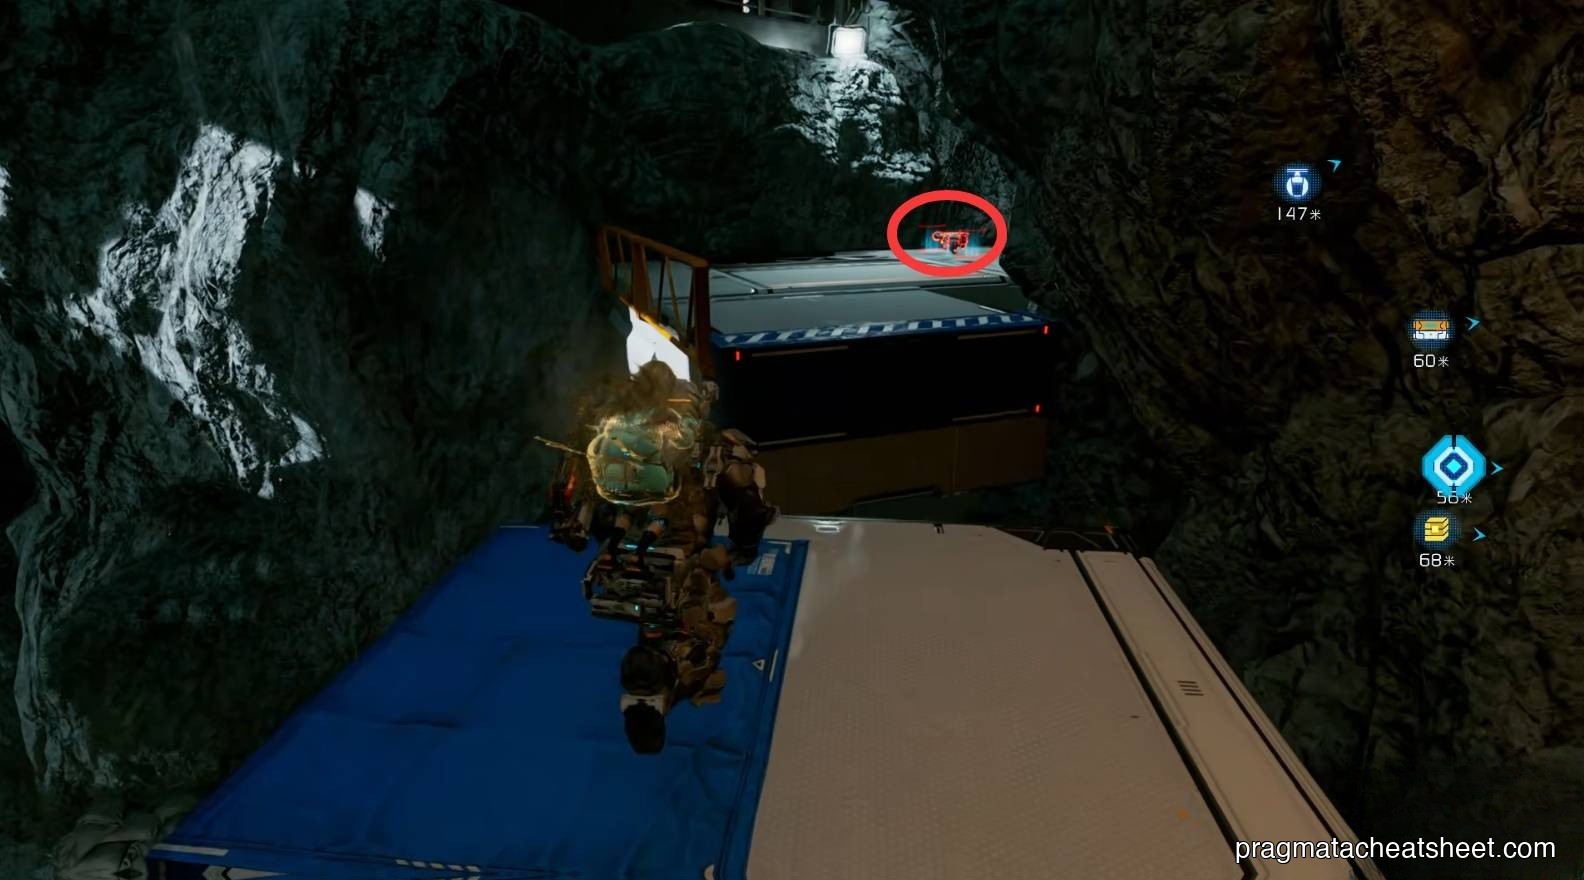
Keep moving. Left side up: Upgrade Component + Mod. Sand area corners: two Upgrade Components. Behind you, a hidden wall → Safe Box. Main route: climb the right high ground, hack to lower a crate.
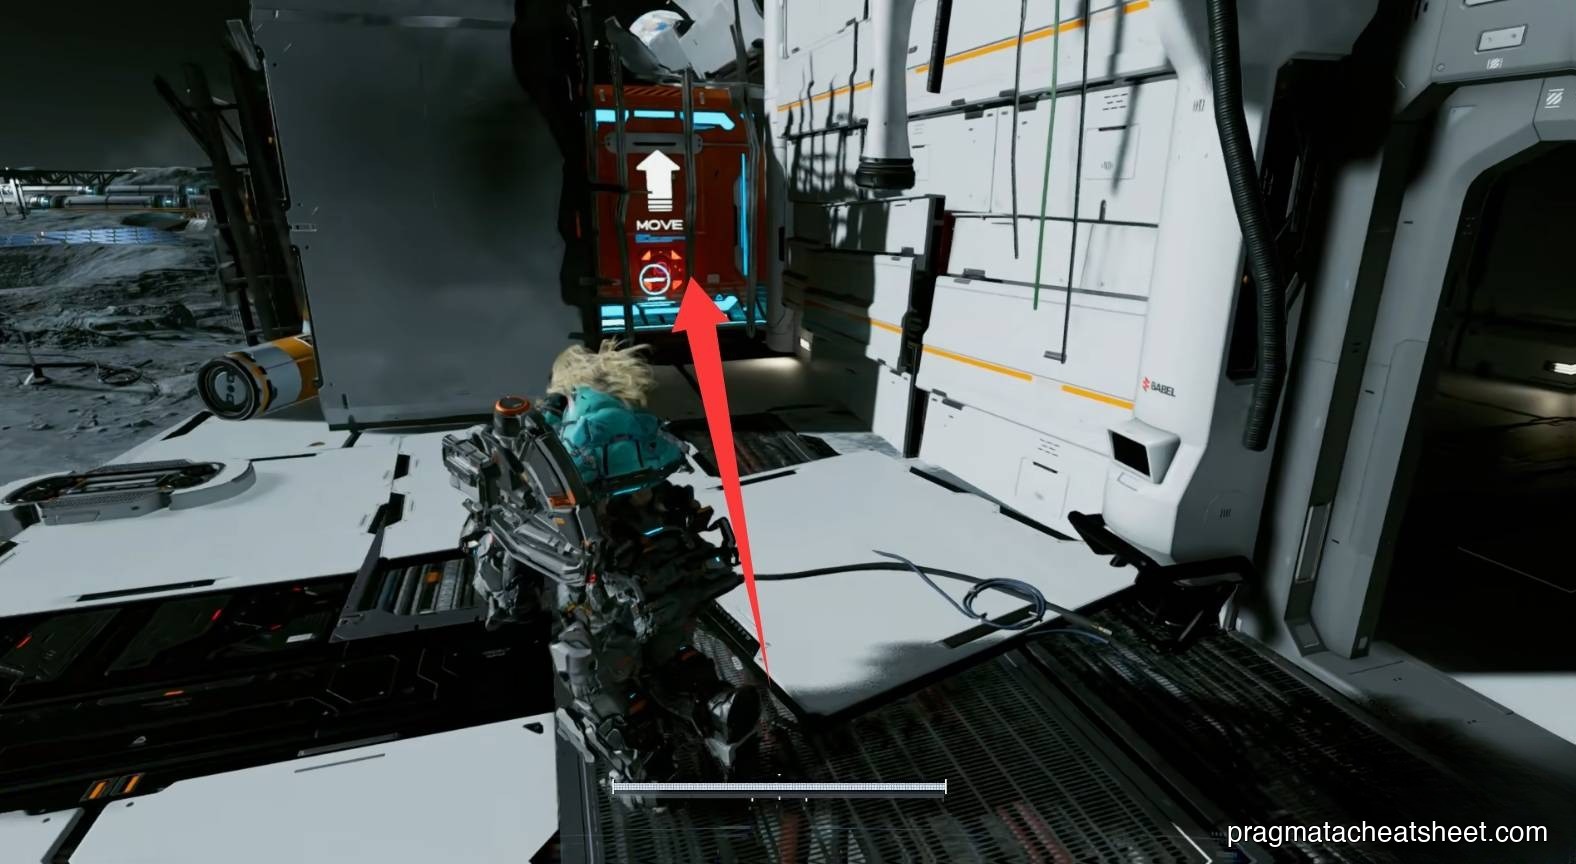
Cross, enter the door, ride the elevator down → Escape Hatch.
Items in this area
- Impact Barrier · dropped weapon
- Safe Box × 3
- Mod × 2
- Mini Cabin × 1
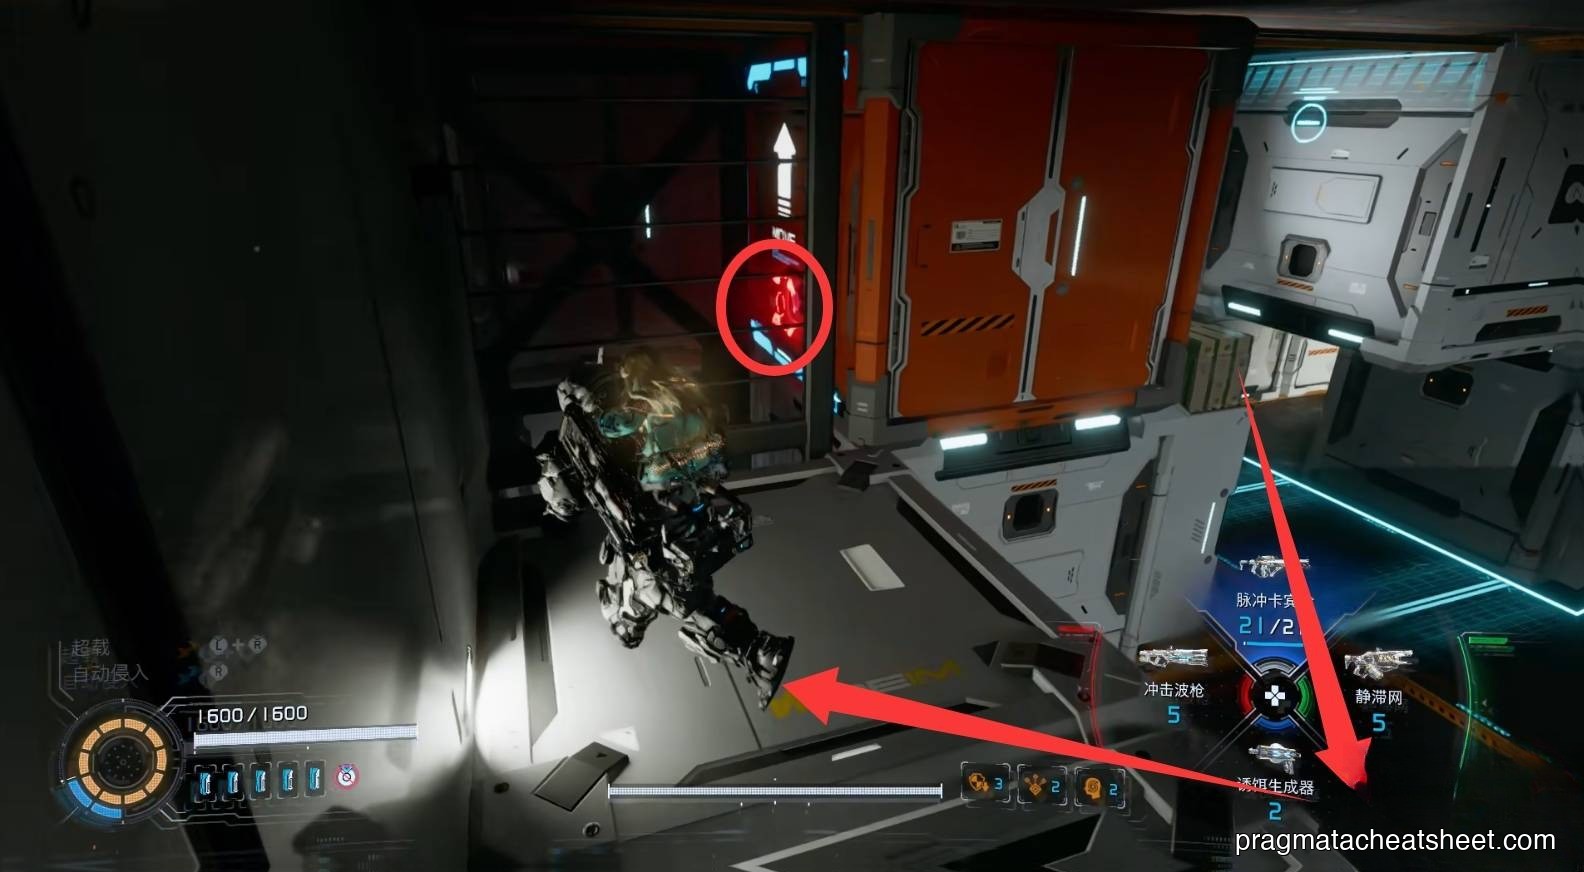
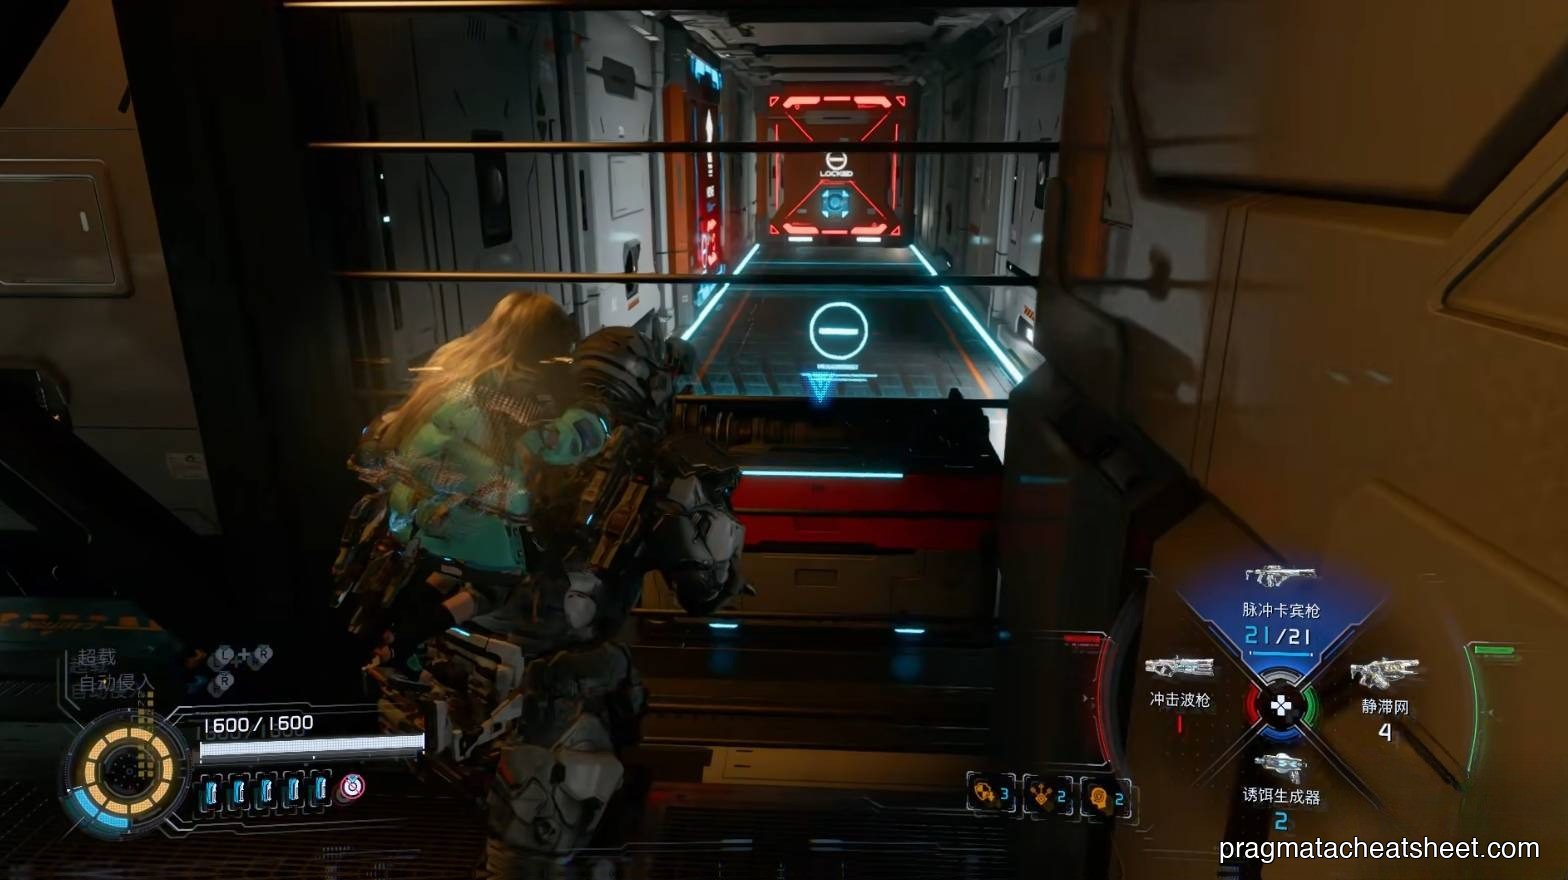
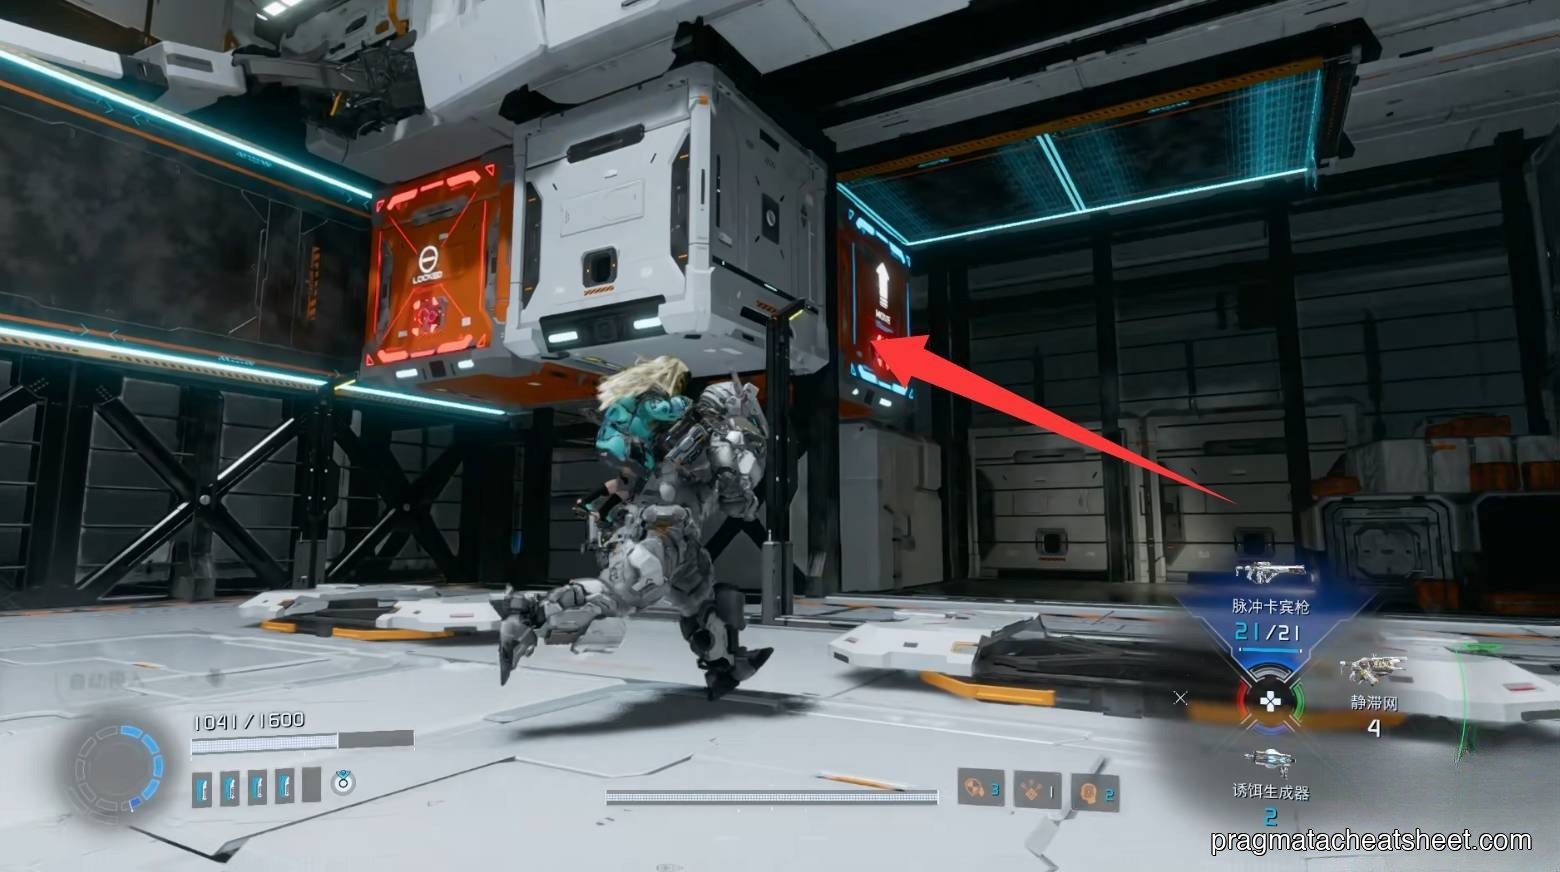
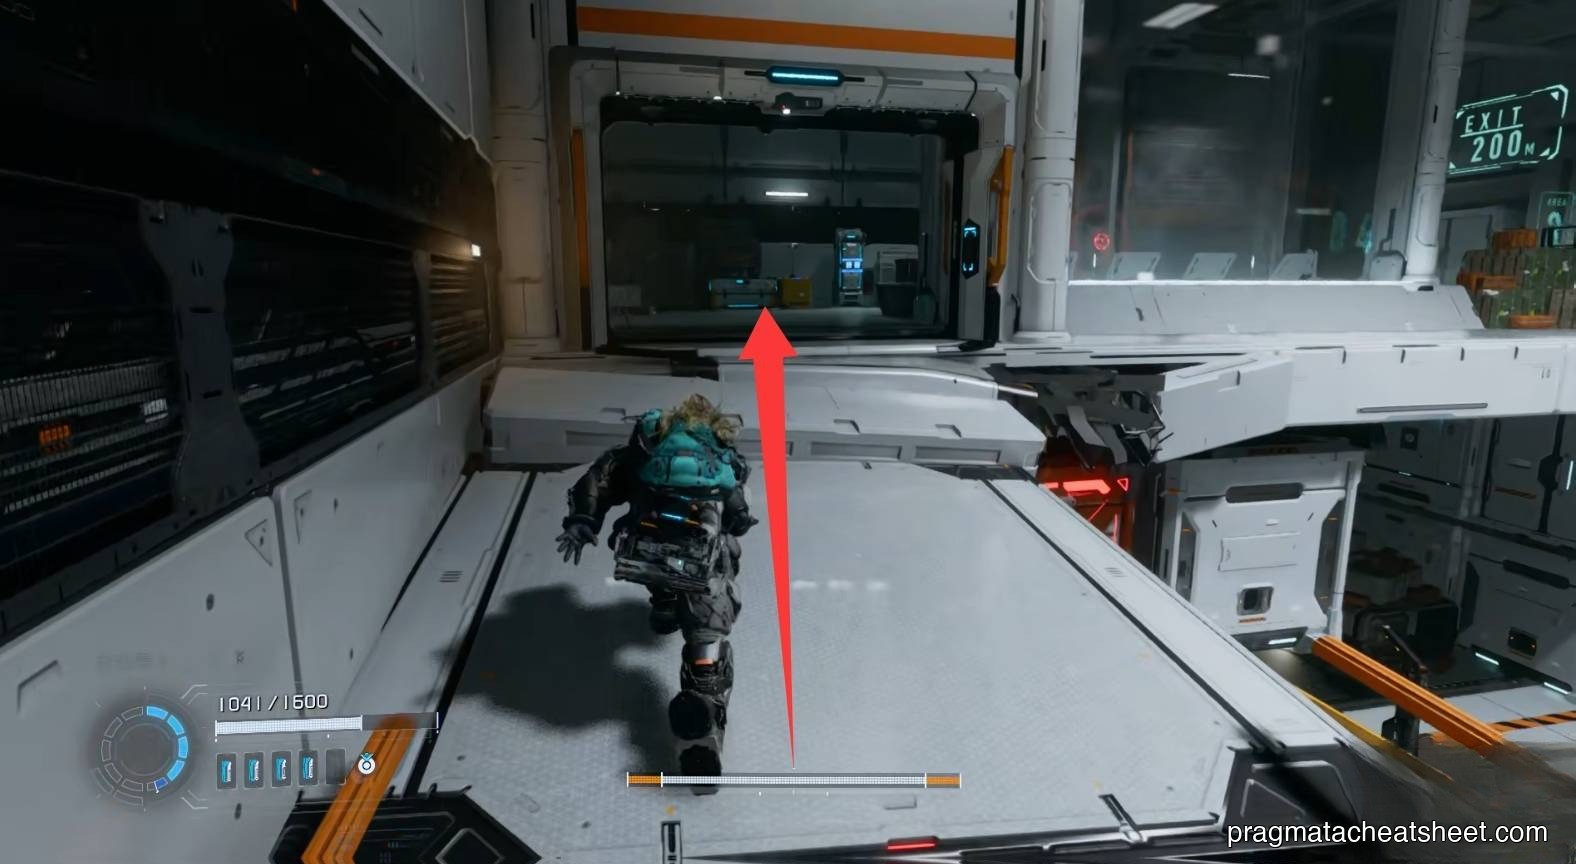
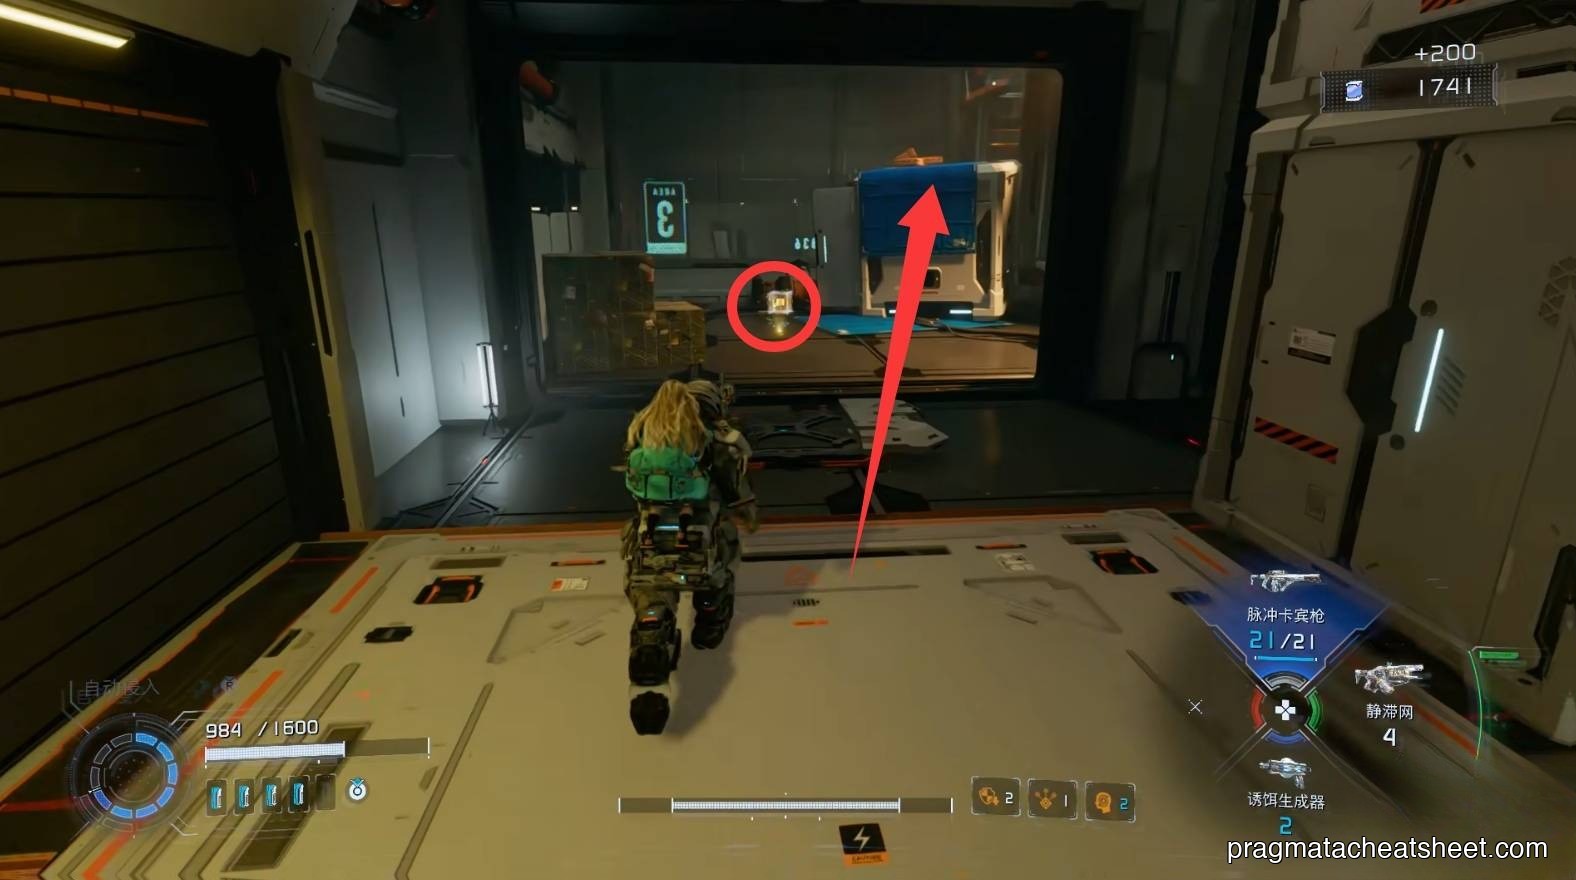
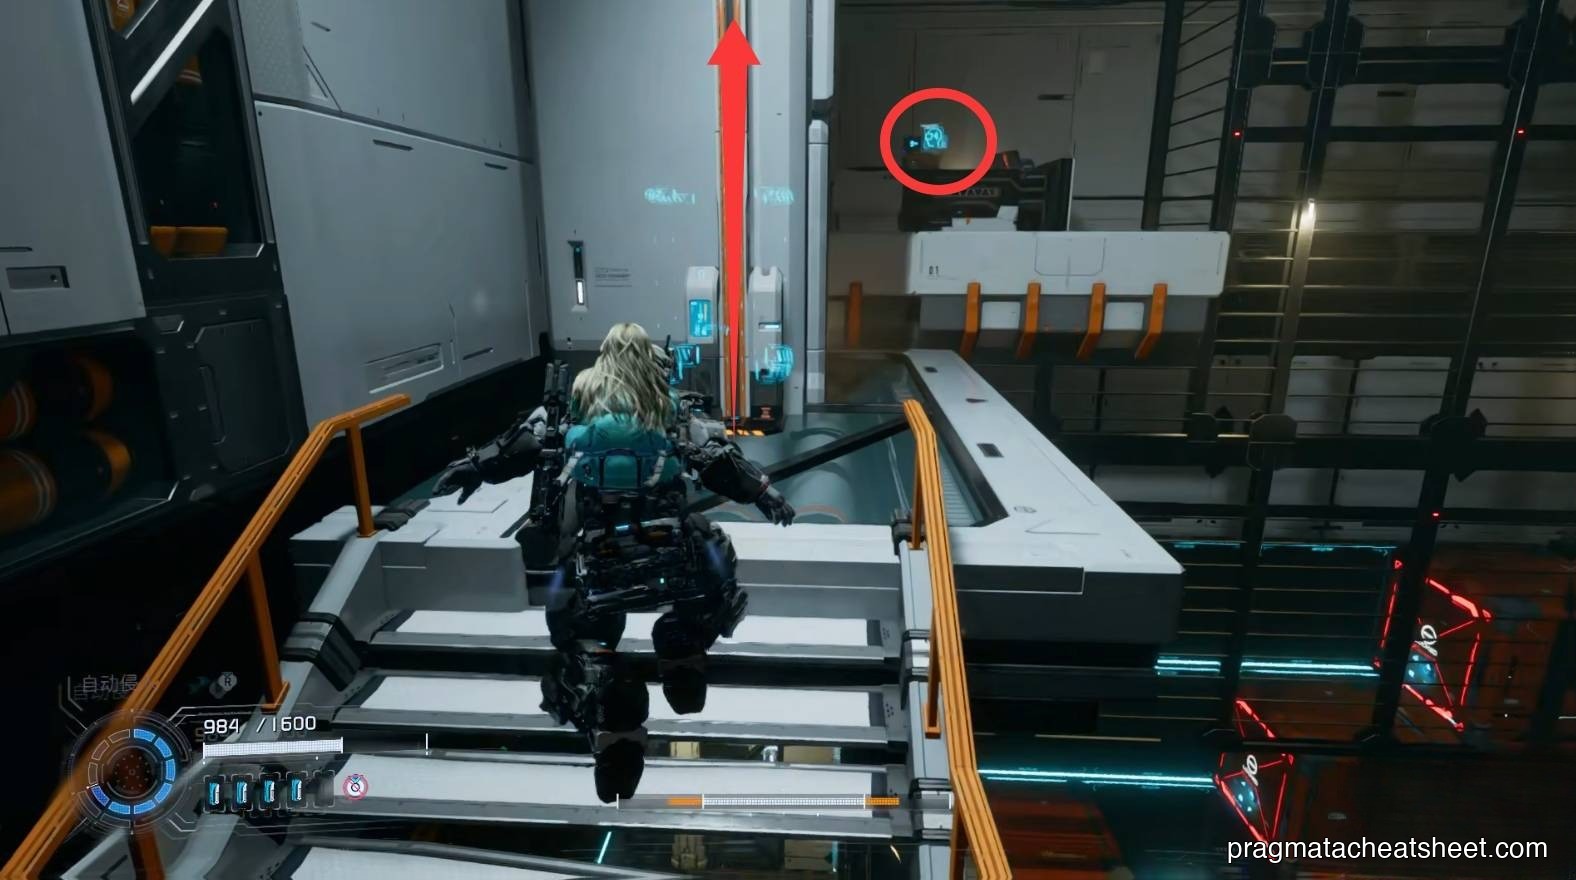
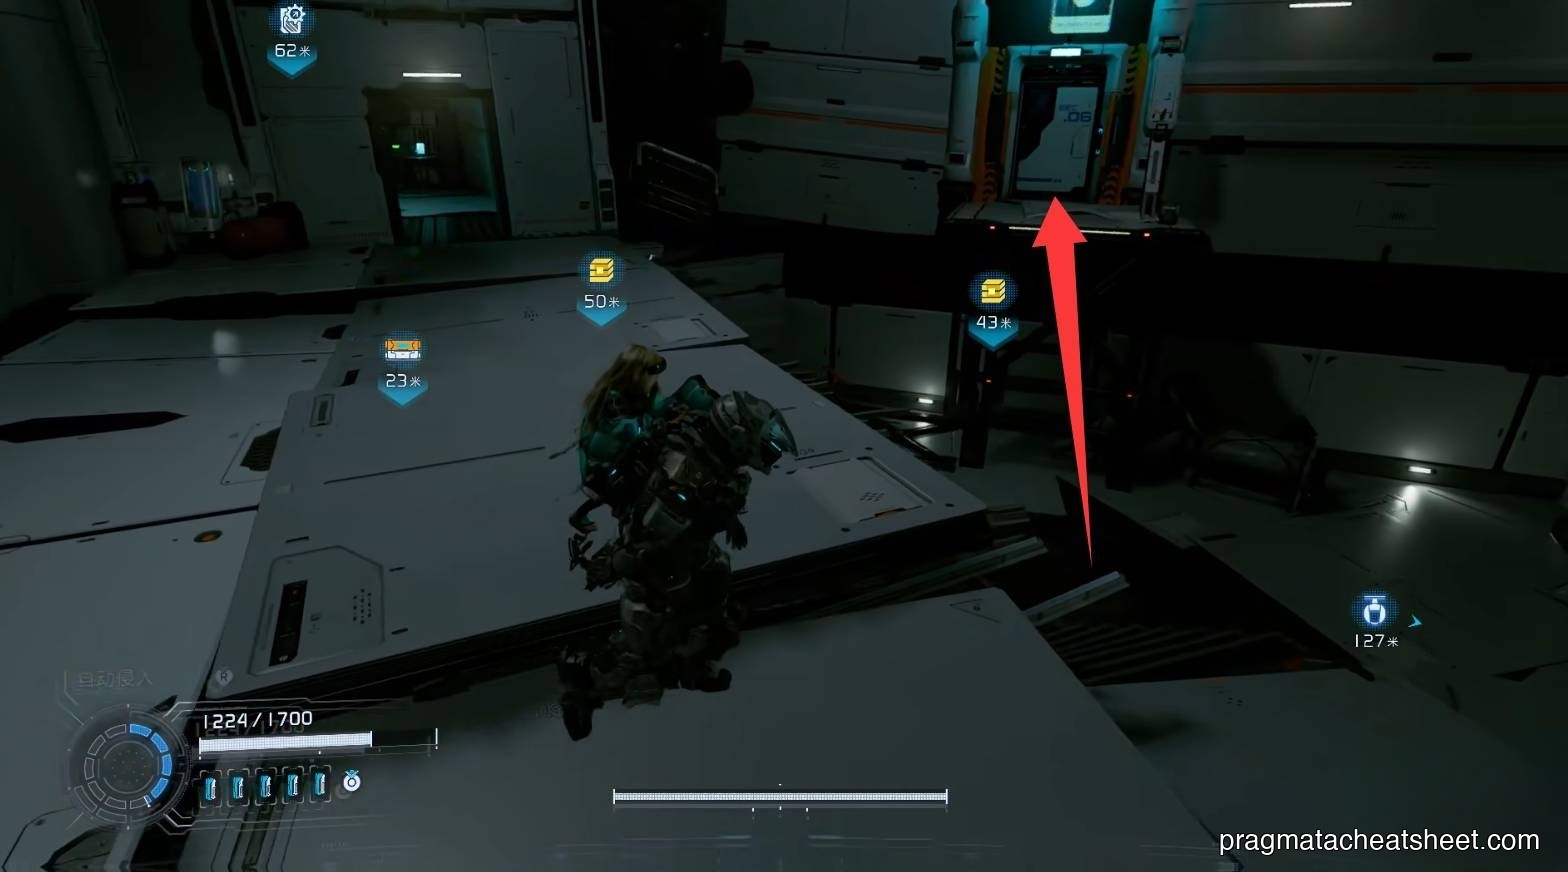
03 — Warehouse
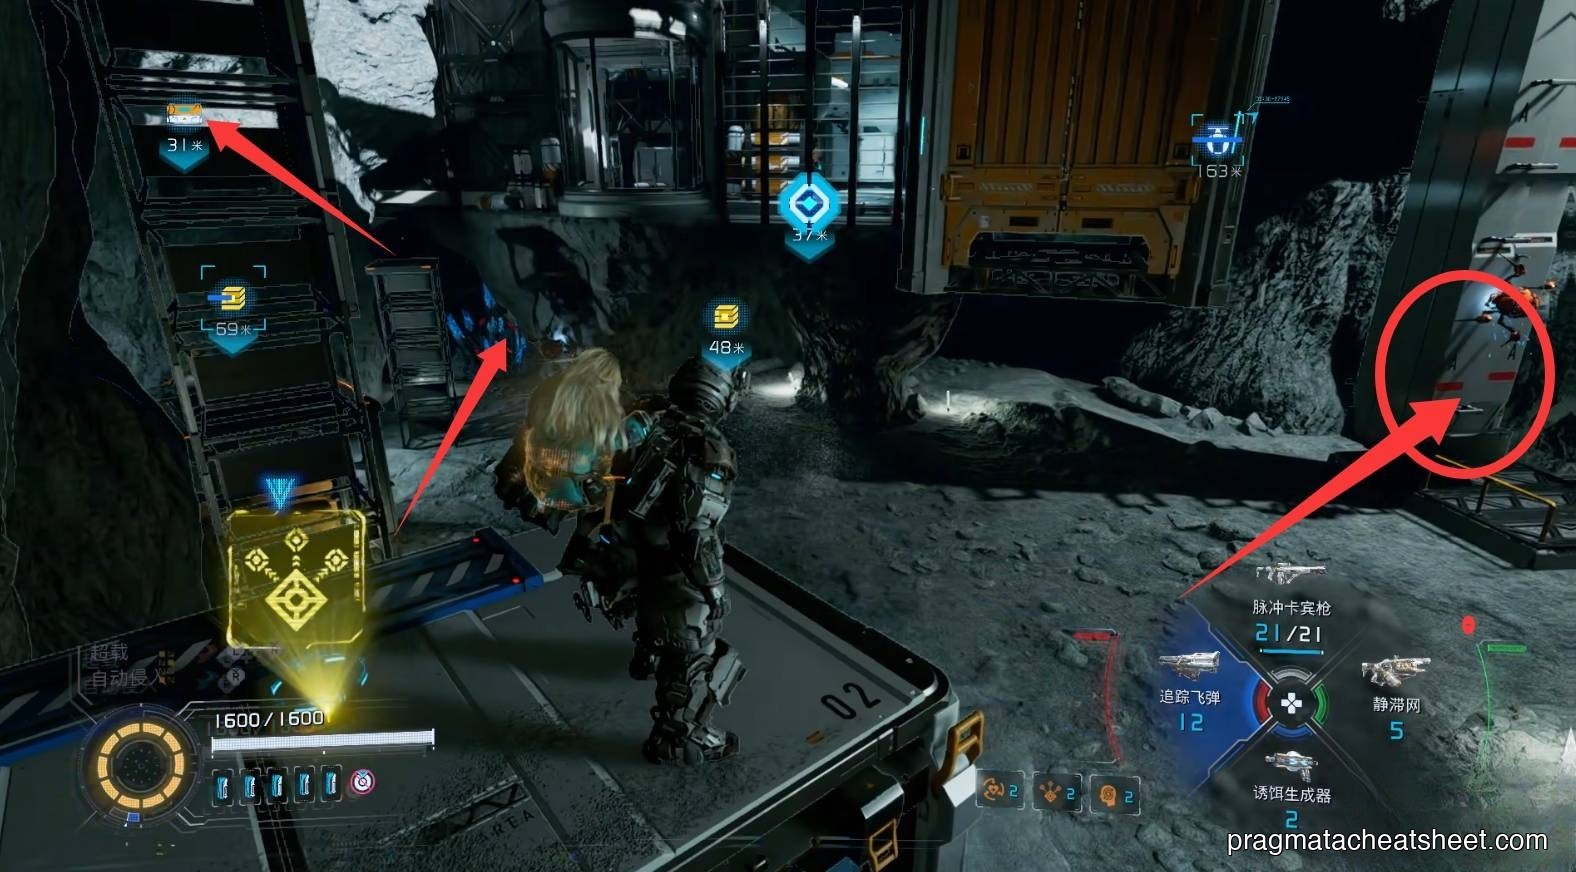
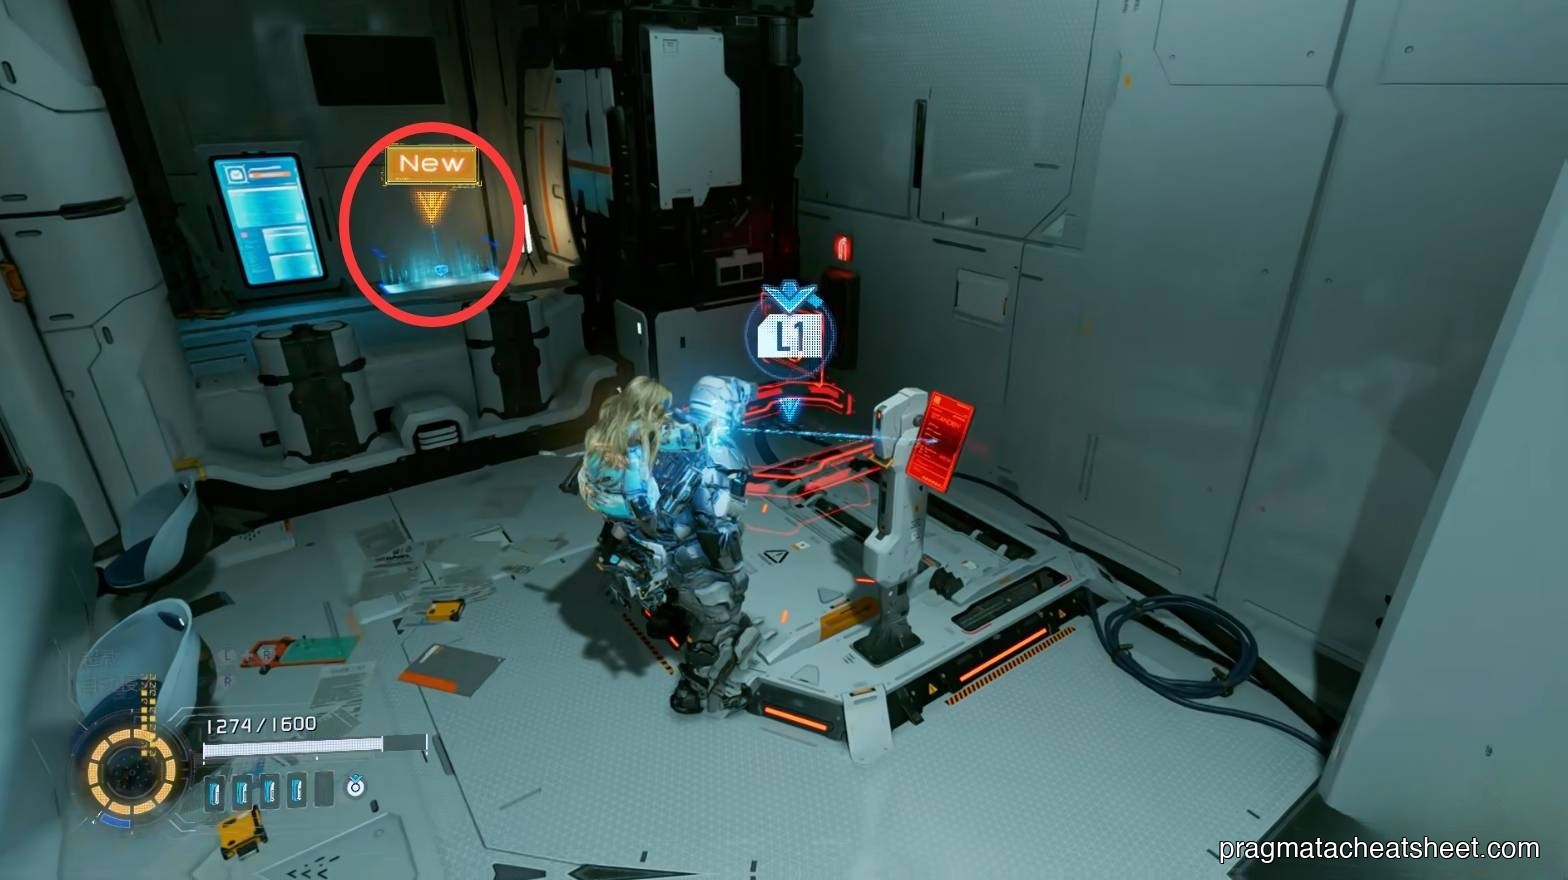
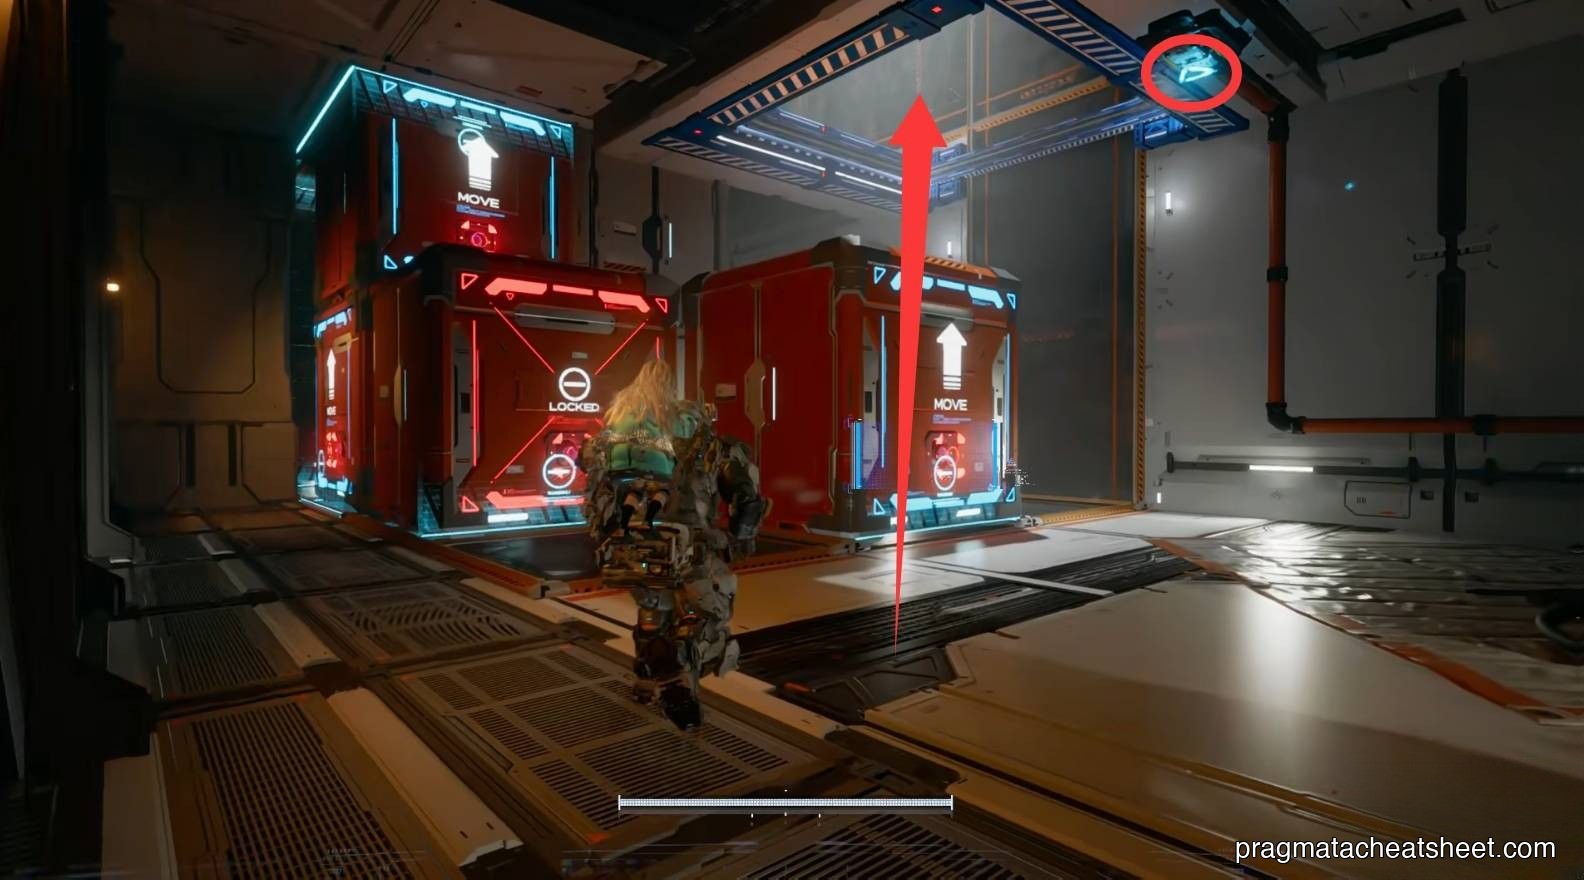
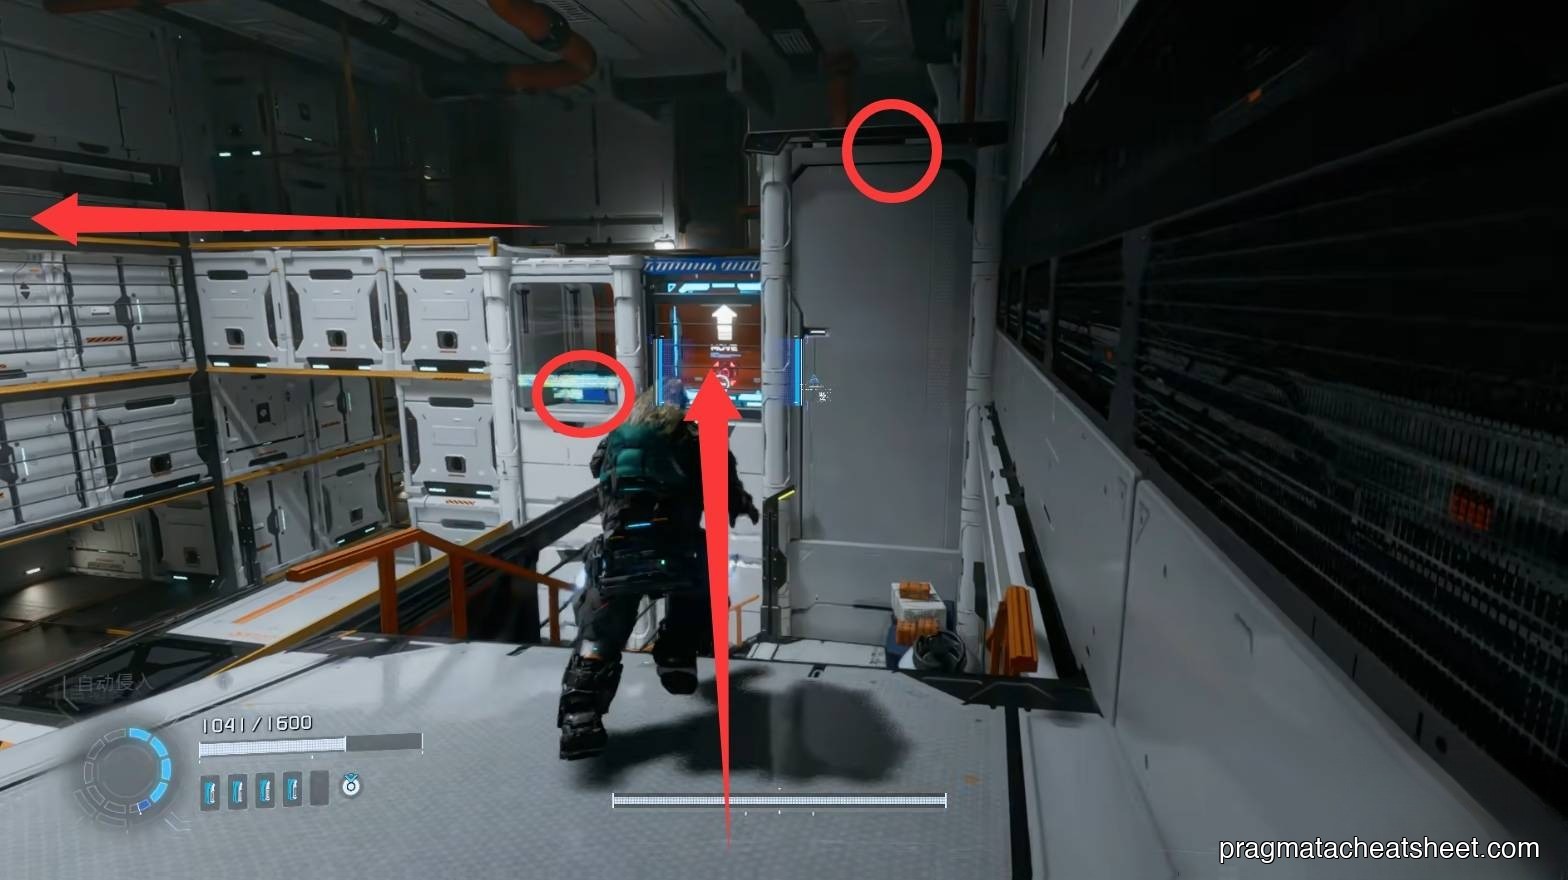
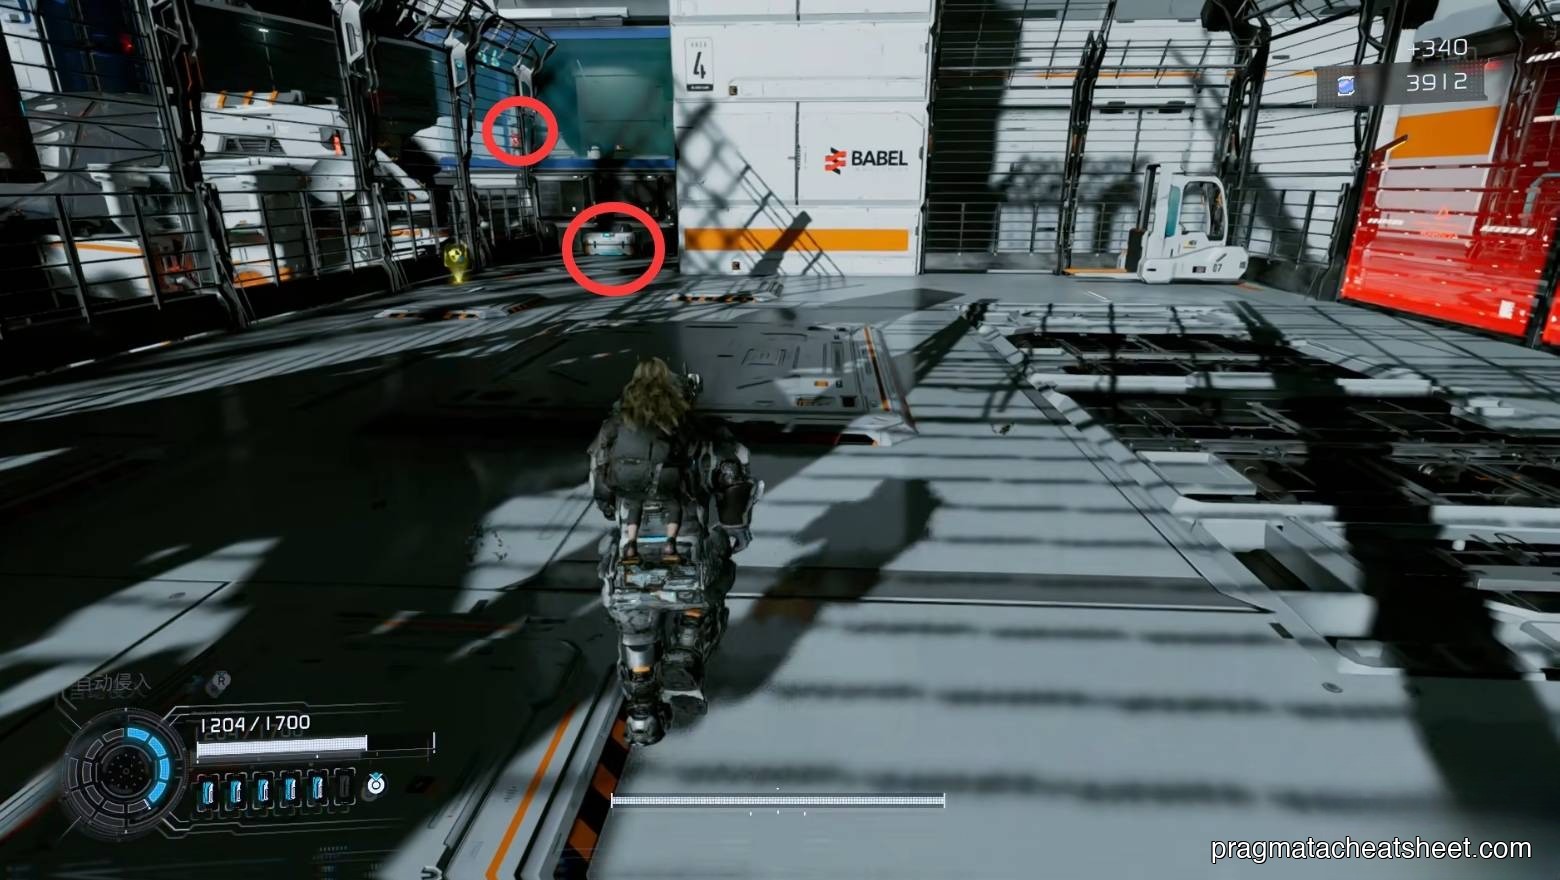
Red Zone locked. REM chip behind glass (round the back). Grab the upper Upgrade Component and hack a red crate to open the path.

Hack two red crates apart, right-turn up, hack to move an upper red crate → REM chip.
Fence-blocked Safe Box
A Safe Box sits behind a fence. Hack through the fence to shove the red crate clear, then take the earlier path in to grab the Safe Box.

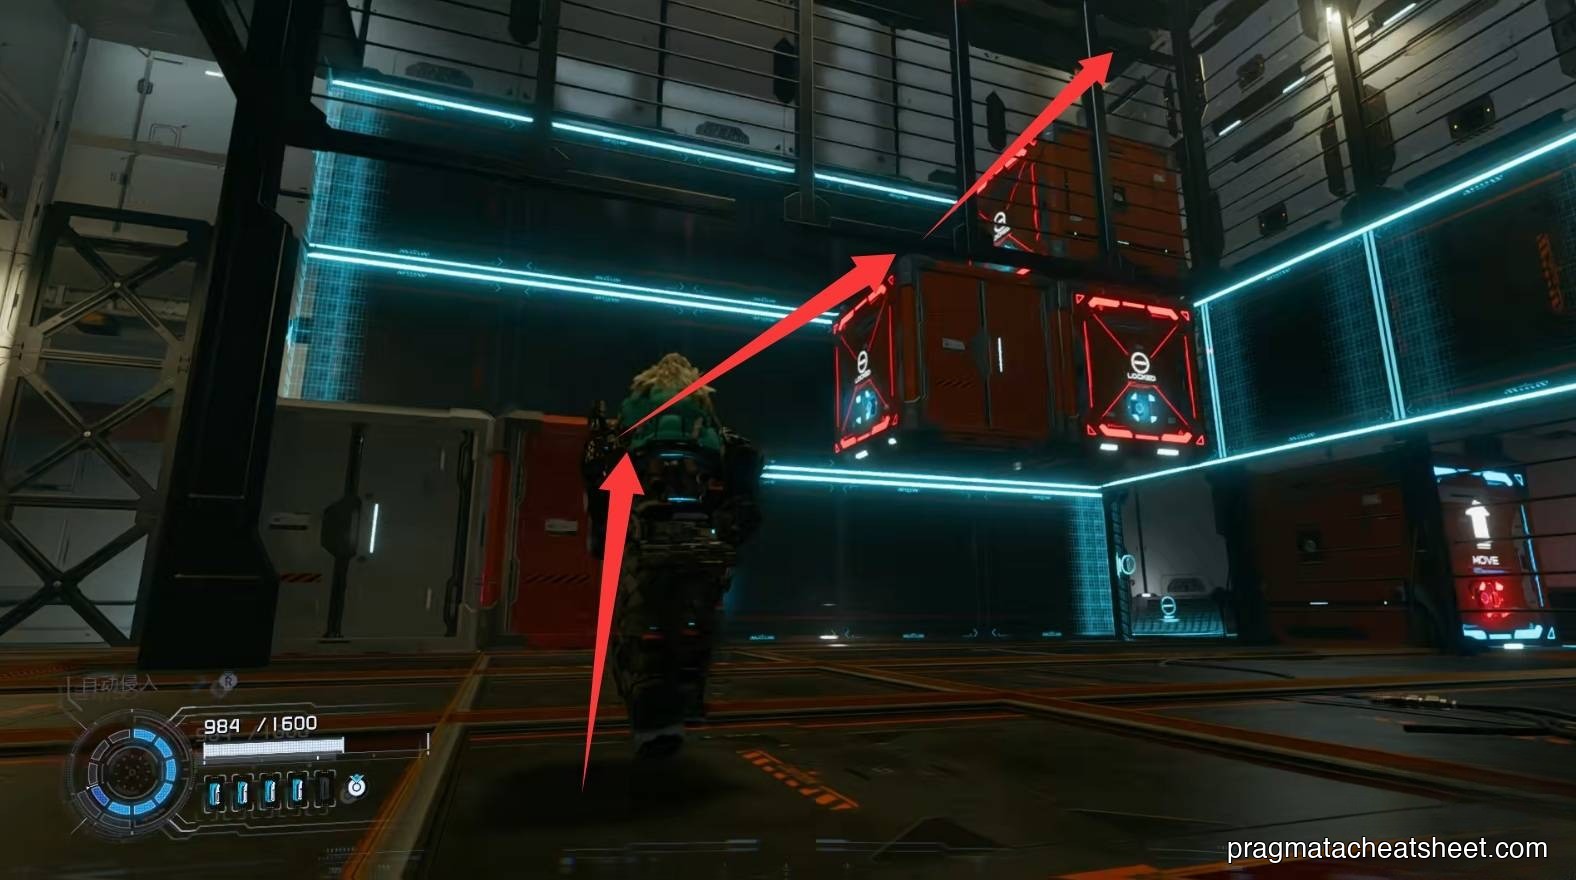
Open a skylight hack, move the red crate under it, jump up.
Big brawl
Clear the wave. A fenced Upgrade Component needs a red crate pushed in first.
Enter from the new opening.
Upstairs: Pure Lunum.
Back turn, double-dash up for Safe Box + Mod, with a second Upgrade Component underneath and another Upgrade Component to the left.
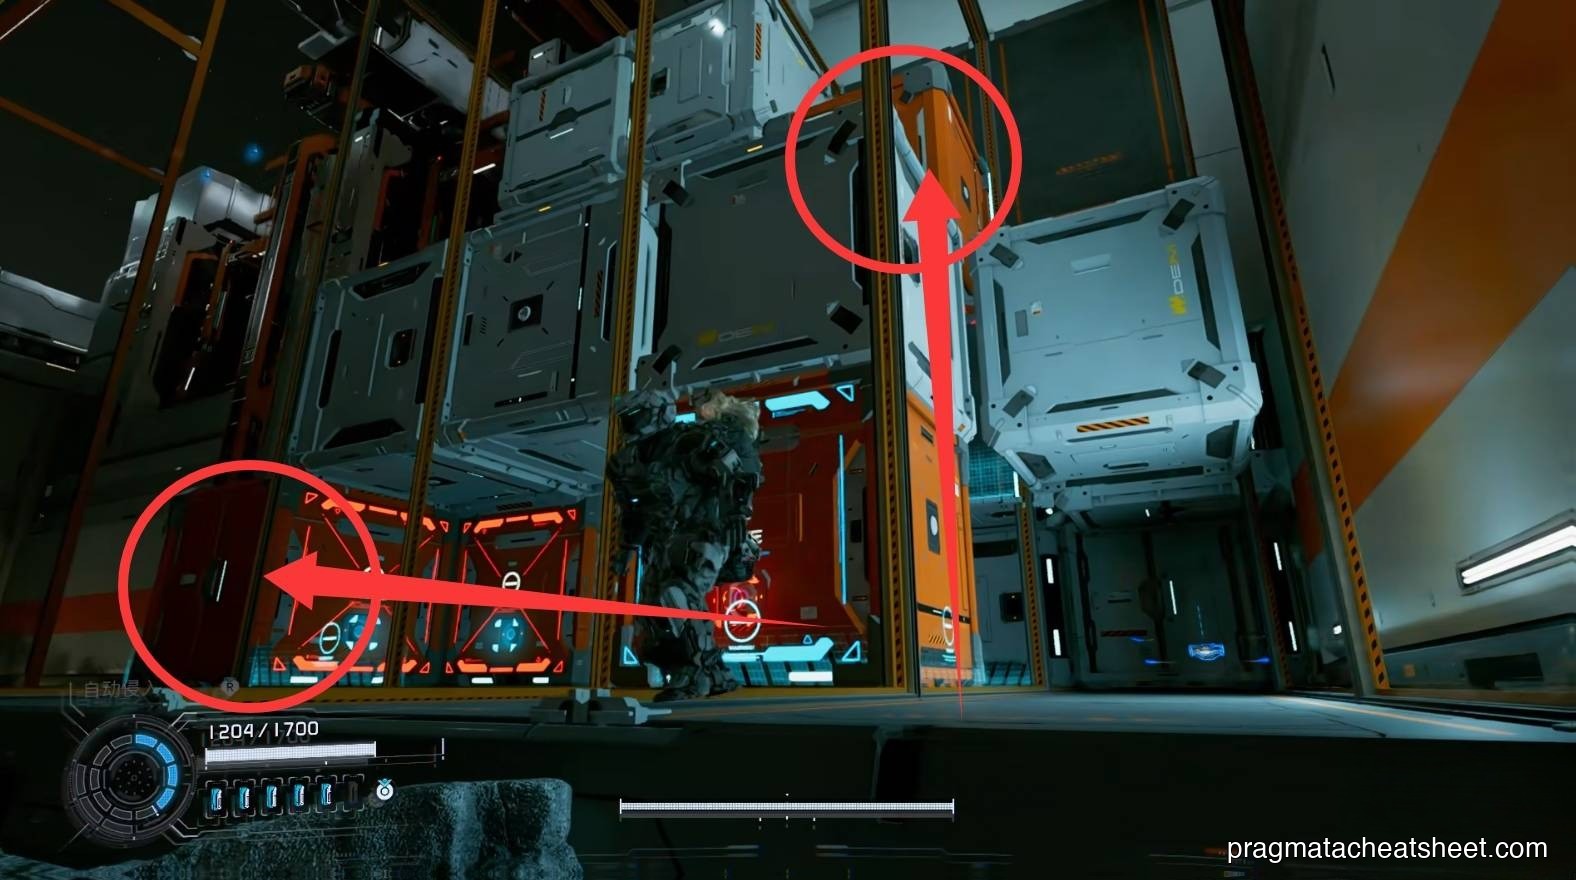
Crate stacking and two-sided Safe Boxes
Hack-door, push red crate left → high Safe Box left; push right → high Safe Box right.
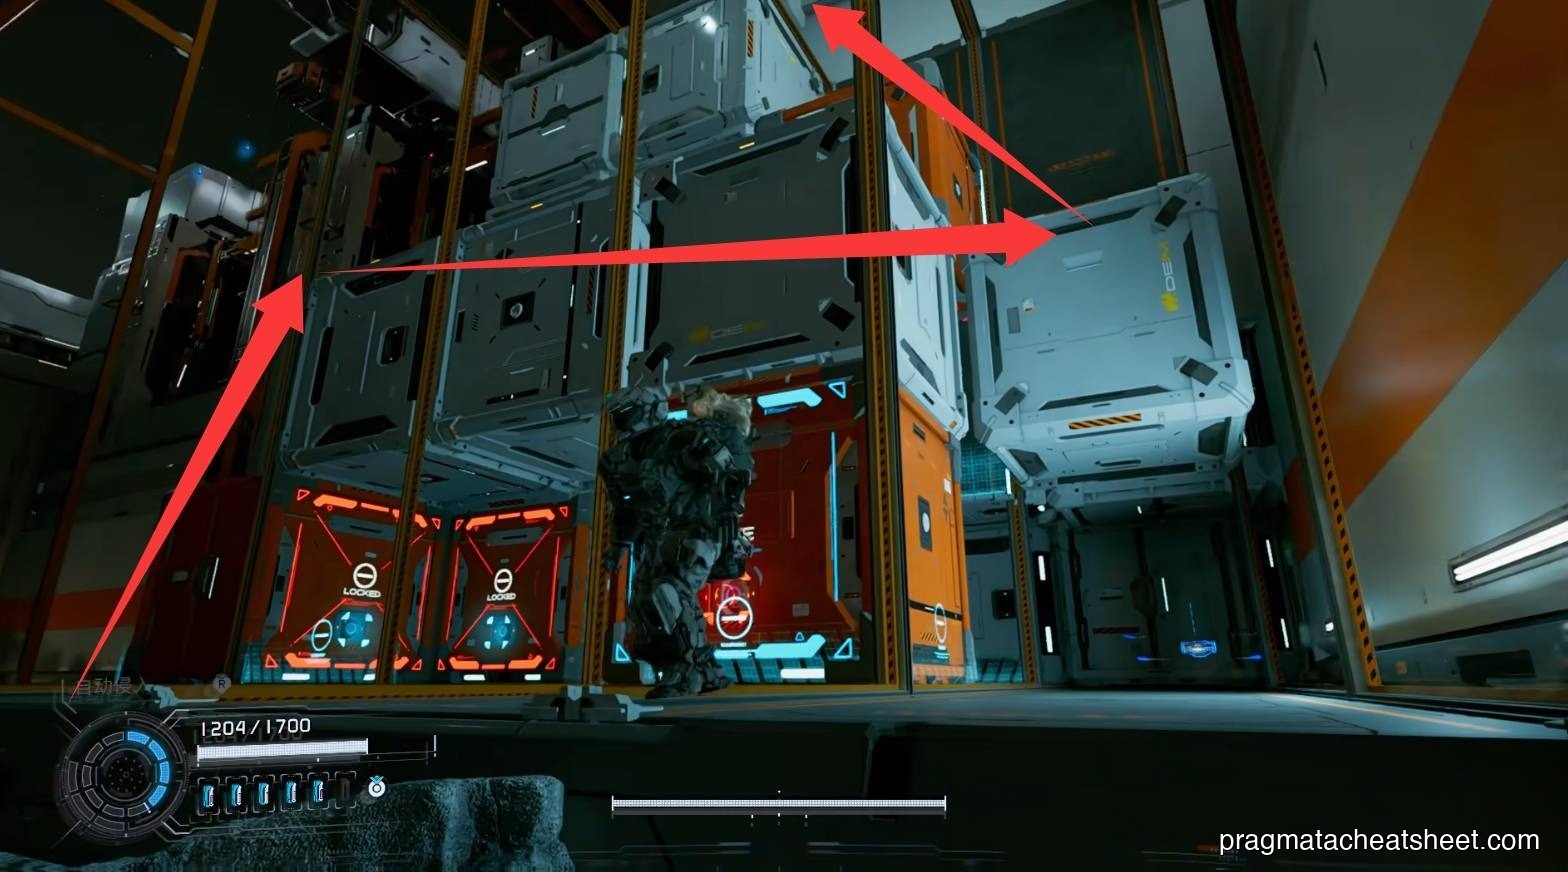
Forward for an Upgrade Component, up again.
More crate shoving: push the right crate inside a room for an Upgrade Component.
Stack crates into stairs → Safe Box + Upgrade Component.
Opposite side: double-dash across for an Upgrade Component, then crate-push another shortcut.
Ceiling Mini Cabin
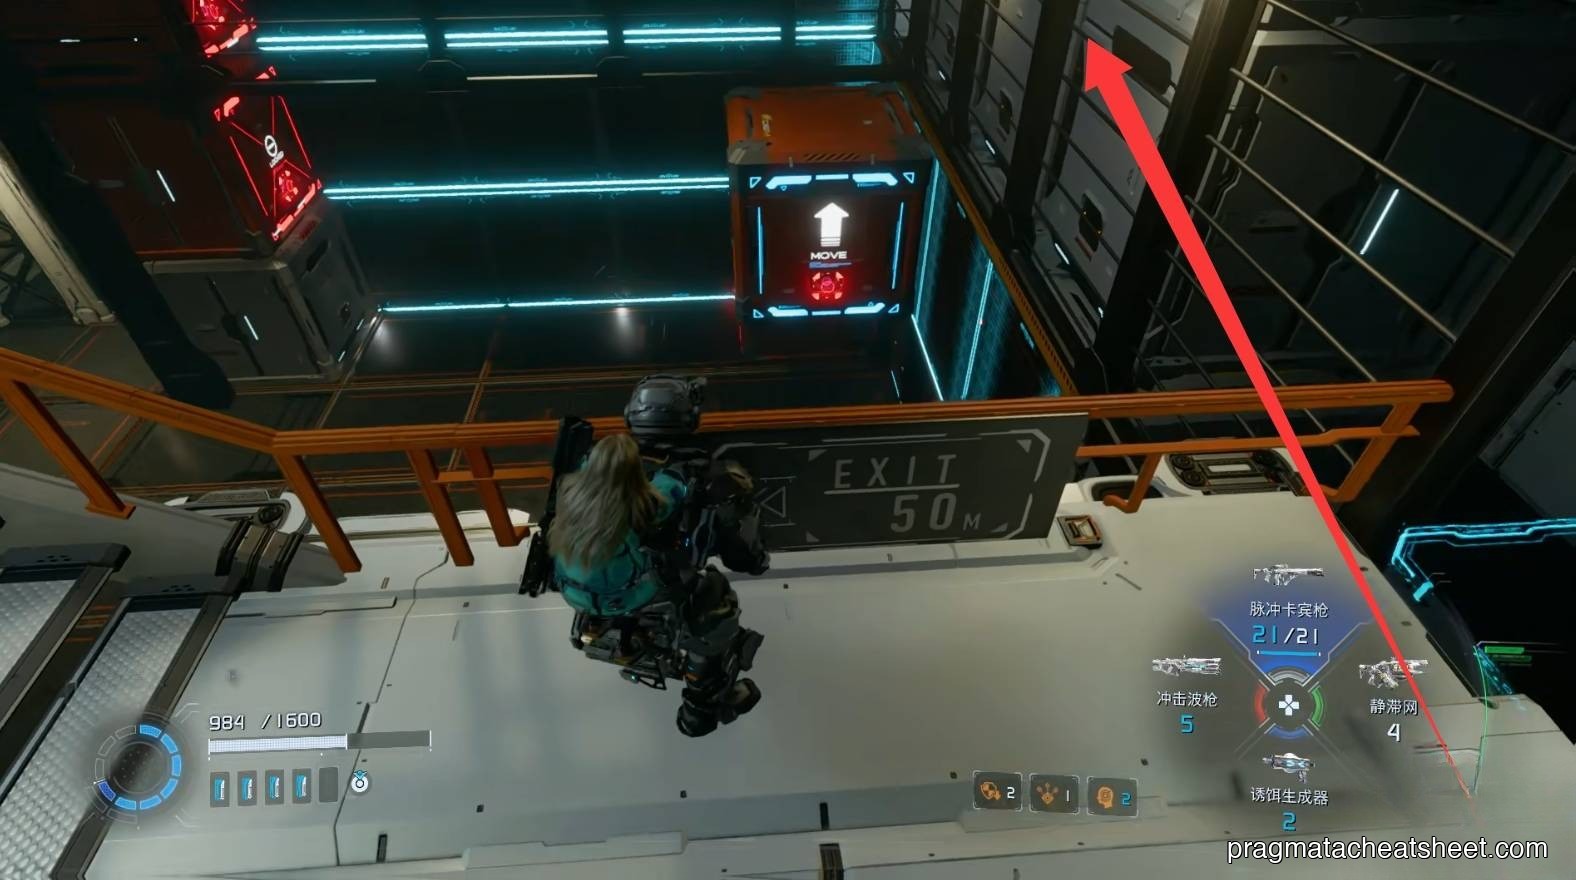
Look up when you land at the top: Mini Cabin.
Training Data, then wall-rail up → Escape Hatch.
Hack the excavator platform, clear enemies → second Escape Hatch.
Items in this area
- Safe Box × 5
- Pure Lunum × 1
- Mod × 1
- REM chip × 1
- Training Data × 1
- Mini Cabin × 1
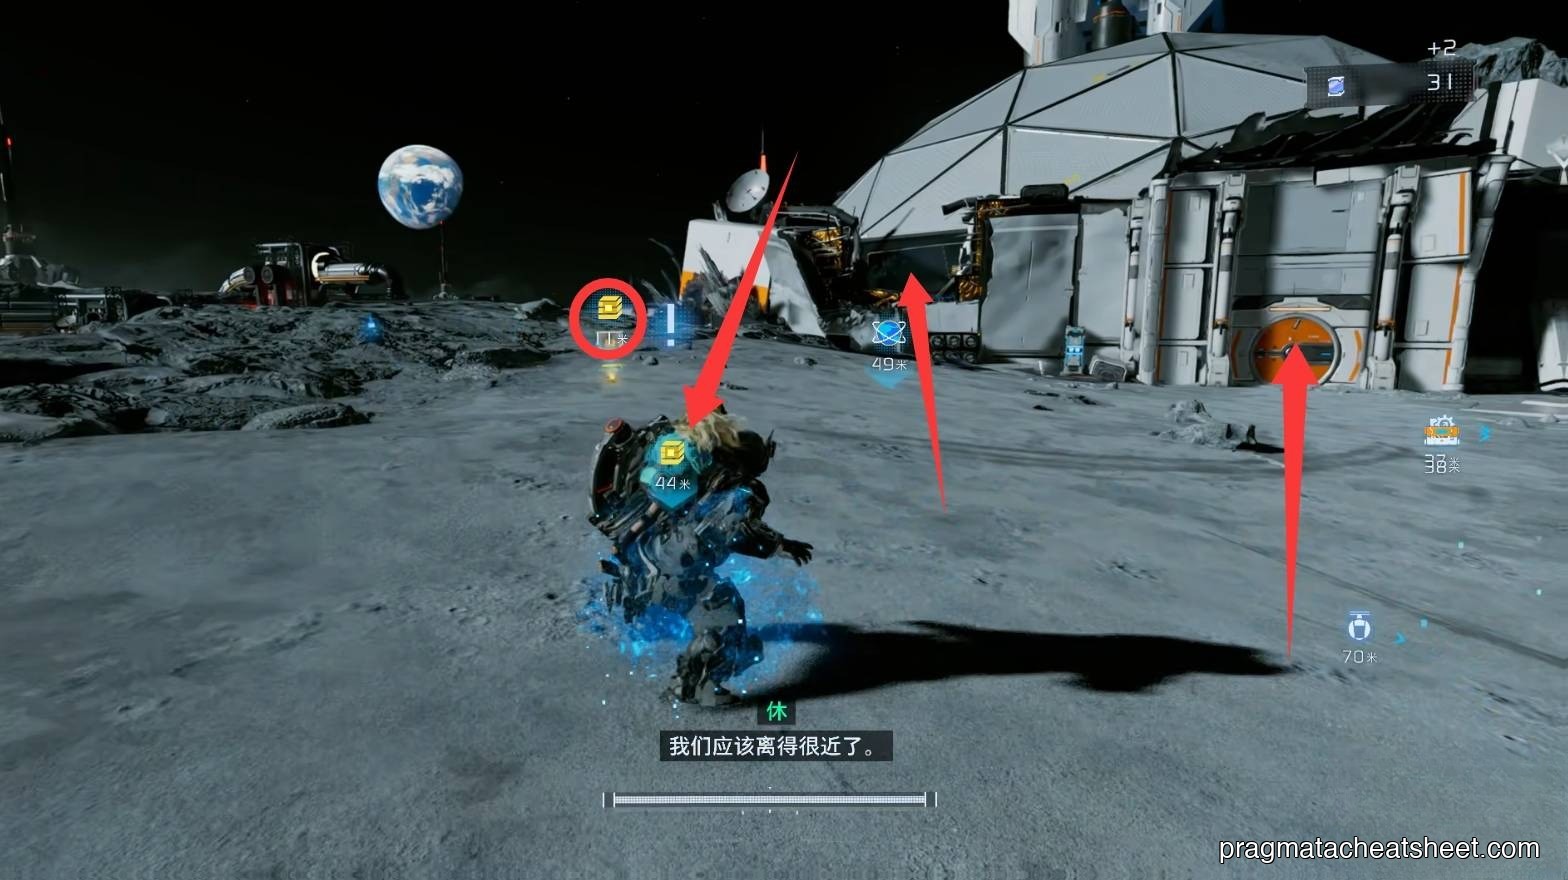
04 — Main Excavation Site
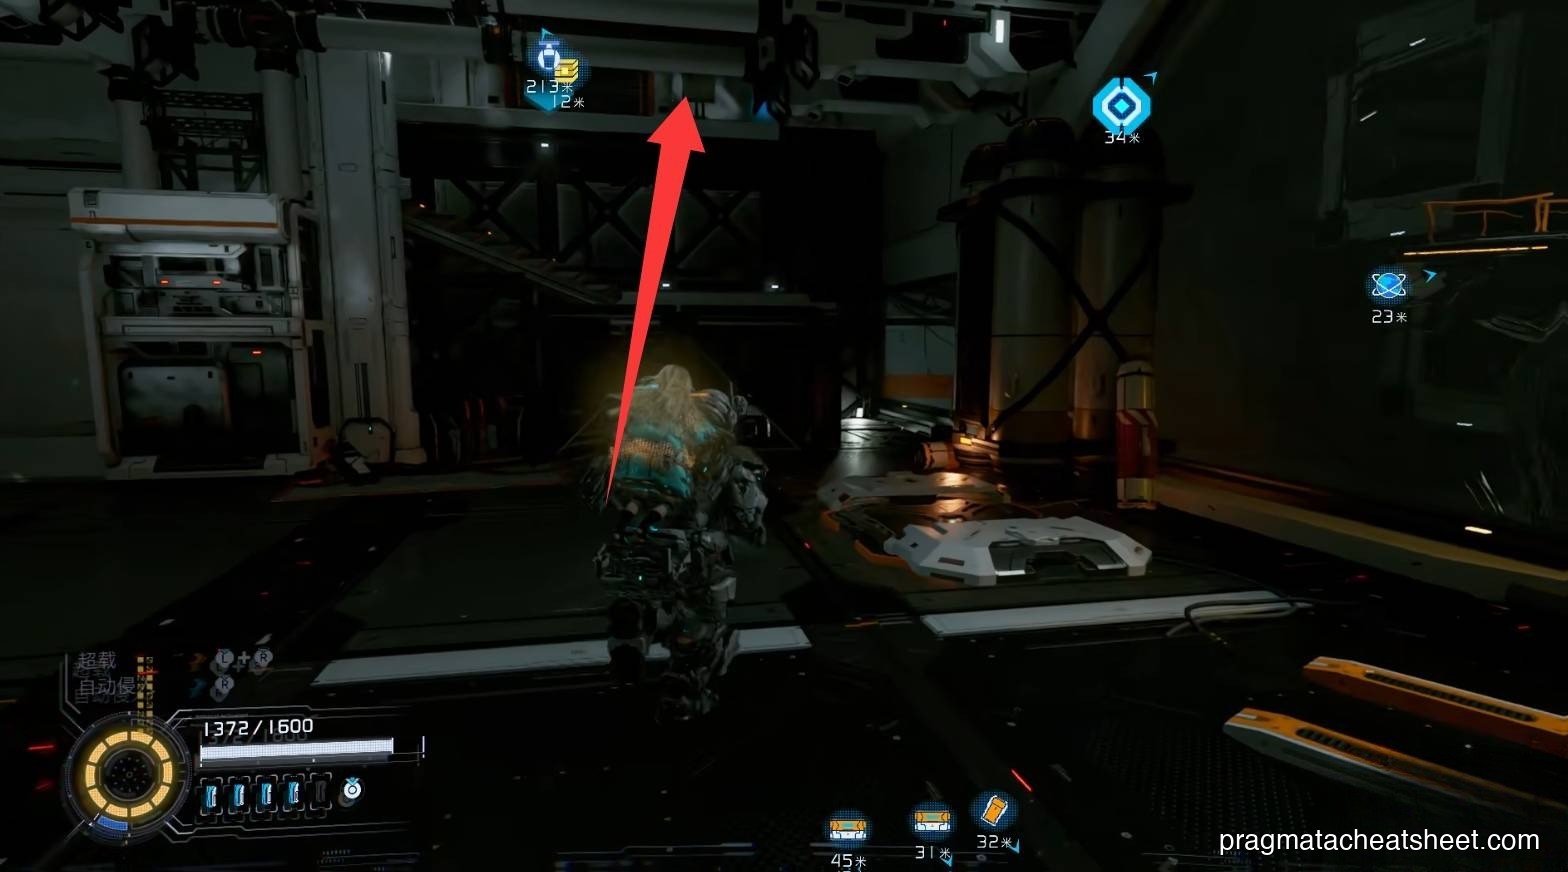
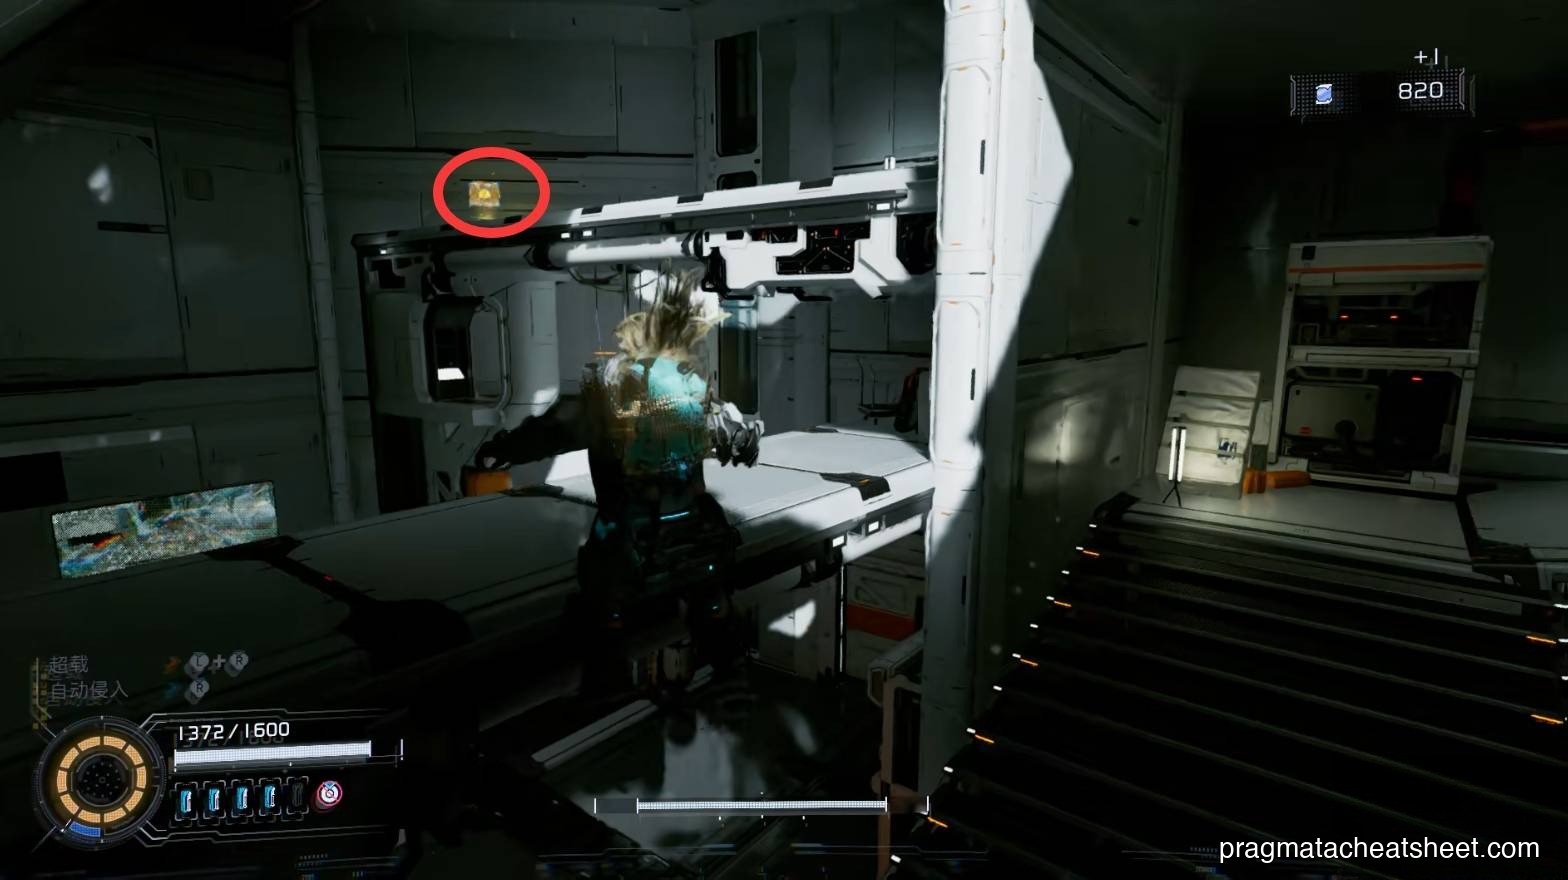
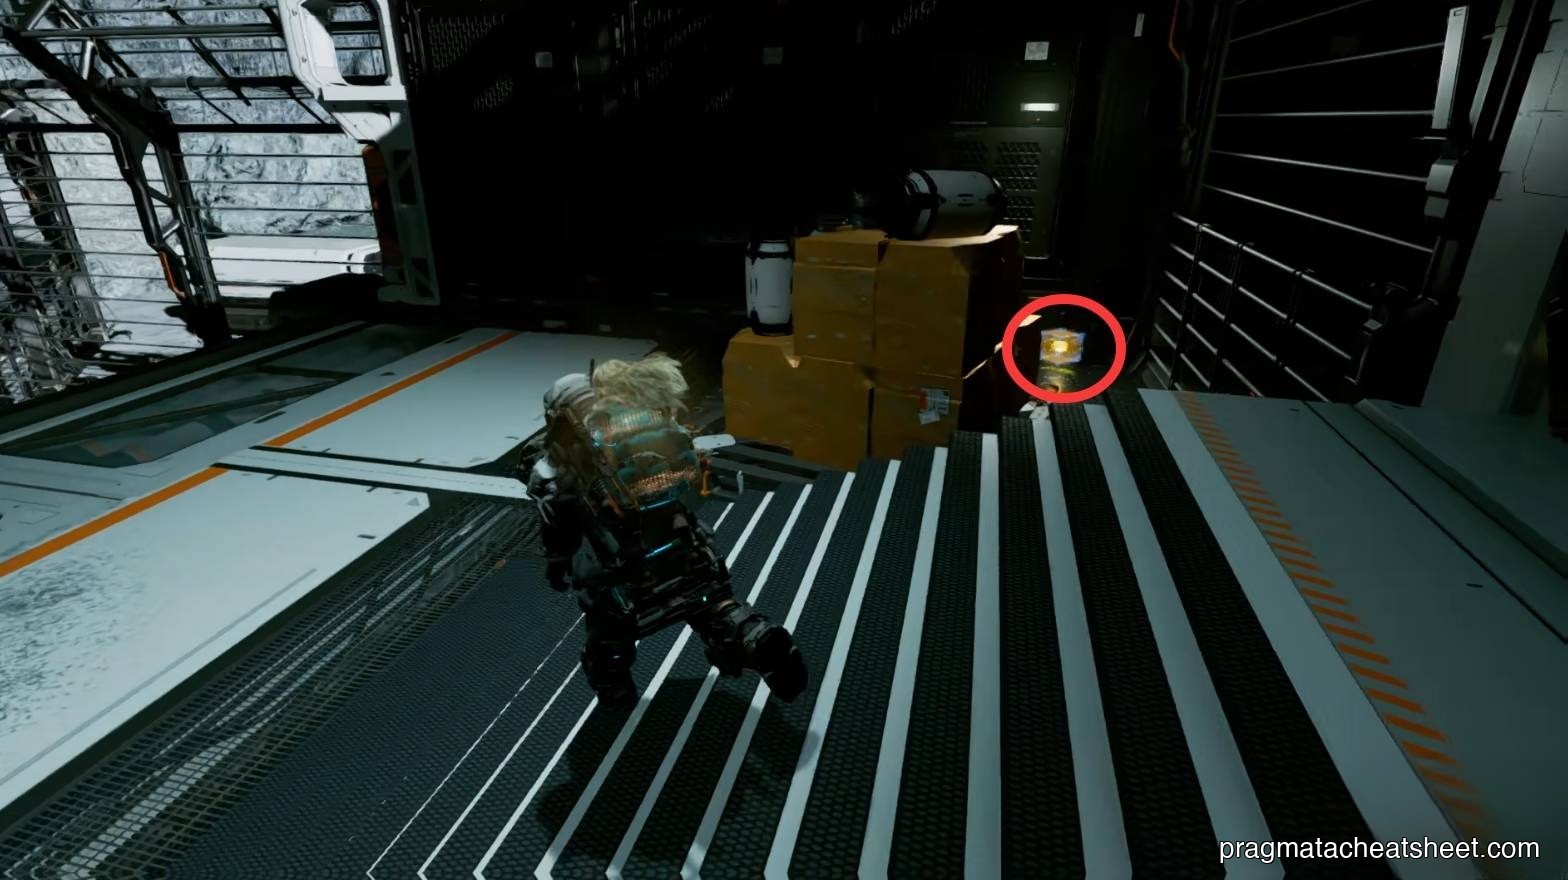
Right side, through the rooftop → Safe Box + Mod.
Push the outside crate first so the inside crate becomes movable.
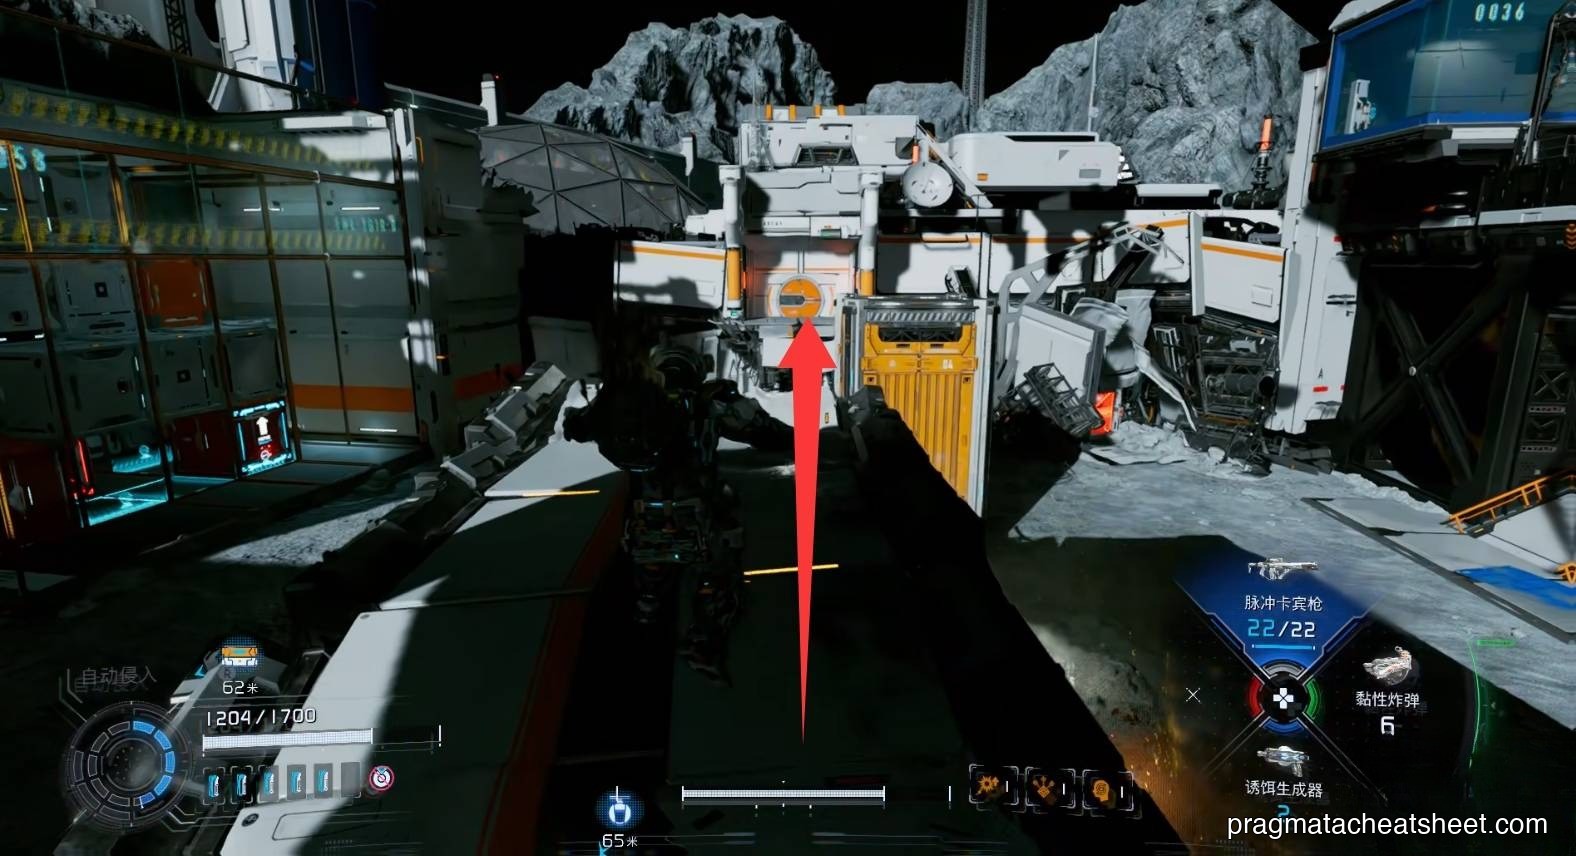
Cliff edge: Upgrade Component with an Earth-view scene. Right drop: Upgrade Component. Right wall climb: REM chip.
Corrupted enemies and black tar
Avoid the black tar if you can. Double-dash right onto a platform for an Upgrade Component.
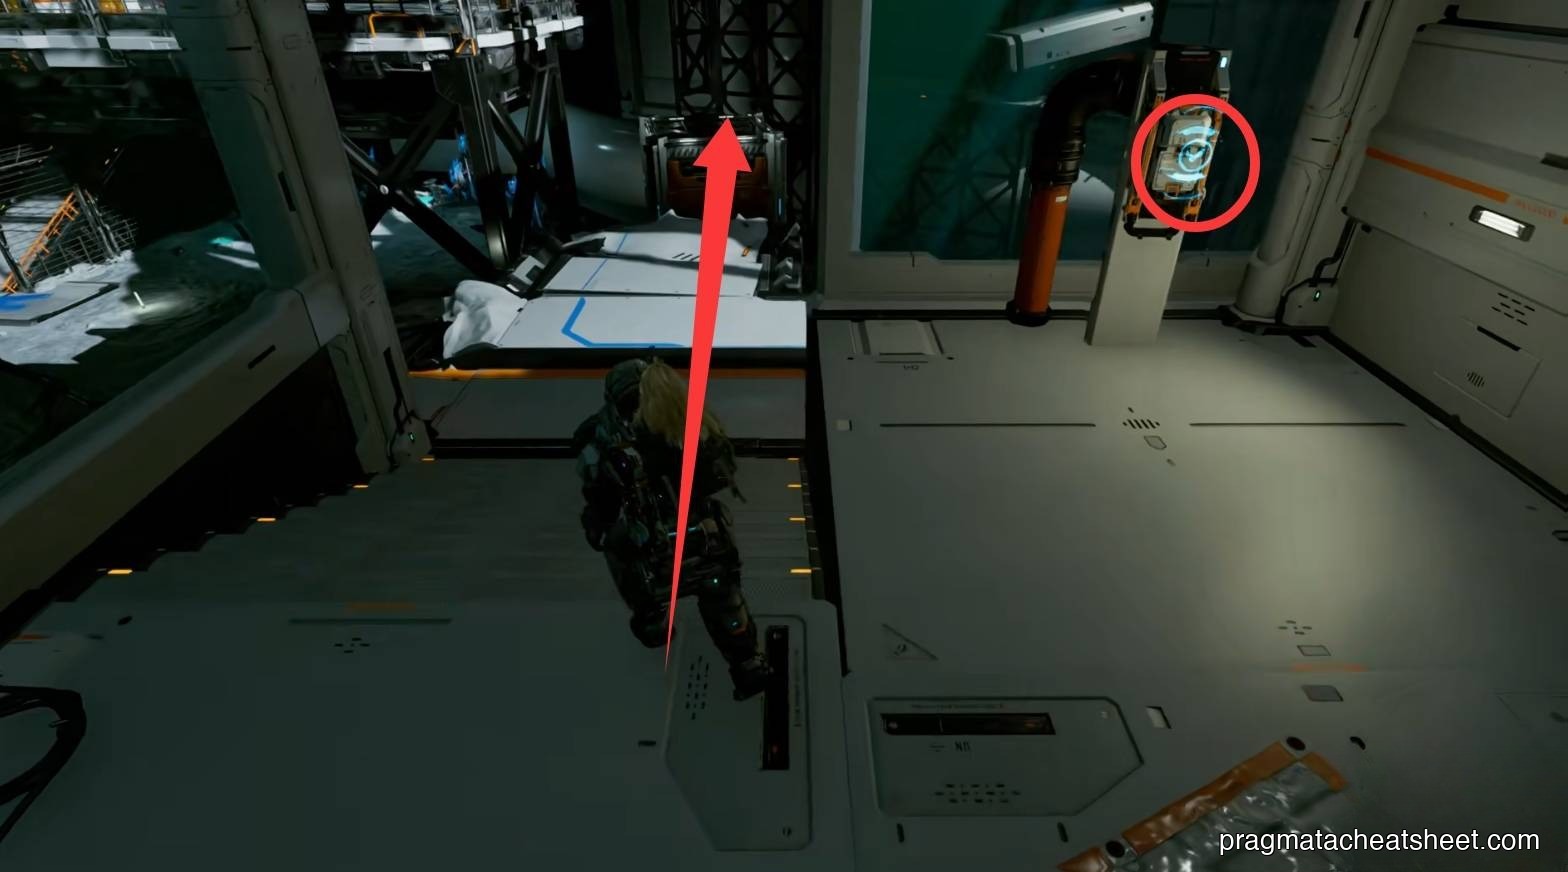
Inside: Red Gate Key + Escape Hatch.
Use the key immediately in Warehouse's Red Zone → Pure Lunum + Storage Expander. (Travel back via Escape Hatch.)
Continue. Left-turn drop a crate, jump across → Safe Box.
A tucked small door lower-right is a shortcut back up. Right-corner Upgrade Component, nearby corners another Upgrade Component.
Luna Digger vs. the adds
You can farm the Digger against common enemies. Clear a barrier for Upgrade Component + Safe Box.
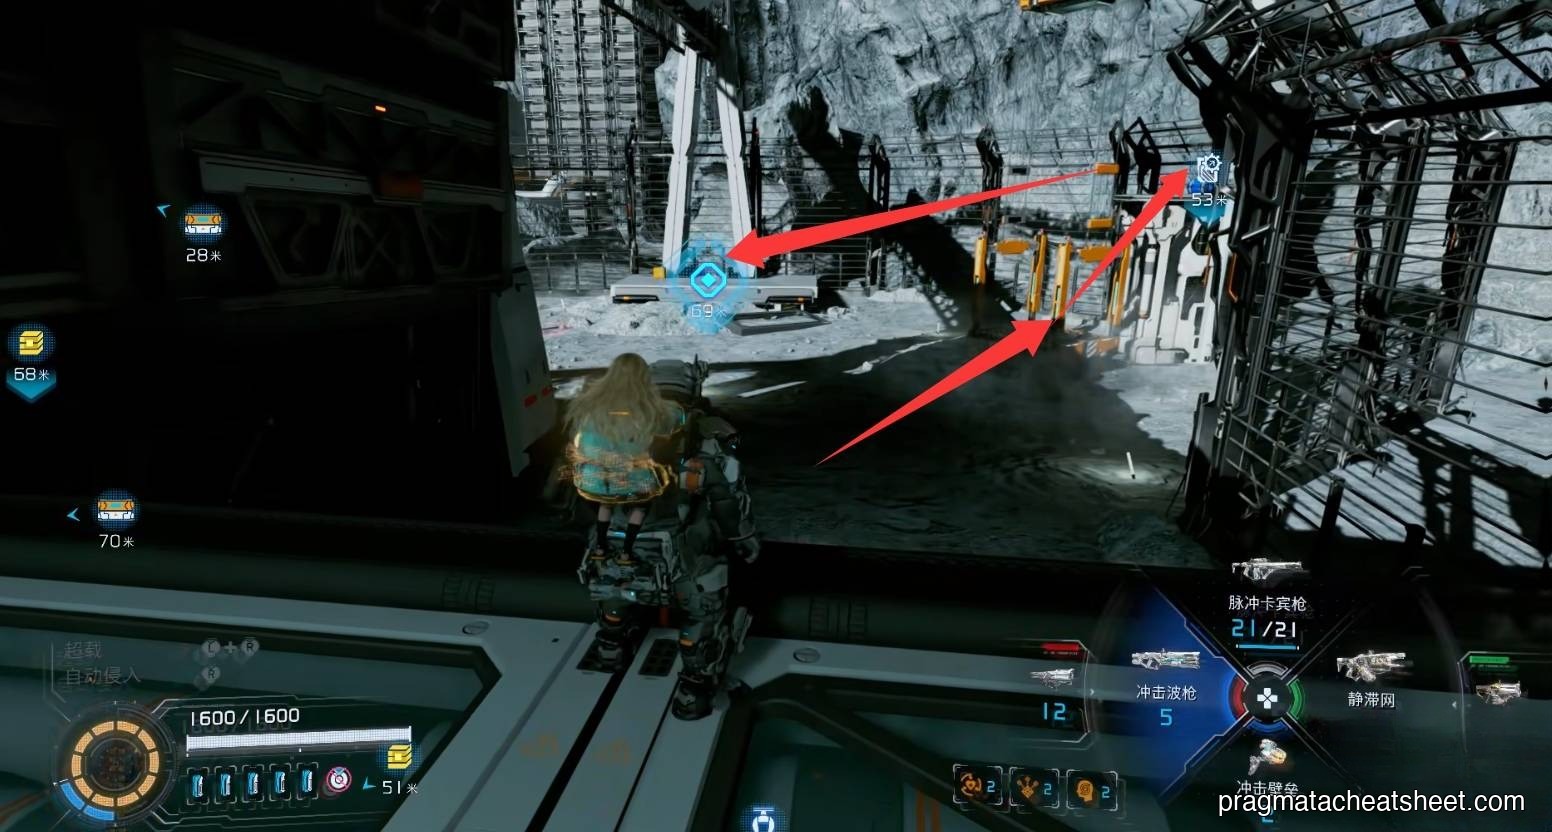
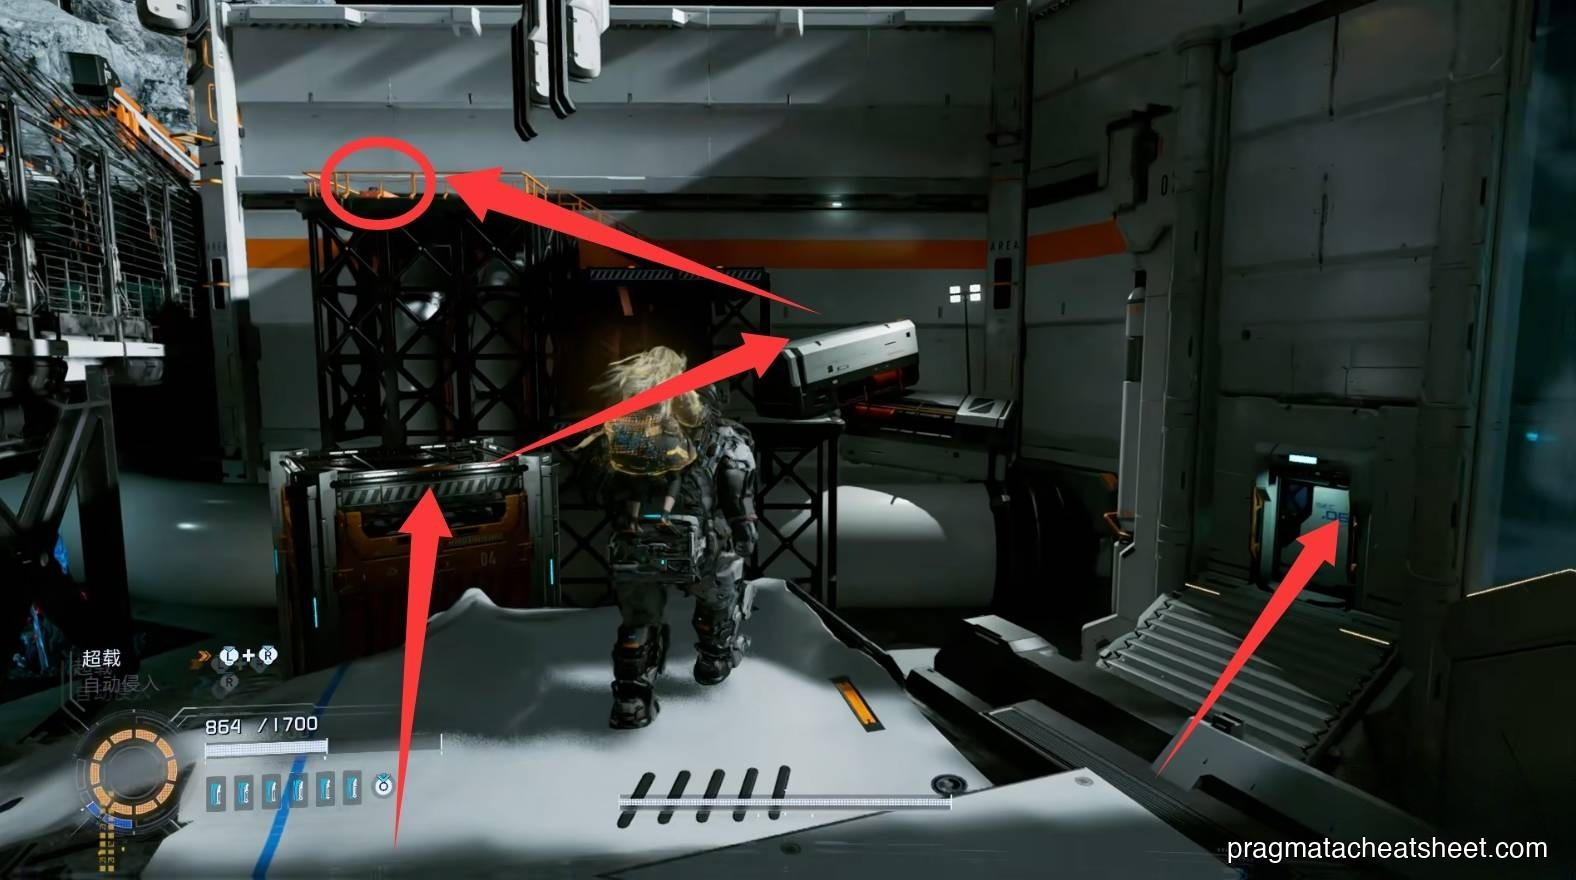
Red Zone next, key now in hand. Both sides of its door have climb paths.
Take right first, up the slope, clear enemies for Pure Lunum, hack to drop a crate.

Across the sand, crate puzzle: one crate to the far left, one pushed bottom-to-top.
Ascend.
Missile-enemy platform: Mod.
Via the shortcut, loop back up, crate-jump, enter for Training Data and activate the next Escape Hatch.
Items in this area
- Red Gate Key
- Safe Box × 3
- Pure Lunum × 1
- Mod × 2
- REM chip × 1
- Training Data × 1
05 — Tower Access Point
Hatch-room Training Data.

Round chamber: Upgrade Component + Safe Box.
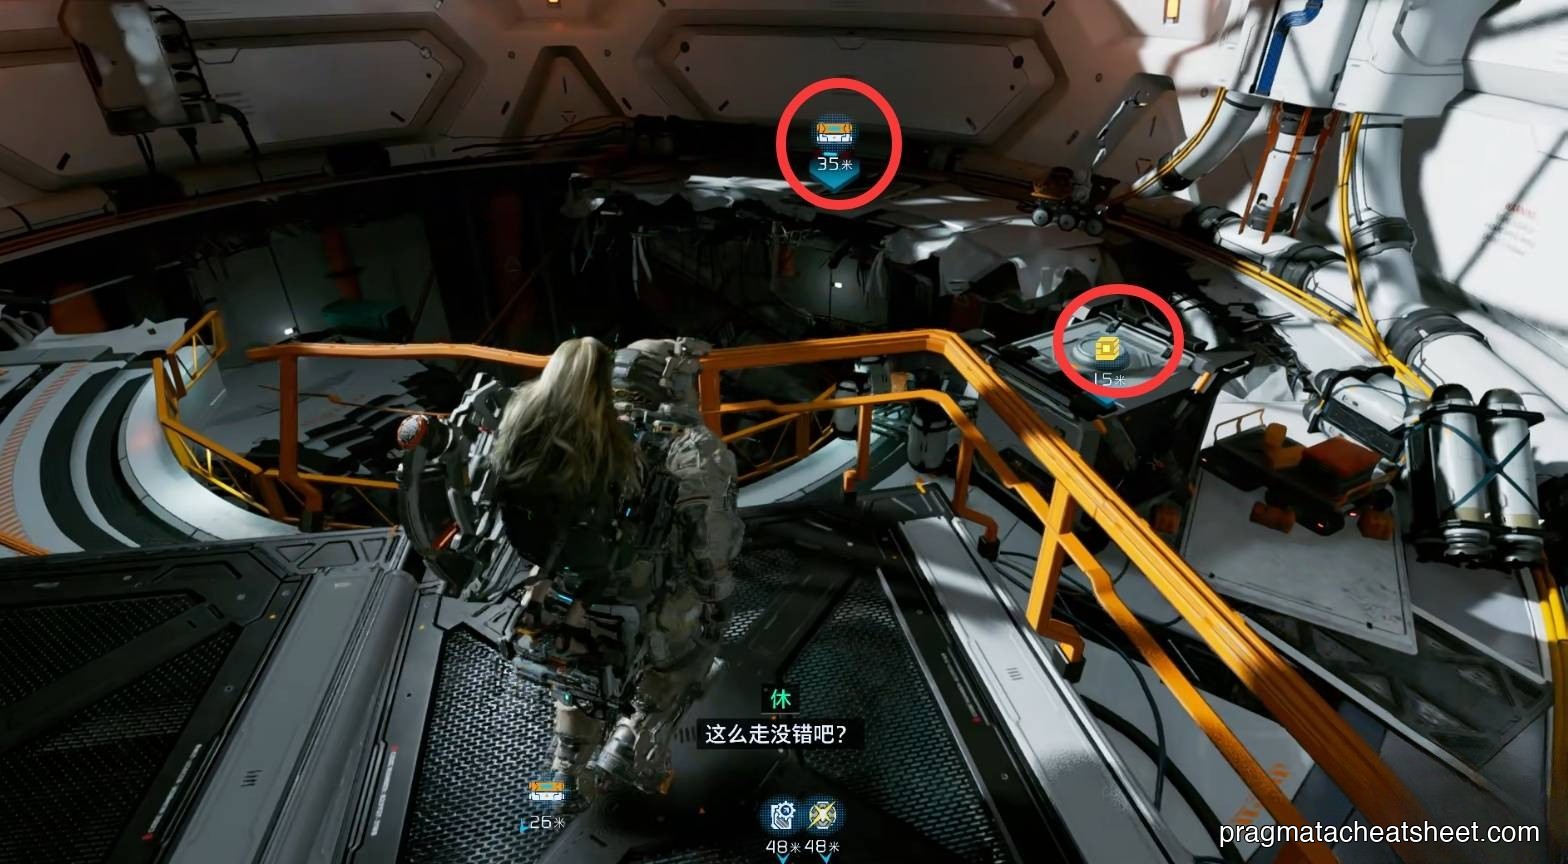
Skylight above: Mini Cabin.

Drop, hidden wall → Safe Box.
Continue down, enter the tunnel.
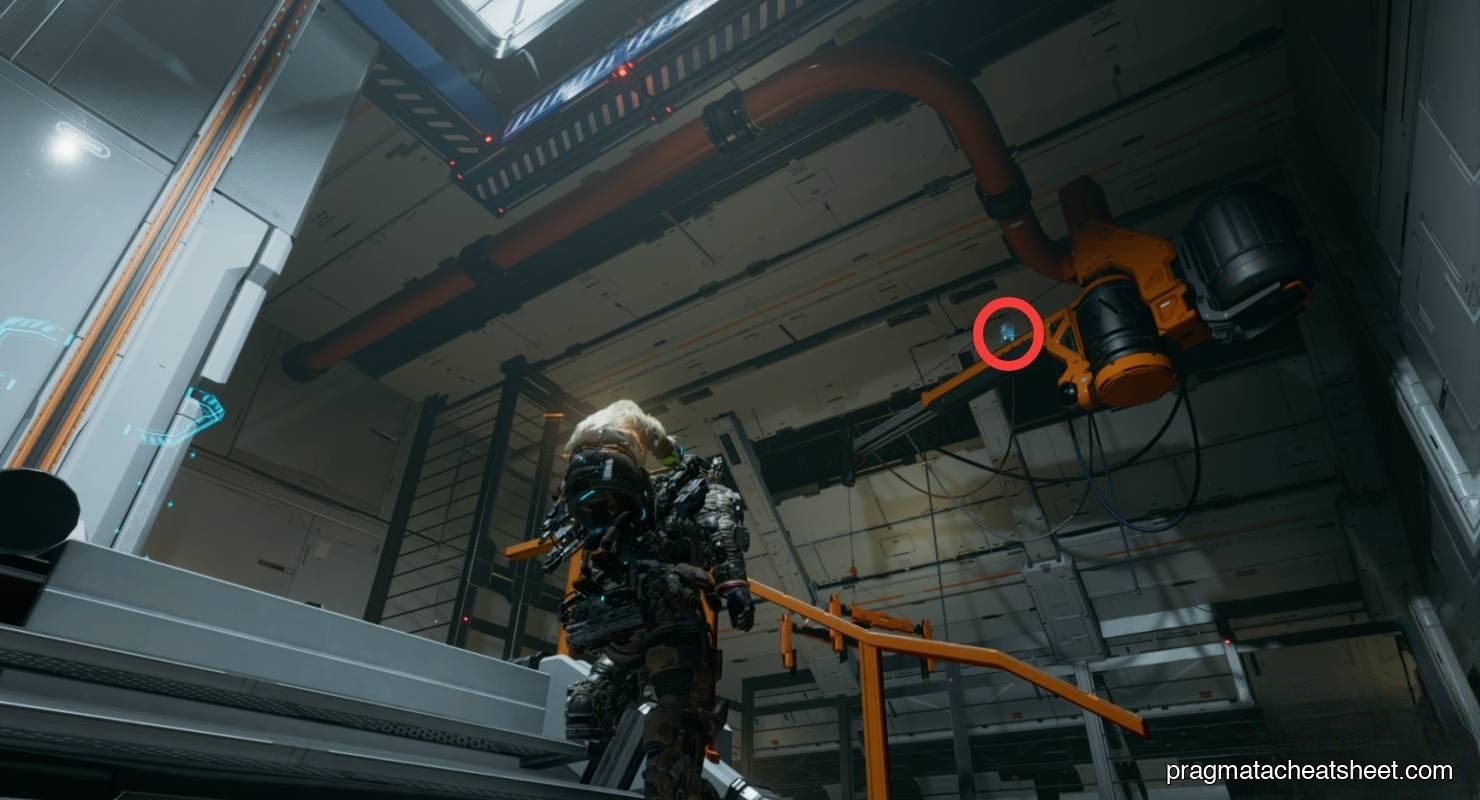
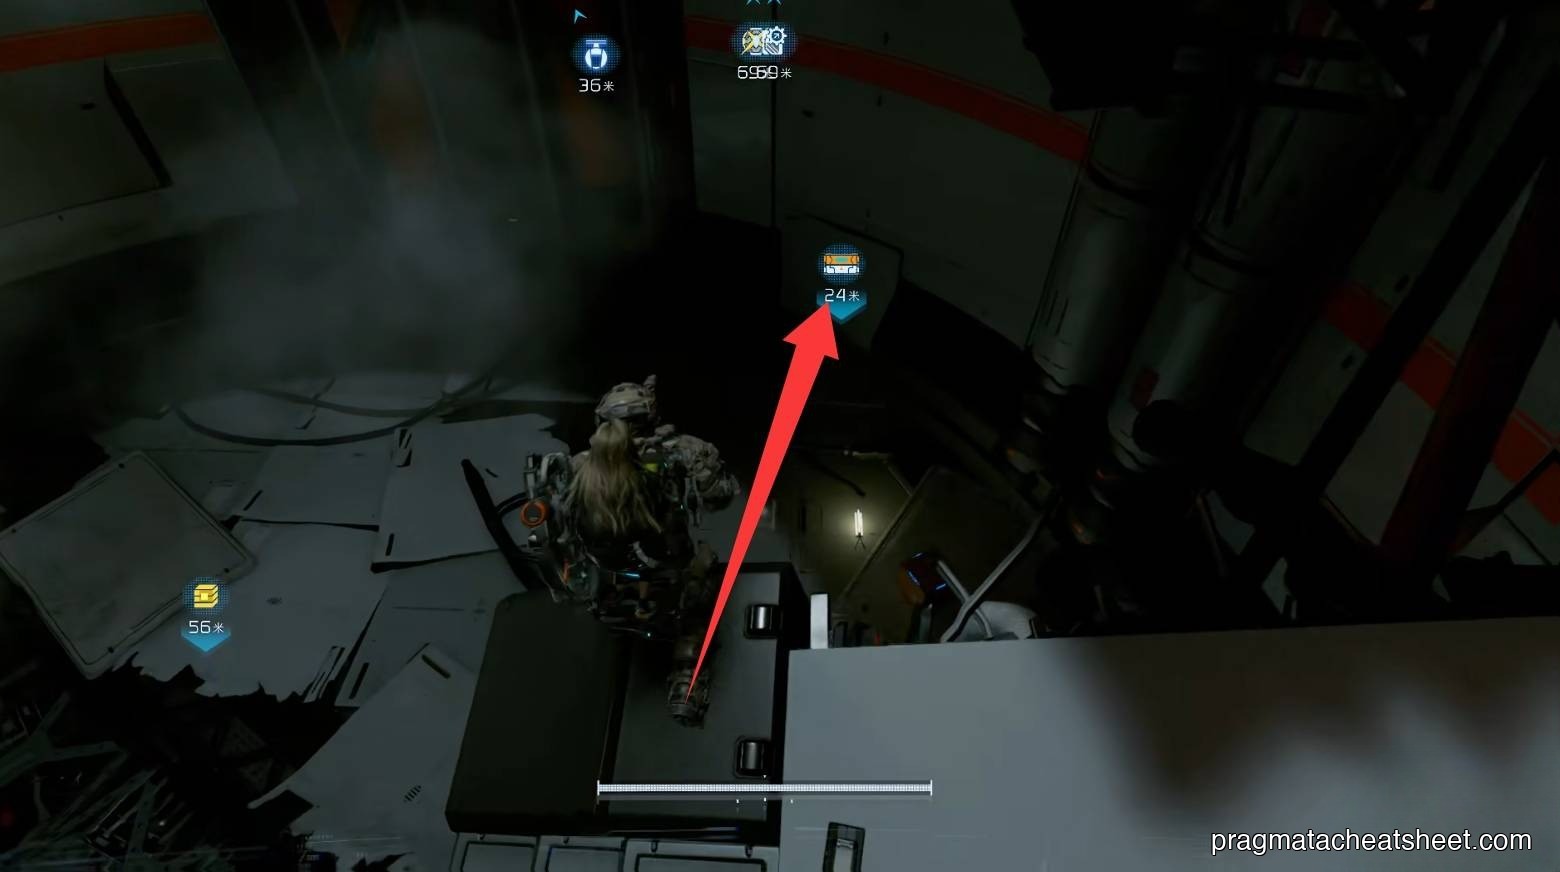
Through the tunnel, past a small door: platform Upgrade Component.
Bottom of the tunnel, an enemy emerges from a side hole → Upgrade Component inside.

Deeper in: Luna Digger ambush, hack out, activate the next Escape Hatch. Resupply, then go for the boss.
Items in this area
- Safe Box × 2
- Training Data × 1
- Mini Cabin × 1
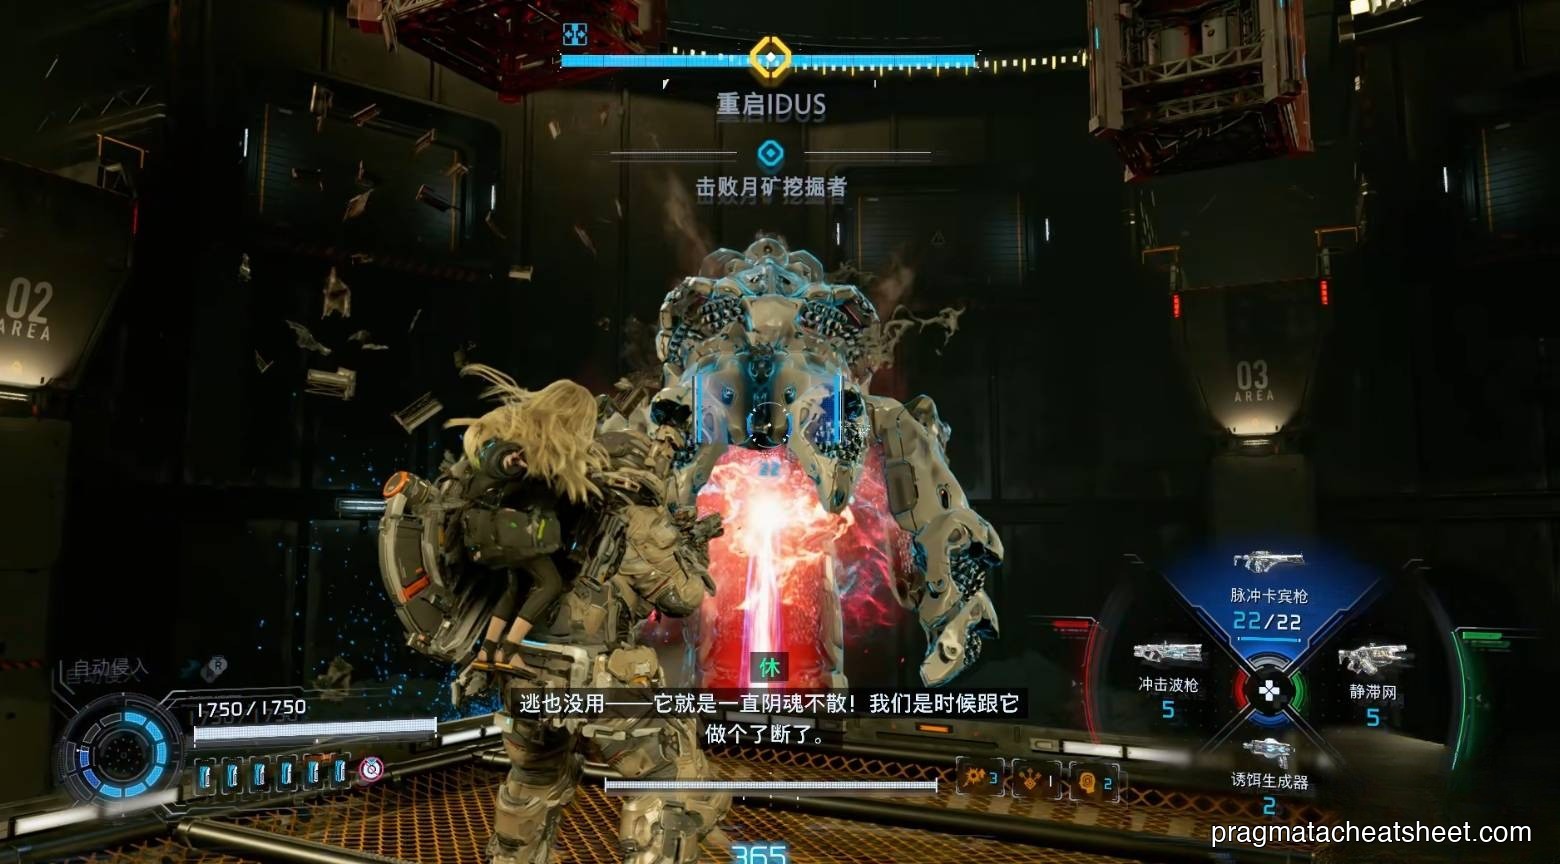
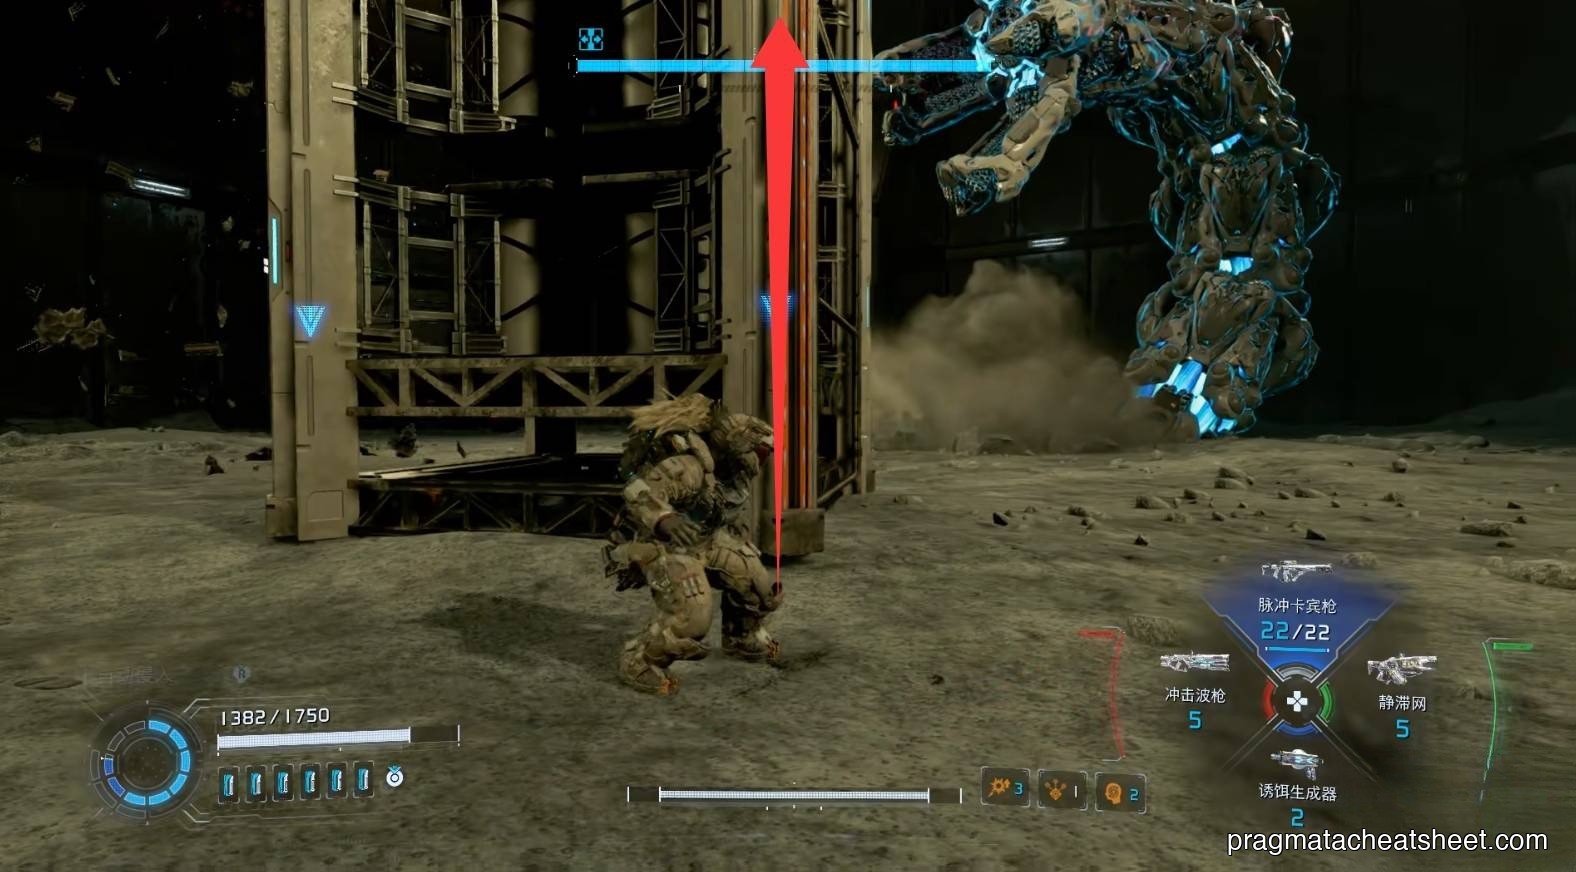
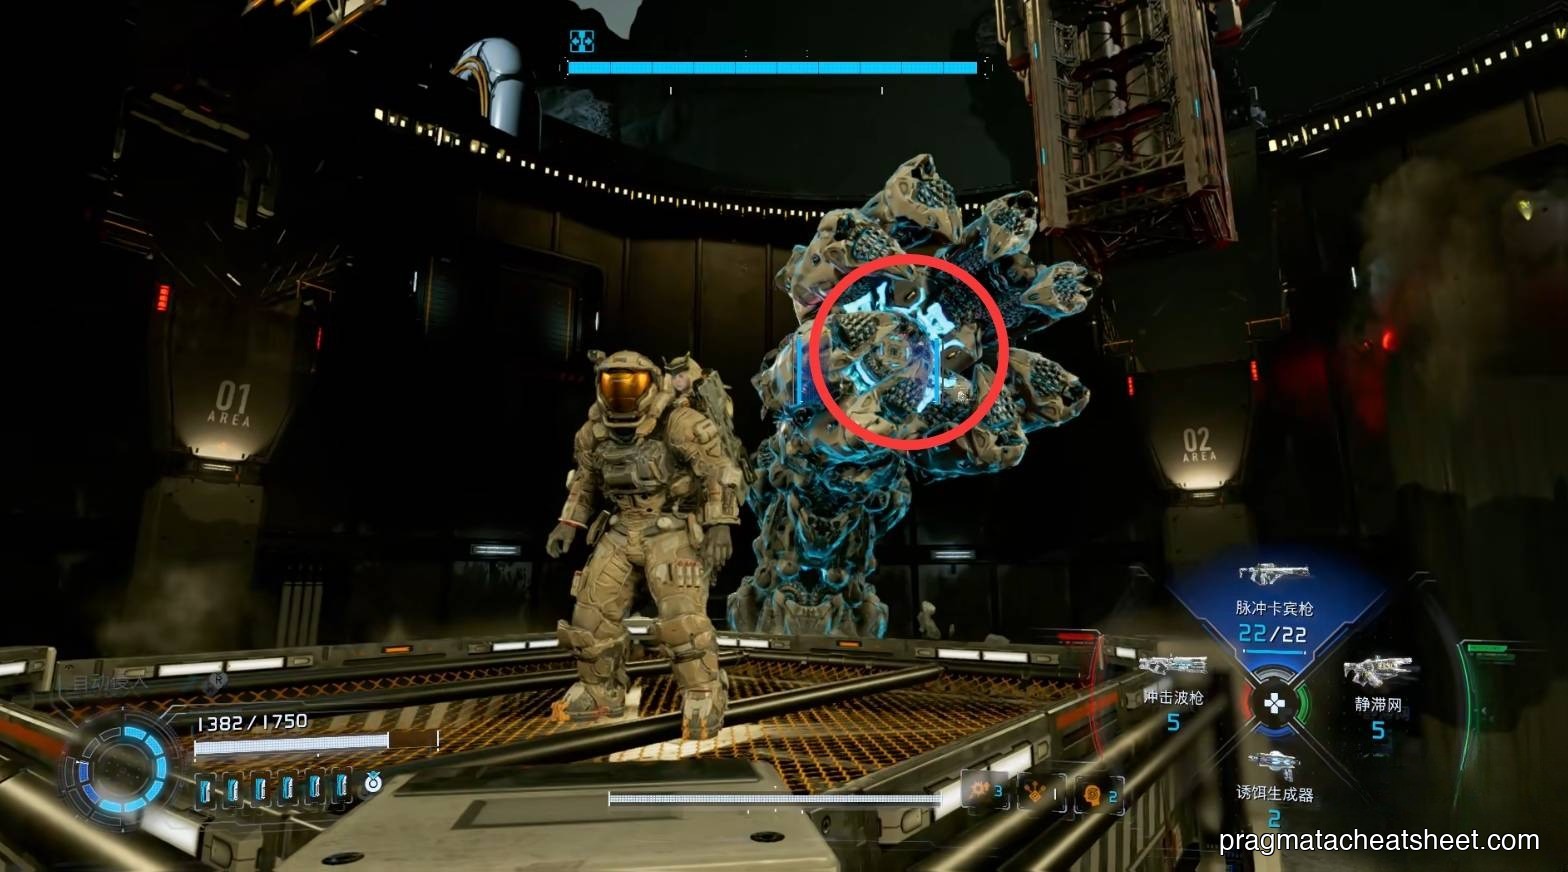
BOSS · Luna Digger
Location: tunnel end past the Tower Access Point Phases: 2 (platform-up → ground swarm) Weak Point: inside the mouth, later body nodes
Top up Overdrive first.
Phase 1 — mouth laser
Laser sweeps bottom-up. Dodge sideways.
Wall-rail to the raised platforms for easier head hits.

Hack → mouth is the weak spot.
Platform destroyed → switch to an upgraded Shockwave Blaster on the ground, close-range to the mouth, then dash out.
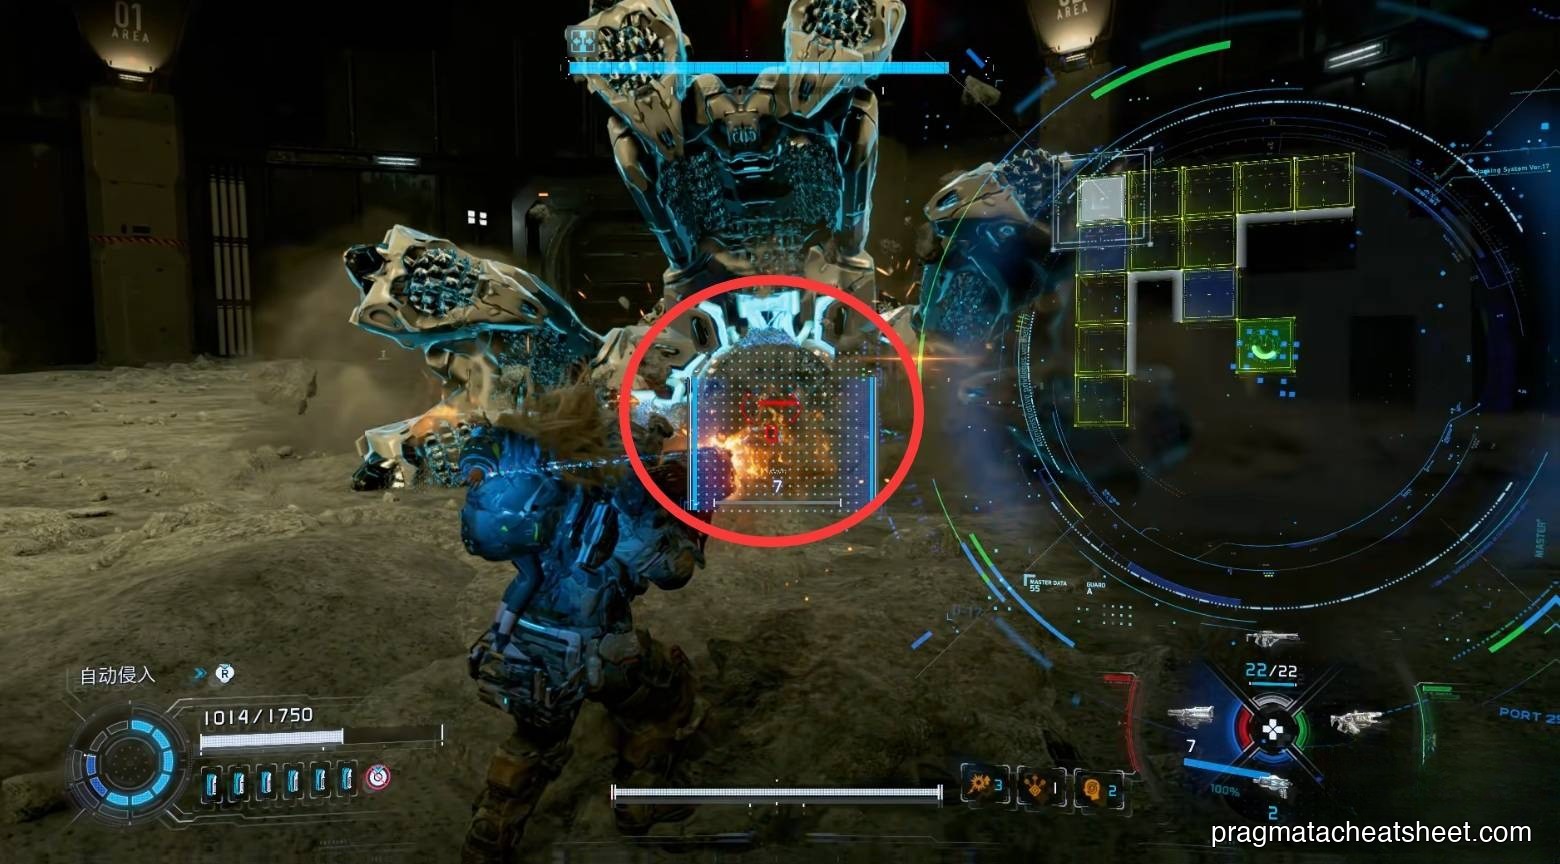
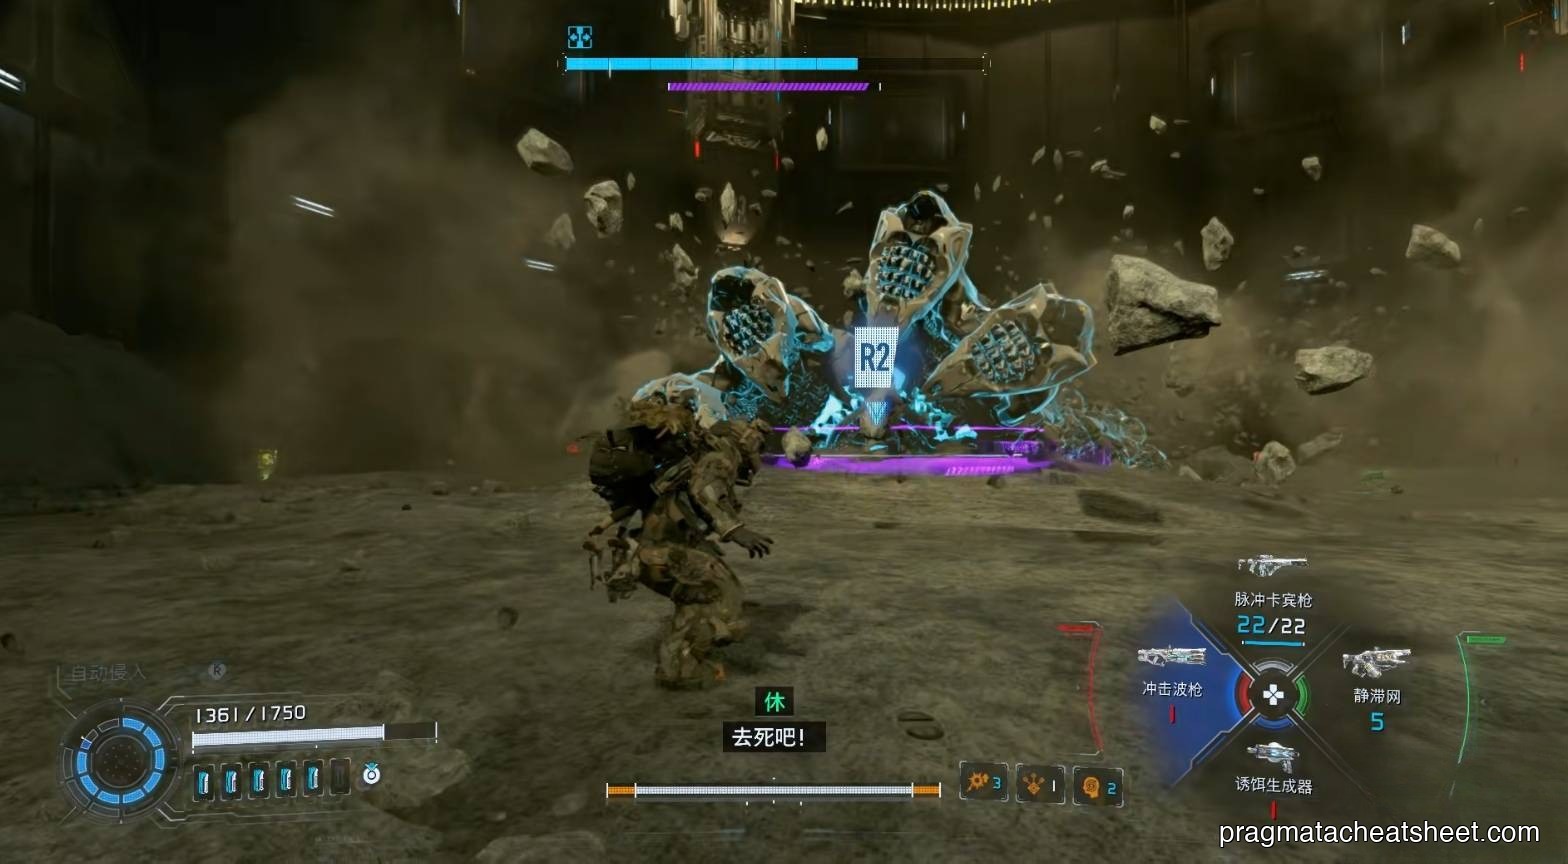
Stagger → execute.
Phase 2 — sub-drones
It splits off sub-drones and exposes glowing body weak points — fire on body nodes instead of the mouth.
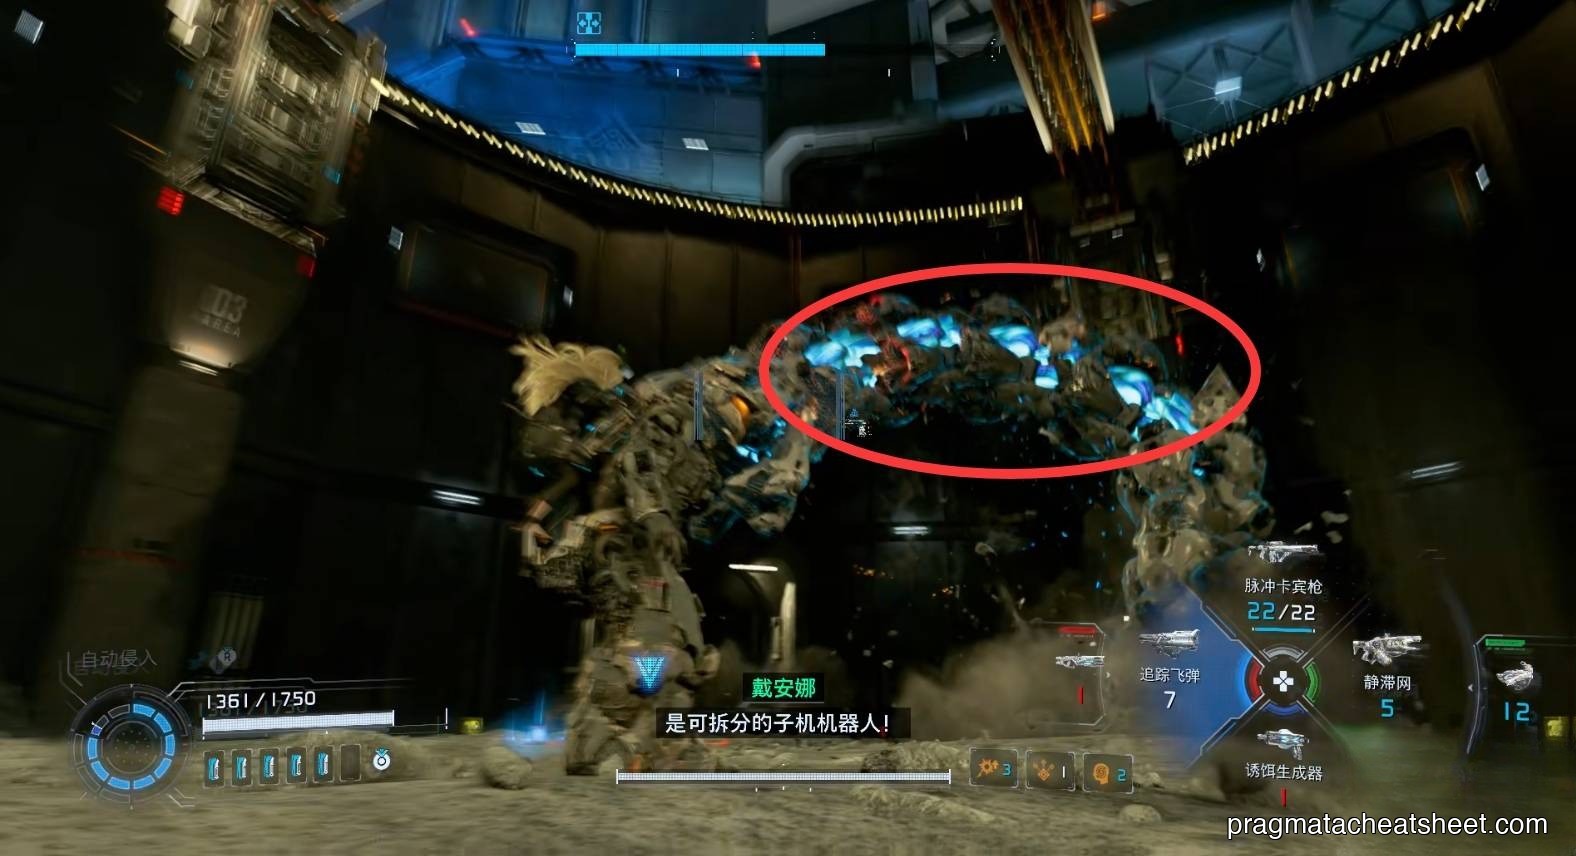
Hack sub-drones → they turn and attack the boss.

Rewards
- Tier 4 License Key
- Story trigger after the kill → continue forward through the door
Tips
- Rails are your lifeline. Ignore low ground until phase 2
- Overdrive into mouth stagger for free executes
- In phase 2, hack a cluster of drones and kite them toward the boss
Next
→ Continue to Sector 5 · Experimental Pragmatics