Solar Power Plant is the outermost ring of the Cradle — three subsectors that teach you every core verb the rest of the game builds on. You'll pick up the Shockwave Blaster and Stasis Net, learn to extend hack chains for big damage, and end the run by breaking a first-tier License Key off the Sector Guard.
Route Overview
Drop in at the Generator Entrance, route power through the Power Distribution Center, then climb to the Hub Hall elevator. The boss arena opens from the top of the hall. One Red-Zone-ready Pure Lunum area and a handful of Lim-barrier rooms will stay locked on this pass — you'll sweep them later.
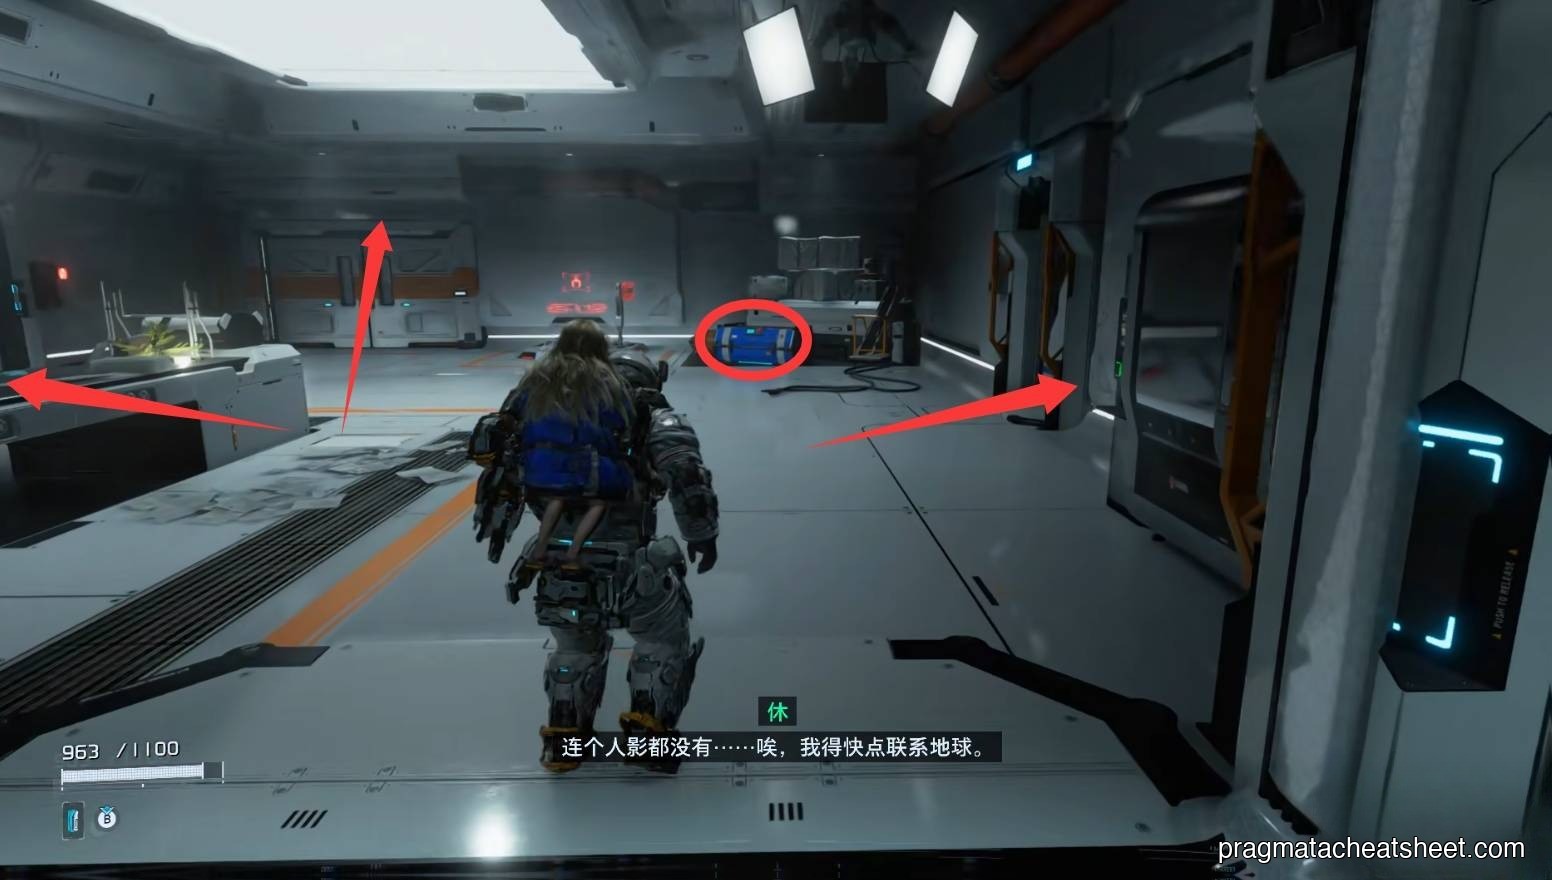
01 — Generator Entrance
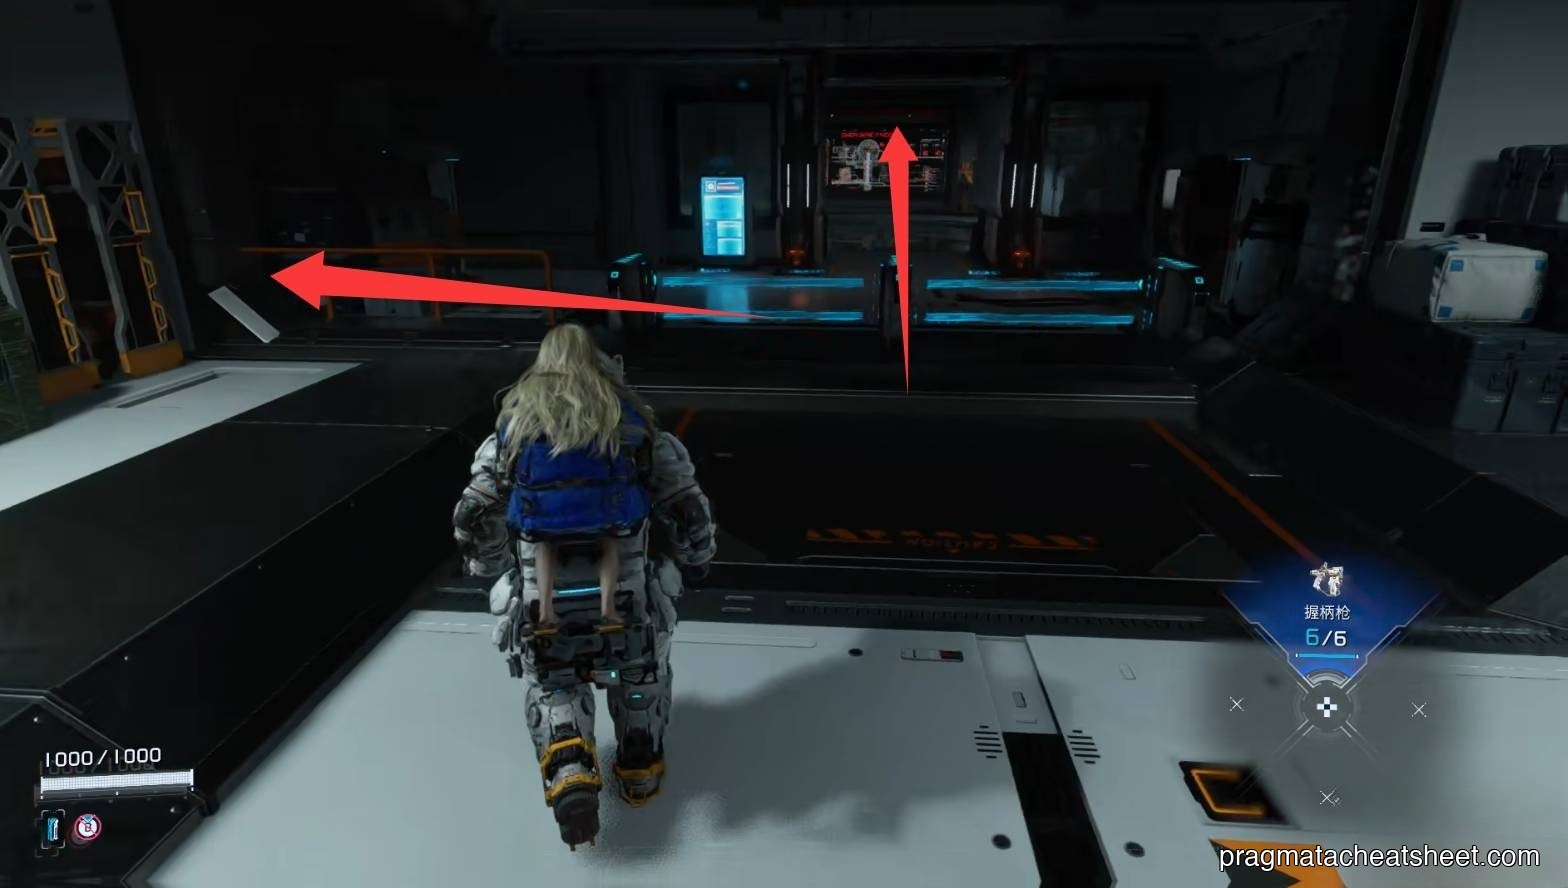
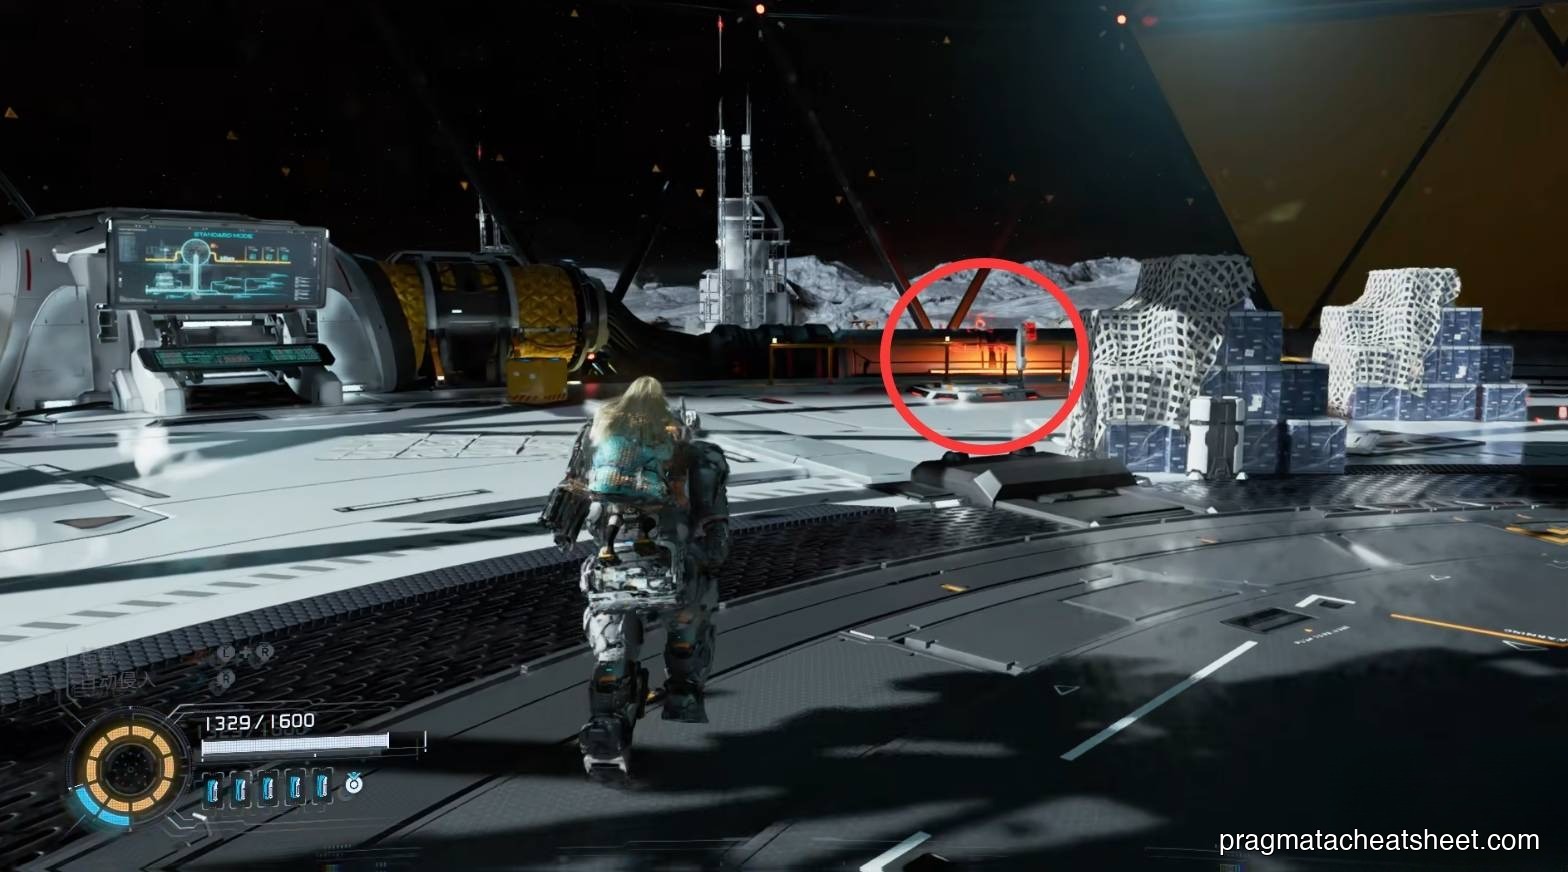
Step off the tram and immediately turn left — an Upgrade Component is tucked in the corner. Scan the Notice Board for your first Field Document, then keep moving.
Route
The right-hand door is sealed. Check the wall display: it points you down the left corridor. Follow it to the end, pick up another document, pass through to the generator, and flip it on.

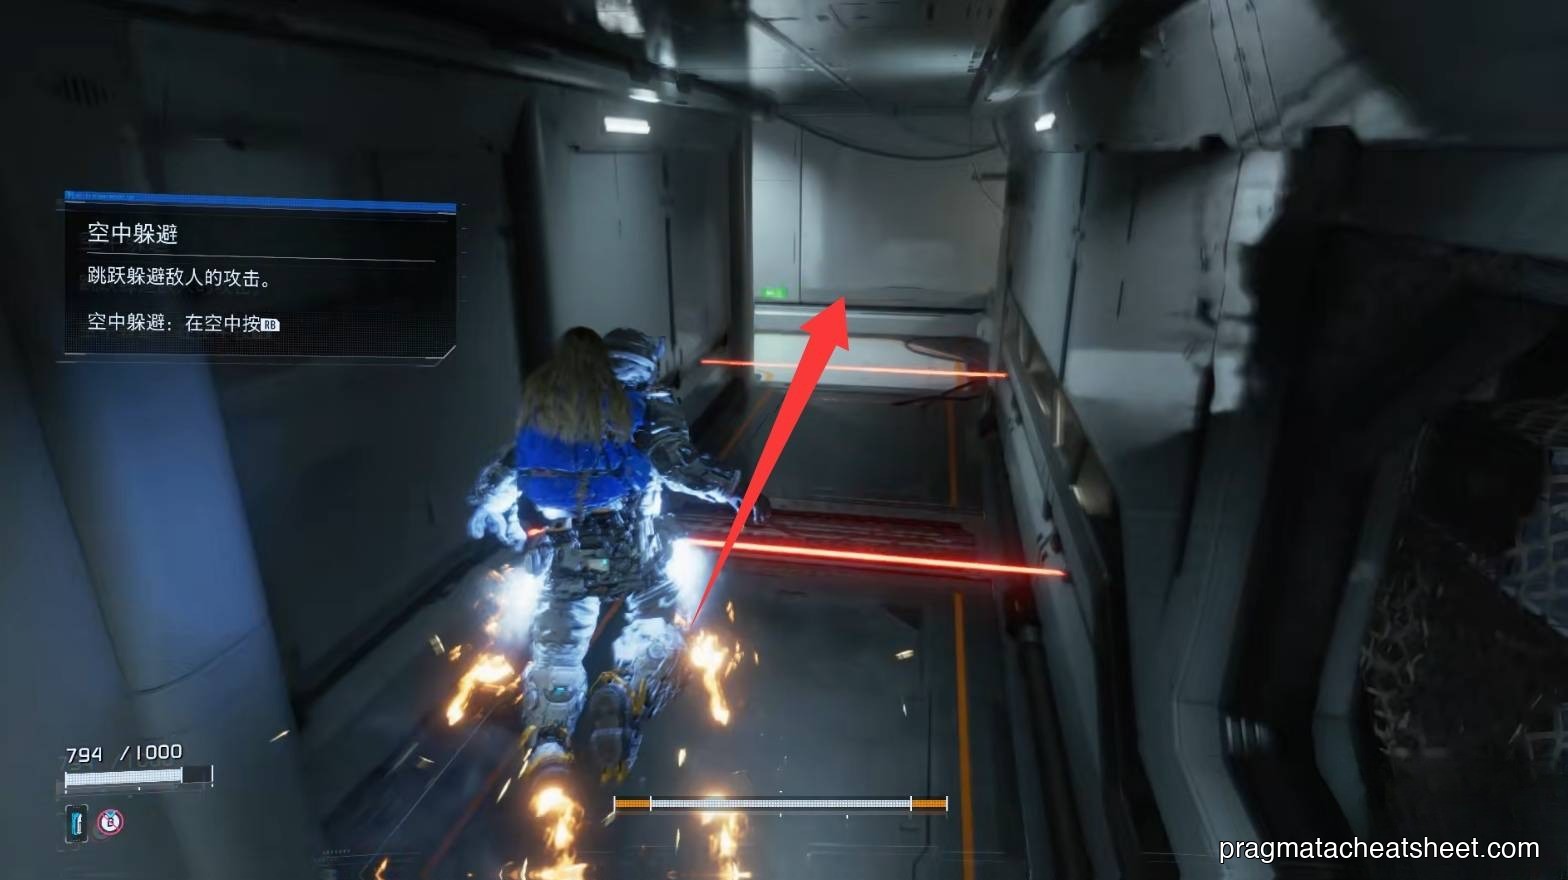
On the way back, enemies spawn in — your first real combat. A boost-jump or jump-dash clears the debris blocking the return path.
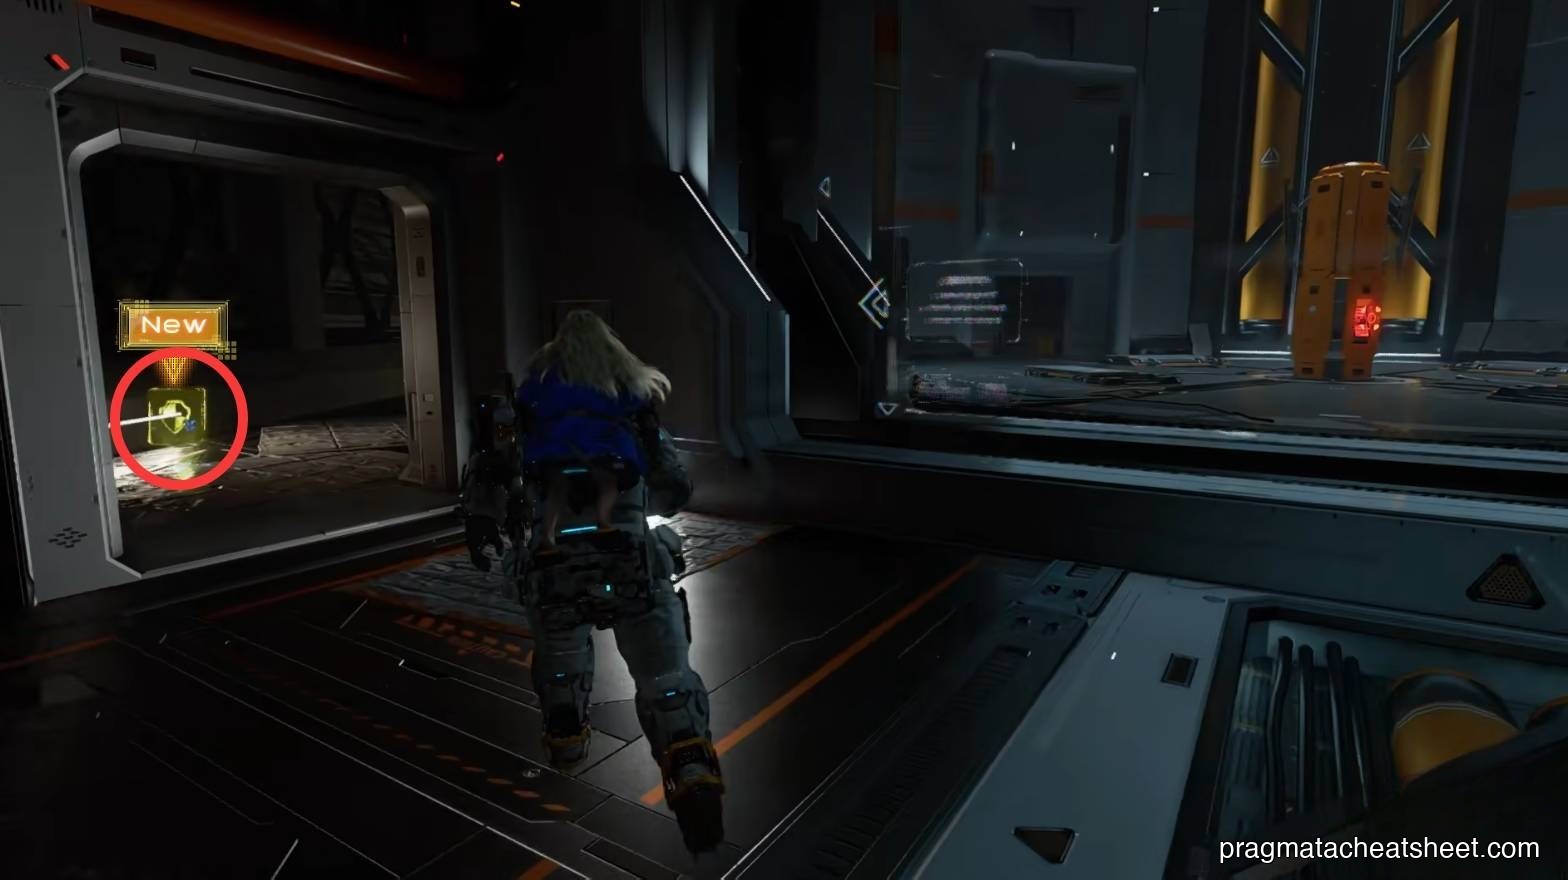
Back at the wall display, a small hacking panel now opens the left side door. Inside: a supply box and a holographic short. After that, go through the right door.
Items in this area
- Upgrade Component · left corner after the drop-off
- Field Document · Notice Board at the platform
- Upgrade Component · inside the room with the two red locks (left-side room)
- Lim-barrier collectible · blue barrier on the right wall — come back with the Lim Eraser
Two more things to note here:
- A holographic globe floats in the hallway — a REM chip you'll grab from the other side later in Hub Hall
- A small flying drone gates a two-lock door: break both red hack nodes (one beside the door, one in the left-side room) to open it
Enemies
- Standard Combat Bot · hack, then spine-shot while stunned
- Drone · dodge the beam, hack mid-air to stun
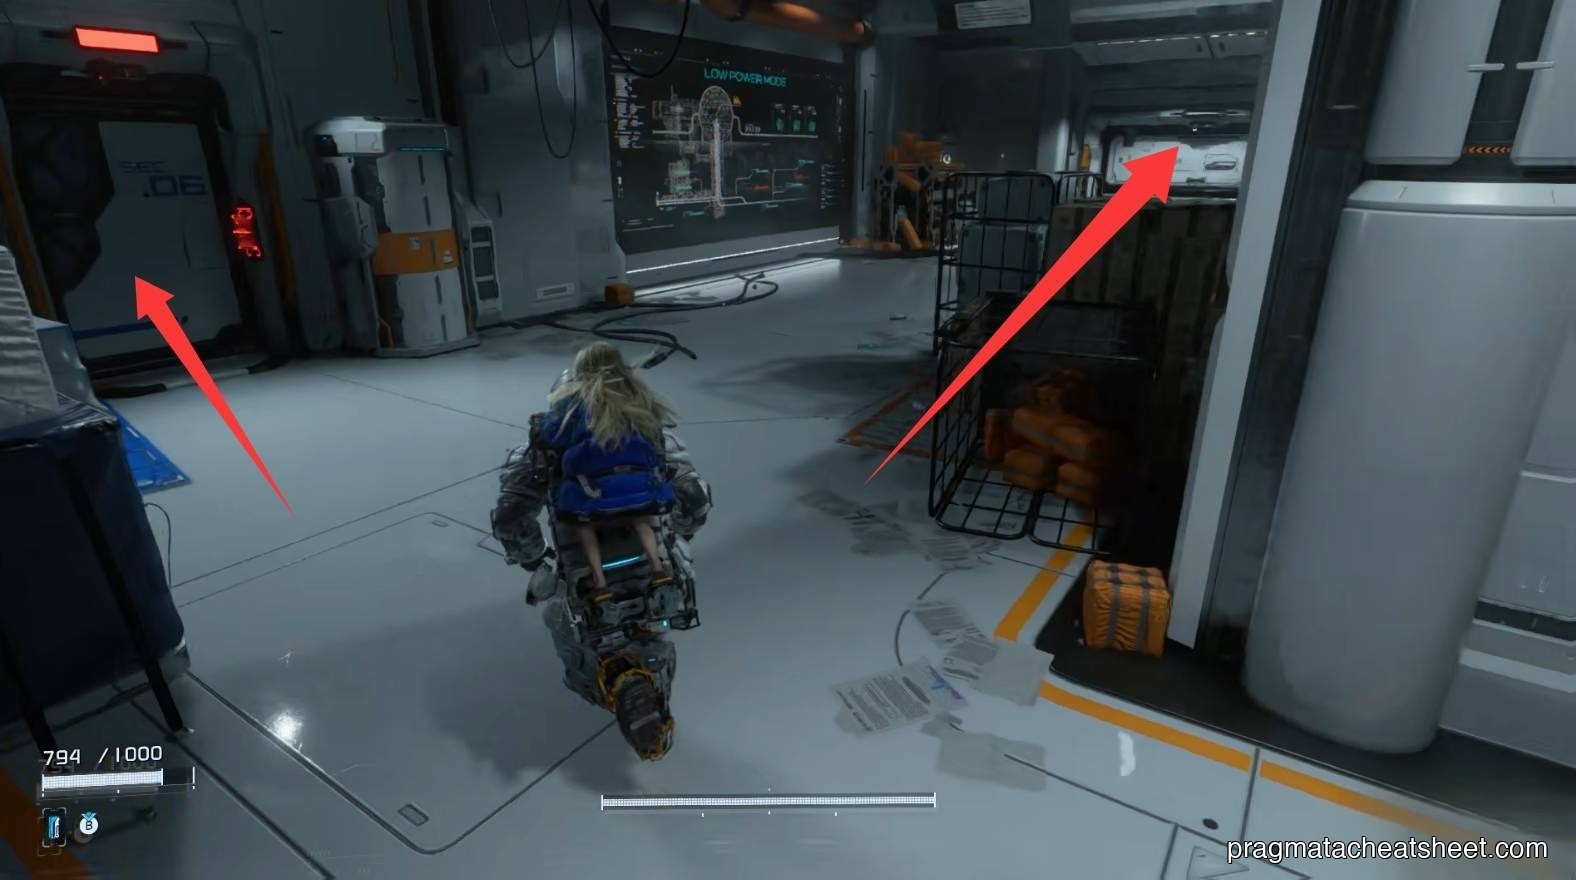
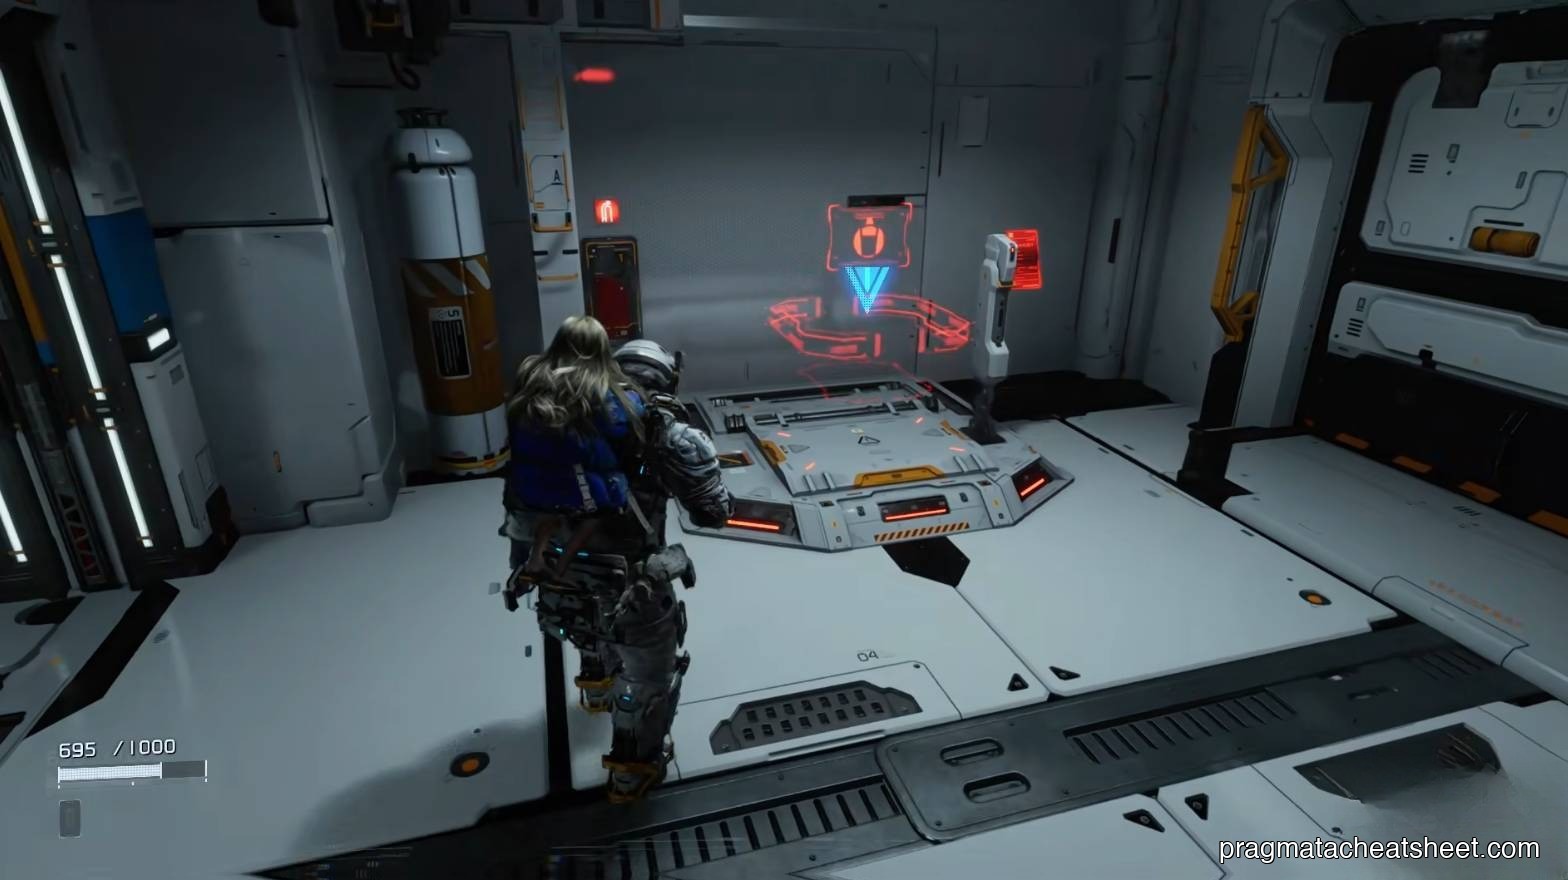
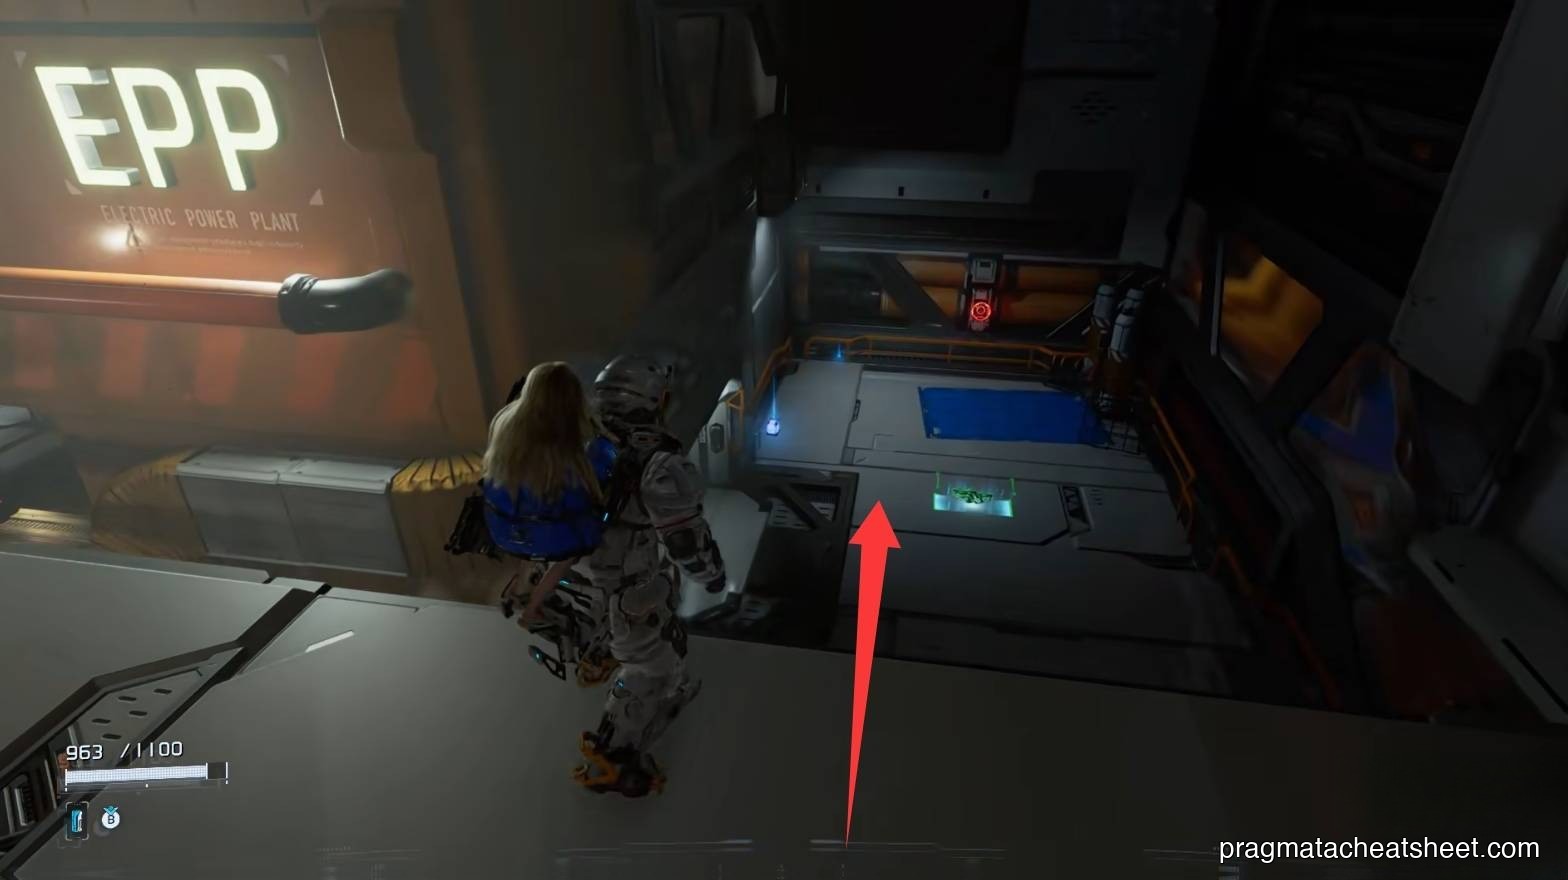
02 — Power Distribution Center
A short fight unlocks your first Escape Hatch — use it as a fast-travel pin back to the Shelter whenever you need to resupply.
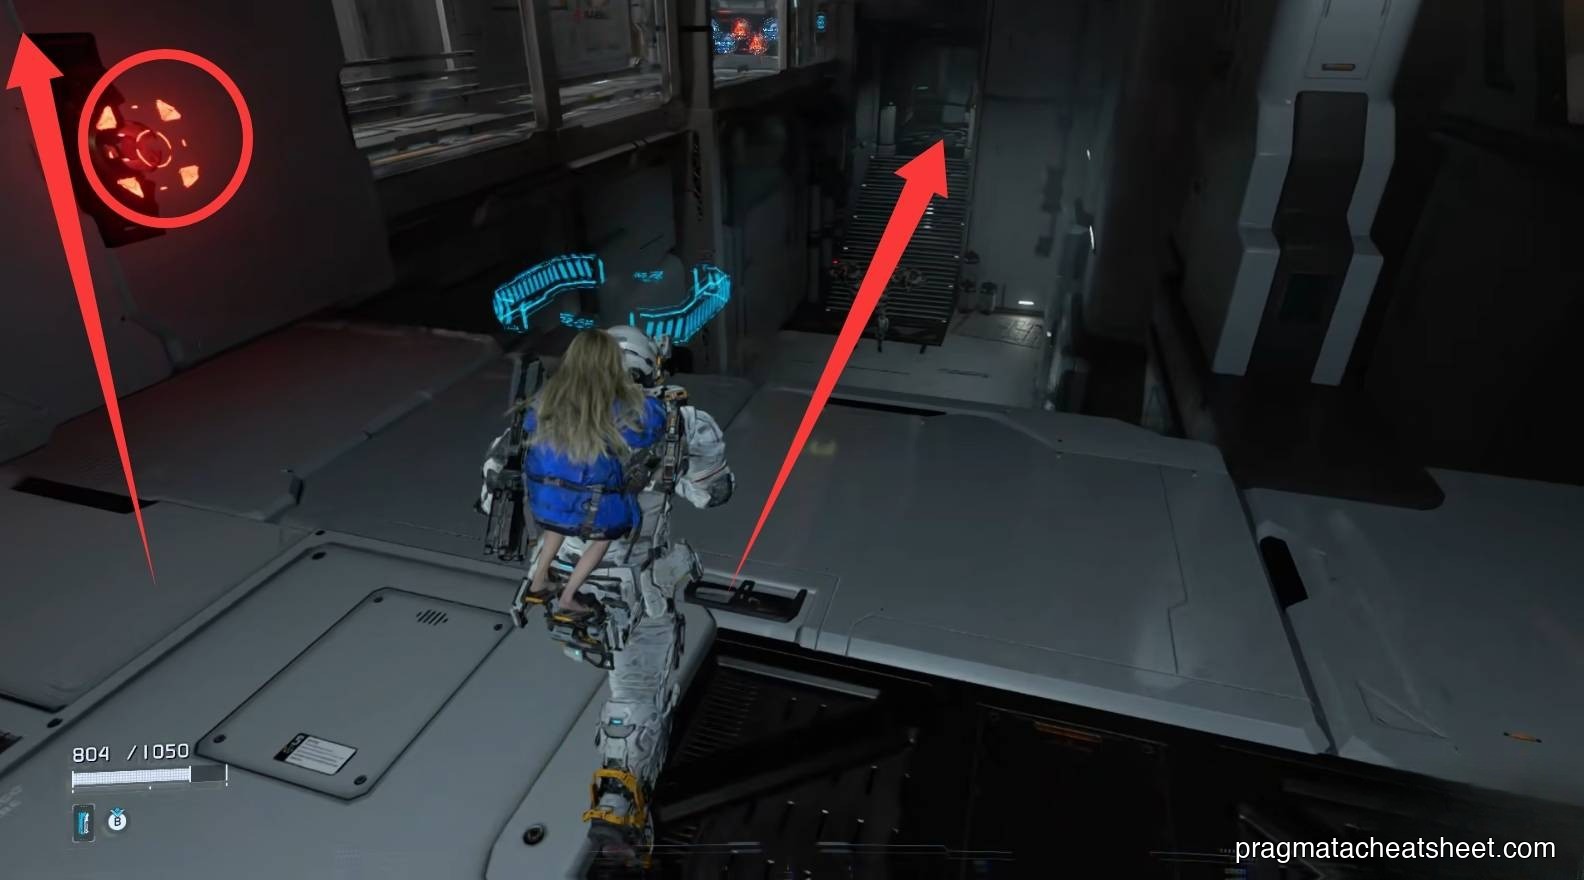
Laser bridge and the five-lock door
Cross the laser bridge by timing the gaps. At the far side you'll find a door with five locks and a single red hack node. The other four are scattered across this whole subsector.
Hack the far-side laser controller to cut a second laser fence — it opens a shortcut you'll use after clearing enemies.
Look up from the five-lock door: a red node high on the wall disables another laser, and you'll spot an Upgrade Component up there for later.
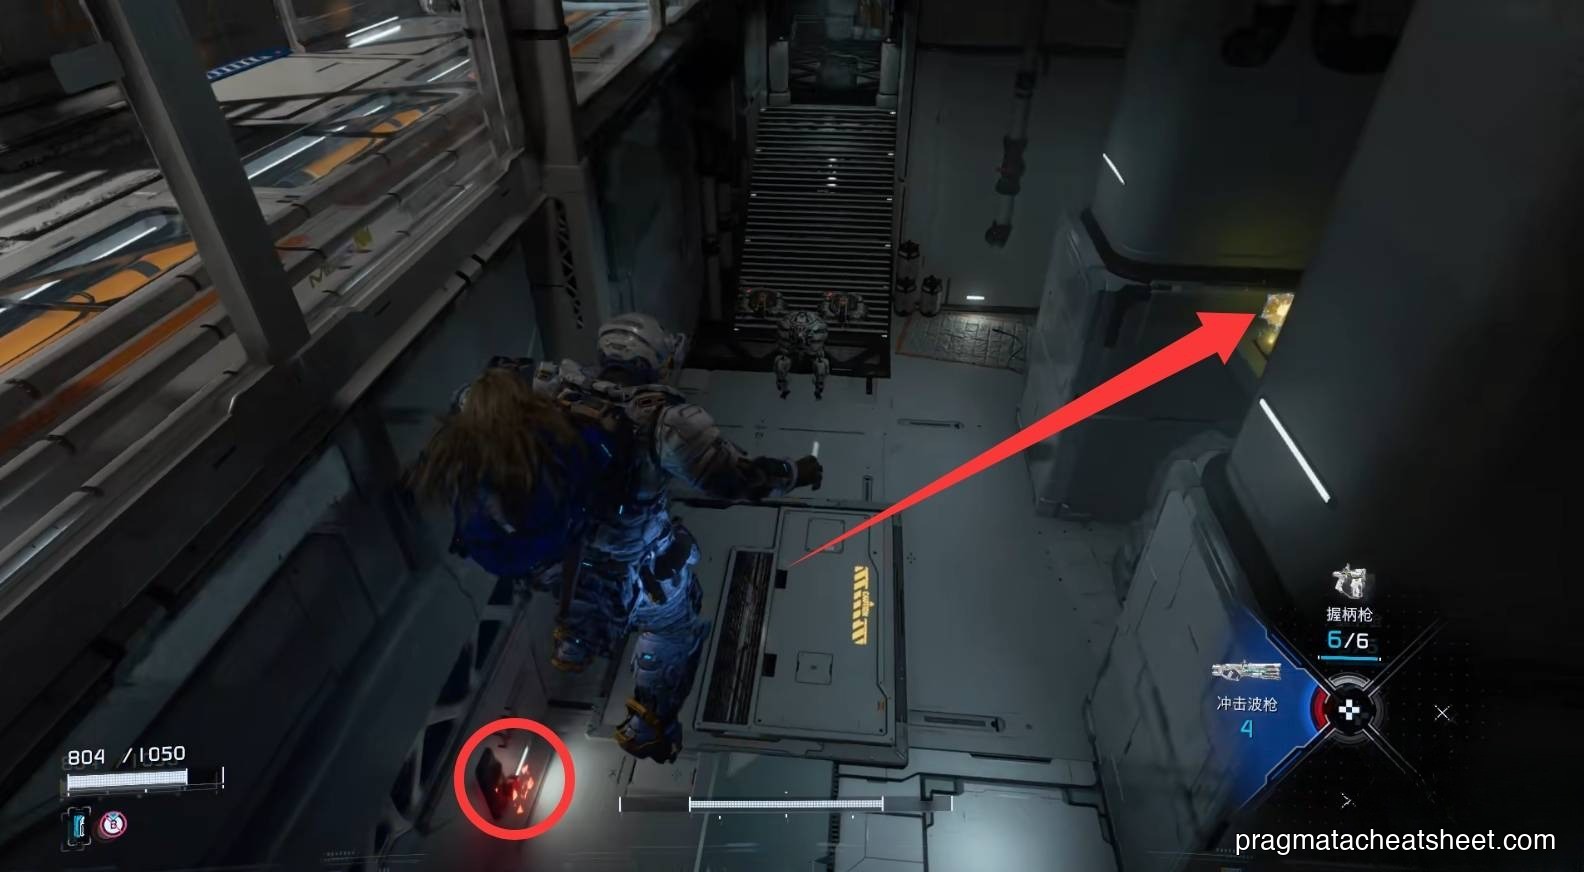
Drop down to the lower level, pick up the Shockwave Blaster on the floor, and hack the next red node.
Crusher enemy (heavy melee): hack it, then fire the Shockwave Blaster point-blank into the head — that's its weak spot.
The platform drop loop
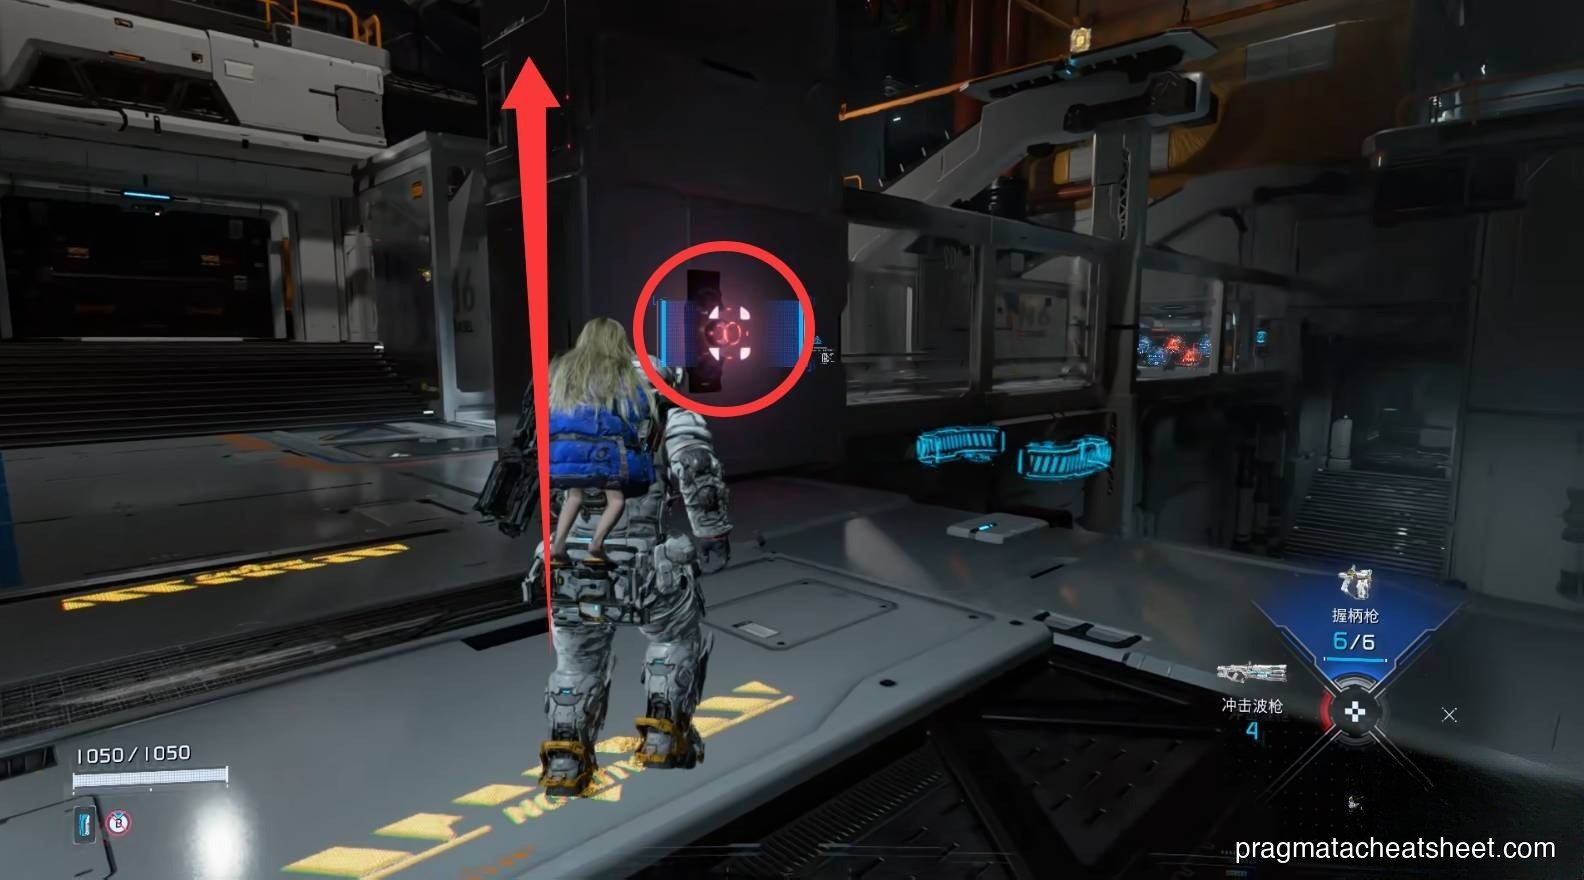
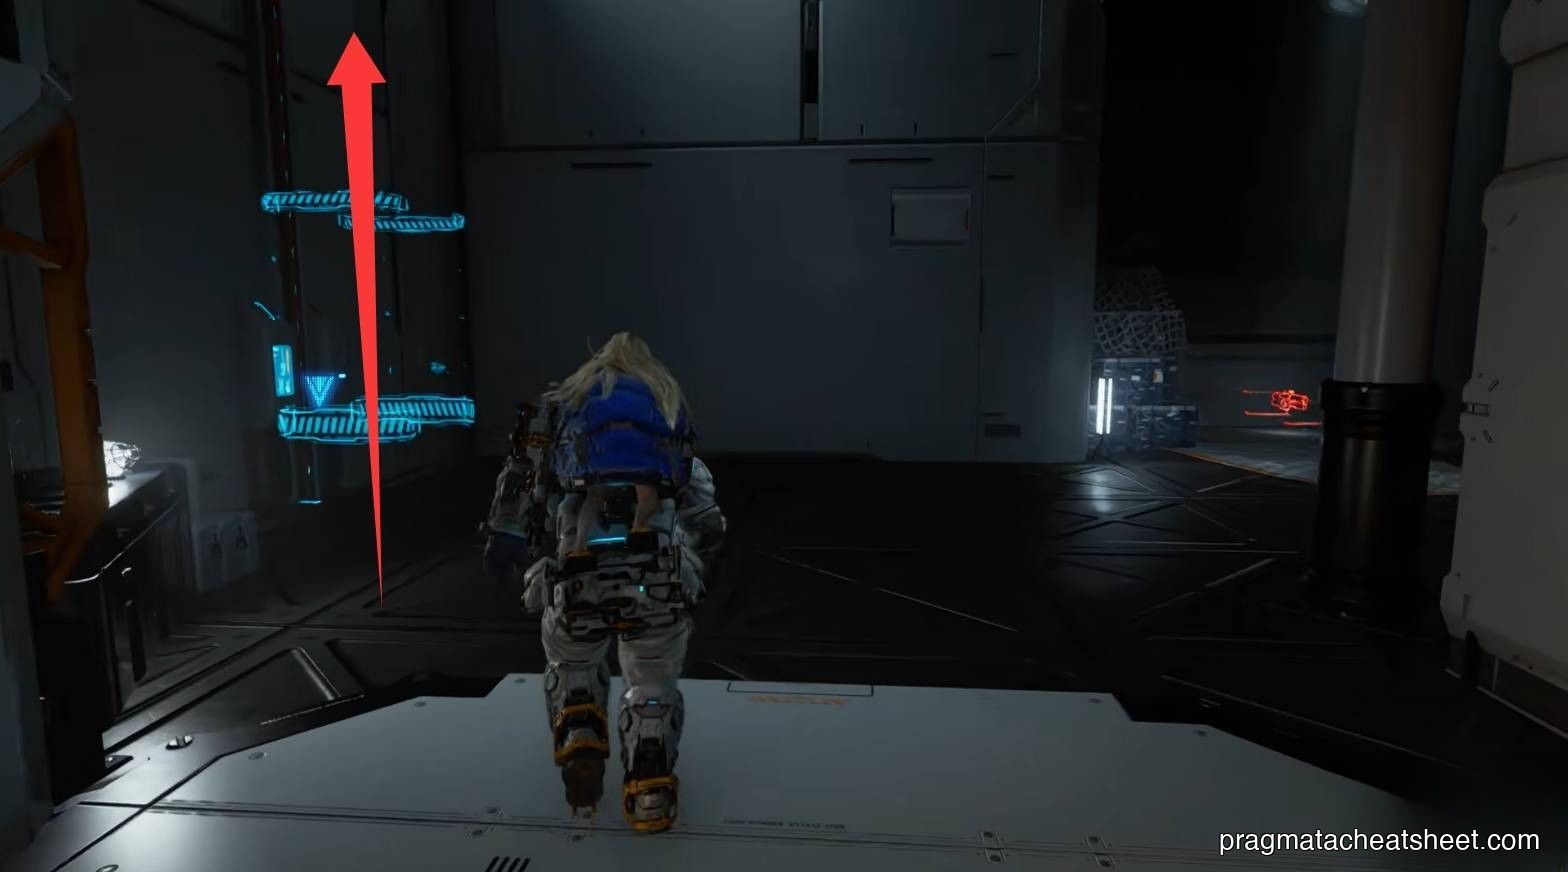
Ride the elevator up. From the top you'll spot a ledge to your lower-left — save it for a second pass. First, jump across to the opposite side and hack the high red node.
Now drop down the staircase of ledges: an Upgrade Component on the Escape Hatch roof, another Upgrade Component further down, and a Safe Box at the bottom.
Ammo boxes below. Re-hack the wall node to platform back up, open the door, and you'll pop out right next to the Escape Hatch — a clean loop.
Items in this area
- Upgrade Component · wall ledge just off the laser bridge
- Upgrade Component · high nook above the five-lock door
- Shockwave Blaster · dropped weapon after Crusher
- Upgrade Component · Escape Hatch rooftop
- Upgrade Component · second ledge down
- Safe Box · bottom of the platform chain
- Upgrade Component · top of a rising platform (re-hack the loop)
- Safe Box · end of the unlocked laser corridor
- Stasis Net · dropped weapon in the upper tier
- Safe Box · above the Stasis Net pickup
From the Escape Hatch exit, the previously laser-blocked zone is now open. A wall hack raises a lifting platform — use it to reach a high Upgrade Component. Go further in, clear enemies, grab a Safe Box at the end.
Circle back to the Escape Hatch corridor, re-hack the same node, and ride the rising platform to yet another Upgrade Component up high.
Stasis Net and the Mini Cabin
Ride the lower elevator to an upper landing, drop down, and you'll find the Stasis Net on the ground next to another red node. Stasis Net freezes enemies in place — drop one before you hack, and the whole combat becomes twice as easy.
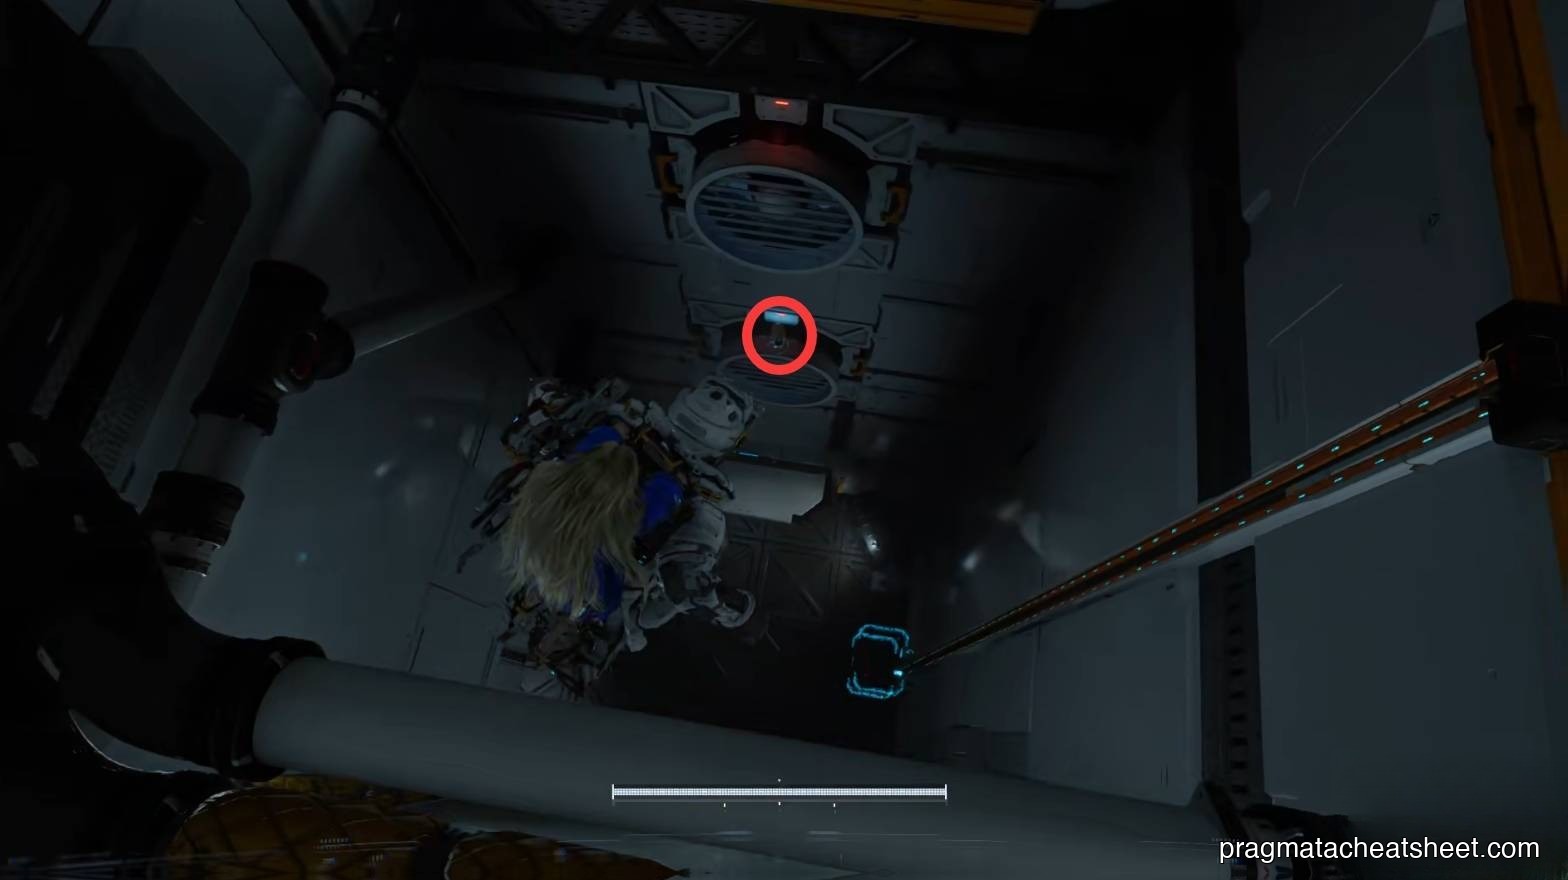
In the adjacent room, Stasis Net the enemies, hack, and clean up. Look up — a ceiling-mounted red node opens the ceiling hatch.
Outside that room, another blue Lim barrier blocks a collectible — save it for later. Right of the door is another Upgrade Component, and tucked in the corner is a Mini Cabin — you'll hear its "A-cang, A-cang" voice line. Shoot it.
Drop through the blue-tarp gap — you land right at the five-lock door, now open.

Grab the final Upgrade Component through the door and drop to the next subsector.
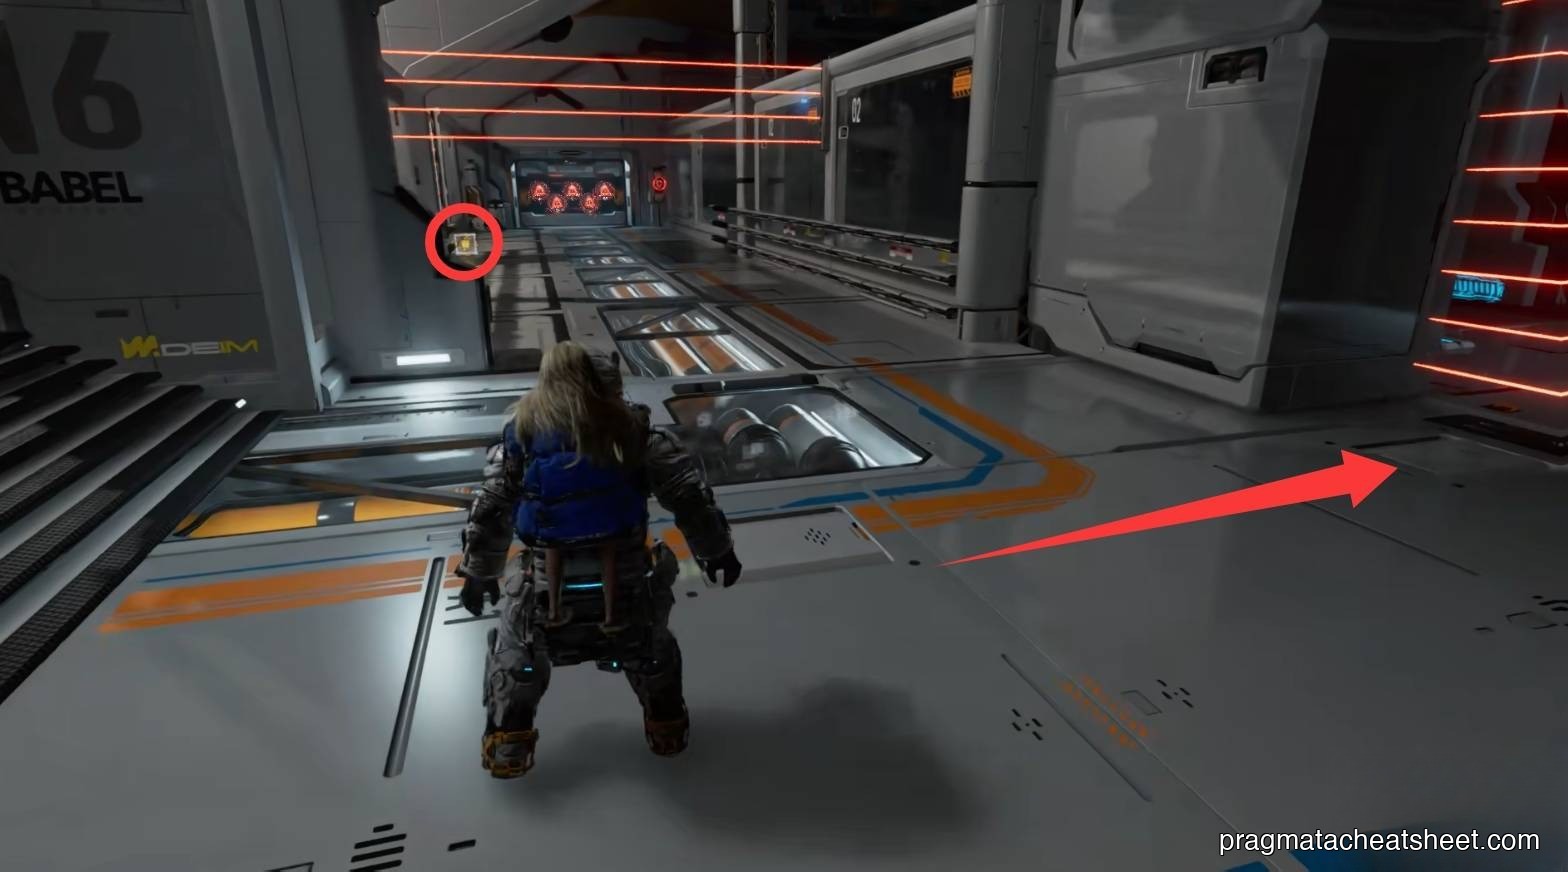
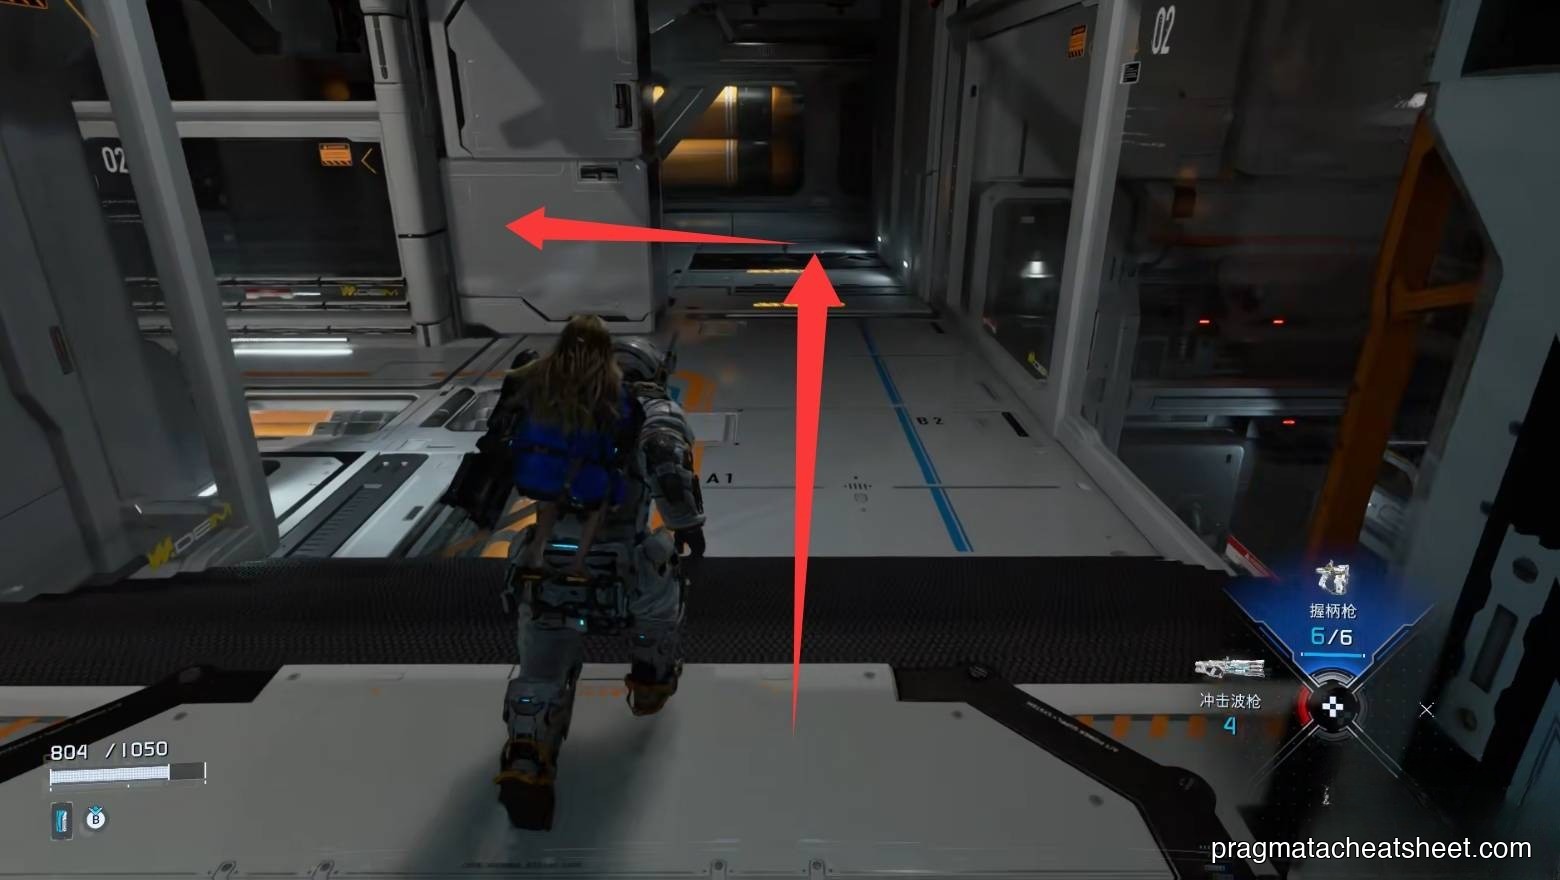
03 — Hub Hall
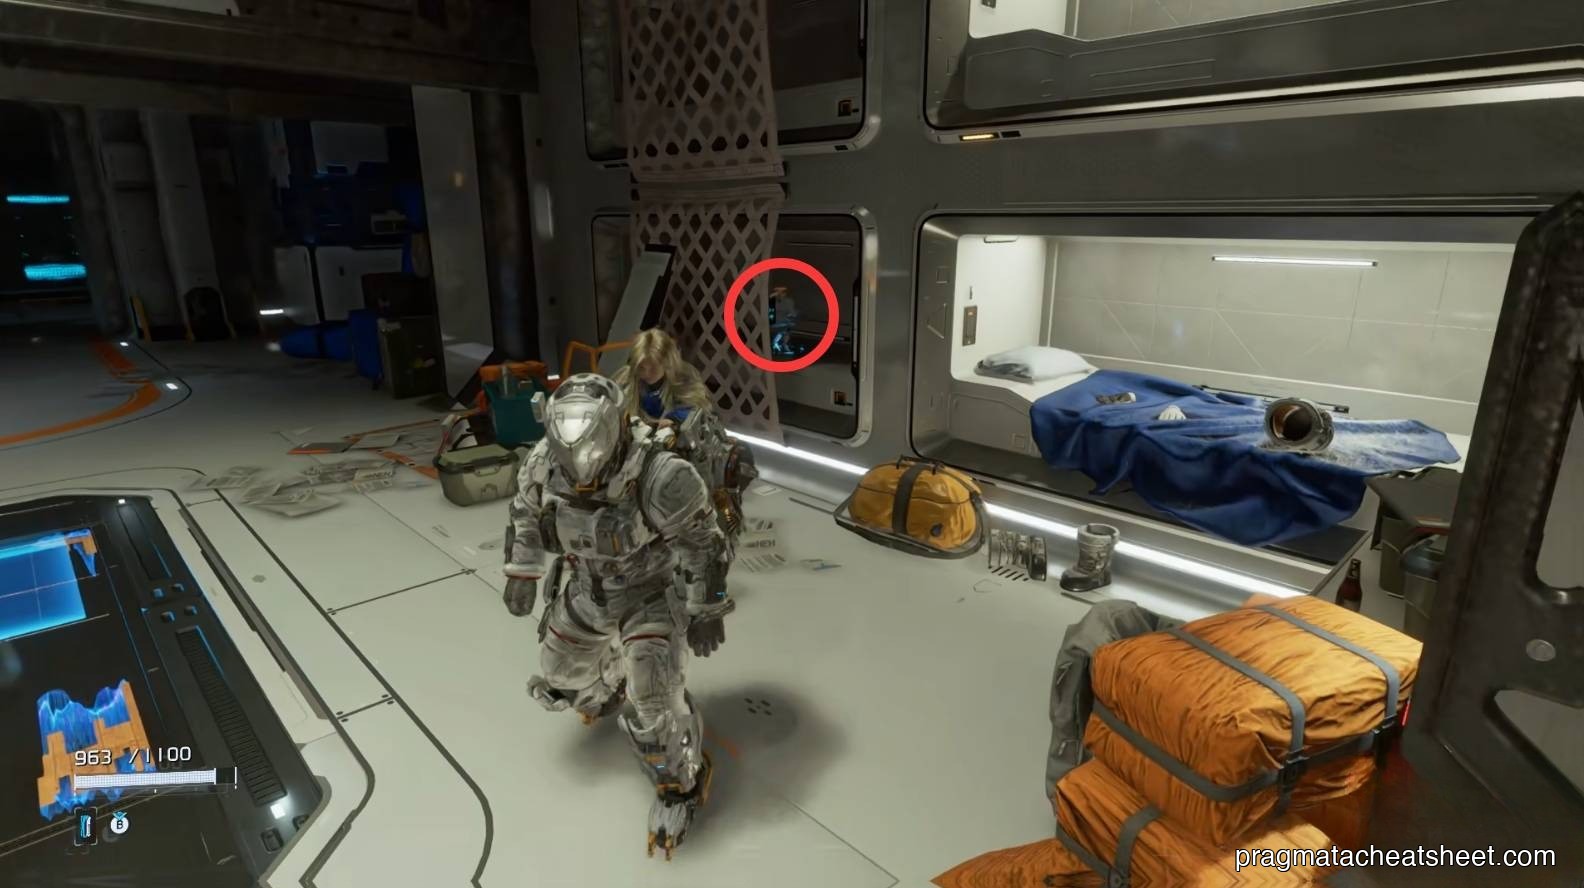
After the globe cutscene, you automatically get your first REM chip. A Mini Cabin sits on the adjacent bunk — don't forget to shoot it on the way out.
The four-door landing
An Escape Hatch is right there. Before pushing on, sweep the three side doors:
- Right small room · Upgrade Component
- Center large room · Storage Expander (permanent Repair Canister capacity bump)
- Mod · in a box next to the hatch
Then return to the Shelter to hand over the REM chip, top up supplies, and come back through the left door to continue.
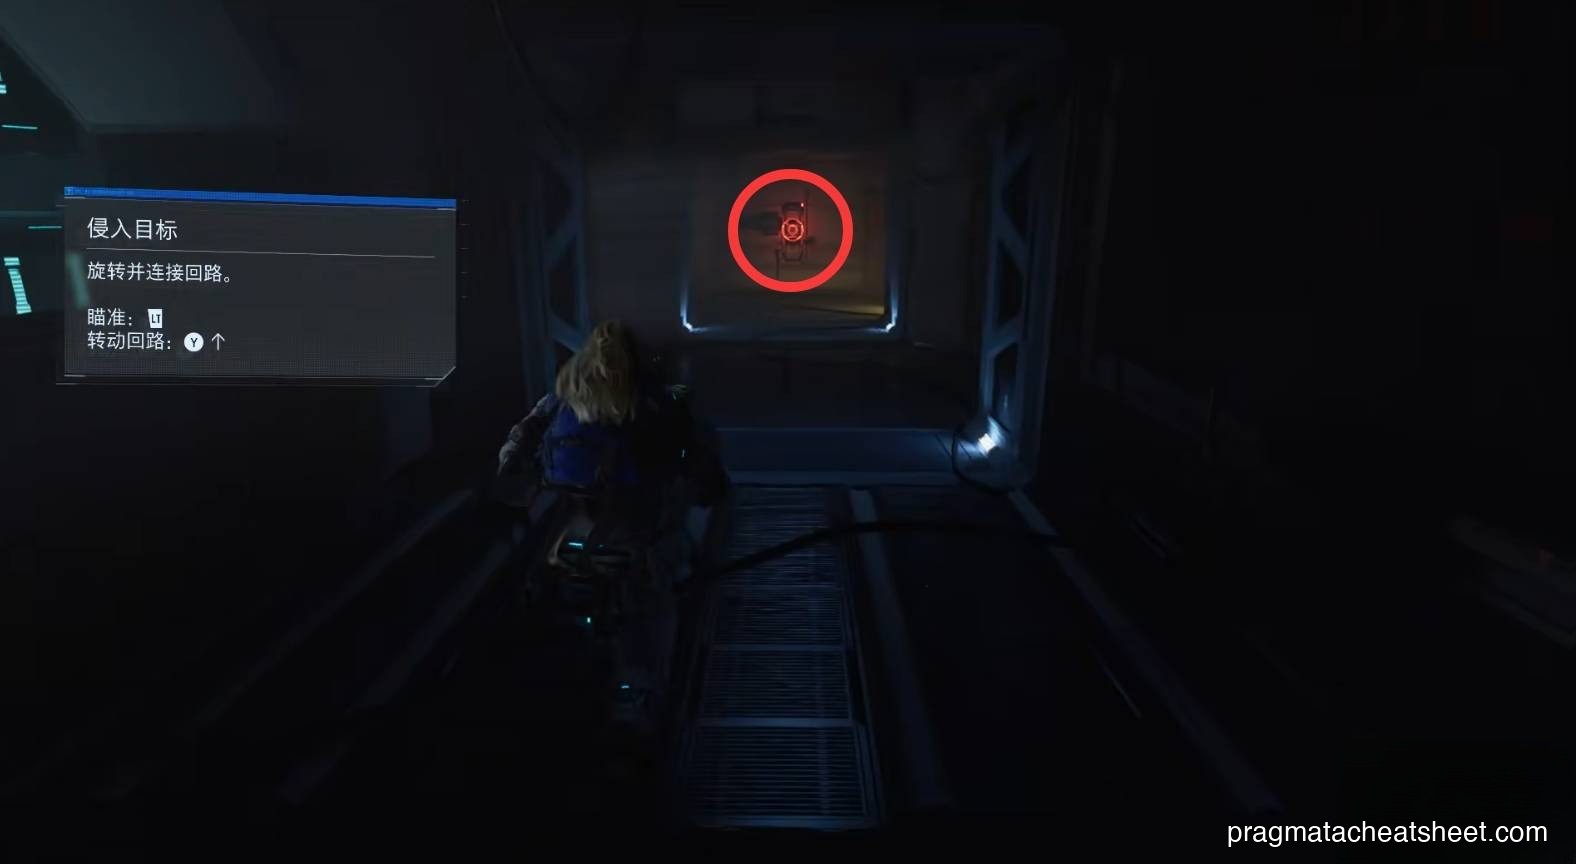
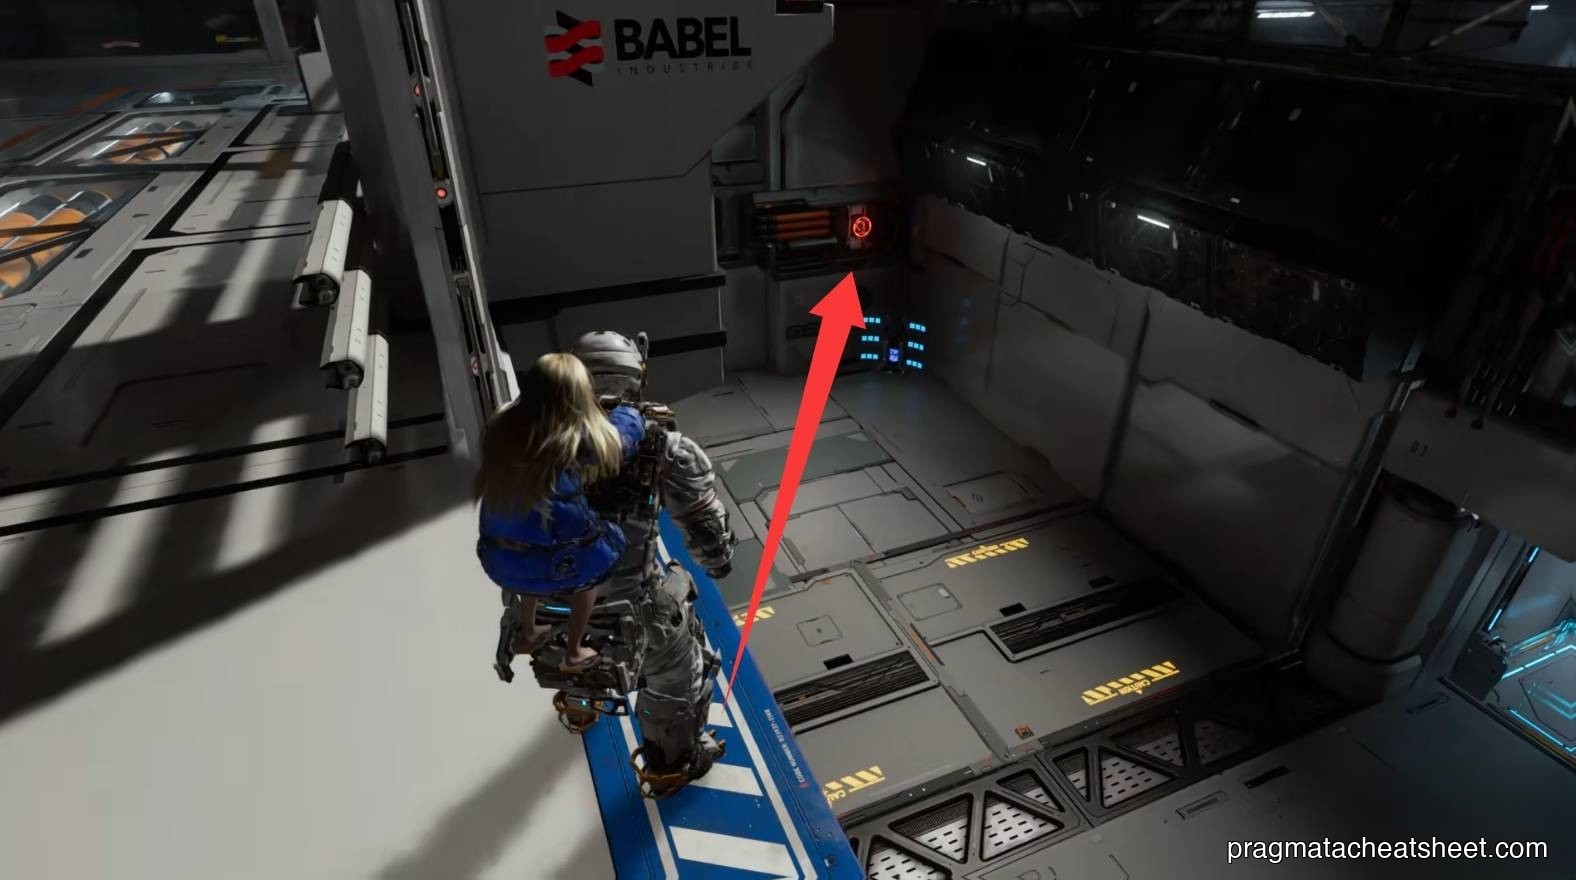
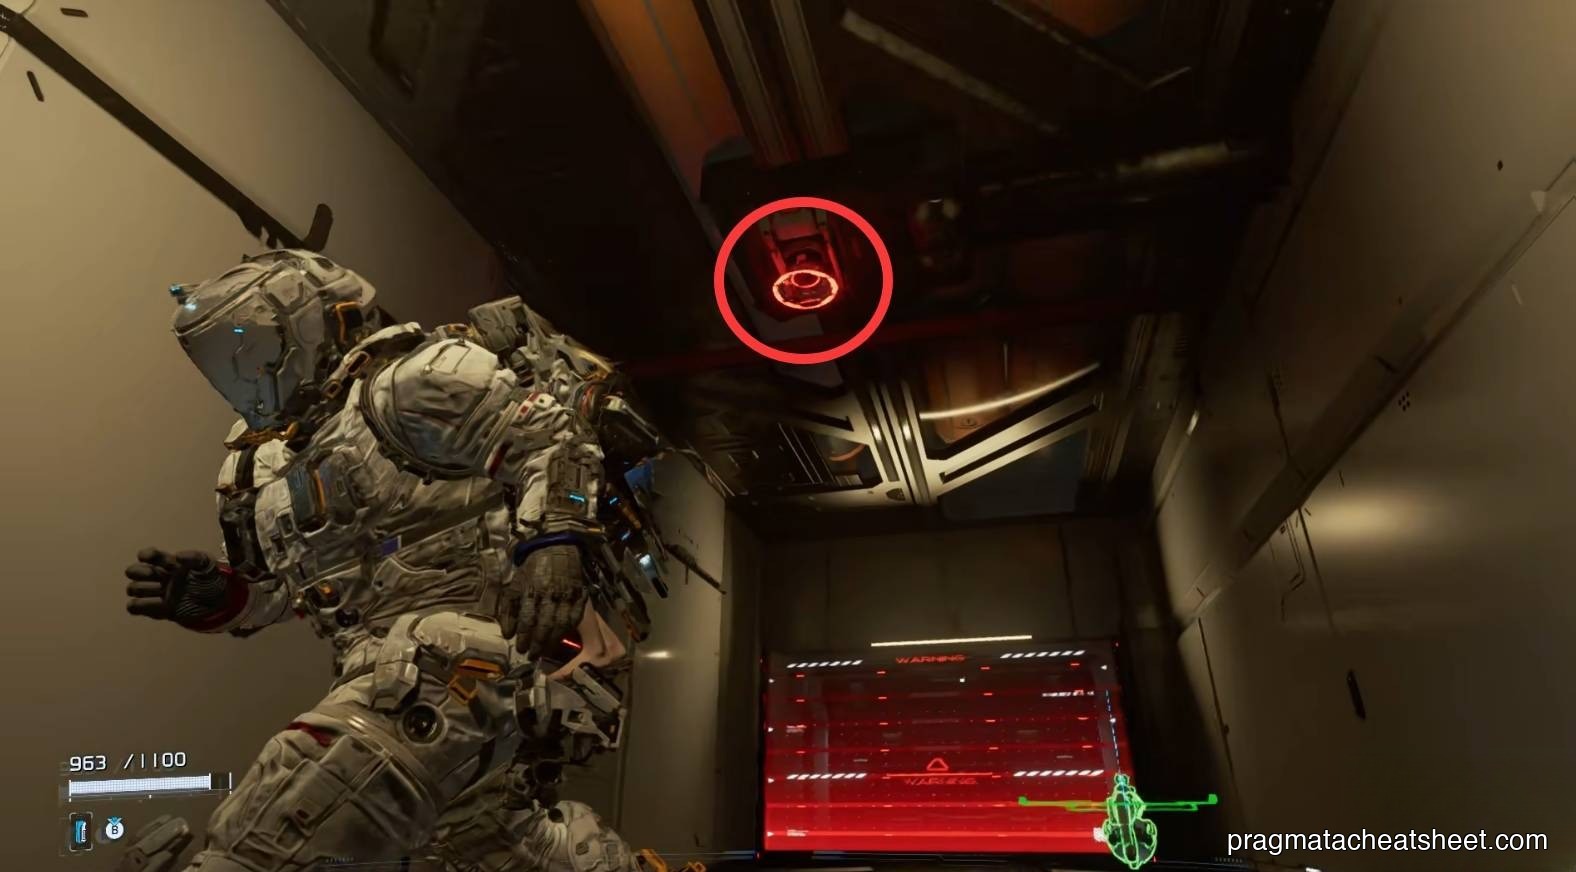
Hacking Nodes and hidden wall
The hallway teaches you Yellow Hacking Nodes — connect them mid-hack for extra status effects (reduced defense, sustained damage, etc.).
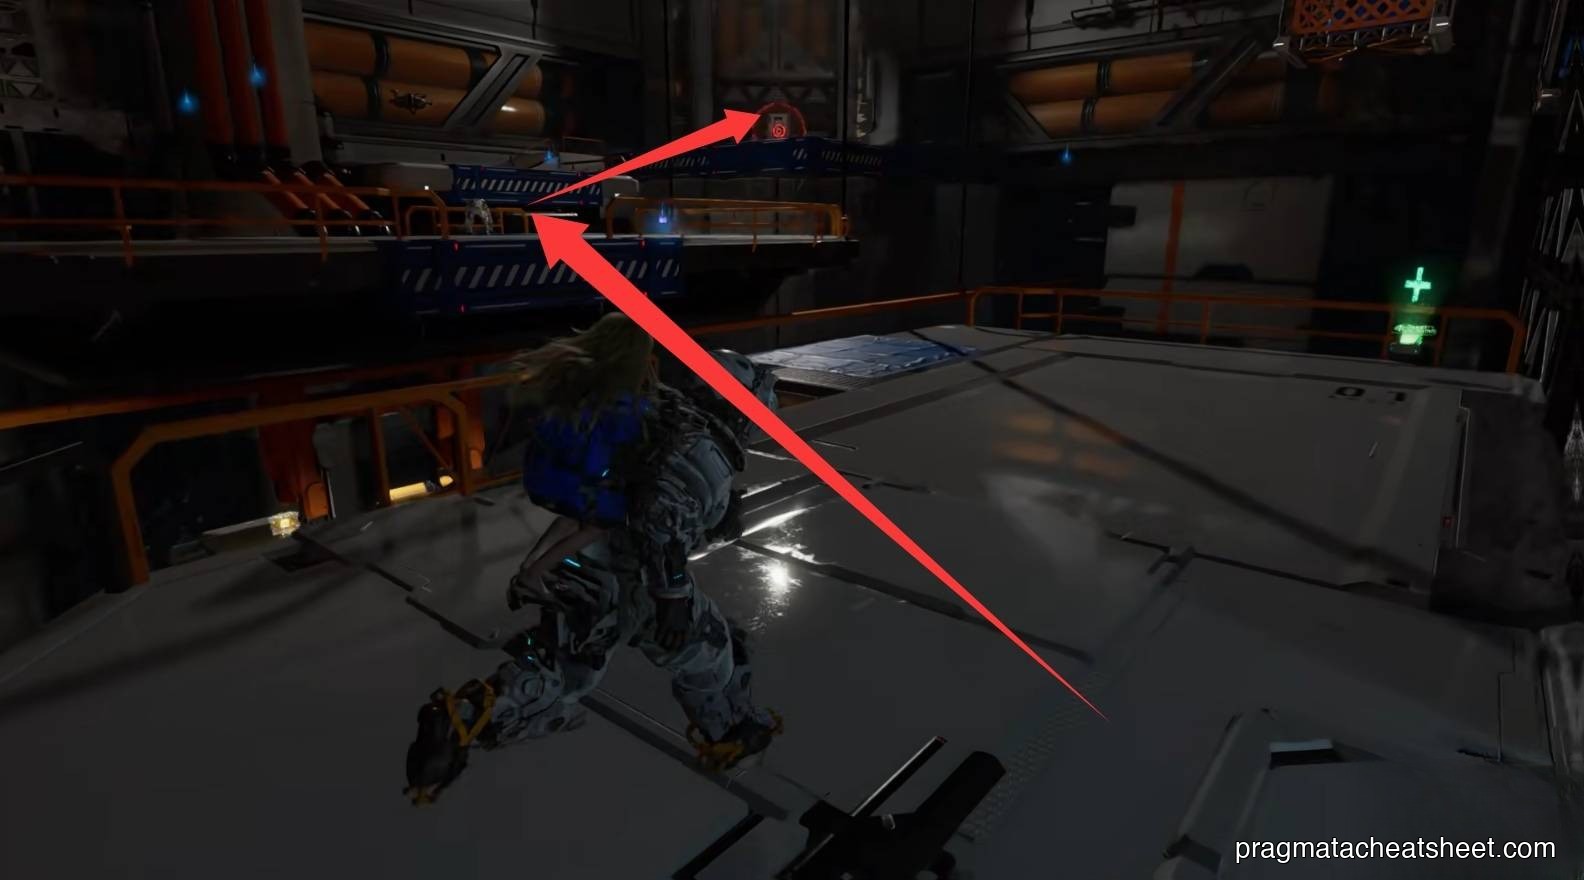
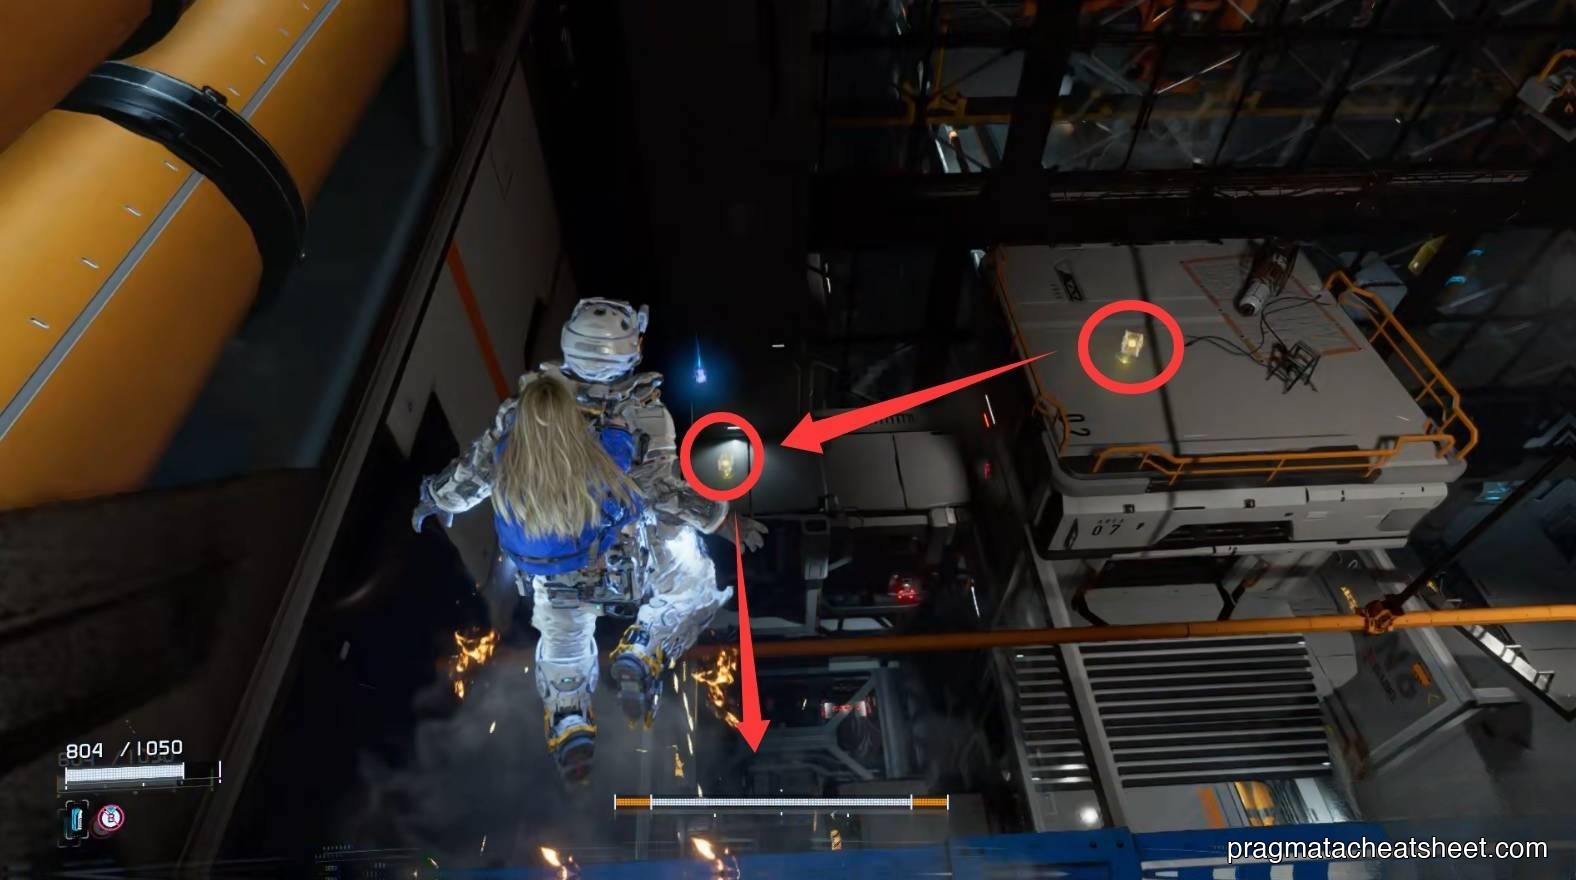
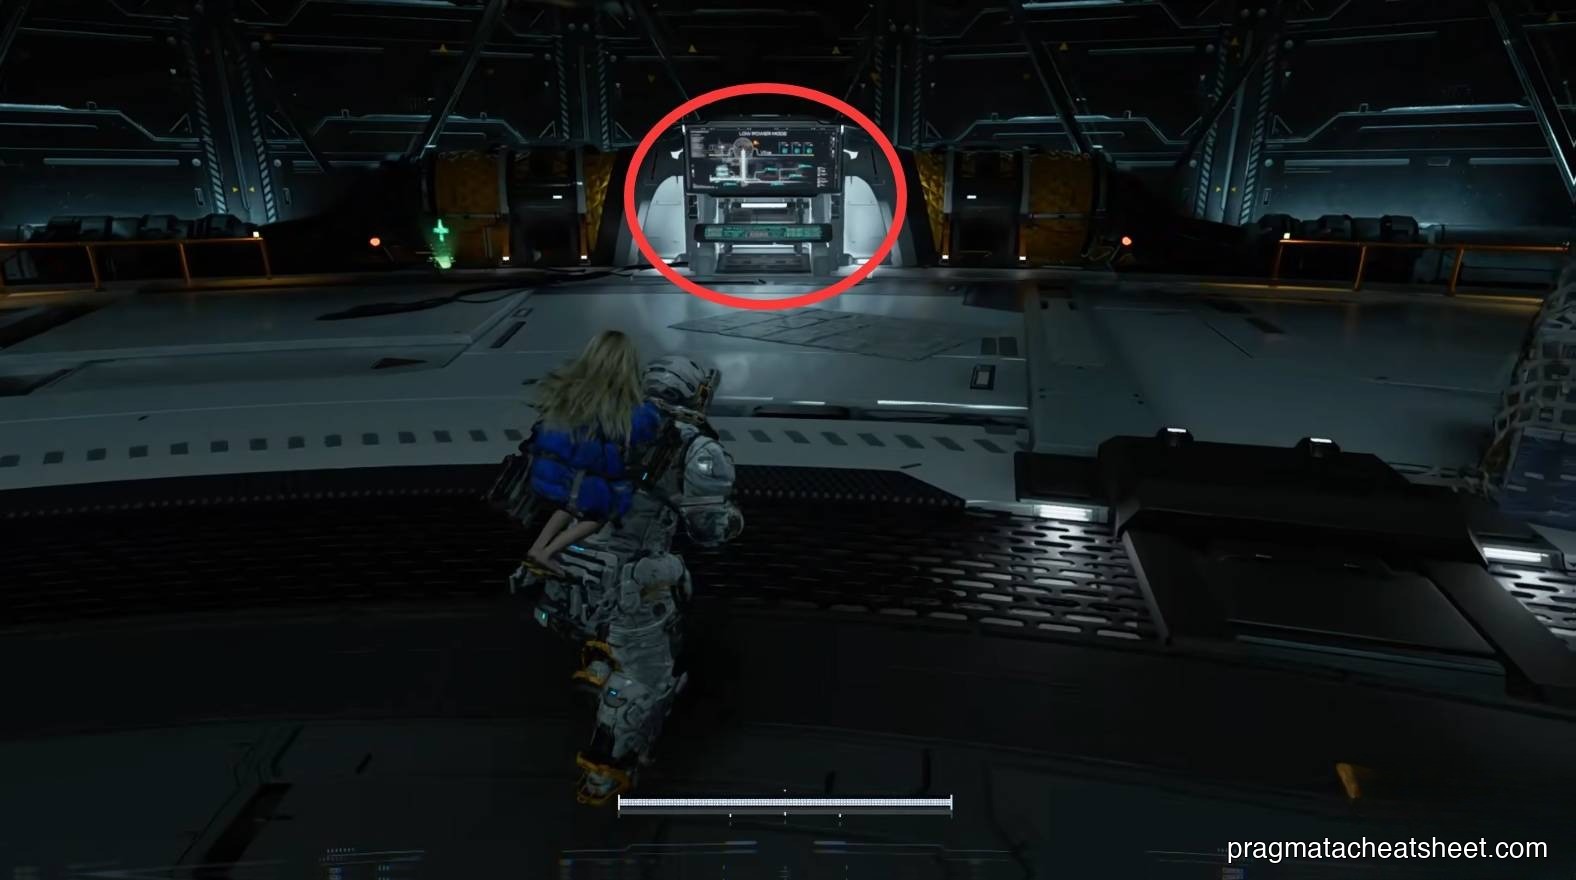
At the wall rail, take it up before entering the circular arena.
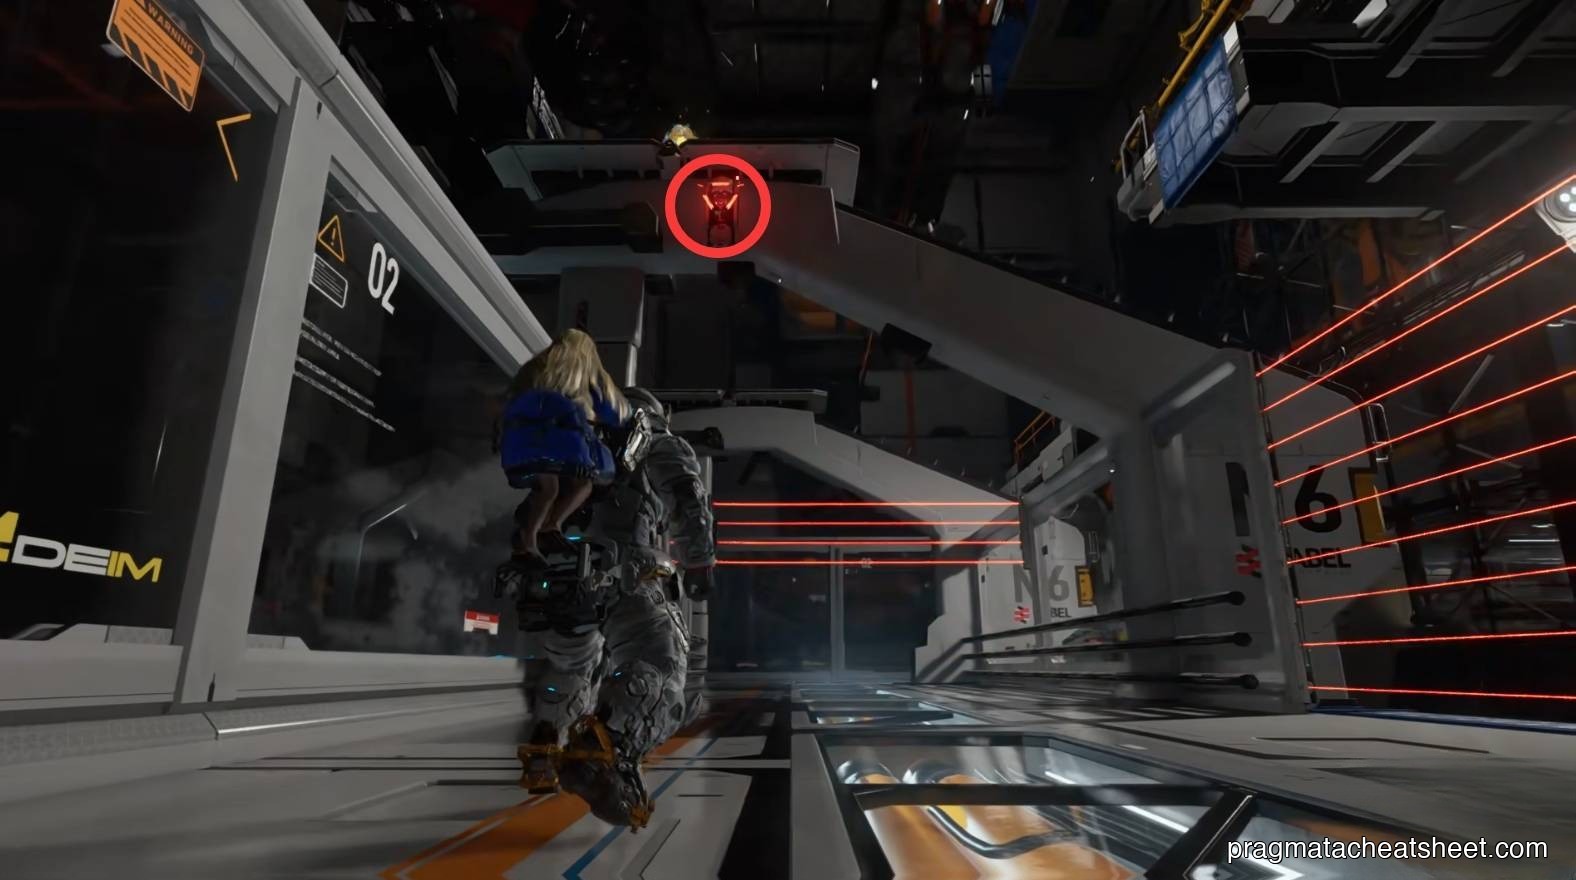
Up top: an Upgrade Component, plus a hidden wall on the opposite side (interact prompt will pop). Push through it for a REM chip.

On the way back down, look at the pipes below — another Mini Cabin.
The rising arena
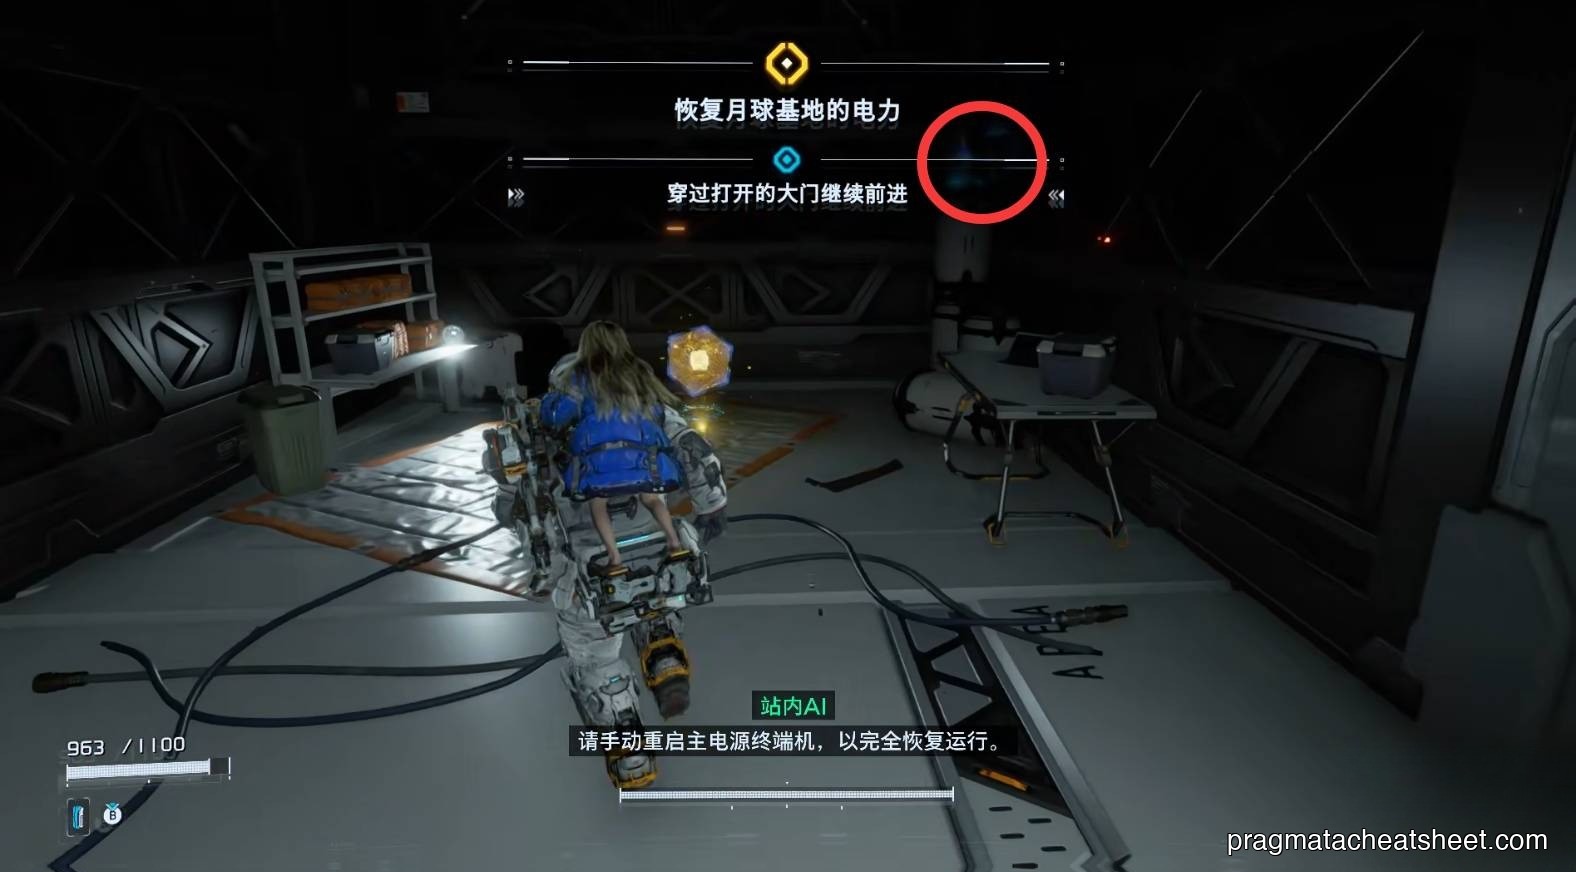
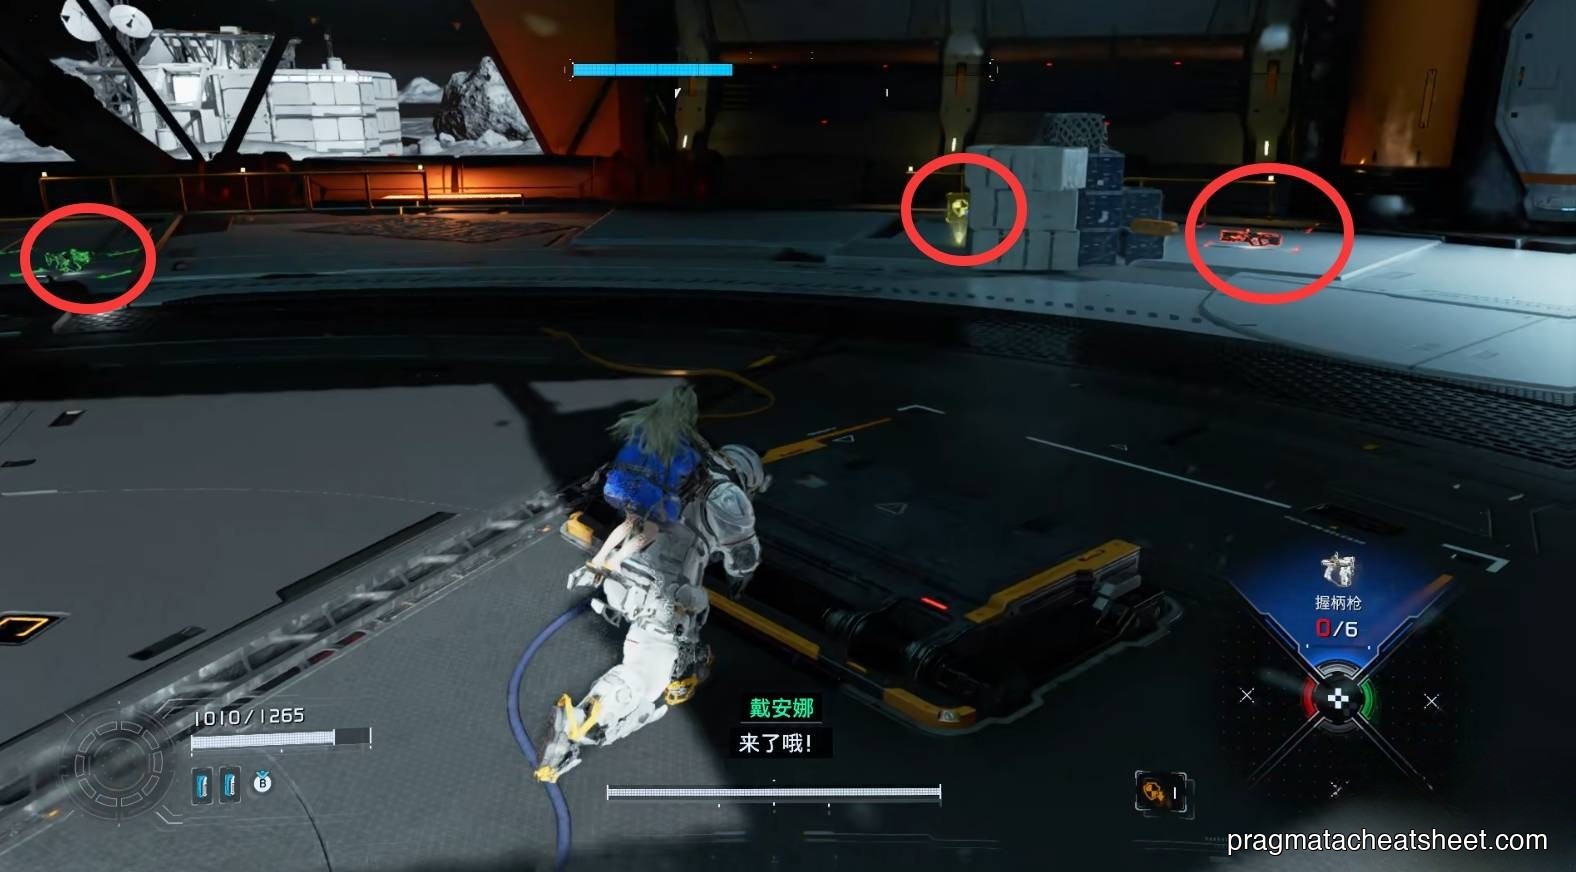
Drop into the circular platform and hack the central pad to start it rising. Waves of enemies spawn as the arena lifts. At the top, generous supply crates appear — a tell that a boss fight is imminent. Top up, then interact with the control console.
Items in this area
- Mod · box near the Escape Hatch
- Storage Expander · center side room
- REM chip × 2 · post-cutscene pickup + hidden wall
- Mini Cabin × 2 · bunk + pipe
- Upgrade Component × multiple · scattered along the wall-rail loop
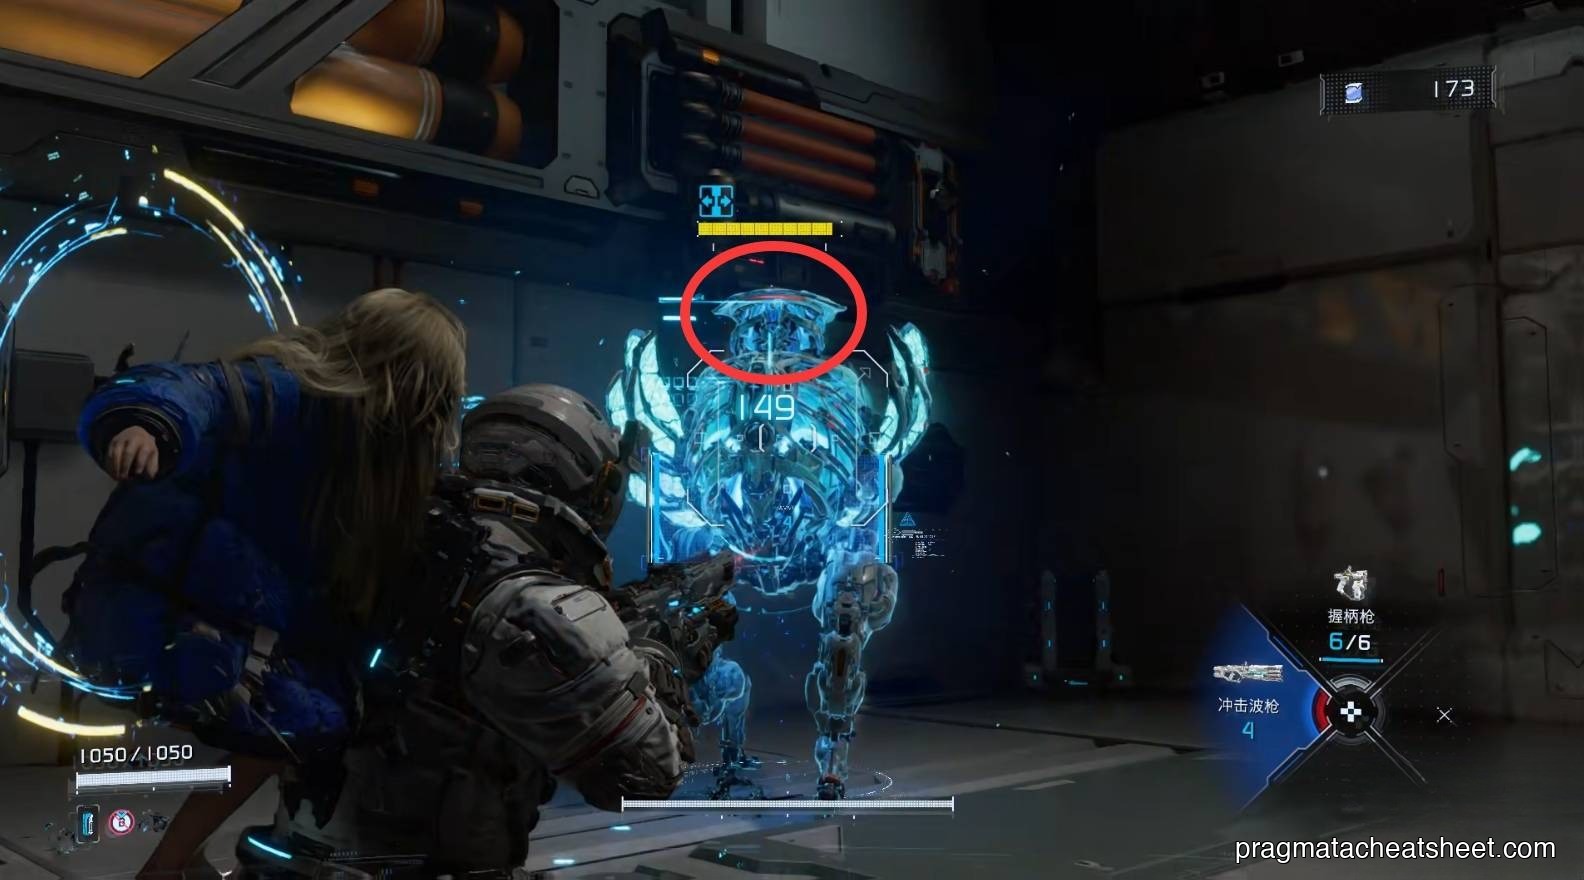
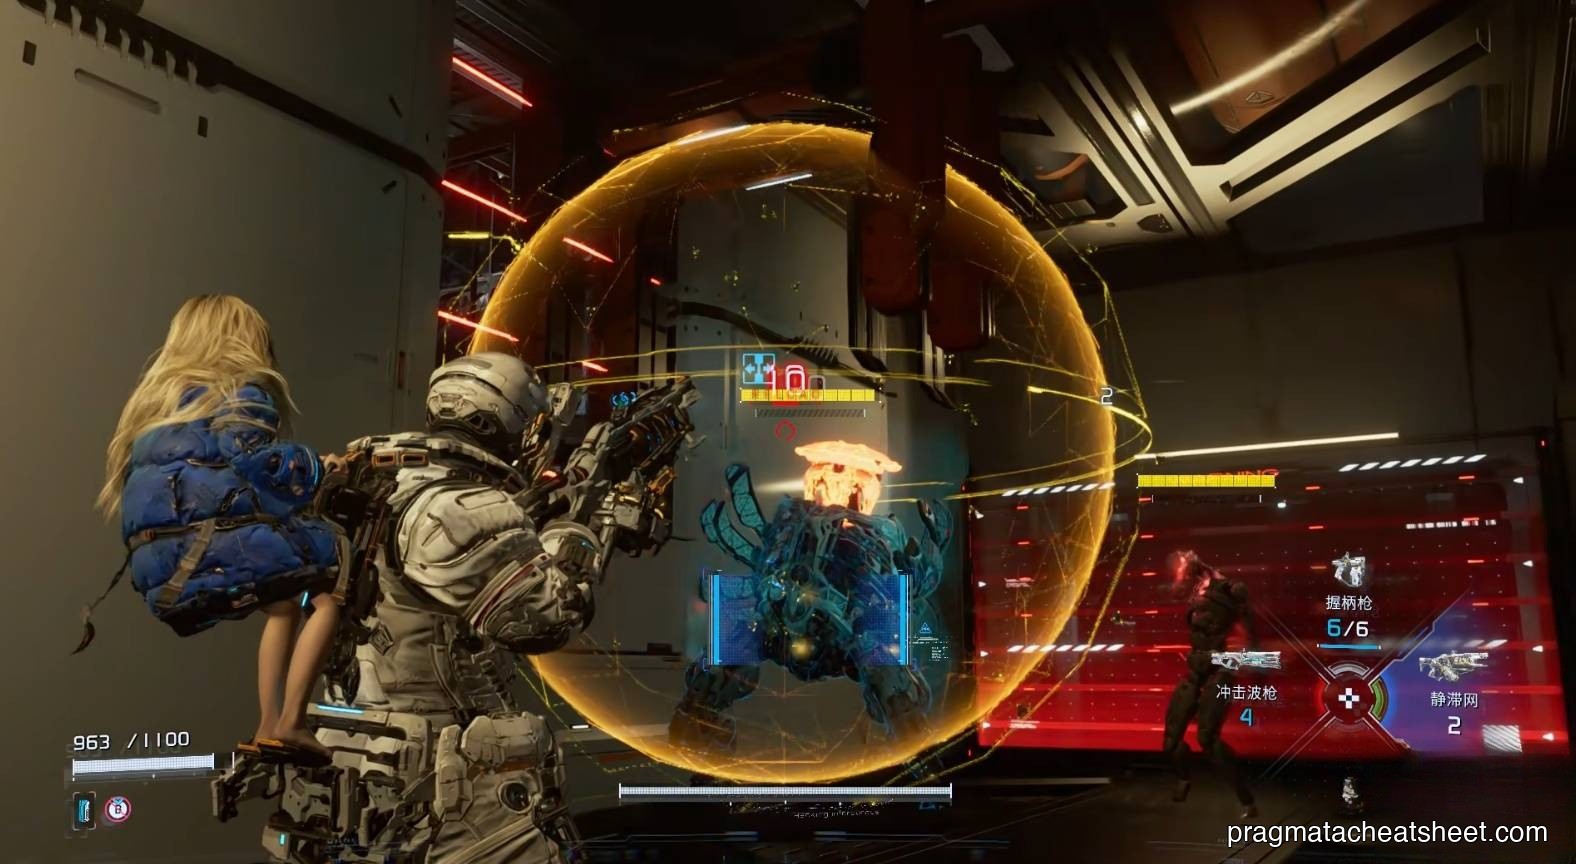
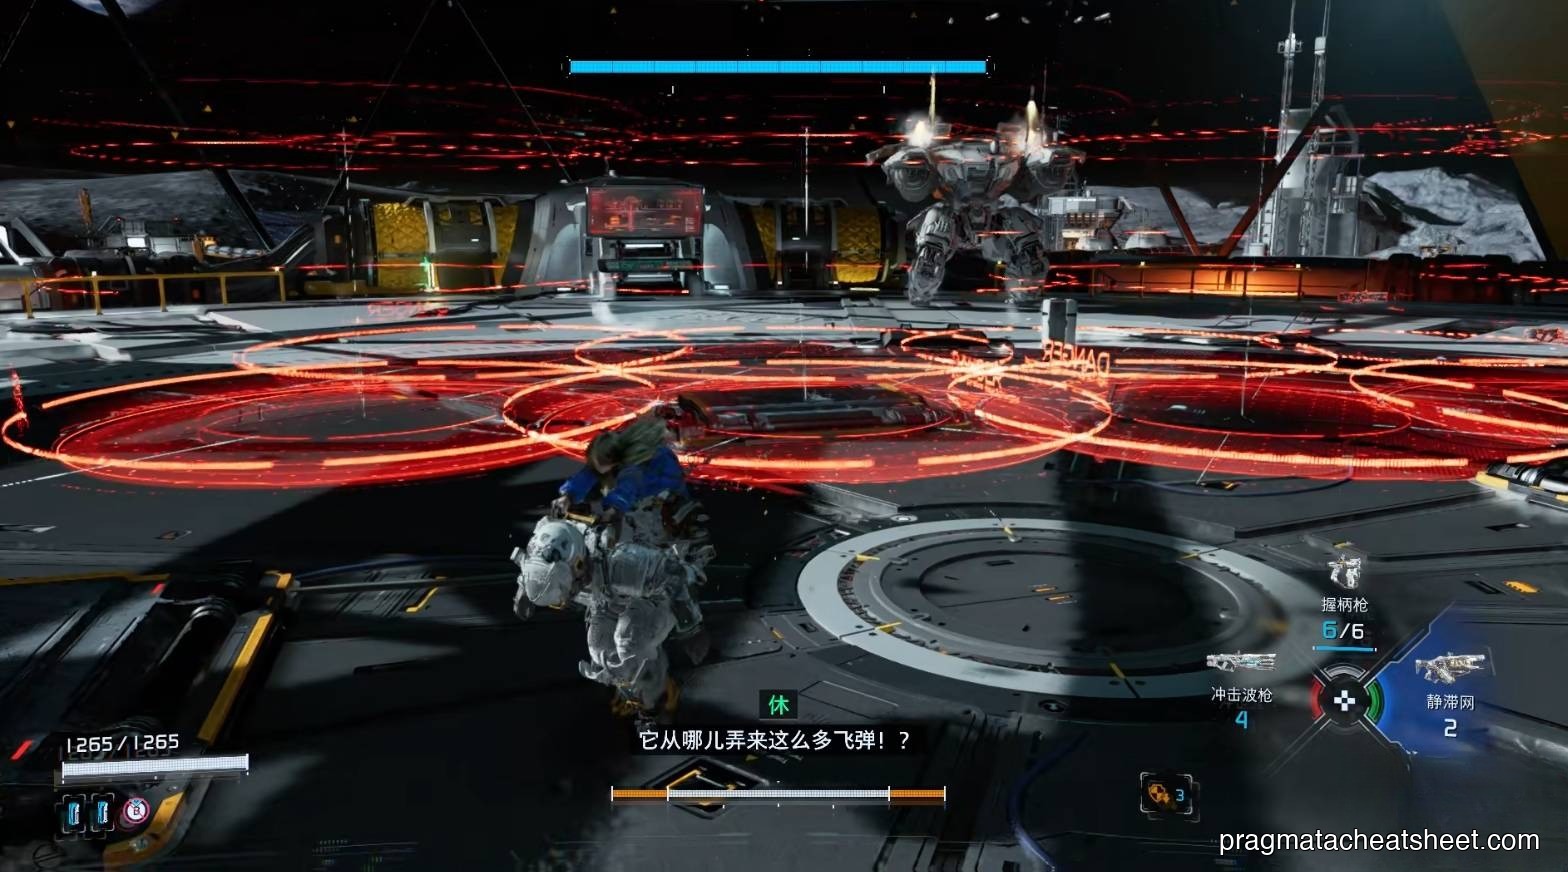
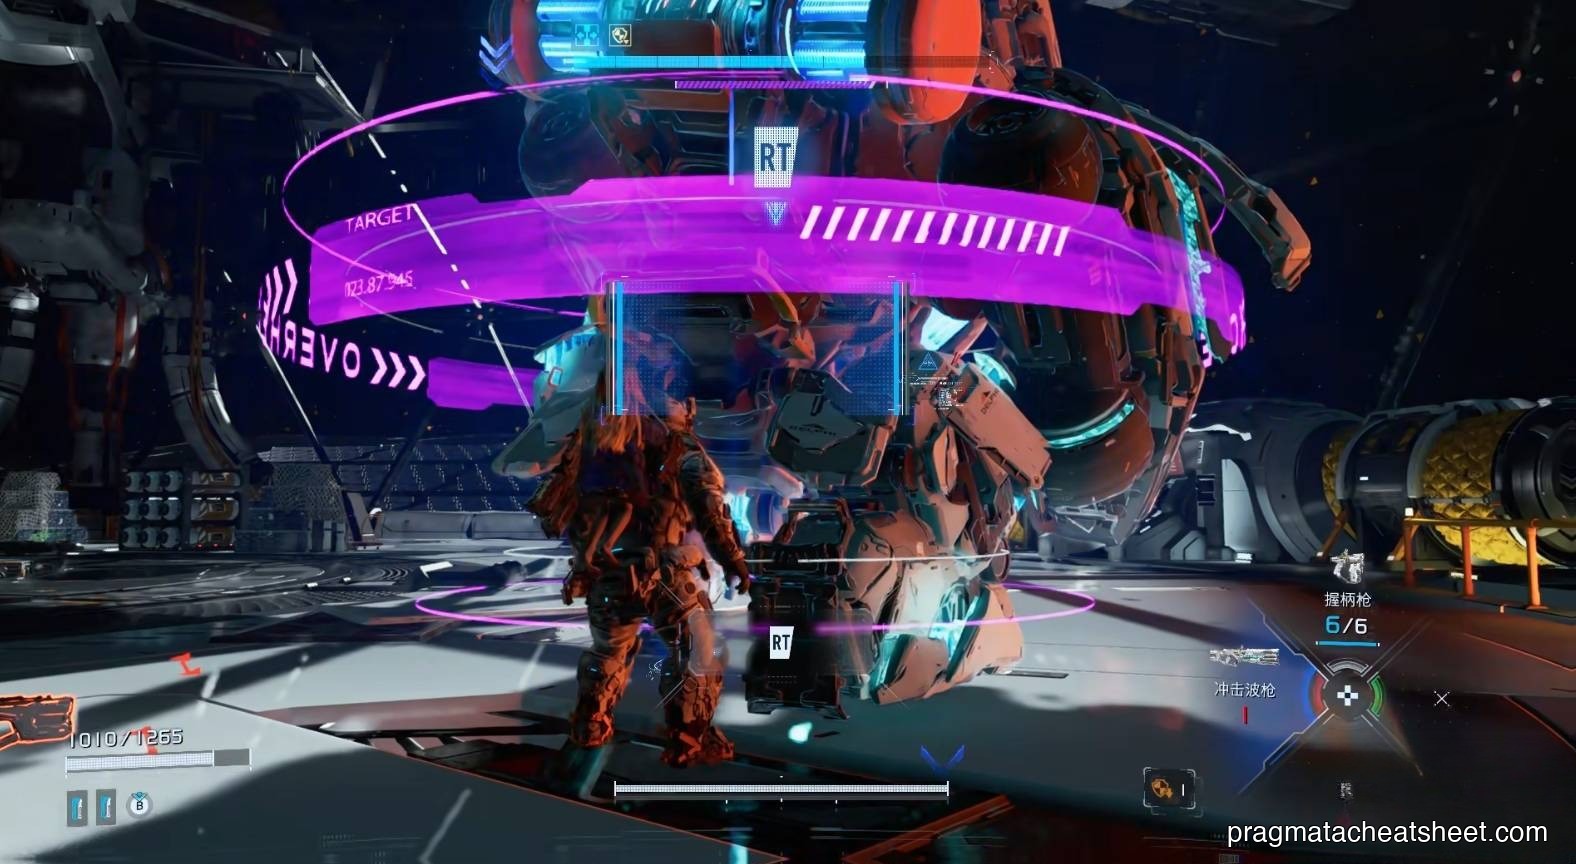
BOSS · Sector Guard (IDUS)
Location: top of the Hub Hall arena Phases: 1 (extended) Weak Point: canister on its back
Opening moves
Red warning indicators on the ground telegraph incoming missiles — dash perpendicular to escape.
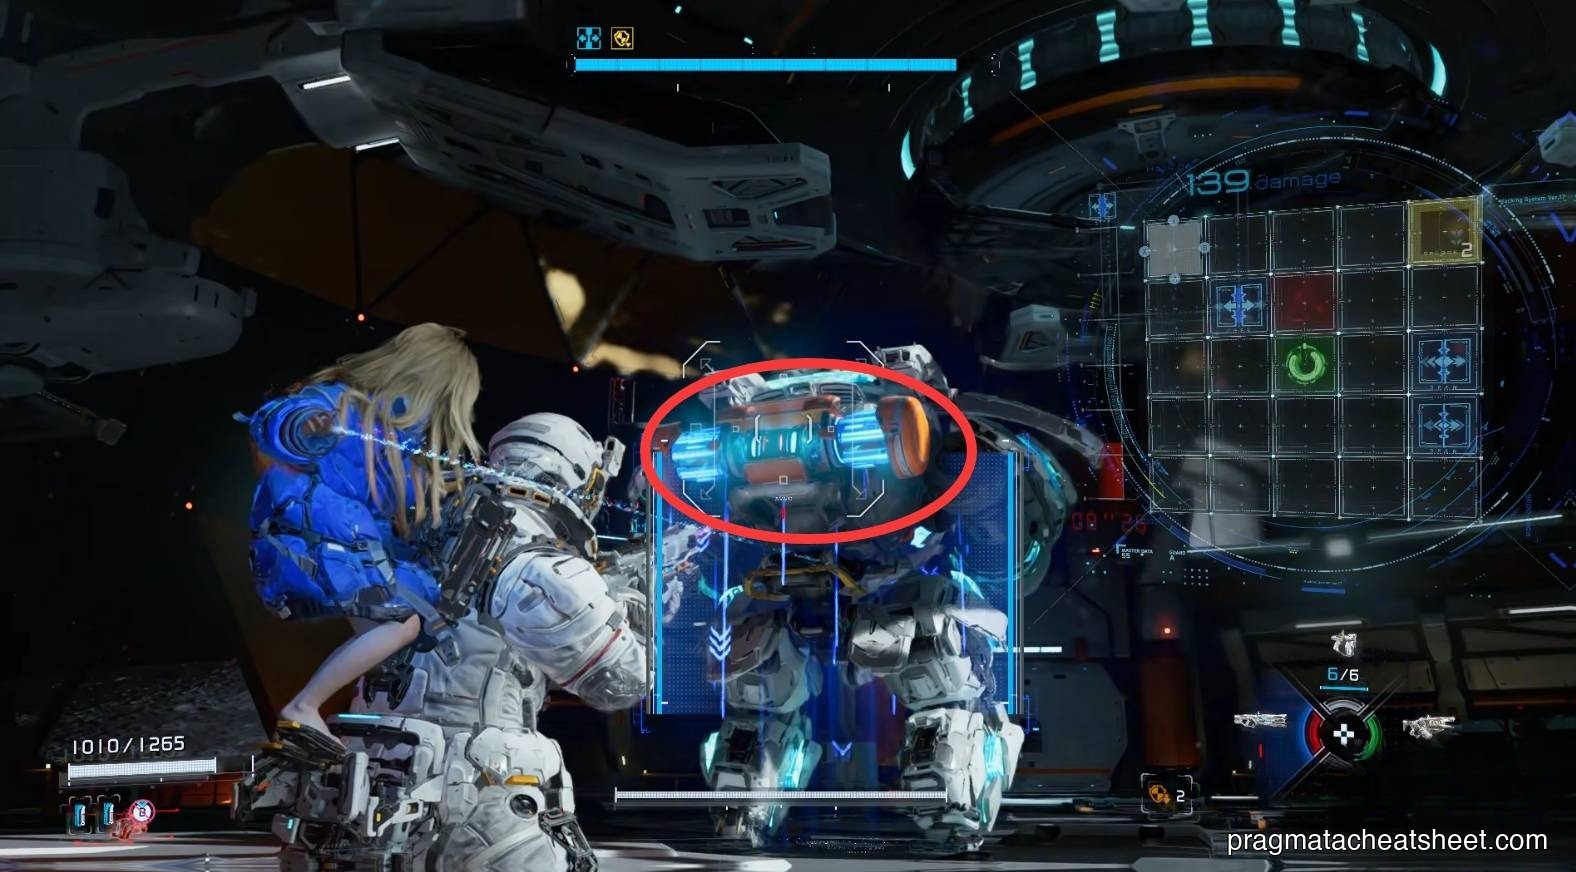
Opener: drop a Stasis Net to freeze it, then hack. Route through as many blue nodes as you can to extend stun duration, and pick up at least one yellow node to drop its defense.
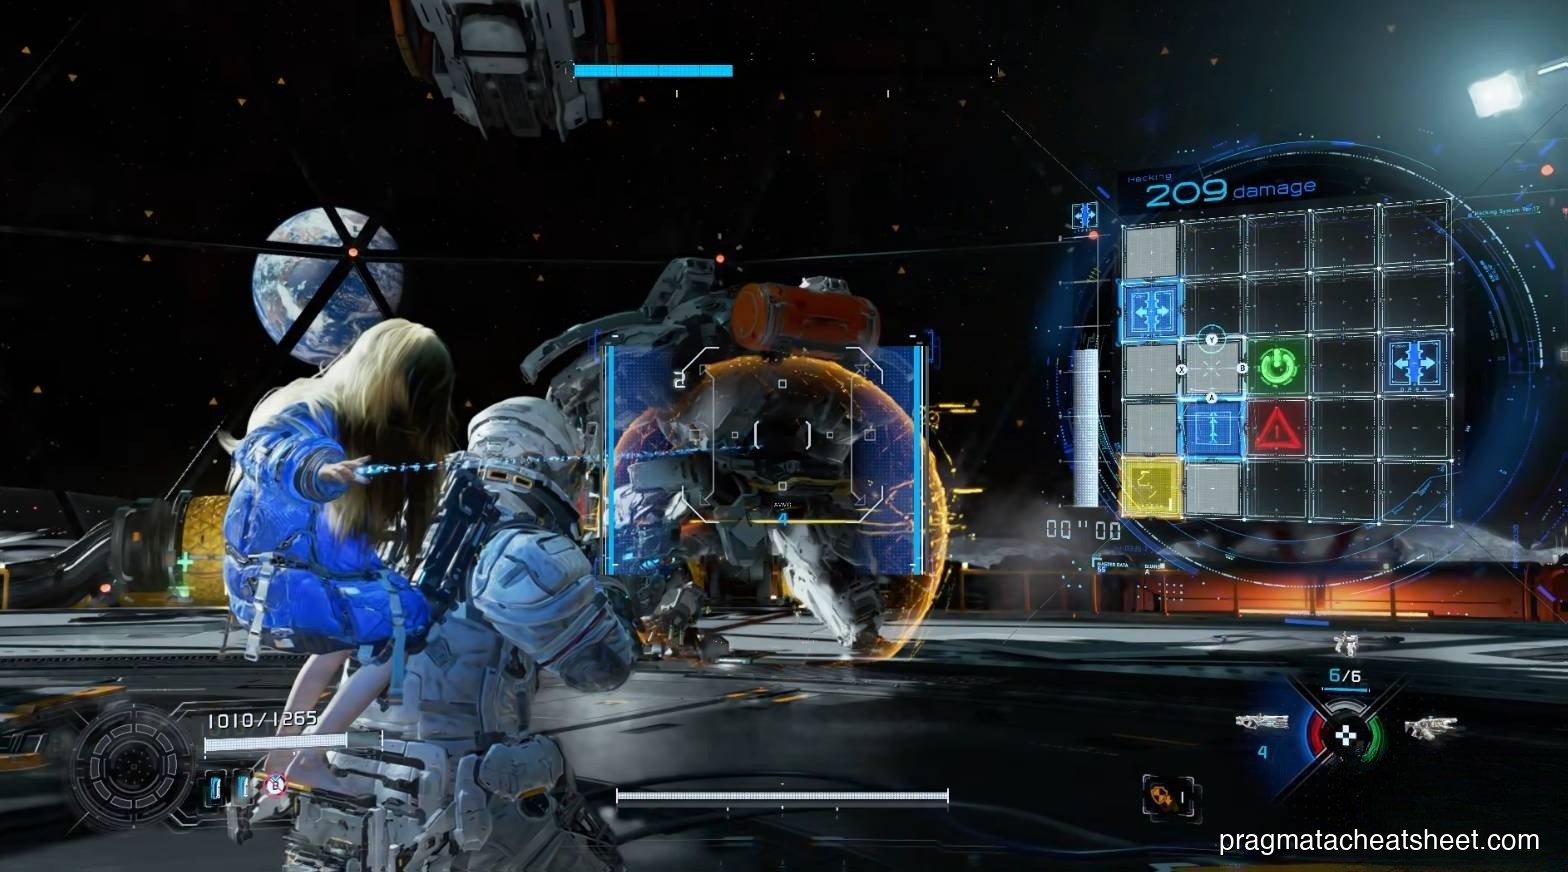
With the defense down, unload on the back canister — the Shockwave Blaster is strongest point-blank here, so close the distance fast.
Execution window
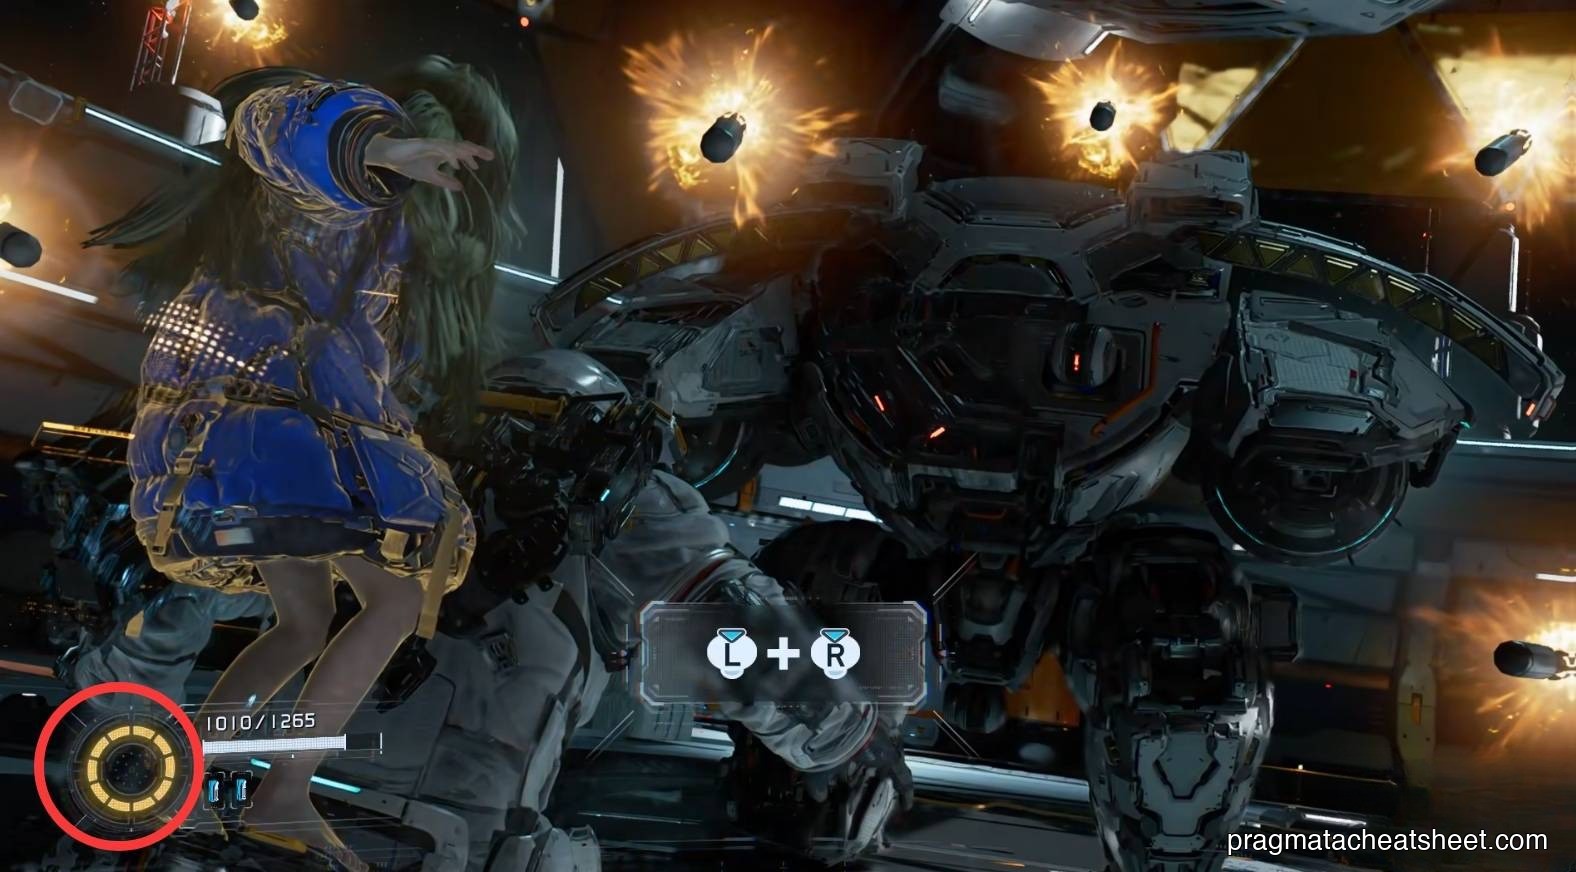
When staggered, a purple ring appears around the boss and a purple bar flashes beneath its health. Sprint in and execute for a big chunk of damage.
Overdrive Protocol
Diana's hack meter fills as you play. When full, trigger Overdrive Protocol — it stuns surrounding enemies and applies hack state in a radius. Before any boss from here on, farm ambient enemies to top this meter off first.
When ammo runs low
Retreat to the arena's perimeter for ammo drops, then re-engage. Resource management is a core skill on higher difficulties.
Rewards
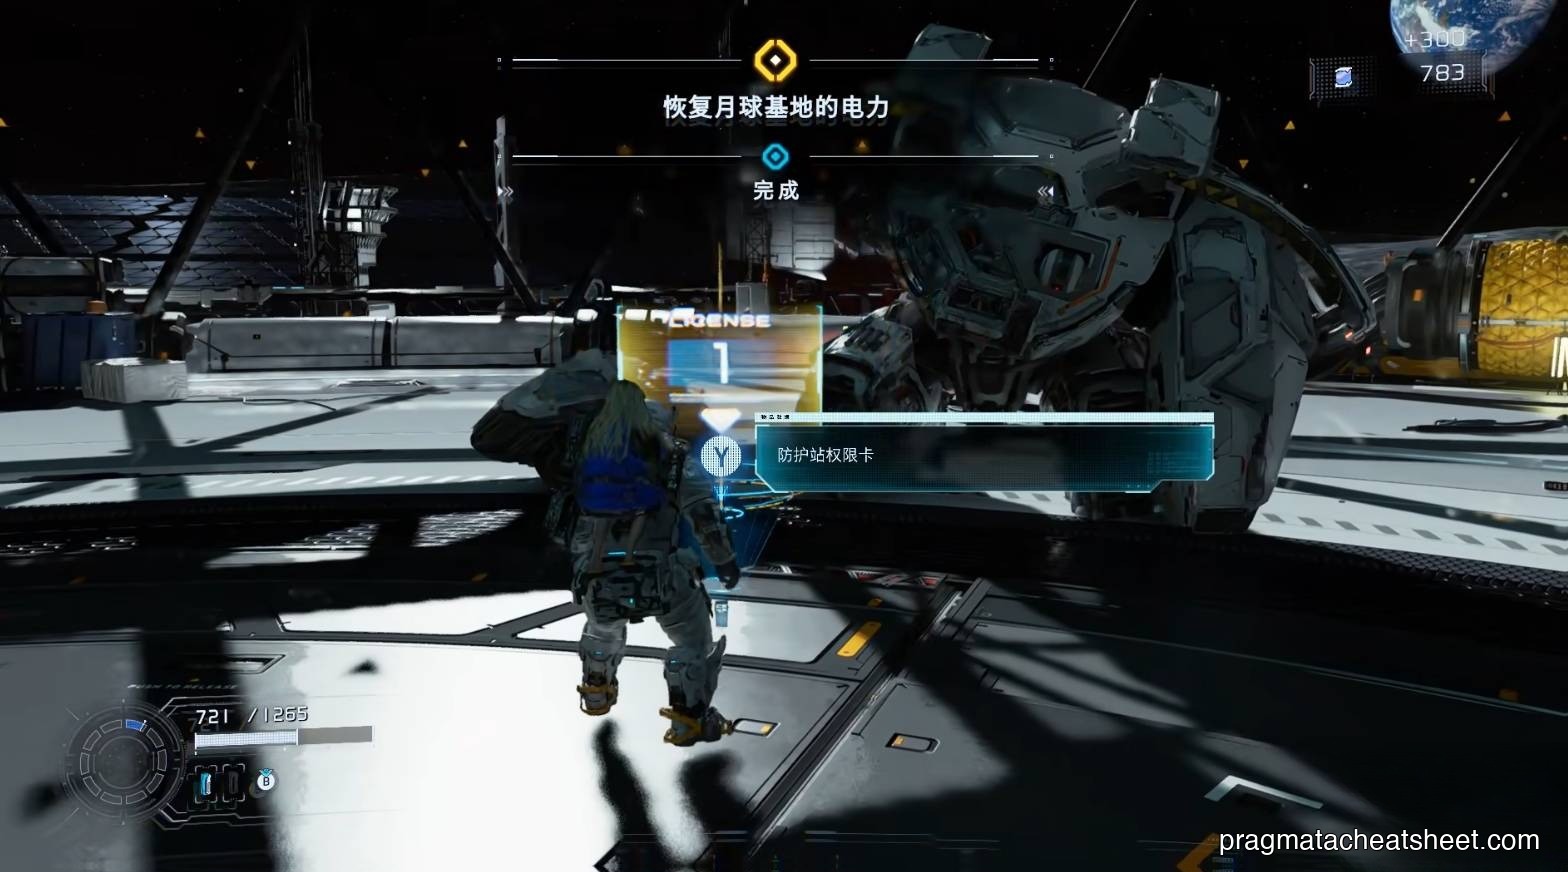
- Tier 1 License Key · grants the next level of Shelter access
- A permanent Escape Hatch spawns in this room after the fight
Tips
- Open with Stasis Net every time — it flat-lines the pattern
- Always lead with a yellow node for defense debuff
- Save Overdrive for when the boss enters a stagger loop — it chains into execution prompts
Next
→ Continue to Sector 2 · Mass Production Array