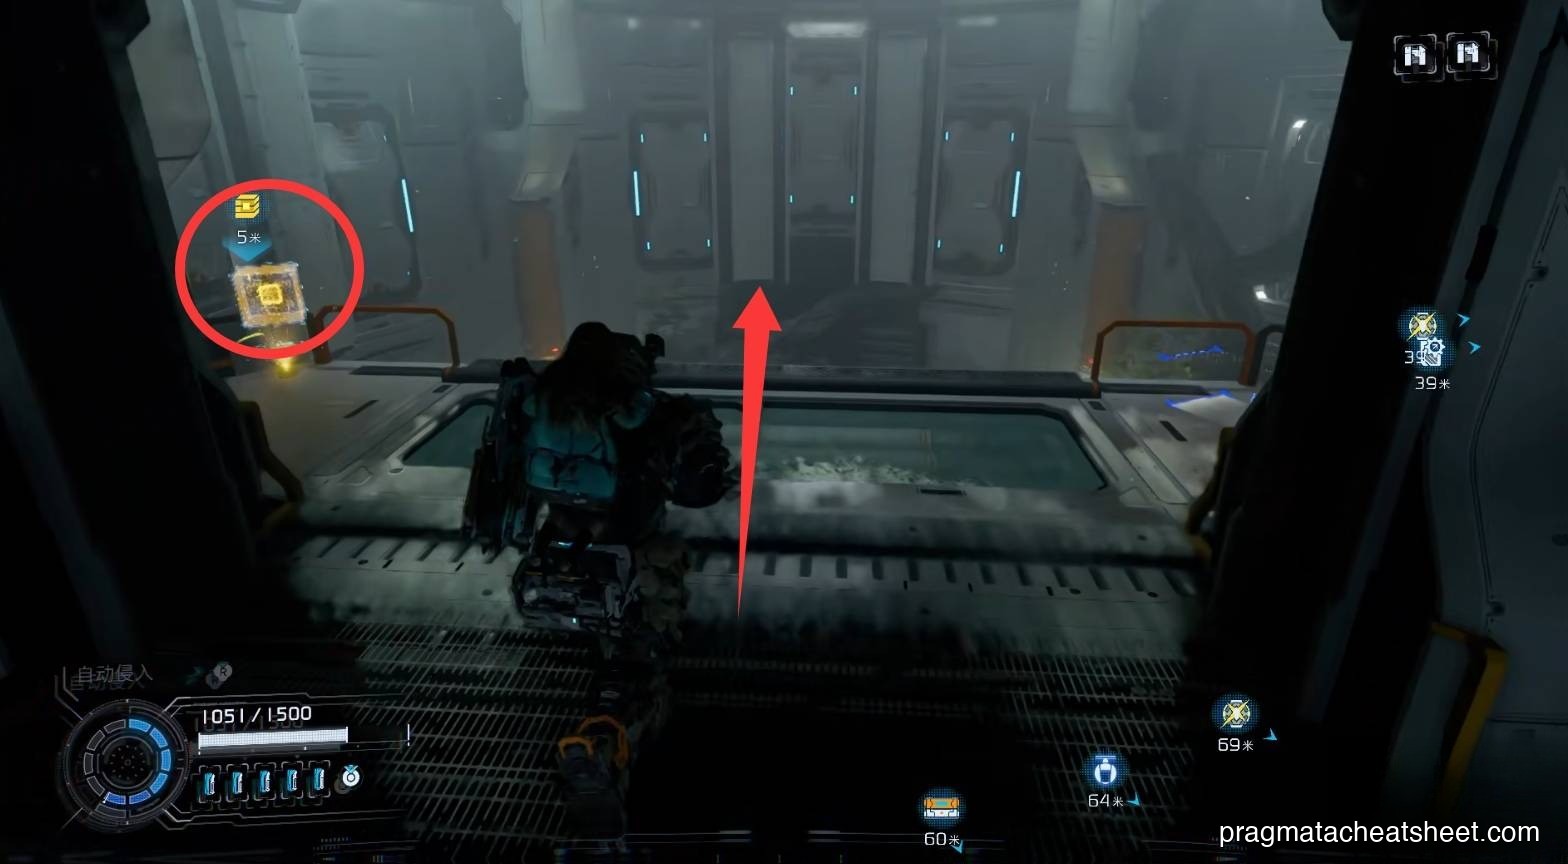
Upgrade Components are the yellow data cubes you feed into the Firmware Updater back at the Shelter. They are the default "pickup in a corner" reward — almost every room in the Cradle hides one. Grab every one you see and your weapon damage, hack window, and movement perks keep ticking up.
What They Are
Small glowing cubes tagged with a yellow data icon. Back at Shelter, you spend them at the Firmware Updater to unlock and level individual perks — extra hack damage, wider scan range, faster reloads, and so on. They are not rare: you will see several per area, often just sitting in a corner or behind a short detour.
They respawn per checkpoint reset, but each unique pickup only counts once. If you missed some on your first pass, sweep them in New Game Plus or the post-game Unknown Signal mode.
How to Find Them
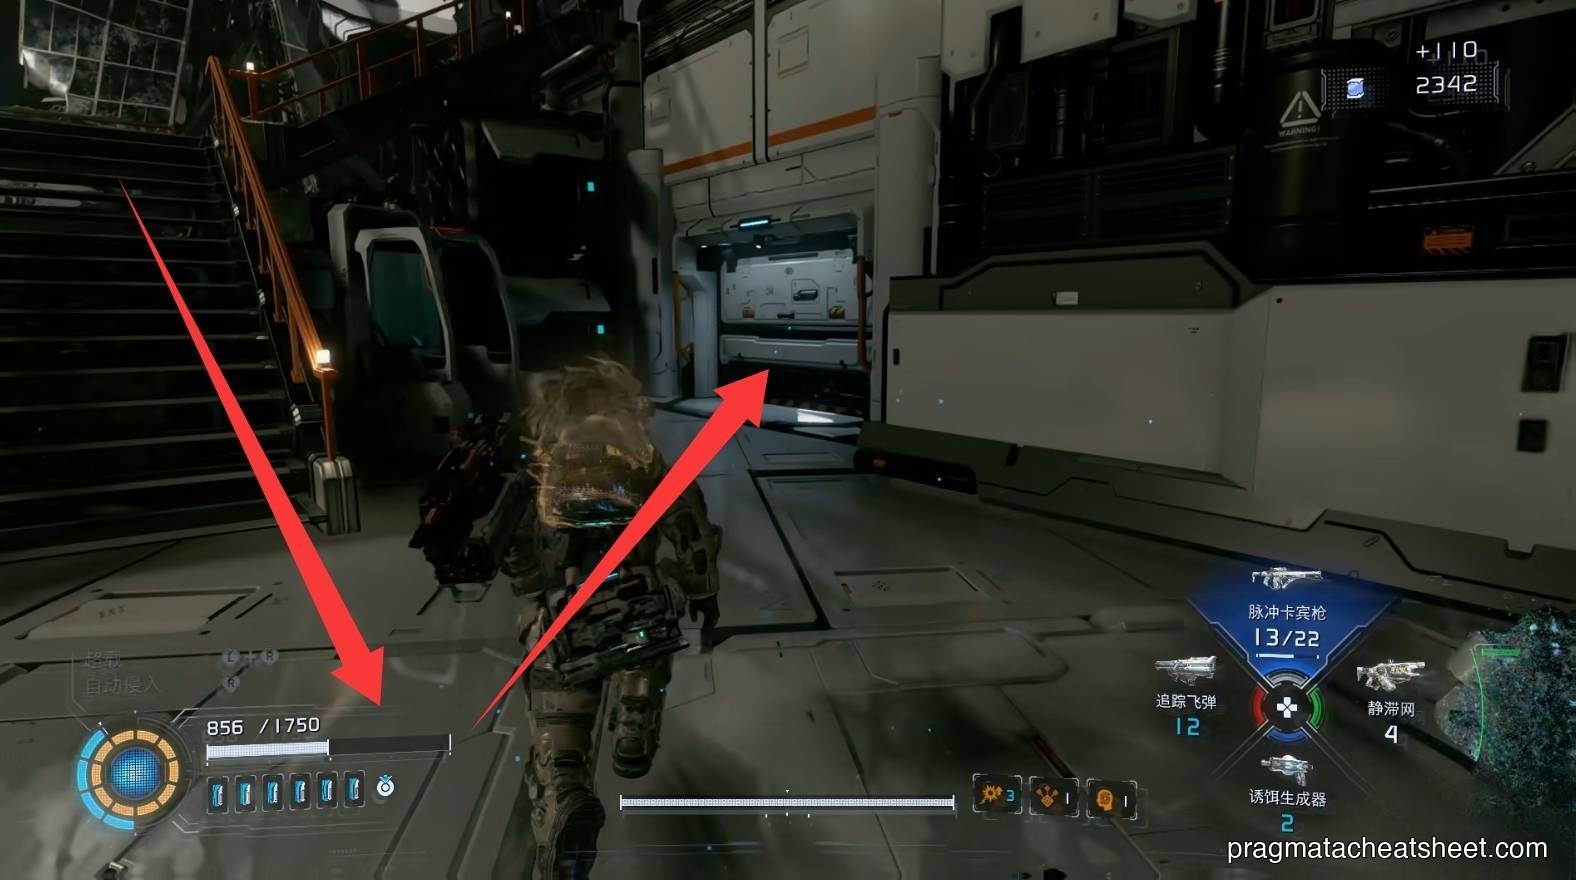
- Check every corner the moment you load a new area. Drop off the tram at Generator Entrance and the first Upgrade Component is ten paces to the left — that's the pattern.
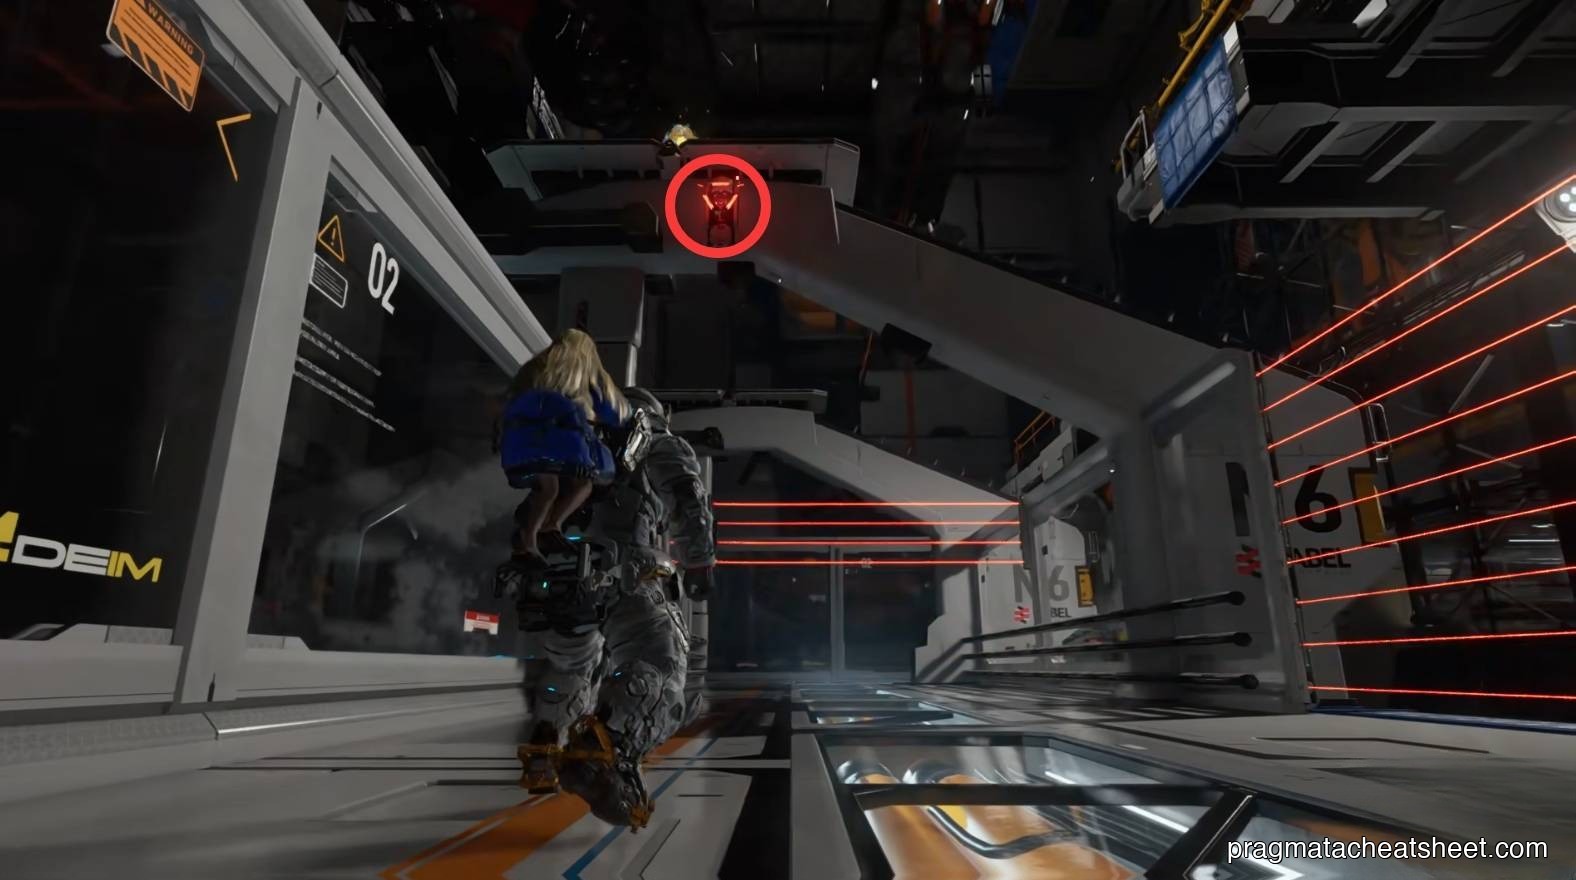
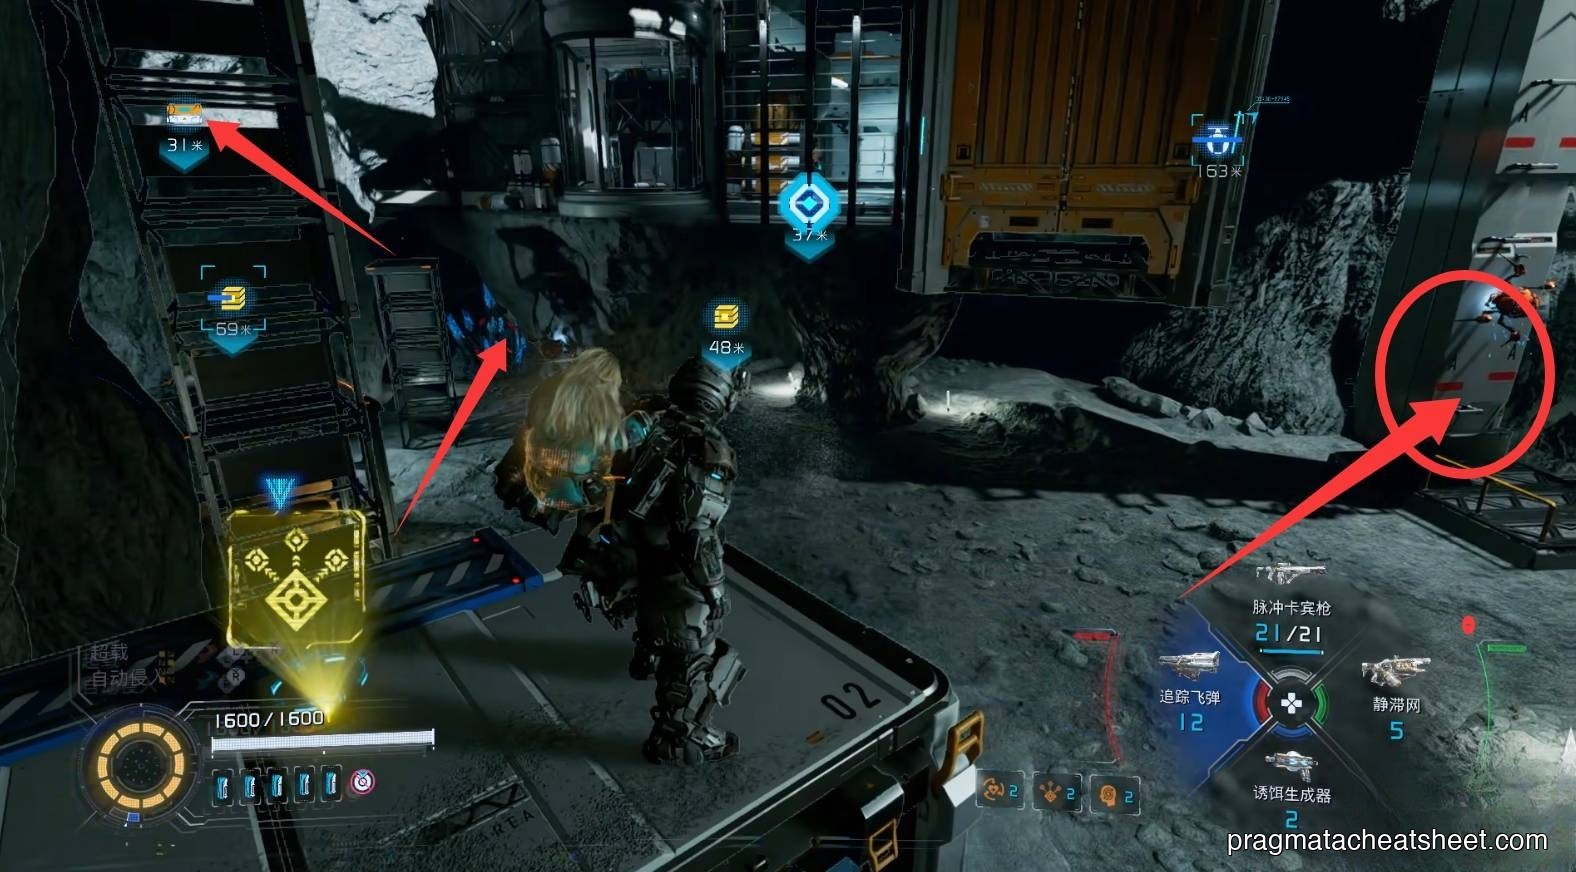
- Look up. Many sit on top of boxes, vents, and beams. A quick jump-dash or a double-boost will reach most of them.
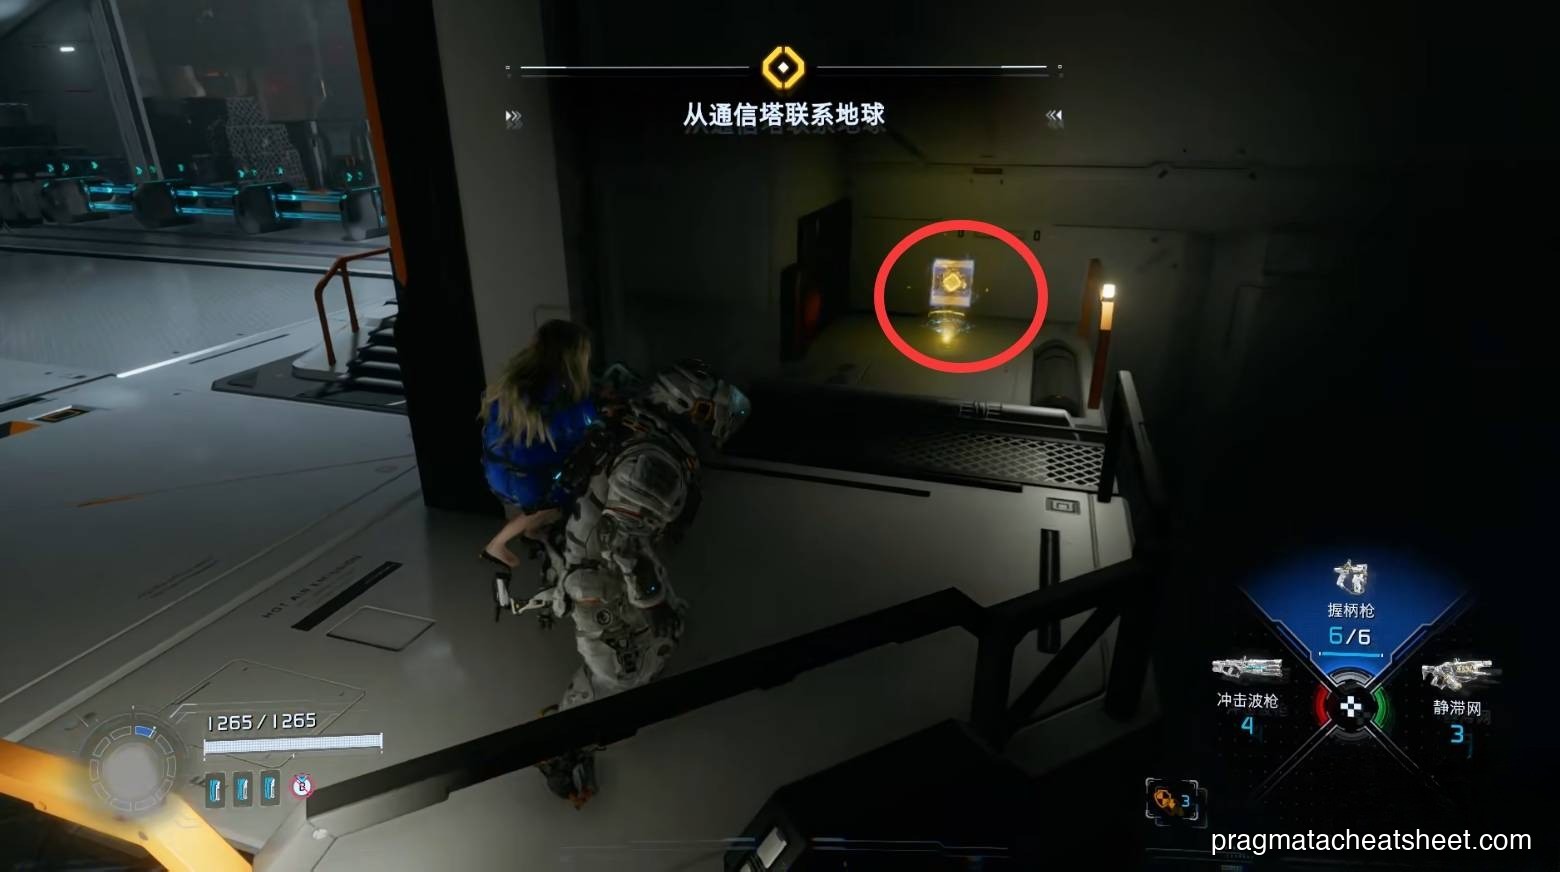
- Scan is free. Pulse your Object Scan at every checkpoint; Upgrade Components light up yellow and you stop running past them.
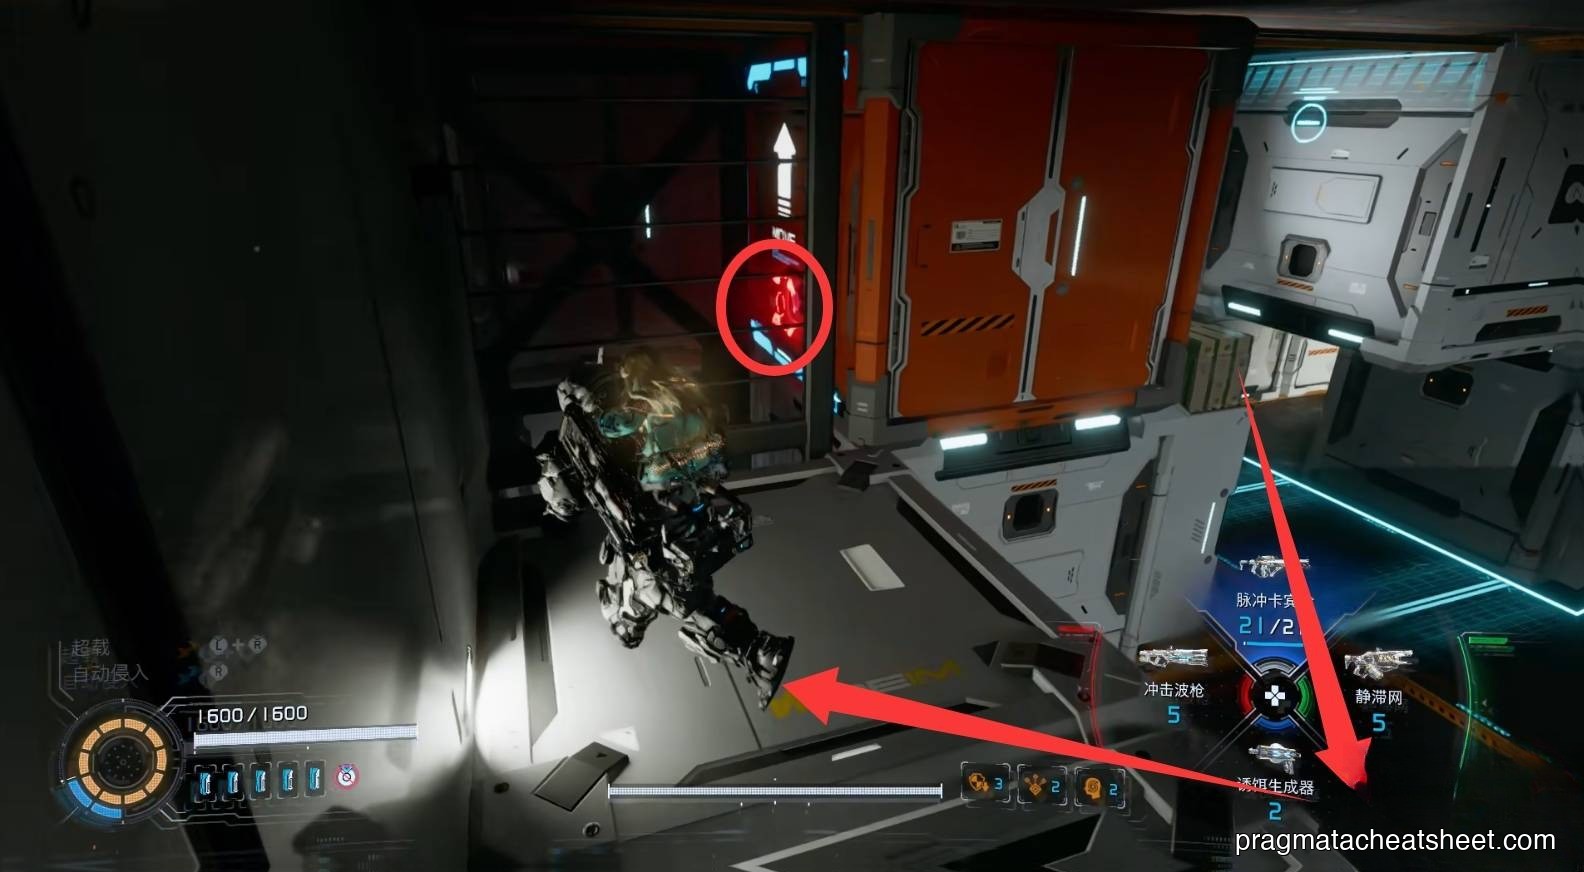
- Some are gated. Blue Lim barriers and red hacking nodes lock a handful behind abilities you get later (Lim Eraser, Cleanse, higher hack tiers). Come back once you unlock them — a Shelter-wide cleanup run after each region is the most efficient approach.
Locations by Sector
Sector 1 · Solar Power Plant
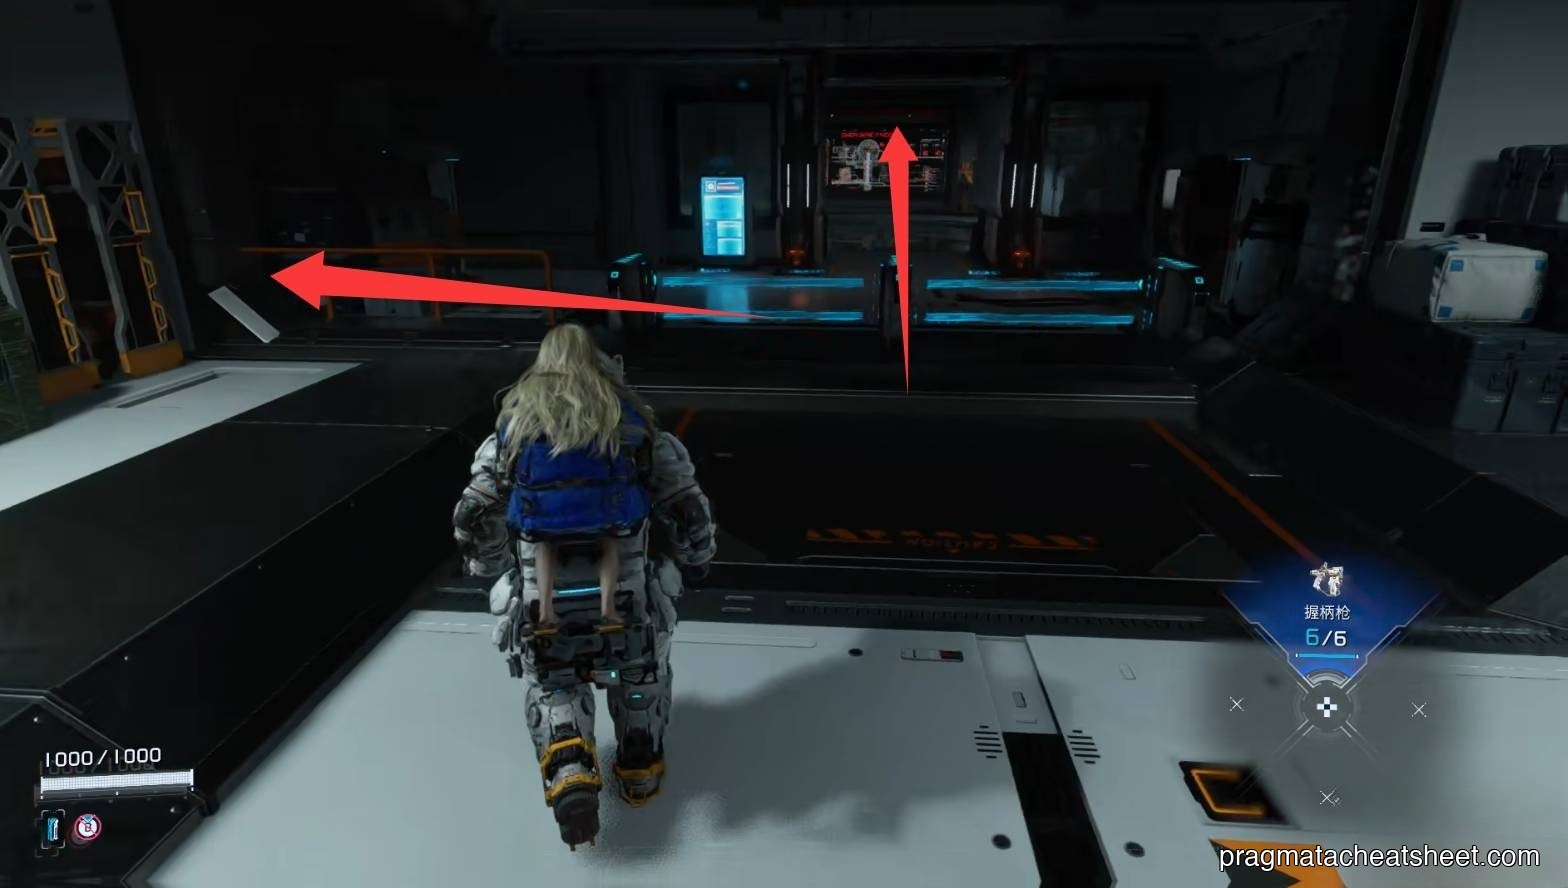
- Generator Entrance — one in the left corner right off the tram, one in the two-lock side room
- Power Distribution Center — the bridge-and-laser maze hides the densest cluster: on the bridge railing, on top of the Escape Hatch roof, beside the bottom safe box, and two more inside the laser-gated back area
- Hub Hall — two more on the elevator ring and the catwalk
Sector 2 · Mass Production Array
- Mass Production Entrance — three on the main assembly walkway, a couple more on the upper gantry
- Shopping District — tucked behind the Dead Hunter poster rooftop and on the second-floor railings above the food stalls
- Side Alley — one at the vehicle blockade, one up on the fire escape
- Business District — a single one in the lobby, plus blue-barrier pickups to grab with the Lim Eraser later
- Lim Recycling Facility — a trio clustered around the giant doll fight arena
Sector 3 · Terra Dome
- Terra Dome Entrance — four across the greenhouse floor and the catwalk above the tree planter
- Eco Modeling Lab — the densest cluster in the game; twelve-plus pickups stacked through the split-path rooms, terminal-grown platforms, and balcony back-tracks
- Soil Research Center — two on the bed-room loop after the invisible enemy fight
- Terrarium — one, near the save room cluster
Sector 4 · Lunum Mines
- Lunum Mines Entrance — five across the first conveyor room
- Crane Area — five more; check the scaffolding after you loop back from the second Luna Digger encounter
- Warehouse — the fattest haul in Sector 4, eight components spread across the box-hack puzzle rooms
- Main Excavation Site — four around the central quarry
- Tower Access Point — three more on the way up to the boss platform
Sector 6 · Central Port
- Central Port Entrance — three after the yellow alert fight, plus Mini Cabin bait on the way out
- Research Sector — two on the mezzanine
- Regolith Lab — two on the sub-level stairs near the safe boxes
- Lunafilament Lab — four through the filament-cleaning corridors (Cleanse-gated)
- Space Elevator — five more on the final climb
Tips
- Prioritize the Firmware Updater over the Unit Printer early. A 10–15% base-damage bump from Upgrade Components pays off on every hack chain you throw for the rest of the run.
- Sector 2 and Sector 3 are the high-density zones. If you skipped pickups earlier, come back to Eco Modeling Lab first — a single sweep there is worth a whole early sector.
- Blue Lim barriers = come back with the Lim Eraser. Don't waste time trying to hack through them on the first pass.
- Post-game cleanup is trivial. Unknown Signal mode lets you revisit every area with your full loadout, so you'll never permanently miss a component.
See Also
- Safe Boxes — often drop Upgrade Components when you crack them
- Pure Lunum — the other currency you want to hoard
- Walkthrough · Sector 1 — the natural early-game pickup order