The final fight brings every verb Pragmata has taught you into one encounter: dodge reads, Stasis Net, Cleanse, hack chains, and a live grid-hacking minigame where the floor is hot. Three phases followed by a scripted chase-sequence finish. Take it slow in the grid — that's where most runs die.
Fight Overview
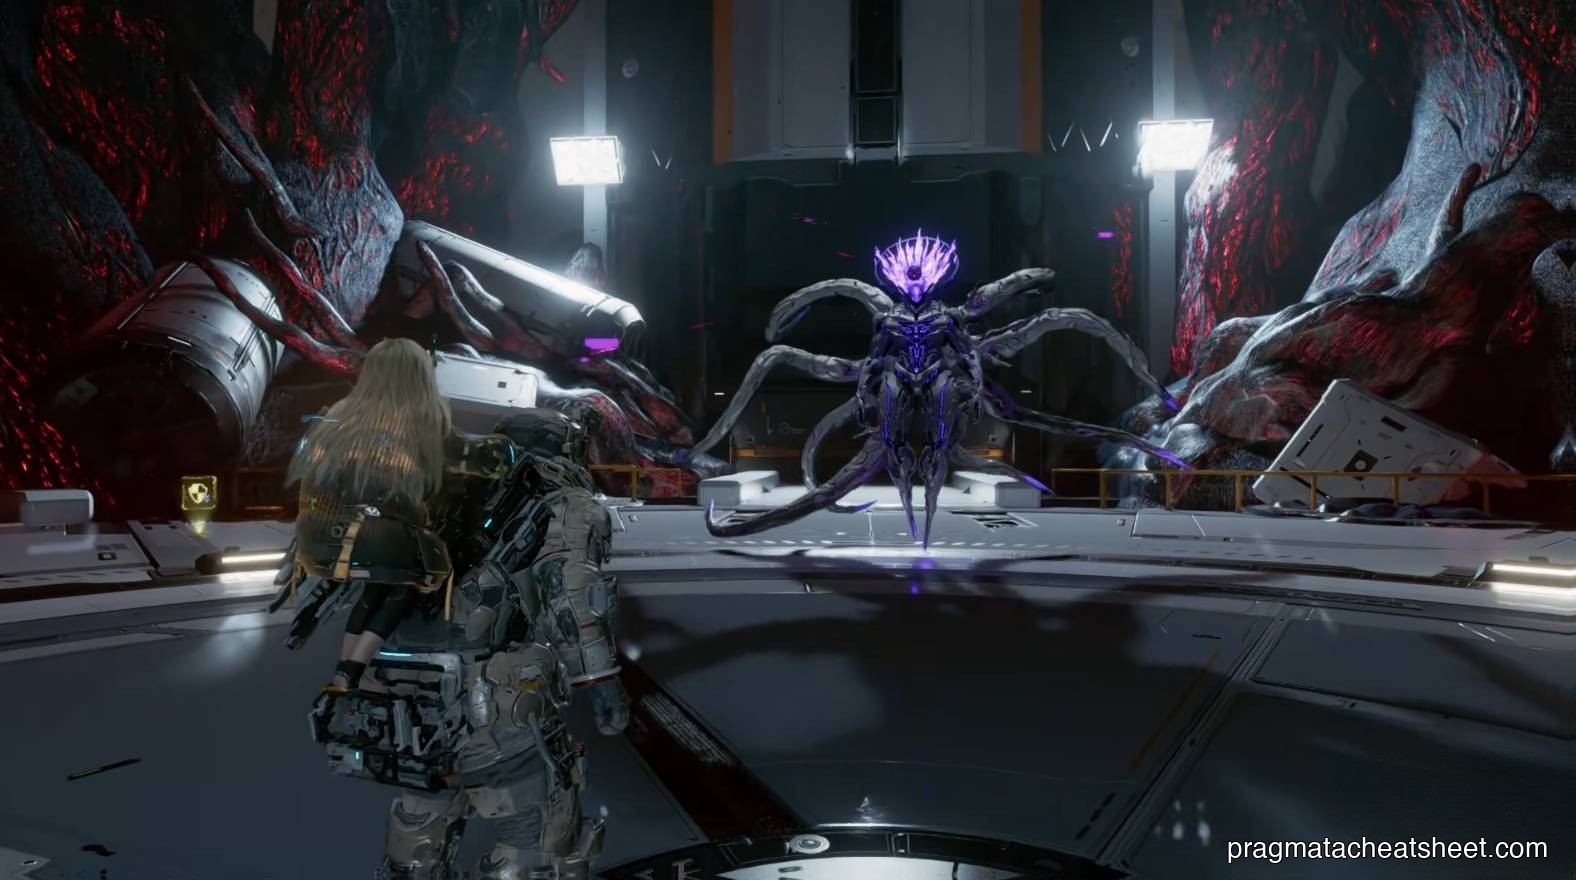
The fight kicks off at the top of the Space Elevator above Central Port. Three real phases plus a timing-based chase at the end. Phase 1 is a read-and-respond brawl; Phase 2 adds a Lim shell that only Cleanse can crack open; Phase 3 hands you a modified grid-hacking puzzle with moving hazards. The final chase is a single well-timed shot.
Preparation
- Recommended weapons: your full upgraded Loadout — bring your best Shockwave Blaster, Charge Piercer, and a secondary you can refill ammo for
- Required abilities: Cleanse, Stasis Net, and a polished sense of grid hacking
- Heal reserve: max Repair Canisters — no point saving them for later
- Before you walk in: clear the approach lobby and fill Overdrive Protocol — you want at least one ready bar going in
- Shelter upgrades that matter: any firmware you haven't installed yet. Skip nothing.
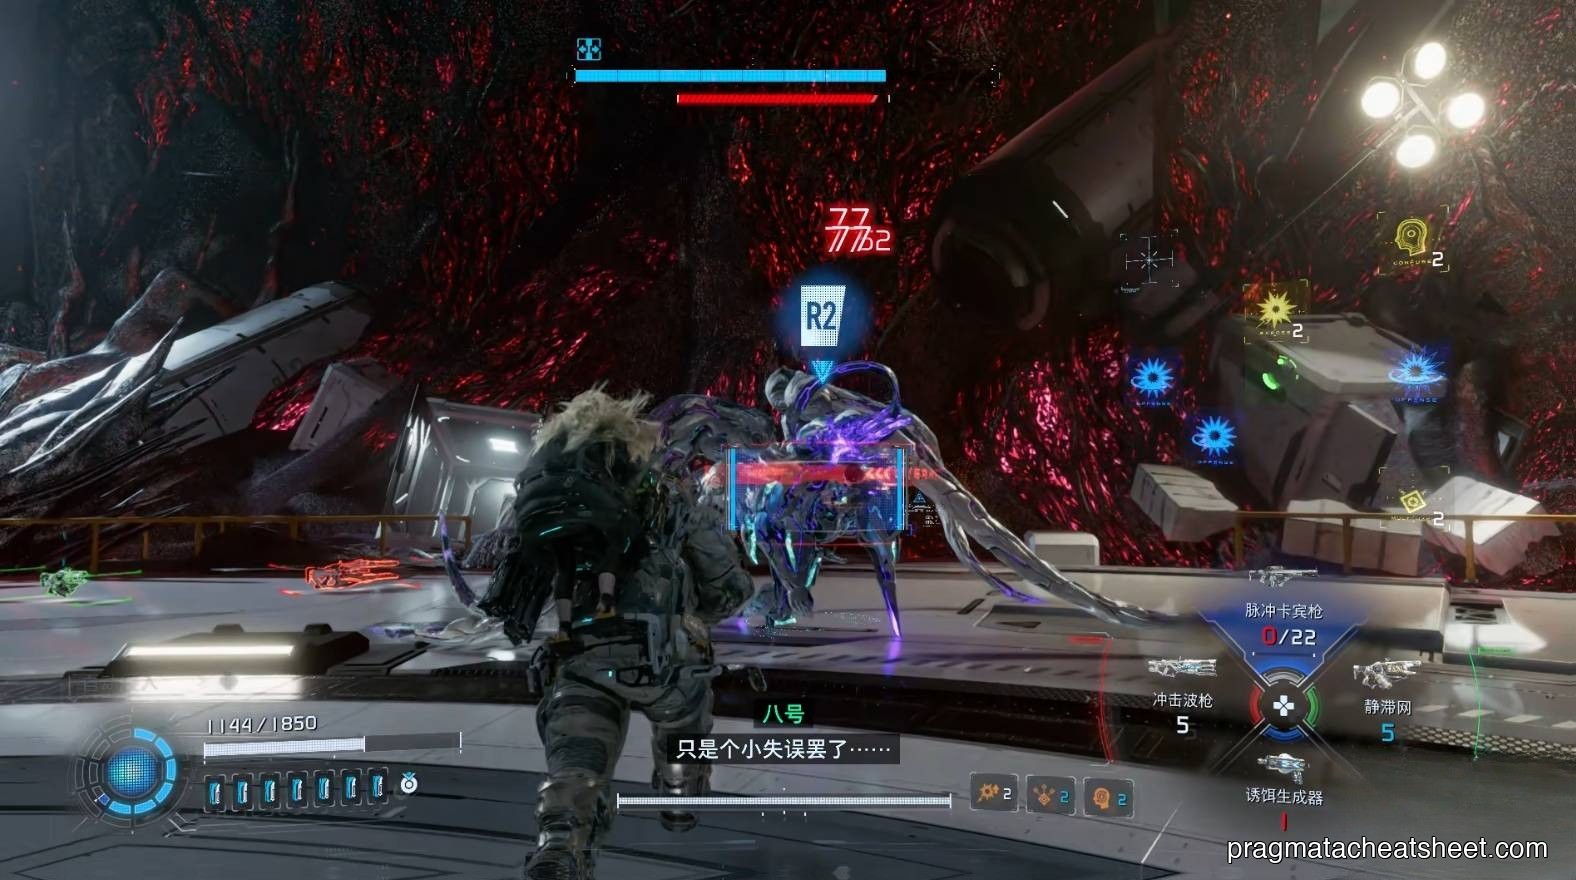
Phase 1 — Read the Circles
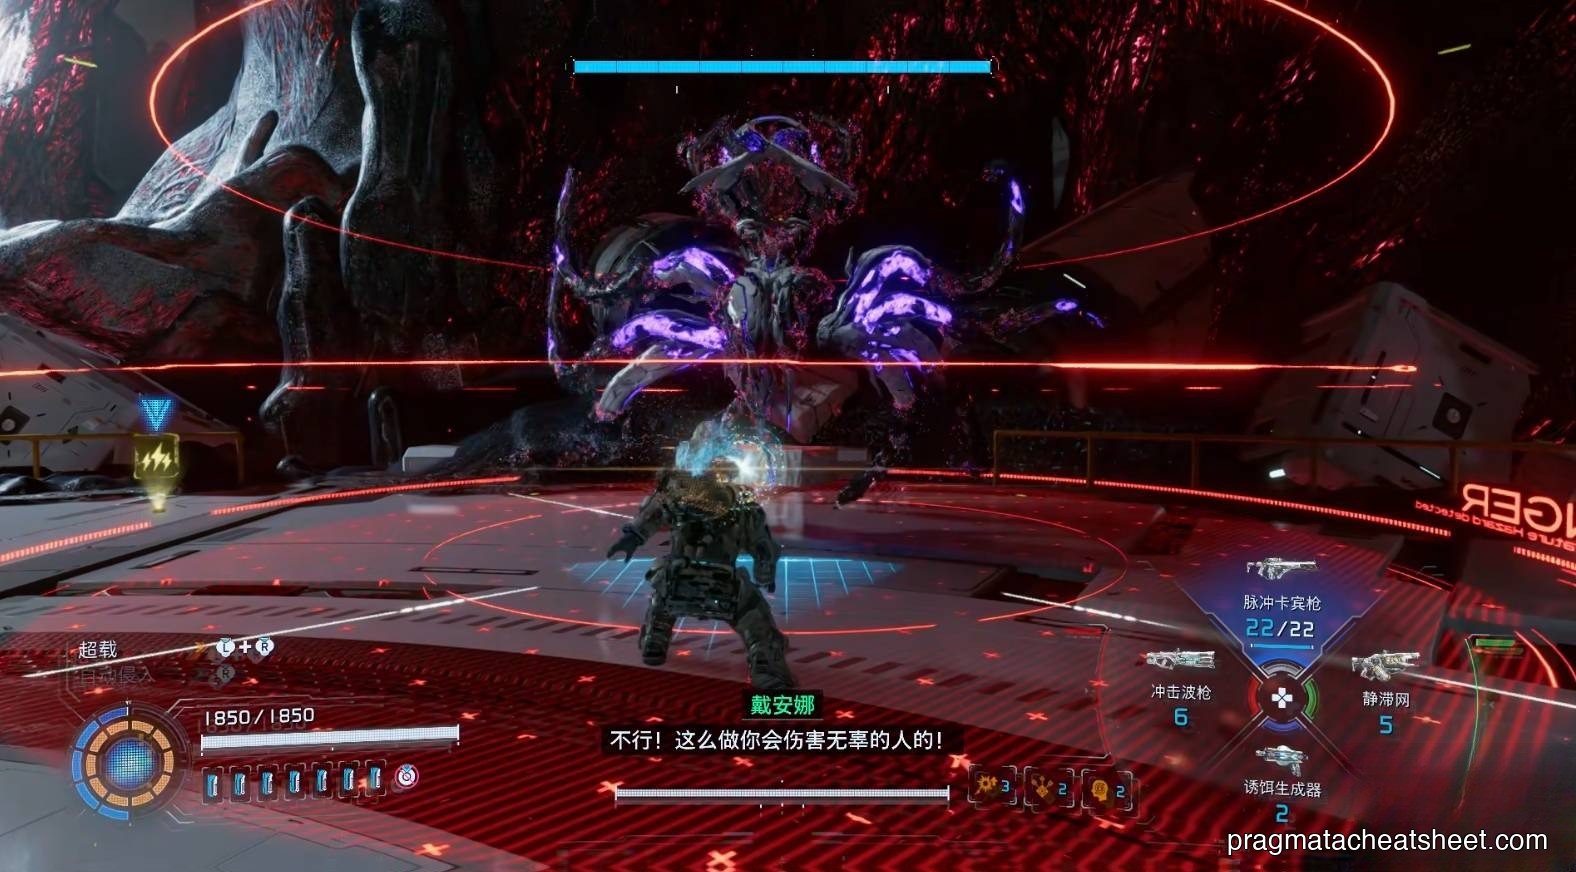
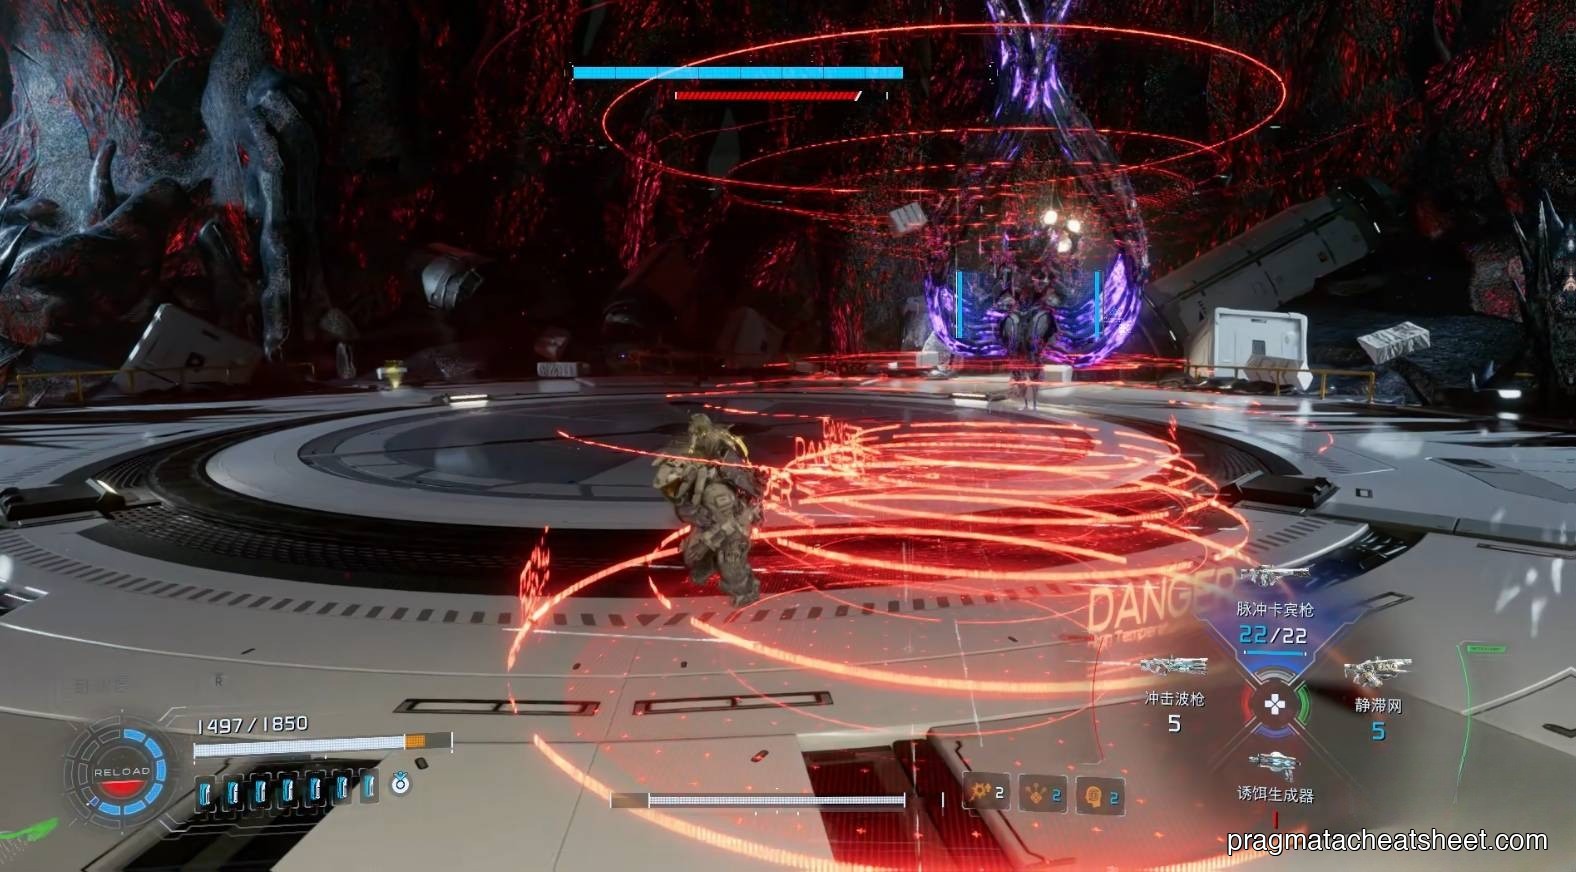
He opens with two tells: a red circle around his body (AoE wind-up) and long red floor bars (linear attack). Read them and react — don't mash.
Moves to watch
- Red Circle — AoE explosion centered on him; sprint-dash outward to safe distance
- Red Bar — linear attack along a marked strip; side-dash perpendicular
- Projectile Volley — tracking shots; rolls cancel the homing
How to handle it
- Stasis Net is a cheat code here. Land it and you buy time to Cleanse, hack, and unload on the head.
- Post-hack, the head is the weak point — same as Analysis: Creator, same Shockwave-to-the-face rhythm.
- Cycle: Dodge → Net → Cleanse (if shelled) → Hack → Head shots → Dodge again. No tricks.

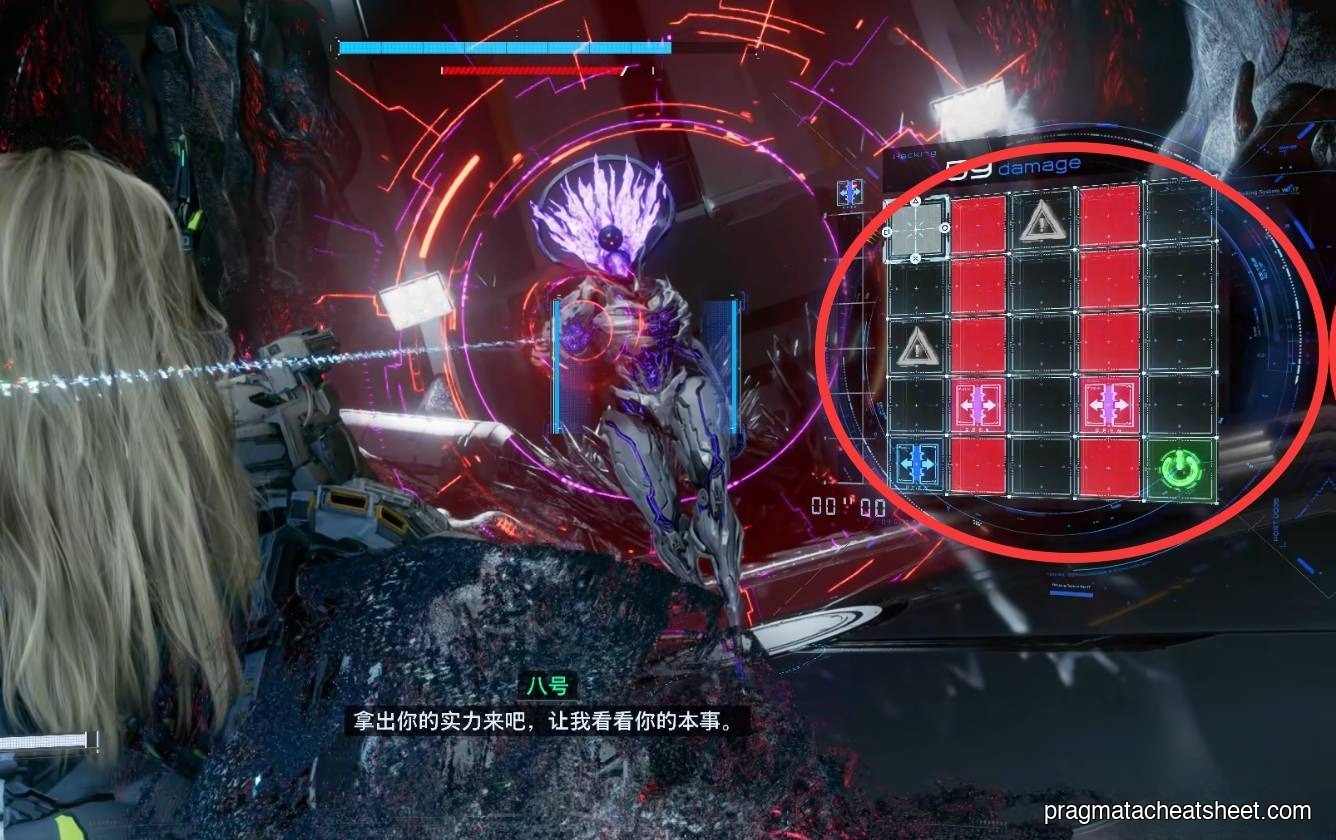
Phase 2 — Grid Hazards
The hack panel changes. Red zones appear and disappear across the grid as you try to route. You can't pass through an active red cell without breaking the hack.
What to do
- Don't rush the path. Watch the blink pattern for half a beat first.
- Plan your route through cells that are currently dark or about to turn dark — step through as the red fades.
- A broken hack = wasted window. Quality over speed on the grid.
Execute
When he staggers, a red ring around his body signals the finisher (not purple — different visual for this fight). Sprint in and trigger it.
Phase 3 — Cleanse the Shell
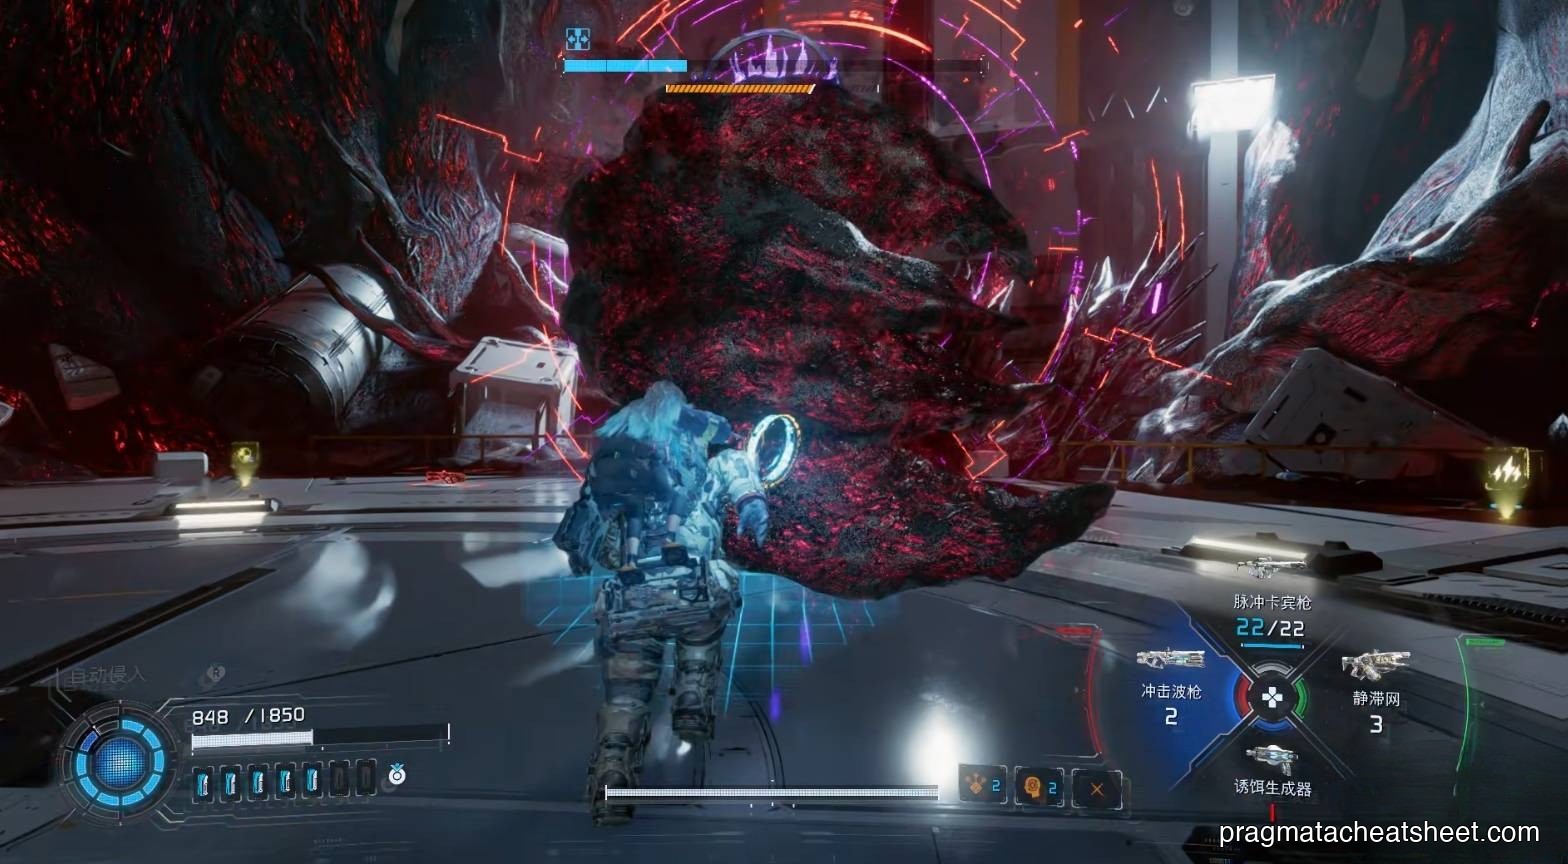
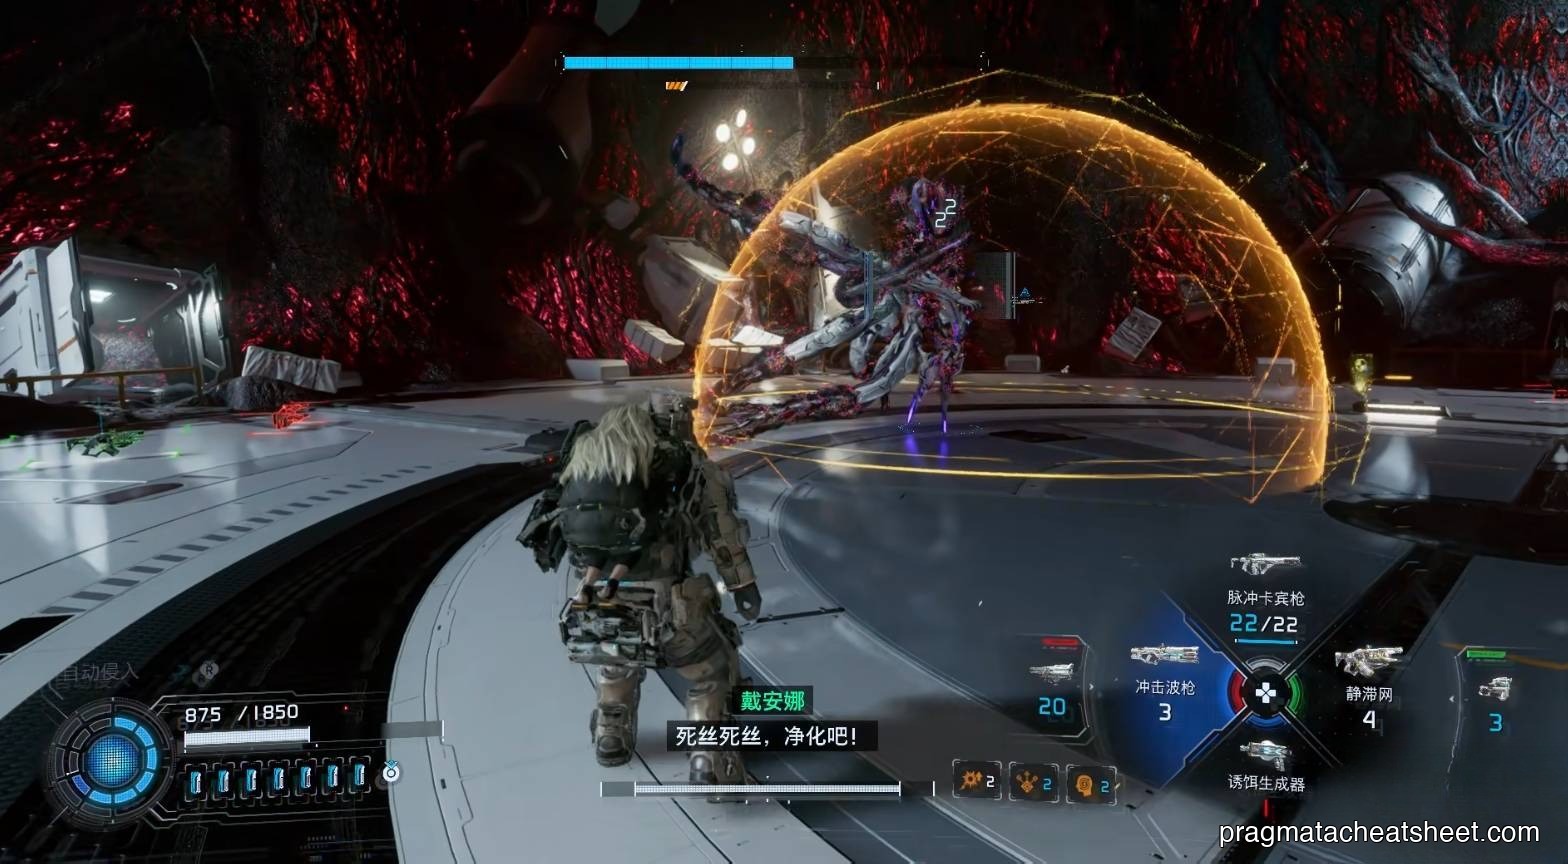
Below a threshold, he wraps himself in a Lim shell. Bullets bounce. Only one tool works.
What to do
- Cleanse, repeatedly, to strip the shell layer.
- Once the shell breaks, the fight collapses back to the Phase 1 loop — but he's aggressive, so lead with Stasis Net before you commit.
- Overdrive Protocol is a panic button for this phase if you've been banking it. Now is the time.
The Chase — One Shot to Win
Final sequence. He chases you. The game puts you in a modified grid-hacking minigame first — get it right, speed matters here, but accuracy still wins.
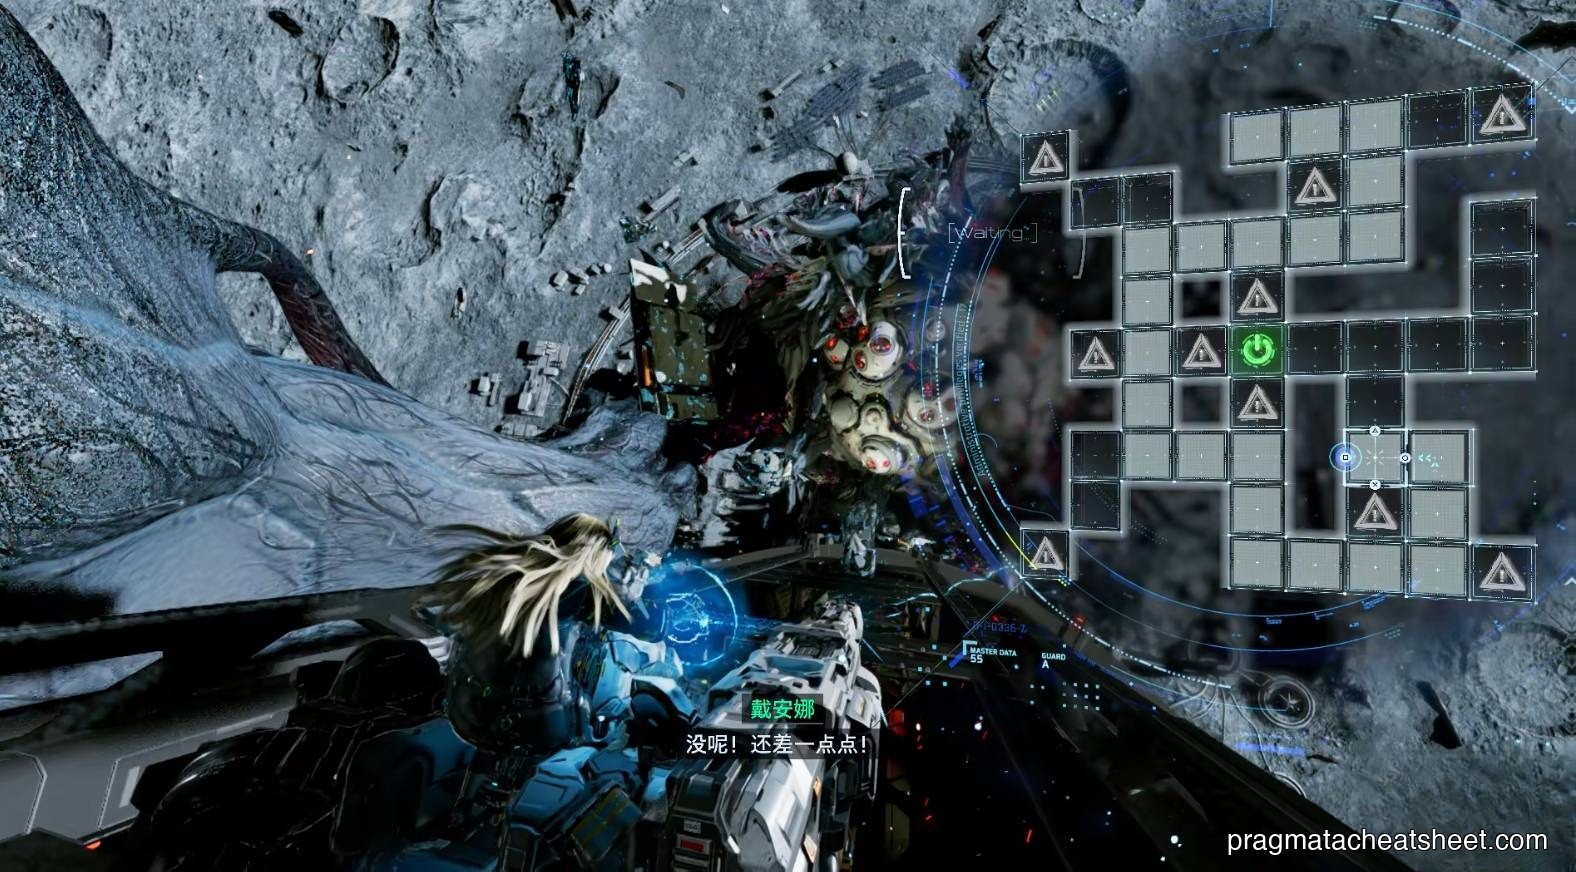
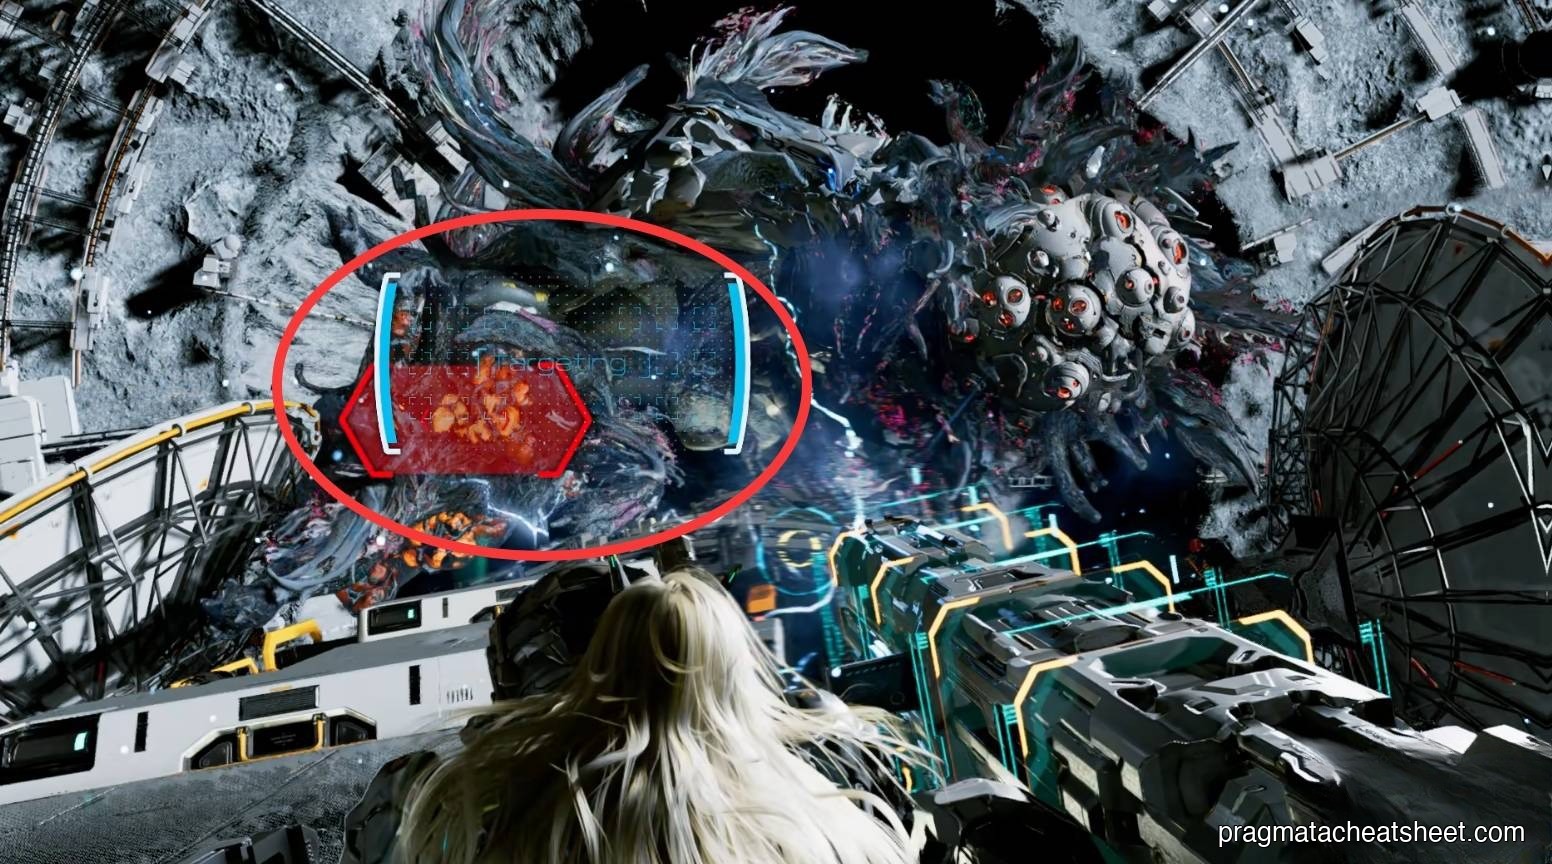
Then you'll be prompted to line up a scope on a red marker. When the prompt fires, shoot immediately. Miss and you eat the animation. Hit and it's over.
Common Mistakes
- Dodging into red circles instead of out of them. The ring is a wind-up, not an attack zone to kite through. Sprint outward.
- Ignoring Cleanse in Phase 3. Shooting the shell does nothing. Cleanse is mandatory here.
- Rushing the grid in Phase 2. A broken hack costs you the whole window. Read the pattern first.
- Blowing Overdrive in Phase 1. Save it for the Phase 3 shell break or the first messy Phase 2 grid.
Reward
- Story completion and the base ending
- New Game Plus unlock, plus Lunatic Difficulty access
- Opens the path to the hidden ending via the Unknown Signal route — tackled in a fresh playthrough
Next
→ Start the harder run: New Game Plus and Lunatic Difficulty guide → Aim for the hidden ending: follow the Unknown Signal thread from a new save → Back to the boss index: All Boss Fights