Luna Digger is the Lunum Mines boss — an excavator-class monster that chews the floor and breathes a vertical laser sweep. Bring a charged Shockwave Blaster. The fight is a test of vertical movement: get high, stay high, drop down only when you have to.
Fight Overview
You fight the Luna Digger at the bottom of the Main Excavation Site. Two phases. Phase 1 is a rail-and-platform fight where you hack the head from above; Phase 2 is a ground fight against the Digger plus a swarm of deployed turret drones. Clearing it gives you the Tier-4 License Key and pushes the story past the mines.
Preparation
- Recommended weapons: an upgraded Shockwave Blaster (this fight is built around it), Pulse Carbine for chip damage between windows
- Throwables: Stasis Net for the turret-drone phase, Decoy Generator if you have spare slots
- Heal reserve: 3× Repair Canister — Phase 2 is the most chaotic fight so far
- Before you walk in: fill Diana's intrusion gauge off the mine trash. Overdrive is gold during the Phase 2 drone rush.
- Shelter upgrades that matter: Shockwave Blaster damage/range upgrades, any mod that shortens hack cooldown
Phase 1 — Rails and Mouth Shots

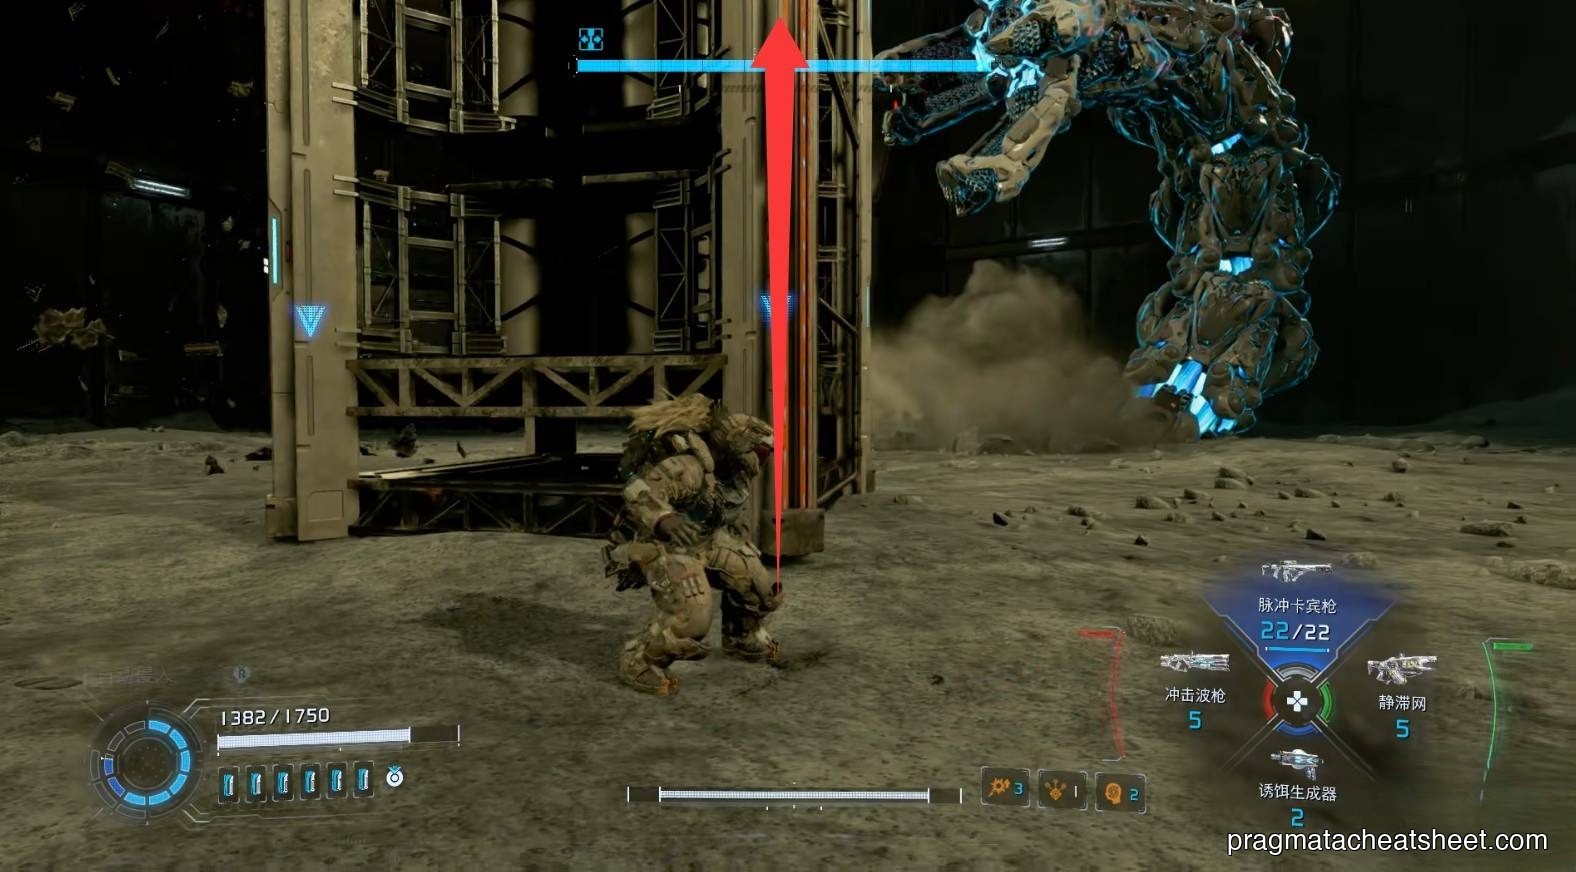
The opener is a vertical mouth-laser sweep that fires low and rises. Side-dash — don't try to jump it from flat ground.
Moves to watch
- Mouth Laser Sweep — rises from low to high; always dodge laterally
- Lunge Bite — when it closes distance with a bite, the mouth stays open long enough for a Shockwave burst
- Debris Toss — the Digger flings chunks of mine wall; break line of sight behind a pillar if the volley is thick
How to handle it
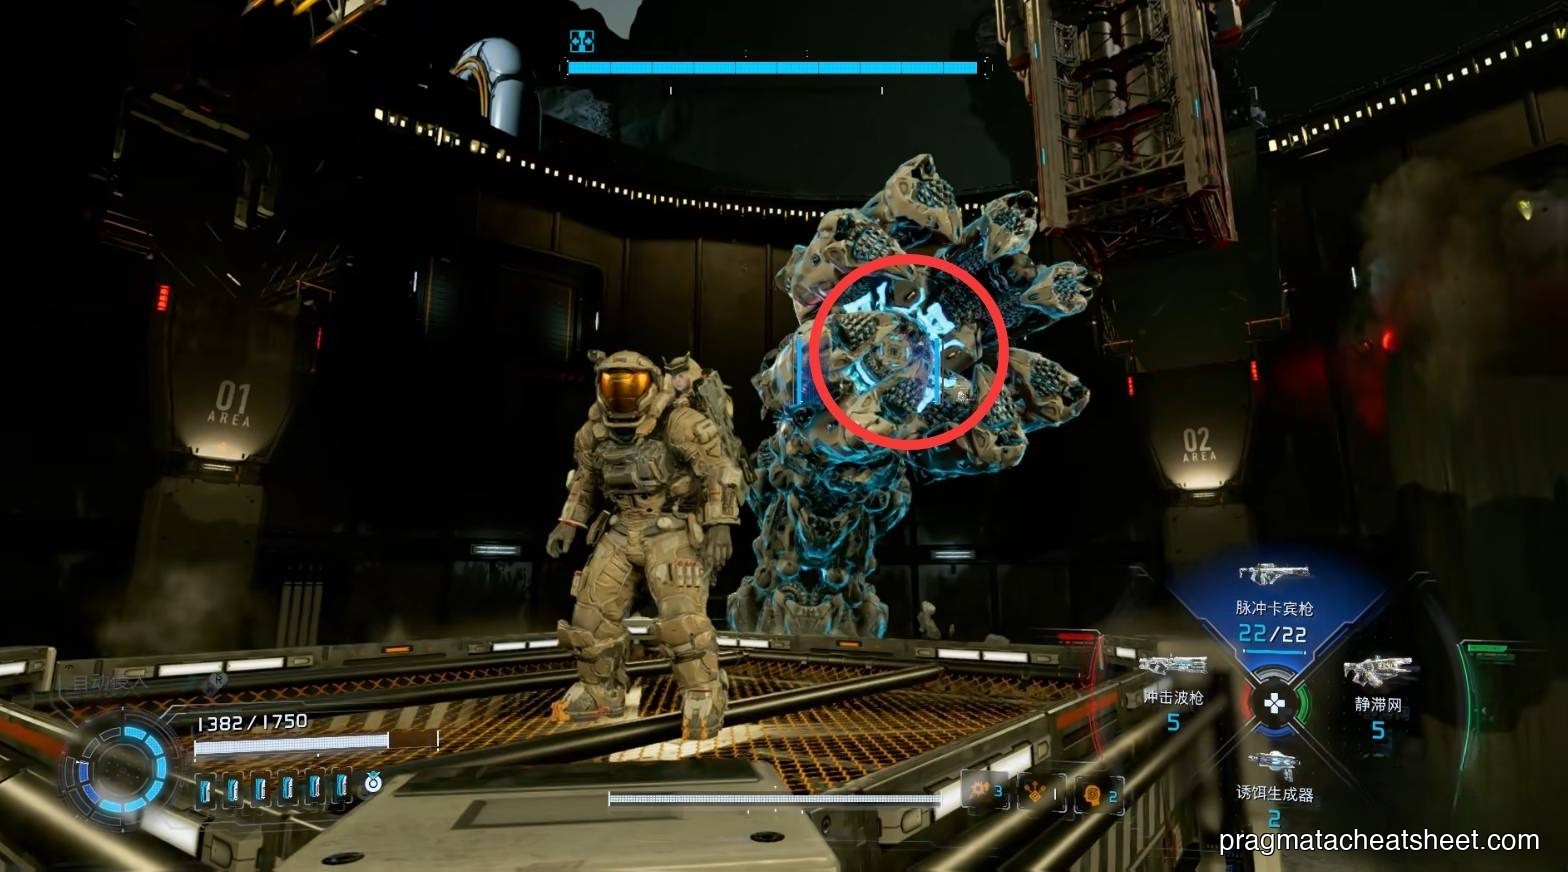
- Grapple onto a rail and get up to the elevated platform. From up top you're eye-level with the head, which makes hacking and weak-point shots much easier.
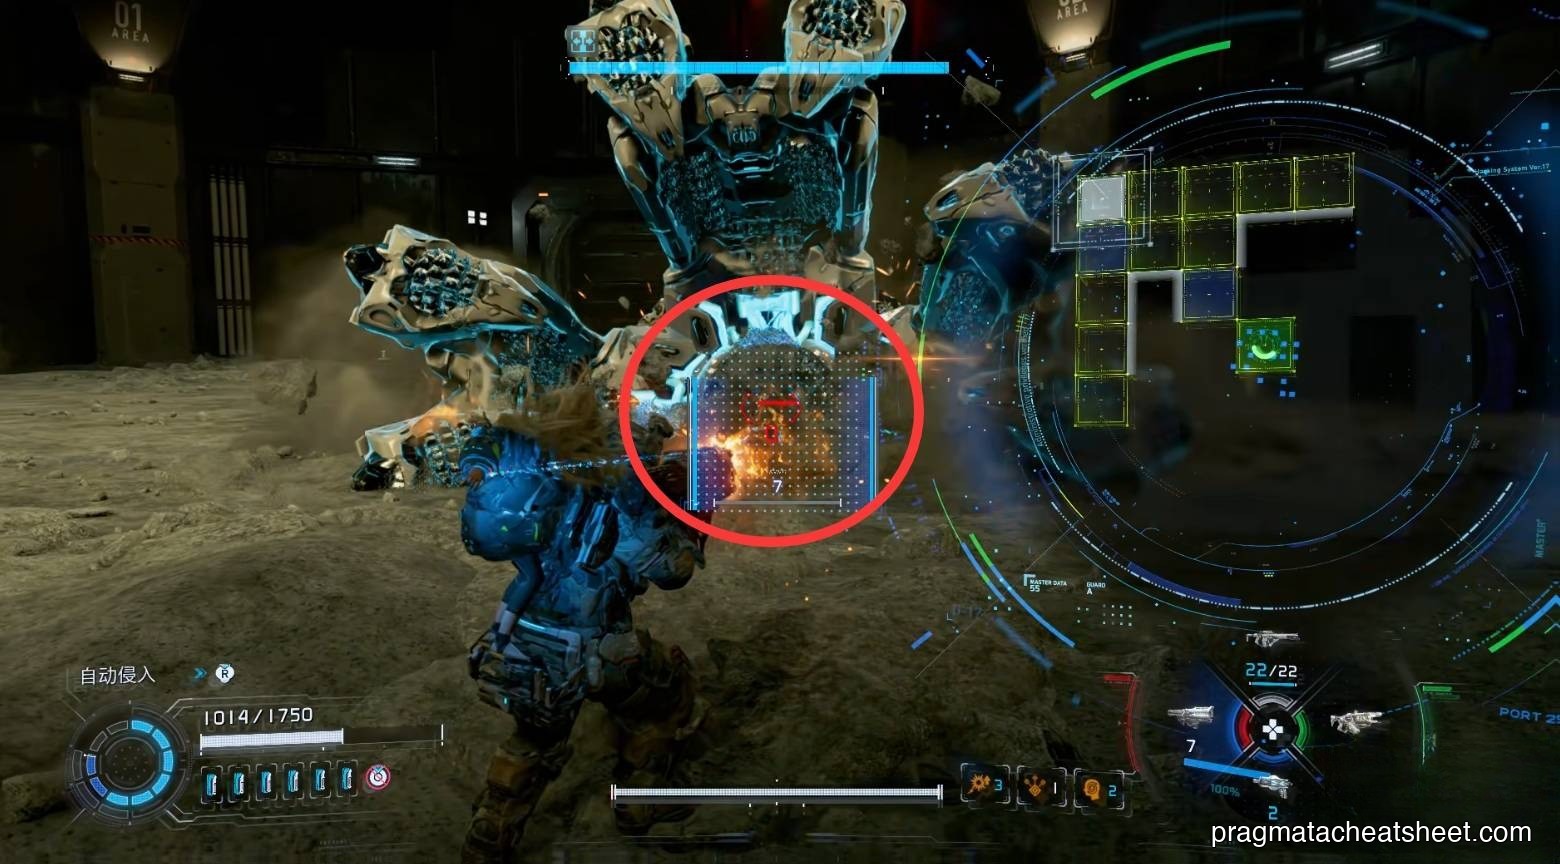
- Hack the head — standard blue/yellow chain. Once hacked, the weak point is inside its mouth. Time a Shockwave burst for when the mouth opens.
- When it destroys the platform you're on, drop to the ground, swap to an upgraded Shockwave Blaster, and wait for the next Lunge Bite. Burst, then dash out before the recovery frames end.

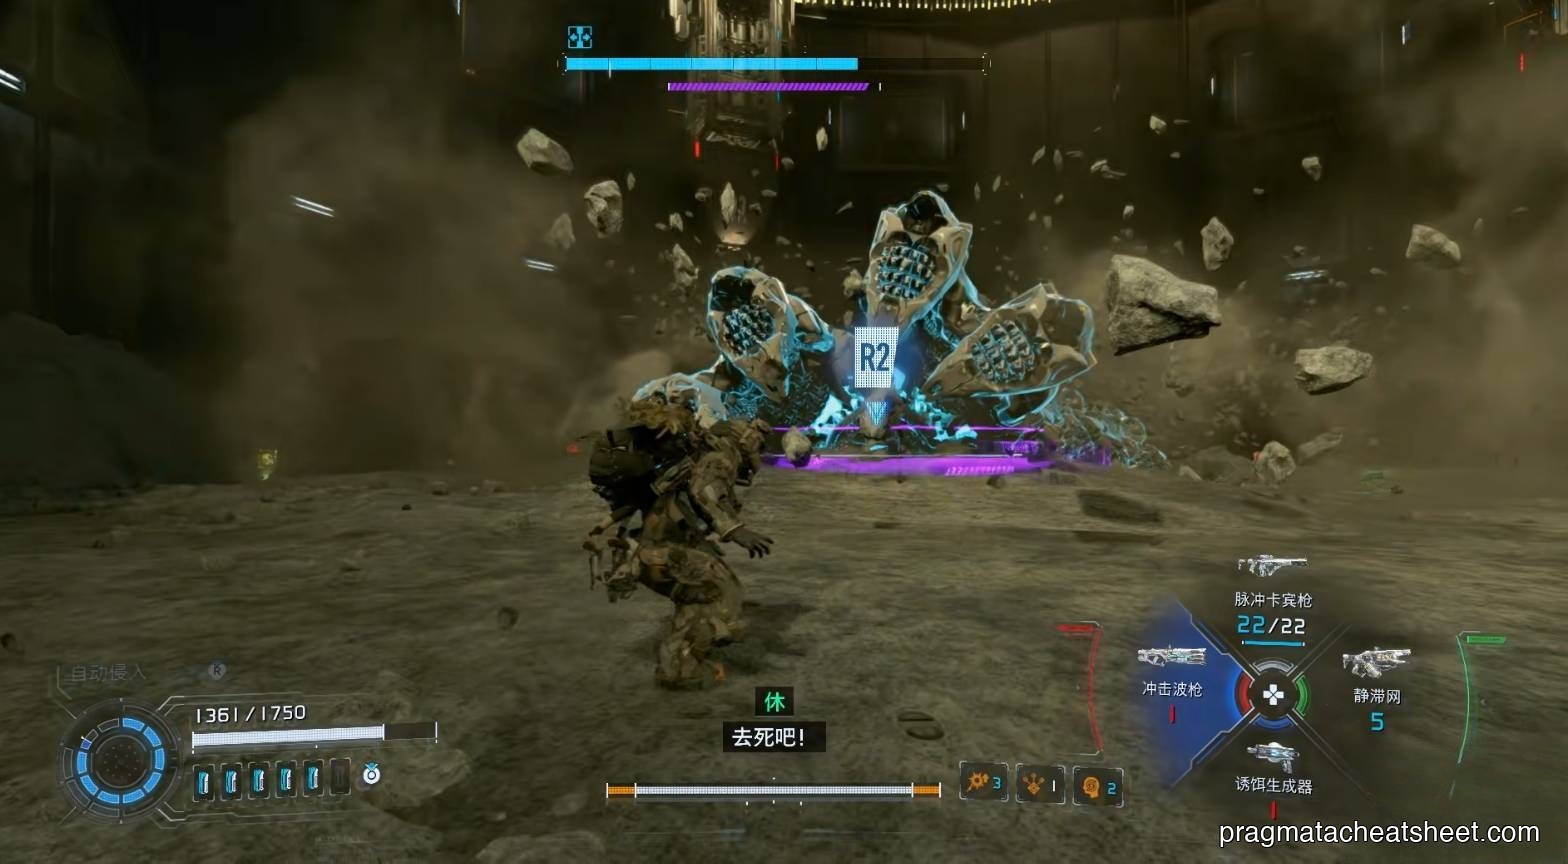
Stagger and execute
When it takes enough damage to the mouth, it collapses. Sprint in for the execute — same prompt as every other boss, same big damage chunk.
Phase 2 — Turret Swarm
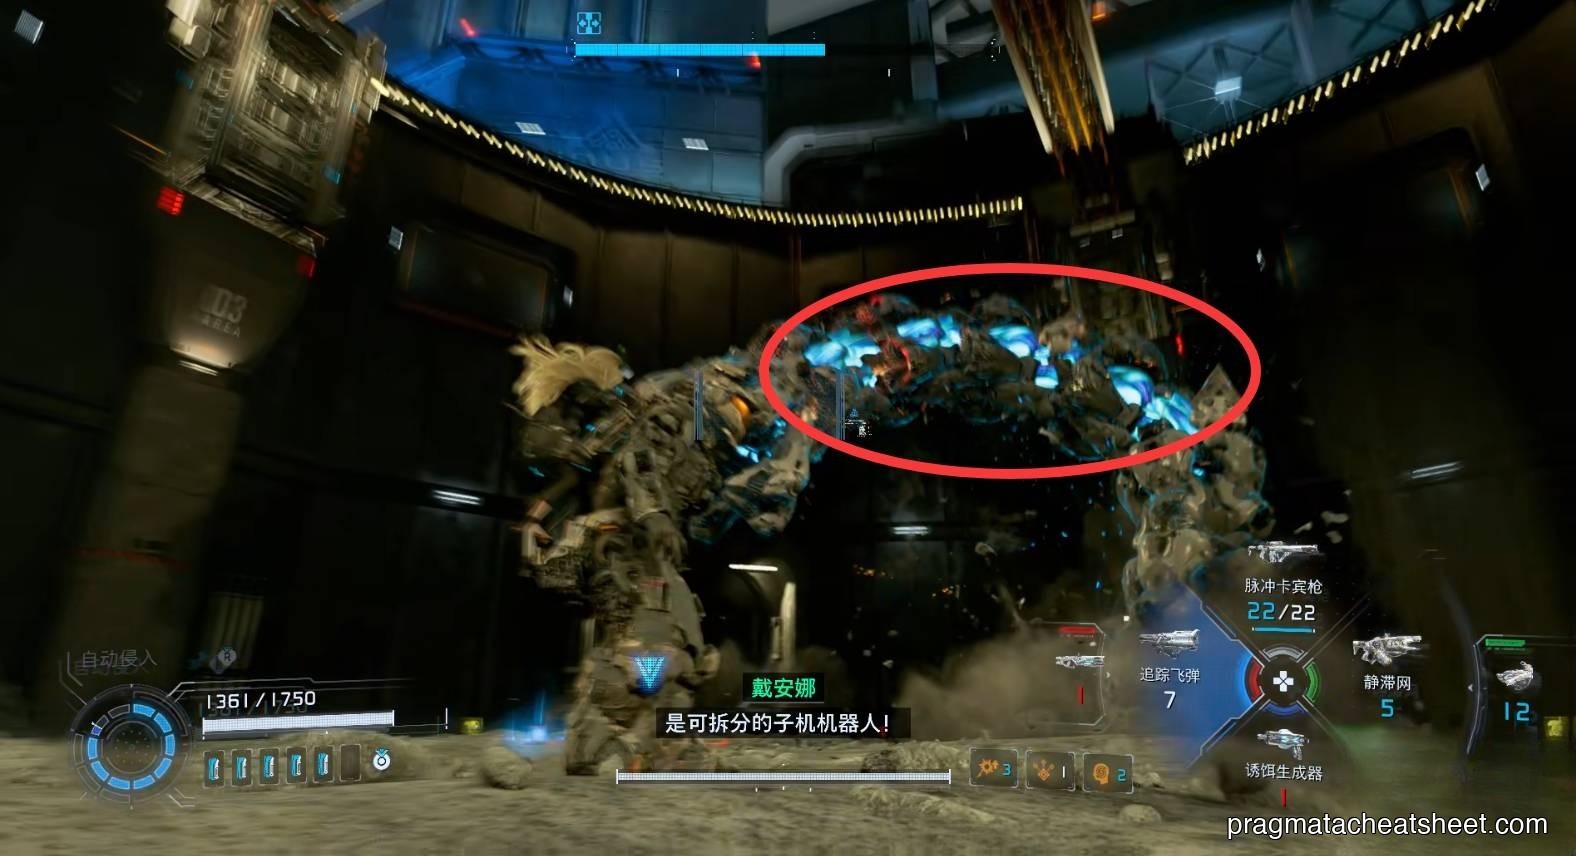
After the execute, it splits open and starts deploying a stream of small turret drones. At the same time, new glowing weak points appear on the body — you're no longer forced to go for the mouth.
What to do
- Switch target priority. You can now hit glowing nodes anywhere on its body — take whichever angle you have.
- Hack the turret drones mid-air to flip their aggro. A hacked turret will shoot the Digger for you, and it's one of the highest damage sources in the phase.
- If the swarm overwhelms you, Stasis Net + Overdrive gives you enough breathing room to clear a few turrets and re-open a hack window.

Common Mistakes
- Staying on the ground in Phase 1. The mouth laser is vertical; low ground is the kill zone. Rails first.
- Using the Shockwave Blaster from range. Shockwave damage falls off with distance. Eat the risk and close.
- Killing the turrets instead of hacking them. A hacked turret is damage-for-free. A dead turret is nothing. Hack priority.
- Blowing heals on the opener. Phase 2 is the one where you'll actually need them. Eat some chip in Phase 1.
Reward
- Tier-4 License Key — second-to-last Shelter tier unlock
- Upgrade Components
- Cutscene progression through the door behind the arena — keep walking after the fight to trigger the next story beat
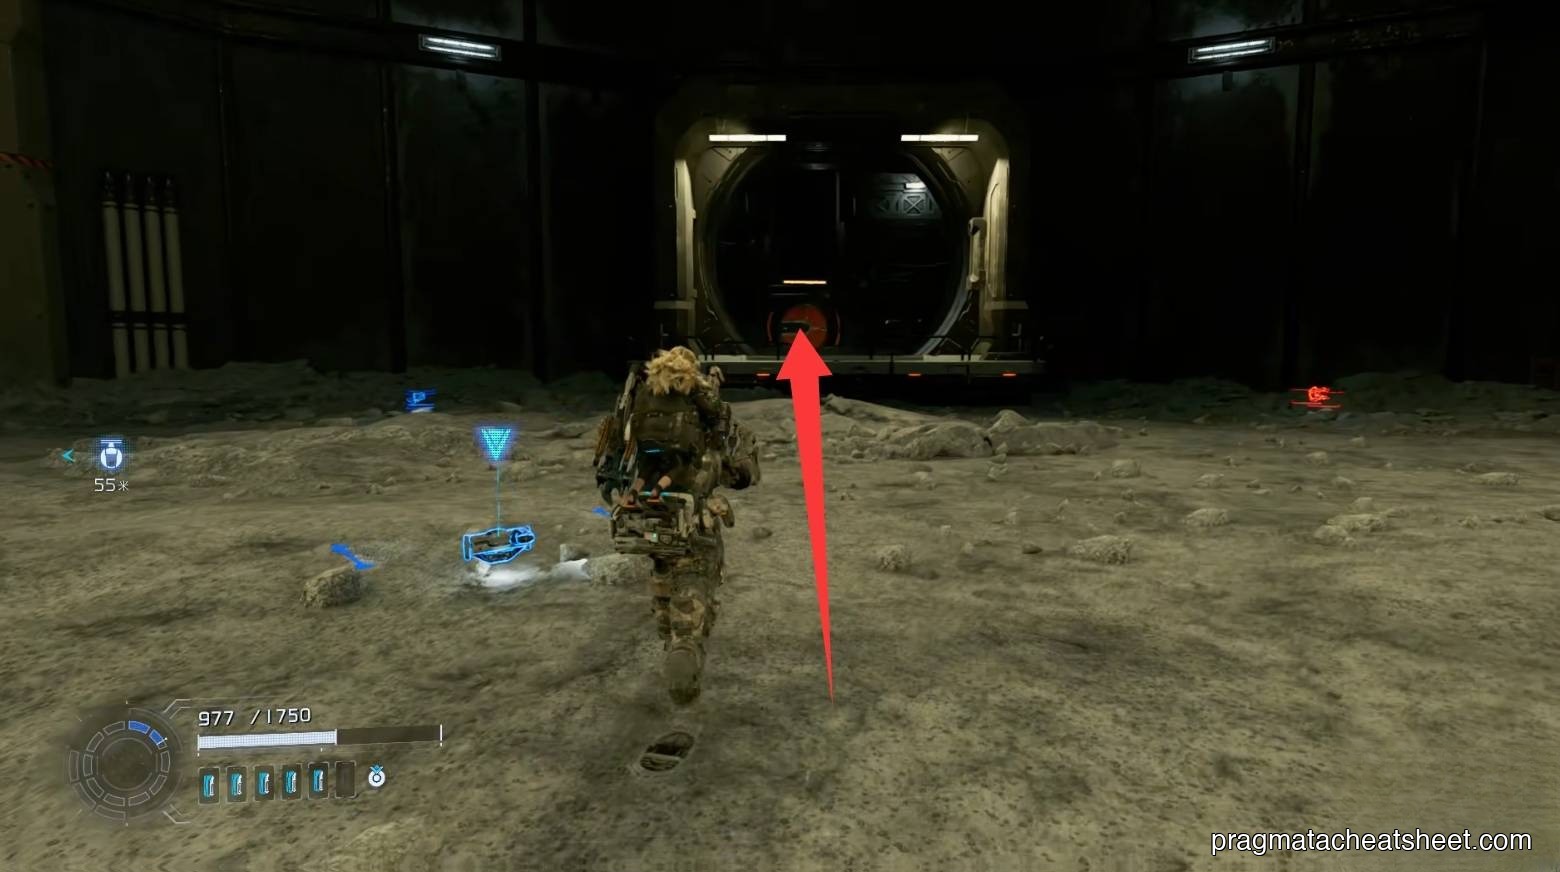
Next
→ Continue the story: Sector 5 · Experimental Pragmatics Lab → Final fight: Final Boss